
Sauna Bench Heights and Levels: What to Compare
SAUNA LAYOUT GUIDE
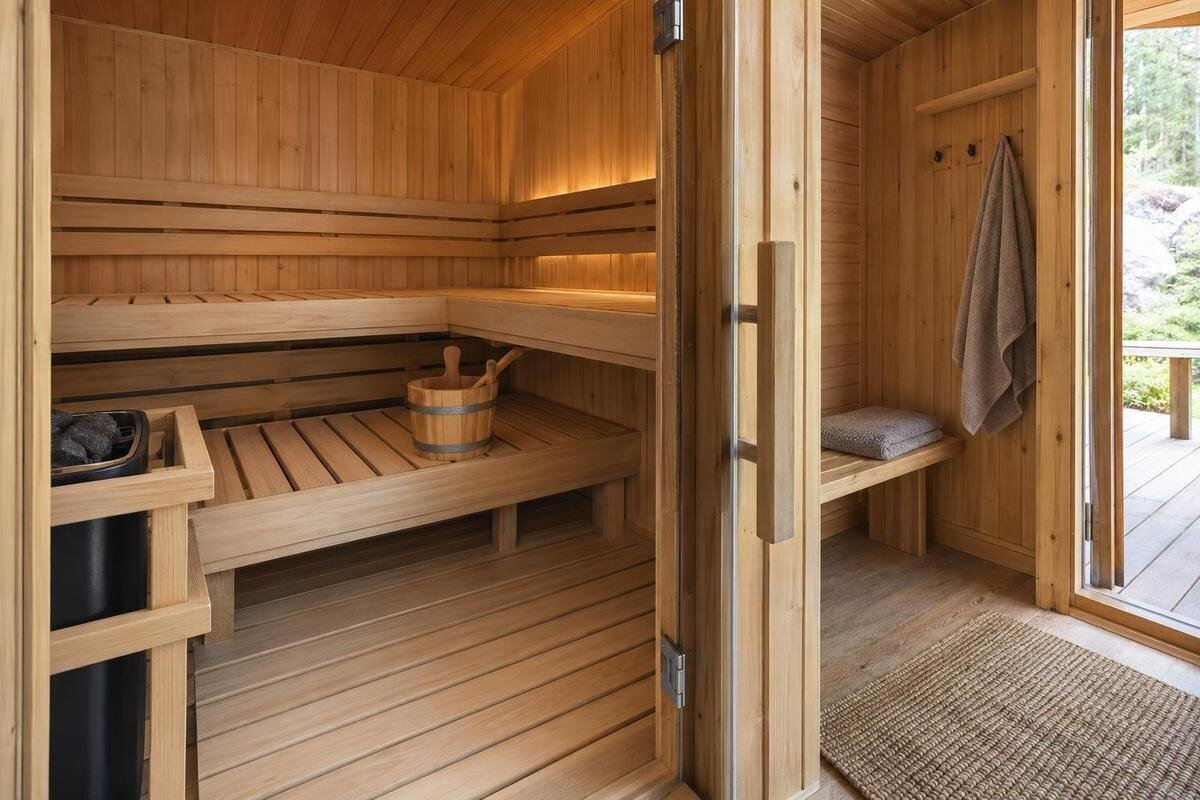
Bench height and arrangement are often harder to judge from a product photo than from a dimensioned drawing. A cabin can have an appealing footprint yet feel different depending on whether its seats sit on one level, step up in tiers, turn along one or more walls, or leave a clear area in the middle. Those choices affect how many usable places there are, where feet and knees can go, whether people face one another and how easily someone can get up without disturbing another person. Before comparing sauna models, look for a plan and a vertical section that show the actual seat surfaces, not just the outer shell. This guide explains what to compare, what a drawing can and cannot prove, and what to request when information is missing.
01
How bench levels affect the layout
Bench elevation changes more than the view from the doorway. It places a seated person at a particular distance from the floor, ceiling, walls and heater, and determines how that person relates to anyone using another seat. Air conditions can vary with height, so a tier may feel different from another; the bench label alone cannot predict the extent. A higher bench can bring a seated head closer to a sloping or curved ceiling, while a lower one can leave more overhead space and put feet nearer the floor. The practical effect depends on the cabin’s internal shape and complete layout, so compare measured seat surfaces and clearances rather than guessing from the exterior.
A single level gives everyone one main seating height and can make a plan straightforward to read, but its value depends on the length and depth of the finished seat. Tiered benches create a choice of level, yet the upper and lower seats share the available vertical space and may overlap in plan. The lower bench may also act as a step in some designs; check the drawing to understand how people reach the upper seat and whether a separate step is included. A two-level label says nothing about the depth of either tier, the space between them or how many people can sit without crowding. Assess each surface as a place to sit, with its own headroom, foot space and route for getting up.
Why both a plan and section drawing matter
The plan view tells you where each bench sits across the cabin: along a rear wall, one side, opposing sides or a corner, depending on the configuration. It can show the usable run, the direction each seat faces, spaces between runs and the position of the doorway and heater symbol. Use those marks to understand how people share the room, not to infer exact sitting dimensions. If a plan gives only the external footprint, it cannot tell you how deep the finished seat is or how much floor remains clear after the interior fittings are in place. Ask for dimensions to the finished inside surfaces and bench edges, and note whether the measurements are metric and clearly identified.
A vertical section supplies what a top-down plan misses: seat-top heights, distance between tiers, headroom above each sitting position and the relationship to the roof profile. One section may not describe every point along a curved or sloping wall, so confirm that the view crosses the part of the bench you plan to use. Match both drawings to the same model code and configuration; if two views disagree, ask which is current and whether either is illustrative. A listing such as Sauna HCF-300 identifies a candidate, but its name alone does not establish which interior arrangement a drawing depicts. If the required view is not available, request it before comparing dimensions.
02
Seat height and headroom
Do not compare a bench height without checking what the measurement is taken from. The useful figure is the top of the finished sitting surface relative to the finished floor, not the support rail, frame or rough base. Note whether the drawing labels a level as an overall height or gives a vertical measurement at the actual seat position. Measurements taken from the outside shell or platform do not map directly to where a person sits. Use the same reference points when comparing two models; otherwise, a difference on paper may reflect a different datum rather than a different bench. If a dimension is unexplained, ask which surfaces define it and whether it varies along the seat.
Then compare the seat with the roof above it. A person sitting upright needs space for the head and shoulders, and a curved or sloping ceiling can make that space vary from one side of a bench to the other. With two tiers, check the headroom at each intended sitting position and note whether an upper bench overhangs any part of the lower seat. Look at the ceiling directly above the whole sitting area, not only the highest point in the room. For the Sauna LCF-300, as with any option, ask for a dimensioned internal section that marks the finished seat surfaces and the ceiling profile; do not substitute external cabin height for sitting headroom. No single bench level suits every cabin shape or user.
Usable bench length and depth
Length on paper is useful only if it is usable from end to end. Check whether the dimension follows the finished seat, and look for interruptions at corners, supports, posts, curved side walls or access points. A bench that continues around a corner in plan may not provide the same continuous run as a straight seat. If several people will sit at once, decide how much unbroken span you need and whether each person can settle without taking space intended for another. A capacity label cannot answer those questions, especially when seats are split across two levels. Record usable length for each bench separately rather than adding every segment into one total.
Depth matters as much as length. Compare the front-to-back dimension of each tier and distinguish the full seat surface from any part covered by an overlapping upper bench. Look at the available room for feet and knees, including where an upper-tier occupant’s feet would rest relative to someone using the lower seat. Check finished dimensions rather than a broad cabin measurement, and note gaps between separate sections. The clear sitting surface matters more than the distance from wall to wall. For Sauna S-140, request the internal bench dimensions before treating the model name or an overall area figure as evidence of how many usable places it provides. A scaled plan can help you map those measurements against the way your group actually sits.
03
Seating direction and sightlines
Bench orientation determines who faces whom and how the main seating run occupies the cabin. A seat against the back wall may direct attention one way; a side-wall bench can create a different conversation arrangement, while opposing runs place people across from one another. These are layout descriptions, not guarantees of social comfort: sightlines can be interrupted by a heater or corner, and the nominal bench length may be split between directions. Trace the seat edges on the plan, then mark each intended sitting position with an arrow showing where that person faces. This can expose positions that look spacious in a product photograph but feel poorly connected in the actual room.
Consider what people will see when seated, not only when standing outside. Where does the doorway fall in the seated sightline? Are two users facing each other, sitting alongside one another or turning across a corner? Does a person at the end have usable seat depth without being pushed into a curved wall? When comparing the Sauna HC-150 model, use its bench plan to examine these relationships rather than relying on the view through the doorway. Sketch seated positions on the plan to compare the space each person occupies with the direction they face. Pay particular attention to corners, where two seating runs meet and the same space may appear to serve both positions.
Movement space around benches
Bench layout should leave room for movement inside the cabin, not just maximise the drawn seating line. In a top view, look at the clear floor between facing benches and the space alongside a lower tier; then imagine one person seated while another moves past. A route that appears wide on an empty plan can narrow once knees, feet and projecting supports are accounted for. Check whether the clear area is continuous or broken by a step, bench end or support, and whether a seated person’s feet sit in the path. This is about movement between seats rather than the exterior approach, threshold or entry steps.
Check the bench outline against the heater position and guard shown in the manufacturer’s layout, but rely on the selected heater’s manual for required clearances rather than estimating from a photo. Establish whether a step or riser is part of the chosen configuration or a separate component; it can change both floor space and the route to an upper level. The listing for Sauna HC-225 gives an area figure of 4.4 m², but that figure by itself does not show the free path between seating surfaces. Ask for the route and any fixed fittings to appear on the dimensioned plan, so you can compare occupied seating with the remaining floor area.
04
Sharing the seating space
Think through how each bench works when the cabin is occupied. If one person chooses the lower tier, can another use the upper tier without crossing in front of them? Can someone rise from a middle position, and can occupants at the ends reach their places? Separate benches, a continuous run and a corner layout solve different problems; none should be judged by counting the drawn seat lines alone. The useful comparison is whether the arrangement supports the number of people and the way they share the space, with room for ordinary changes of position. Consider who will use each level most often and whether users can choose without disrupting others.
If you expect to recline rather than sit upright, check whether the drawing shows a continuous clear length for that purpose and whether a corner, backrest or wall shape interrupts it. If your group prefers separate positions, look at the distance between tiers and whether every seat has an independent route. For Sauna N-210, the model identifier is only a starting point: request the bench plan for the specific configuration, then test it against the range of heights and preferred positions in your regular group. This avoids treating a quoted capacity as a promise of equal space for everyone. If reclining is not part of the plan, prioritise the sitting positions you will actually use.
Bench levels under curved barrel roofs
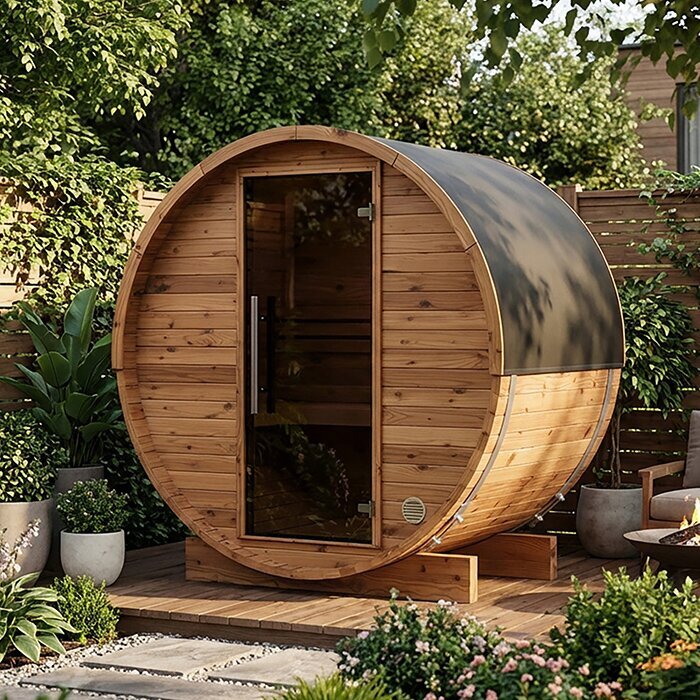
Many barrel-style saunas have a curved internal roof, so bench height and sideways position need to be read together. A seat near the centre may have different headroom from one nearer a curved side; a single overall cabin height cannot describe both. On a cross-section, locate the finished seat top and the ceiling directly above the places where people will sit. If benches extend across a broad span, ask whether the drawing represents the full section rather than only a central line. A second cross-section can be useful if the roof profile changes along the bench, or if the seat wraps around a corner. This is a question of geometry, not exterior appearance.
Read the plan alongside an end-on section. The plan shows the bench run and depth; the section shows the seat’s height and sideways position beneath the curved roof. Together they reveal whether a corner or side position leaves less space above the head or around the shoulders. For Sauna N-250, and any barrel sauna you are considering, use drawings for the exact model rather than transferring measurements from a similar-looking shell. Ask where the section is taken and whether it passes through the main sitting positions. Compare the space above the seat across its usable depth, rather than judging headroom from the roof’s central high point alone.
05
Matching drawings to the supplied configuration
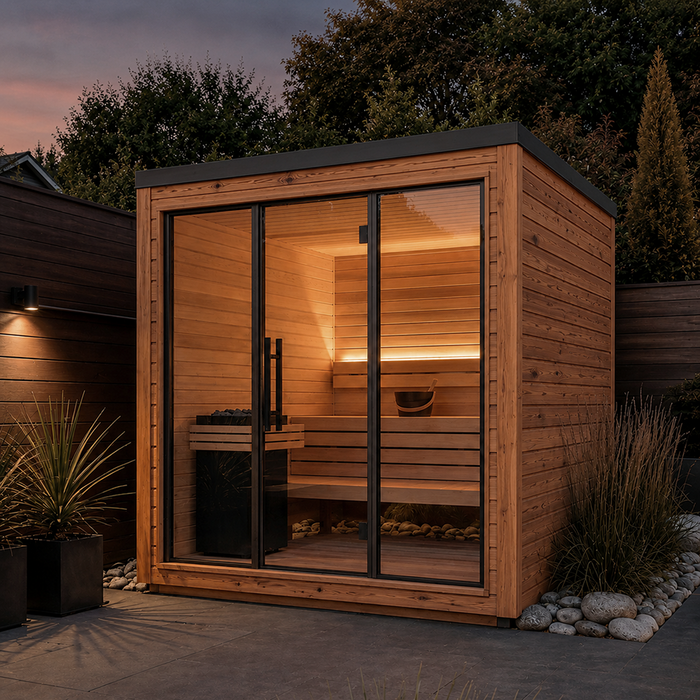
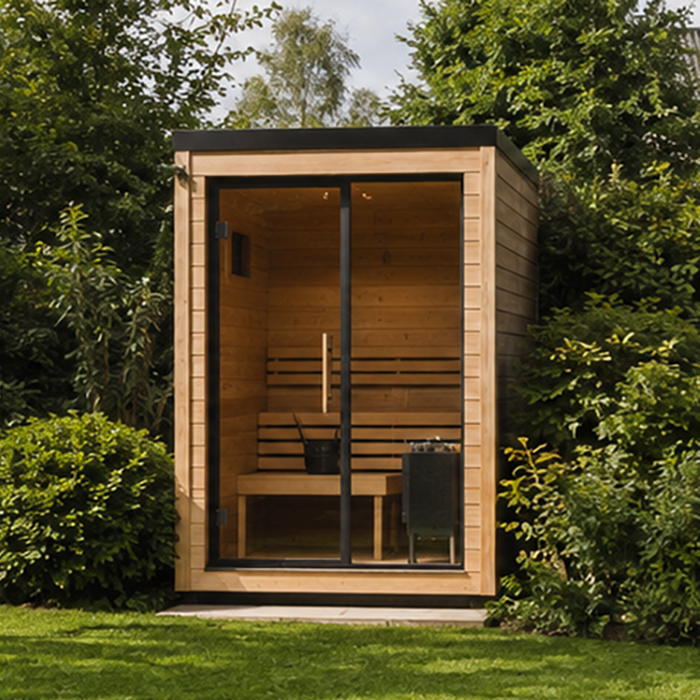
Before relying on a drawing, check what it depicts and what arrives with the sauna. It may show a proposed arrangement, optional seating or a display configuration rather than every item included with the model. Ask whether each level, step, backrest and side bench shown is part of the selected package, and whether any accessory changes the clear area or seat measurements. Confirm whether the view shows the completed interior or only the shell and structural supports. Match its model code, revision and configuration to the quote. If the product page shows a photograph but no comparable plan, treat the image as a visual reference only, not proof that the photographed bench arrangement will be supplied.
Clarify how dimensions are measured and whether they refer to the finished assembly. A nominal bench span can differ from the clear length between end supports; a frame measurement may not equal the usable top surface; and a drawing can omit trim or fittings. Ask the supplier to label the finished floor, seat tops, inside walls and ceiling in the same views. The Sauna LC-260 product page gives you an exact model reference for the enquiry, but only an applicable dimensioned drawing can confirm its seat layout. Keep the answer with the model and selected configuration you are comparing, including any revision date so you are not relying on an older plan.
A like-for-like comparison of sauna benches
A useful comparison table has one row per exact model and configuration, not just one row per cabin family. Record the number of seating levels; finished heights from floor; tier-to-tier gap; headroom at each sitting position; usable seat length and depth; seat orientation; and clear floor between benches. Add notes about whether dimensions are internal, whether the drawing shows every included component and whether another cross-section is needed for a curved roof. If a figure is missing, mark it unknown rather than filling it in from an exterior photograph or a model with a similar name. That keeps unlike layouts from looking equivalent.
Once the information is side by side, prioritise the feature your group will notice most: a continuous run, a choice of levels, room to change position or a simpler single-level arrangement. A second tier is worthwhile only if both levels are usable in the actual cabin, not merely visible in a drawing. If the best-looking option leaves important dimensions unanswered, keep it provisional rather than assuming the missing measurements. A scaled plan or taped outline on a clear floor can help you picture bench runs and shared space, but it cannot show the headroom or vertical relationship between tiers. Use it alongside the section drawing to compare how people would sit, move and share the benches.
Frequently asked questions
Are two sauna bench levels always better than one?
Not automatically. A second tier offers another sitting height, but it also shares the available interior space and may require a step or restrict the lower seat. Compare the finished dimensions of both levels, their headroom and the route between them. If everyone expects to sit at one height, a well-sized single bench may suit your needs with a simpler layout. The drawing, not the tier count, tells you what is usable.
Which measurements should I compare for bench height?
Compare the vertical distance from the finished floor to the top of each finished seat, then the clear height from each seat to the ceiling above the intended sitting area. For tiered seating, note the height difference between seat surfaces and whether an upper bench overhangs any part of the lower seat. There is no single dimension that suits every cabin; use a drawing for the exact model and configuration.
Can I judge bench layout from a product photo?
A photo can help you understand the general appearance, but it cannot reliably show seat height, depth, headroom or the clear space between benches. Perspective can also make distances difficult to judge. Treat the image as a visual reference and use a matching plan and vertical section to compare the actual layout.
Does a listed capacity tell me whether the seats will fit?
Capacity is not a substitute for bench dimensions. It does not show how much continuous seat length is available, whether seats are divided between levels, or how much room remains to move when people are sitting down. Compare the usable length and depth of each bench and consider how your group will share the space.
What drawings should I request before choosing?
Ask for a dimensioned floor plan and a vertical section that show the finished bench surfaces, interior walls and ceiling profile. For a curved cabin, confirm that the section crosses the seating positions you want to assess. Check that both views match the exact model and configuration, and ask which components shown are included.
Bench levels are easiest to judge when each surface is shown in relation to the actual floor, ceiling and adjacent seats. For every candidate, compare the finished height, headroom, usable run and depth, orientation, and space left to move between occupied benches. A product image or capacity label may help you shortlist, but neither settles those measurements. A matching plan and vertical section turn a broad impression into a fair comparison and make it clearer which configuration suits the way your group will use the cabin.
