
Design a Comfortable Winter Route from House to Sauna
SAUNA PLANNING
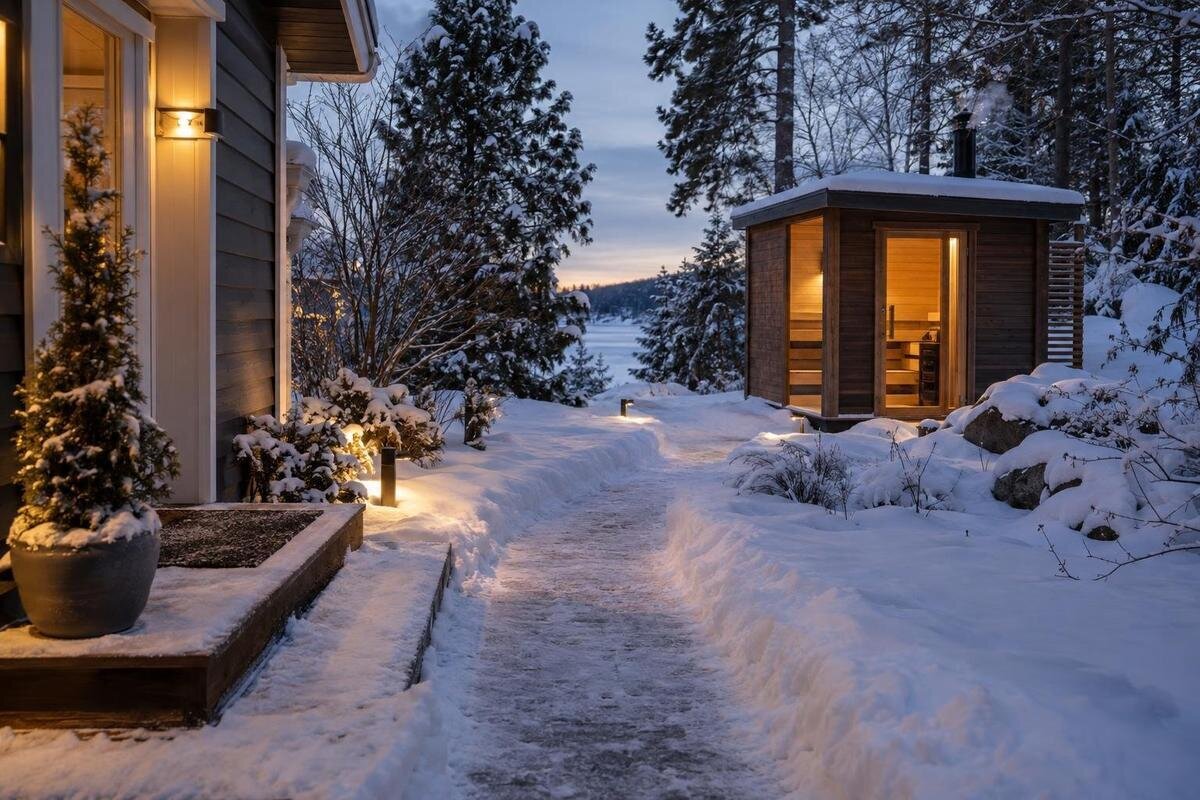
Getting from the house to a garden sauna should feel straightforward in wet, cold weather, not like a dash across a cluttered yard. The route is part of the site plan: its length, surface, shelter, drainage and stopping space all shape how practical the sauna is to use through winter. There is no universal paving choice or roof arrangement. Conditions, household routines and the selected sauna matter. Plan from the door people actually use, then test how the route works on the ground before committing to permanent surfaces or a cover.
01
Map the route from the door you actually use
Begin at the house door people will use after changing, rather than drawing a straight line from the nearest wall. Walk to the proposed sauna position along the route you would take carrying a robe or towel, in the footwear you are likely to use in winter. Note every turn, step, gate and narrow point. A path that looks short from indoors can become a detour around garden beds, stored tools, bins or furniture. Include the return trip as well: wet towels and shoes need a destination, and the walking line has to remain clear after the sauna has been used. The best route is the shortest one that stays comfortable and unobstructed in normal household conditions.
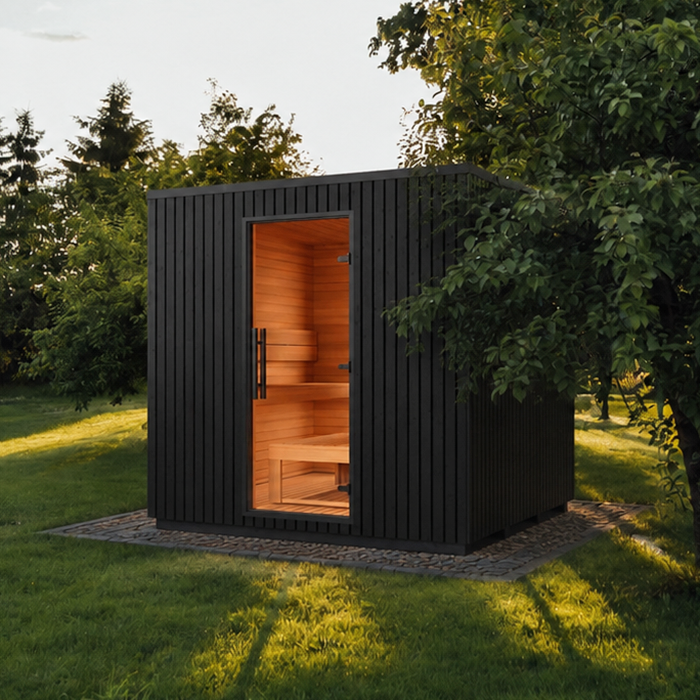
Keep the route provisional until the sauna's installed outline and entry position are confirmed. Check the current manufacturer drawings and installation instructions for the selected model, then mark its footprint on the ground; do not scale a product photo or infer dimensions from a name. The Sauna LCF-300 listing identifies one option, but a product listing is not a site set-out plan. Include any stated access clearances before measuring the path, so a later change to the sauna's position does not leave the house-side route pointing to the wrong part of it.
Allow room to use both doorways
At both ends, allow a place to stop, turn and open the door without stepping into a garden bed or blocking the path. Check the actual direction of swing at the house and sauna; do not assume the sauna door opens in the direction that suits your sketch. Handles, posts, planters, taps and door leaves can make a nominally generous path feel tight. Leave a clear landing where someone can set down a towel or change footwear, and avoid putting the sharpest turn immediately beside a threshold. This matters when one person is coming out as another approaches, or when someone needs to pause while a door is opened.
For a candidate such as the Sauna S-140, check its current documentation for the entry position and any stated access clearances before fixing the route. Repeat that check if the unit's orientation changes during planning. Test the available space through ordinary movement: walk side by side if two people may use the path, carry a bulky robe or laundry basket, and see whether gates or low branches catch. Rather than relying on an arbitrary path width, make sure the people using it can pass and turn without being forced into planting or against a door.
02
Decide how much shelter the route needs
Shelter is most useful where rain reaches the route or where people pause: near a doorway, at the sauna entrance or along an exposed section. Observe the yard during ordinary wet weather if possible. A roof over the whole distance may be unnecessary, while a short cover at the house end can leave the final metres exposed; wind can also drive rain beyond a roof edge. Think about where water drips from a canopy, where wet footwear will be removed and whether the covered area is large enough to open a door without standing in runoff. Base the decision on the site's actual exposure, rather than assuming every winter route needs an enclosed passage.
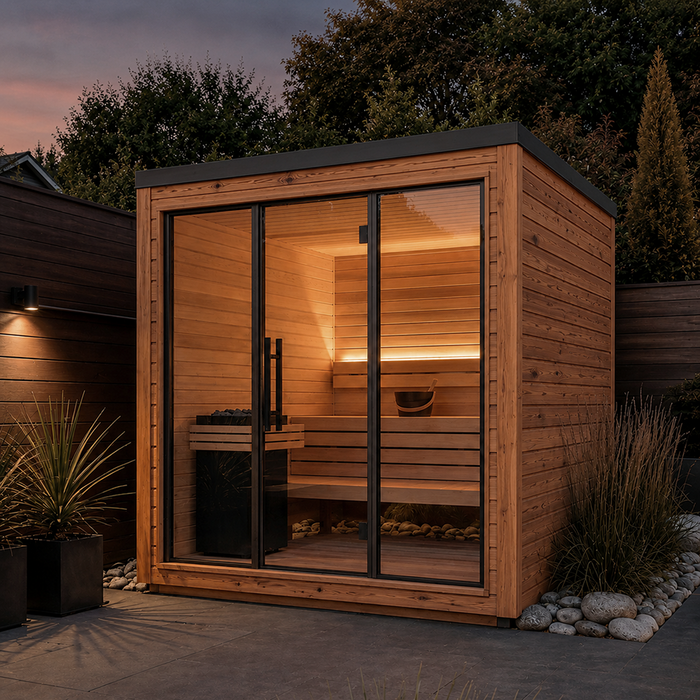
A freestanding canopy or covered link needs a suitable design of its own. Do not assume a sauna or garden structure is rated to carry an added roof or accept an attachment. Keep the sauna's stated clearances and any required ventilation or service access unobstructed, and consider how the cover changes water flow around it. A qualified building or landscape professional can assess the structure and site where foundations, attachments or altered drainage are involved. If considering the Sauna HC-150, use current installation information alongside that assessment; a product image cannot establish how a shelter should meet it.
Choose a surface that works in wet weather
Look for a route that remains firm, even and predictable underfoot when damp. Compare surfaces in the context of the yard rather than choosing by appearance alone. A smooth paving finish can feel slick when wet; textured exterior finishes vary too, so ask the supplier how the specific option performs in damp conditions. Timber or composite decking needs attention to the state of its surface and the gaps between boards. Loose gravel can shift underfoot, feel awkward in slippers or be carried indoors. No material should be treated as slip-proof in every setting: the finish, condition, weather and debris all affect how it feels to walk on.
Think through the joins between the house threshold, path and sauna entry. A surface that works well in one area can leave an awkward lip or gap where it meets another. Aim for a stable walking line, with edges and mats sitting flat rather than catching toes. Consider how dirt and leaf litter will be removed, and look at sample materials after rain as well as when dry. For the Sauna HC-225, confirm the actual entrance and finished level from current product documents before deciding where paving ends; the model name alone gives no threshold detail.
03
Manage rainwater before laying the path
Trace where water already goes before settling on the path's final line. Note roof downpipes, irrigation, taps, low spots and places where rain crosses the yard. A new path can turn a harmless patch of runoff into a puddle if it sits across a drainage line. After rain, mark areas where water stands and look for wet soil or washed material near the intended edges. A canopy creates another potential drip line, so include its runoff in the plan rather than treating it as separate from the path. The aim is to avoid a walking surface that collects water without sending it somewhere unsuitable.
Drainage depends on the site's levels and conditions, so do not guess a fall or trench depth from general advice. A qualified landscaper or drainage professional can advise if the ground needs regrading, a drain or a change to existing runoff. If the proposed position for a Sauna N-210 changes after that review, check how the new footprint affects roof water, garden flow and the walking line; a plan based on the old position may no longer work. Confirm where water can be directed before work begins, particularly if a new outlet would connect with existing drainage or sit close to a building.
Make changes in level easy to notice
Changes in height deserve a close look because they can be missed on a flat drawing. Check the house threshold, any raised deck, garden edging and the entrance level at the sauna. A step-free route may be possible on some sites; on others, ground levels or fixed features make it difficult. Where a step or ramp is needed, have a qualified professional design it for the users and site rather than improvising a narrow transition. Avoid placing a change in level exactly where someone must turn, open a door or move around another person.
Make unavoidable changes clear and keep the edges of the walking surface stable. A contrast in material or colour can help distinguish a path from nearby planting, while loose edging or a mat that curls can create a trip point. If a handrail may be useful, have it selected and installed appropriately for the site and user. For the Sauna N-250, check the manufacturer's current drawings and installation guidance before setting the path's finished level against its entry; do not infer a floor height from a model name or photograph. If particular access requirements matter, discuss the route early with a suitable building or accessibility professional.
04
Keep the entrance landing clear and usable
The landing is where the path becomes a place to arrive. Allow clear ground to open the door, turn and handle footwear or a towel without leaving items in the walking line. It need not be a large terrace, but a narrow strip that forces someone to stand in a puddle defeats the purpose of the path. Keep pot plants, hoses, firewood and outdoor furniture out of this space. Also consider whether anything stored there would block access needed for the sauna or its servicing, as well as the way people move through the doorway.
Pay attention to runoff from nearby roof edges, trees or a shelter: it may land exactly where someone pauses. A small covered area can help if its drip line and drainage are managed. Do not assume an entry platform, step or weather cover comes with the sauna; check the actual product inclusions and installation information. For the Sauna LC-260, use the model page to identify the product, then confirm the package details before finalising the landing. Keep any access required by the manufacturer clear instead of using that area as overflow storage.
Decide where towels and footwear will go
A simple winter routine can make the route easier to use without changing its construction. Decide where robes and dry towels will live, and where used towels and wet shoes go on the return. The house-side entry may be the most convenient place for a hook and washable mat; another household may prefer a sheltered point closer to the sauna. Keep these items out of the path and away from door swings, and do not cover surfaces that need to drain. If you add a bench or storage box, leave room to pass and make sure it does not become a catch-all for garden equipment.
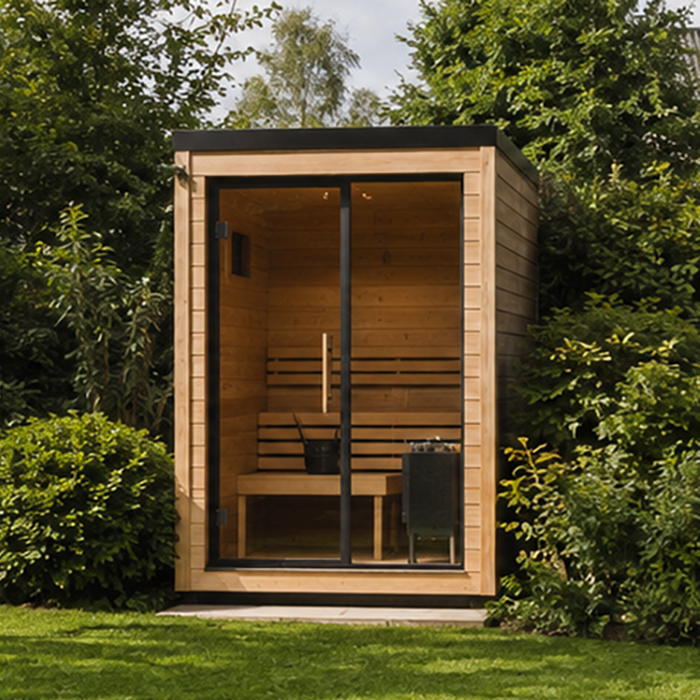
Check what the chosen sauna actually includes before assigning towels or footwear to built-in storage. If comparing the Sauna HCF-300, confirm accessories and package details from current product information rather than assuming a photograph shows every supplied item. In some layouts, keeping outdoor shoes outside the house and a dry robe indoors is simpler than adding storage beside the path. Think about whether two people may need the same spot at once. A clear transition area helps keep the route usable even when the household is moving between indoors and outdoors.
05
Plan for everyone who will use the route
Plan around the people who will actually use the path, including visitors who do not know the yard. Consider whether anyone may need a walking aid, more room to turn, a steadier handhold or a step-free approach. These needs affect path width, surface joins, changes in level and landing space. They are easier to account for before paving than to work around fixed garden beds and edging later. A route that suits the household member with the greatest need for space or support can also make it easier for others to carry a towel or move in wet weather.
Use the household's access needs when testing the proposed layout, rather than asking everyone to adapt to the same narrow route. If someone uses a walking aid, include it in the walk-through and check the turns and waiting space, not just the straight sections. Allow time to open gates and doors without needing to step aside onto wet soil. Visitors should be able to follow the same clear route as regular users, without knowing which corner to cut or which stored item to move. Where the trial reveals a difficulty, adjust the layout before fixing the edging or surface.
Check the layout and plan seasonal upkeep
Before ordering materials, mark the proposed sauna position and path with temporary markers kept outside the walking line. Open the house door, mark the sauna door's intended swing using its drawings, and walk the turns to check the space for a landing and shelter. Review the layout after ordinary rain, when runoff and puddles are visible, rather than deliberately wetting a path that could become hazardous. Revisit the plan if the selected model, door position, garden layout or service route changes. A short trial can reveal conflicts that a plan view hides, such as a downpipe crossing the path or a door opening into the only clear place to stand.
Before the path is laid, coordinate the sauna's position, installation requirements, drainage and access route. Confirm the order of work with the people carrying it out, particularly where surface levels or shelter are involved, and record how the path will meet the house and sauna. Once it is in use, give the walking surface and its edges attention through the wet season. Clear leaves and debris, check that mats remain flat, and look for loose edging or places where water now collects. Choose cleaning methods suited to the surface, using the supplier's guidance rather than treating every material alike. Keep furniture and stored items out of the route as household routines change. This keeps seasonal care focused on the parts of the path that affect everyday access.
Frequently asked questions
How long should the path from the house to a garden sauna be?
There is no universal ideal distance. Choose the shortest practical route that stays clear, gives both doors room to open and avoids unnecessary steps or low, wet spots. A slightly longer, firm path can be more comfortable than a short cut through planting or around stored items.
Does a winter route to a sauna need a roof?
Not necessarily. Shelter can help where rain reaches a doorway or an exposed place to pause, but wind can carry rain beyond a roof edge. Plan the cover and its runoff together, and do not assume a sauna or garden structure can support an added roof or attachment.
What is the best path surface for wet weather?
There is no single best material for every site. Look for a firm, stable surface with a finish suited to outdoor wet foot traffic. Ask the supplier about the specific option, and consider joints, edges, cleaning and how samples look and feel after rain.
How can I reduce puddles on the sauna path?
Observe where water runs and collects after rain, including runoff from downpipes, a canopy and nearby garden areas. If the route needs regrading or new drainage, ask a qualified landscape or drainage professional to assess the site and suitable places for water to go.
Should I build the path before the sauna is installed?
Plan the route and sauna position together, but confirm the chosen model's location, entry and installation requirements before setting final surface levels. Coordinate the work sequence with the people installing the sauna and any drainage or shelter, so the finished path does not conflict with their work.
A comfortable winter route does not need to be elaborate or fully enclosed. It needs to connect the house and sauna clearly, stay manageable when wet, and leave enough room to open doors and pause without blocking the way. Map the route around real household movements, then coordinate the surface, shelter and drainage with the chosen sauna's actual position. The result is a path that suits the property and is practical to keep clear through the season.
