
Coordinating a Greenhouse with a New-Build Garden
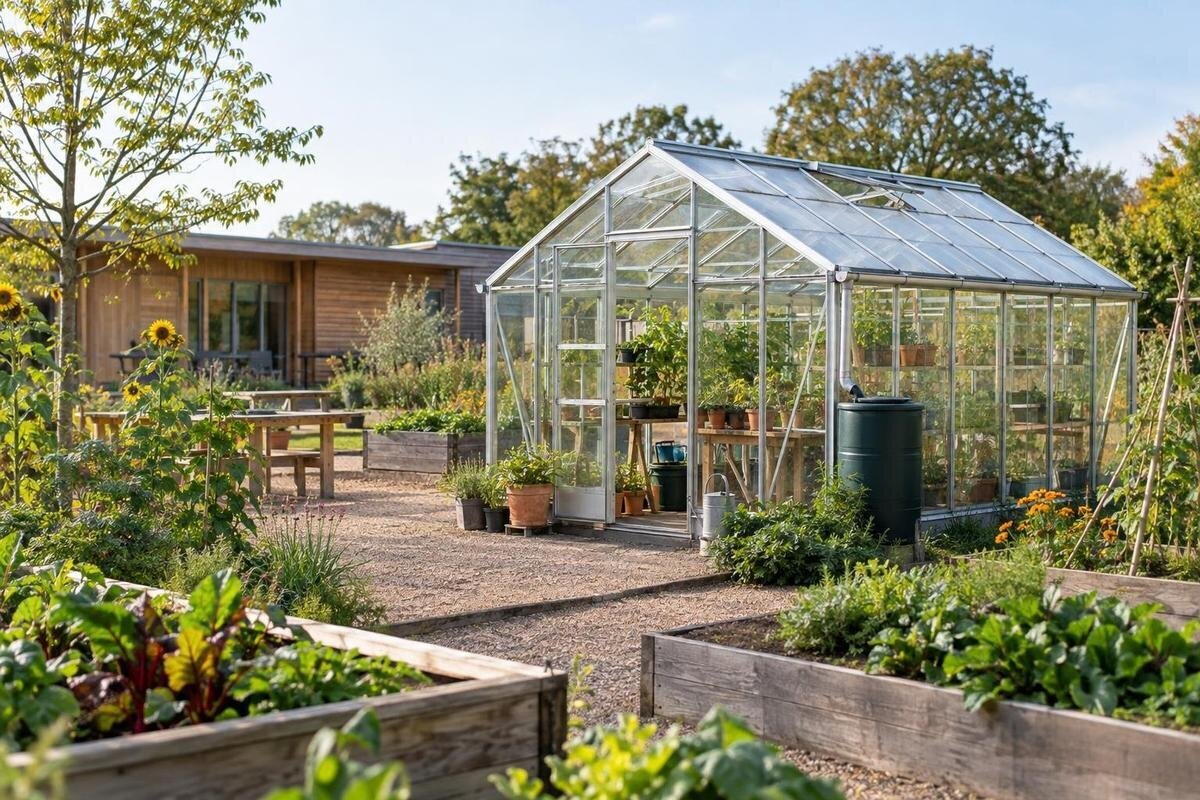
Greenhouse planning
A new-build garden is easier to coordinate when the greenhouse is treated as part of the site design, rather than an item added after paving and planting are fixed. Its footprint affects levels, access and path layout; its intended use may also bring water or electricity into the plan. Involving the greenhouse supplier or installer while groundworks are being designed gives the builder, service trades and landscaper time to agree who provides the base, where routes run and what must remain accessible. You do not need every technical detail settled at the first meeting. You do need to identify the interfaces early, assign them and confirm them against drawings before they are covered or finished.

Define the greenhouse’s purpose before fixing its position
Begin with a short brief, not a position on the garden plan. State whether the structure is mainly for growing, potting, storing equipment or another defined use; note who will use it, how often, and what has to be carried in and out. This affects whether you need a nearby water point, planned power, storage, a direct route from the house or room to work around benches. Separate what is essential when the greenhouse first comes into use from ideas that may be added later. If more than one person will use the space, agree whose routines the layout should support. This gives the architect and landscaper a practical brief without committing to services or features nobody has specified.
Then agree the greenhouse type and a working size range with the supplier, using actual drawings as soon as a model is shortlisted. A catalogue area figure helps compare scale, but it does not provide the exact outside footprint, entrance position, working clearances or base details. If integrated storage is part of the brief, the Limited-Edition Aluminium Greenhouses with Storage page names that configuration; use the chosen model’s drawing to understand how its outline and access relate to the plot. Record the model or configuration, drawing revision and outstanding questions in the landscape design pack, rather than leaving a generic greenhouse symbol on it.
Choose the location from a measured site plan
Use a measured site plan that shows the house, boundaries, existing trees and structures, retained features, garden doors and proposed routes. Consider where daylight and shade fall at different times, including the effect of the house, walls and trees as planting matures. A single site visit may not show how those conditions change. Also consider views from inside the house, privacy and whether someone can reach the greenhouse without crossing a main entertaining area or a narrow planting bed. Record these constraints with the landscape designer rather than moving the greenhouse informally after paths and planting have been drawn.
Mark the chosen greenhouse’s actual outside outline and entrance area, then check the space around it against the supplier’s information. Allow for any door-opening and maintenance clearances specified for that configuration; do not rely on a universal gap. Confirm the route from the site entrance and any access needs with the installer before fences, gates or finished paths restrict the approach. The Bloomcabin Prestige Greenhouse listing shows areas from 3.77 m² to 28.08 m². Use that range to compare broad scale only: the selected configuration’s drawings are needed to set out its position.
Set ground levels and drainage together
Coordinate existing and proposed levels before the ground is cut, filled or topped with soil. Ask the architect or landscape designer to show levels at the greenhouse position, entrance, nearby path and adjoining garden surfaces on the same drawing. The project team should agree the finished levels rather than infer a universal platform height from the slope of the site. Changes during groundworks can affect the entrance transition, leave an unexpected step or alter how the greenhouse base meets the surrounding ground. Recheck the agreed levels if the site design changes after excavation begins.
Consider surface water from the proposed hard landscaping and, where relevant, the greenhouse roof as part of the drainage design. Ask the professional responsible for drainage or landscape design to show how it is to be managed, especially where a route, base or neighbouring surface could be affected. Do not leave the landscaper to decide where water goes after paving is laid. If you are comparing the Aluminium Greenhouses, which range from 3.77 m² to 28.08 m², identify the selected configuration on the drainage plan. Keep its information and the agreed site levels together so the drainage designer and groundworks contractor are working from the same proposal.
Agree who designs and builds the base
Treat the base as an interface between the selected greenhouse and the actual site, not as an allowance to be filled in at the end. Ask the supplier or installer for the written requirements for the chosen configuration and any assumptions about the installation site. A suitably qualified building professional or engineer should address the base in relation to the project and ground conditions. Do not copy a base from another model or choose one from a product image. Agree who is responsible for setting out, excavation, construction and checking that the completed work matches the specified requirements.
Put the acceptance details in the work scope before ground is broken: the drawing revision, dimensions, finished level and any fixing positions or service openings that apply. Confirm when the installer needs to check the base and who will be available to resolve a problem before assembly. The Lean-to Greenhouses range covers areas from 3.69 m² to 14.34 m², so name the selected configuration in the base contractor’s scope rather than referring only to the product range. Record which requirements come from the supplier and which site details the building professional must resolve. Any uncertainty about levels or ground conditions should be assigned to the appropriate professional before the base work proceeds.

Plan service routes before paths are built
Decide which services are actually needed for the intended use. Water might be useful for watering; power may be required for equipment that has been chosen, such as lighting or controls. These are possibilities to assess, not features every greenhouse needs. Separate requirements for the first stage from services that may be considered later, and record what is not included so that trades are not left guessing. If a future route is worth considering, raise it with the relevant professional while the site plan is being coordinated rather than assuming it can be added easily later.
Show agreed service routes, crossings, connection points and access for maintenance on the same plan as the greenhouse, base and paths. Ask qualified trades to confirm the requirements and installation method; do not rely on a sketch made after paving starts. Check that a route does not conflict with the base or another planned feature, and assign responsibility for completing and recording each connection. If you select a model from the Limited Edition Aluminium Greenhouses range, available in areas from 3.77 m² to 28.08 m², record the configuration alongside the service brief. The trades need to know which layout is being used and which equipment requires connections, not simply that a greenhouse is planned.
Put each contractor’s responsibility in writing
List the work that must connect across contracts: supplying and installing the greenhouse, preparing the base, managing drainage, providing any services, completing paths and protecting finished work. Confirm who is responsible for setting out and who checks each interface. The supplier may not be responsible for site preparation, and a landscaper may not be responsible for technical service connections, so do not rely on assumptions about customary practice. Name one person, such as the project lead or main contractor where appropriate, to maintain the shared programme and bring unresolved decisions to the right people.
A simple responsibility schedule can record the task, the named contractor, information needed, target date and person who accepts the completed work. Include exclusions and handover points, not just the main work items. Replace vague phrases such as “by others” with a named party and an agreed scope. If the project is comparing an orangery form, the T-Shaped Orangery Greenhouse range covers areas from 16.52 m² to 30 m². Identify the chosen configuration and drawing revision in the schedule so contractors can relate their quotations to the same design. Where a task crosses contracts, state who completes the first part and who takes responsibility for the work that follows.
Sequence groundworks, installation and landscaping
Agree the sequence around the actual installation requirements rather than relying on a fixed recipe. Map the dependencies: the selected model and its drawings inform the base and service layout; the completed base may need to be checked before installation; and paths or planting may need to wait until access and the entrance transition are resolved. Some work can overlap, but only where the people responsible for each interface have agreed how. Set out these decision points in the programme, including who confirms that each stage is ready for the next.
Discuss delivery, working space and temporary storage with the installer before the site entrance or garden routes are restricted. Ask what needs to remain clear, how materials are to reach the location and which finished surfaces need protection. The Pyramid Greenhouse range covers areas from 5.53 m² to 18.9 m², but floor area does not describe package size or delivery arrangements. Confirm those details for the selected configuration and put the agreed access arrangements into the programme. Make clear who will keep the route available, when stored materials must be moved and when nearby landscaping can be completed without obstructing the installation.
Coordinate paths, planting and finished surfaces
Draw the route from the house or garden entrance to the greenhouse entrance, including the path width chosen for the project, changes of level and nearby finished surfaces. Allow for the greenhouse access and any operating space shown in the supplier’s information, rather than letting paving determine where people can stand or move. If a step-free route or another specific access requirement matters to the household, state it early and ask the design professional to check the proposal against applicable requirements. Do not leave an important access decision until the paving contractor is on site.
Plan planting at its mature size and preserve the access needed for routine use and maintenance. Confirm any clearance requirements with the supplier or installer, and show them on the landscape plan so that beds, fences and other features do not gradually occupy the same space. Coordinate paving edges and drainage with the levels agreed for the base. If considering the Spacious Greenhouse range, which covers areas from 47 to 70 m², include the selected configuration’s outline, entrance and adjoining path in the planting plan. Check how the beds and finished surfaces meet that layout before they are completed, rather than leaving the greenhouse as a separate drawing.

Use readiness checks and a documented handover
Before installation, arrange a readiness check with the people responsible for the relevant work. Compare the base and finished levels with the agreed drawings, confirm that access is available and make sure planned service routes or connection points are where the trades expect them to be. Check that any drainage decisions affecting the area have been recorded and that unresolved items have an owner and deadline. Carry this out before paths or other finishes conceal work that may need attention. If something does not match the agreed information, record it and agree who will resolve it before the installation proceeds.
After installation, use the agreed scope to check that outstanding work is identified and assigned. Have the relevant qualified trades deal with their own service connections and checks; do not treat a visual check by the landscaping team as sign-off for specialist work. Collect the documents supplied for the greenhouse, operating and maintenance information, any relevant service records, the current drawings and a record of concealed service routes. Keep an updated snag list with a responsible person for each item. This gives the household and future contractors useful information once the garden is in use.
Keep one current plan as the project changes
New-build work can change after the first landscape drawing. A greenhouse may move, the selected configuration may change, or a revised path may cross a planned service route. Before the affected work continues, check how the change alters the base, levels, drainage, access, contractor scope and programme. Ask the person leading the design or project to coordinate the review with the supplier, installer and relevant trades. A small change on one drawing can have consequences for work already planned by someone else, so update the related details rather than telling each contractor separately.
Keep a dated, clearly marked version of the coordinated plan and make sure the project team knows which one is current. Record decisions and changes, then add the installed position and service routes to the final site information for future maintenance. If a revised proposal raises a question about planning or another approval, check it with the relevant authority or a qualified planning professional before treating the change as settled. This record helps the completed garden reflect the greenhouse that was actually installed, rather than an earlier outline.
Frequently asked questions
When should I involve the greenhouse supplier or installer?
Bring them in while the garden layout and groundworks are still being planned, before final levels, service routes and paving are fixed. You do not necessarily need to place an order at that point, but early installation information can help the project team identify the base, access and service details that need to be resolved.
Do I need to choose the exact greenhouse before groundworks begin?
You can explore options before making a final purchase, but the base and service positions should not be set from a generic outline. Before those details are fixed, confirm the selected configuration’s footprint and installation requirements with the supplier or installer, and make sure the relevant contractors are working from the same drawings.
Who is responsible for providing the greenhouse base?
That depends on the project contract, so name the responsible party rather than assuming the supplier, builder or landscaper includes it. The greenhouse supplier or installer should provide the requirements for the chosen model; a suitably qualified professional should address the base in relation to the site and project design.
Which services should I plan for?
Plan only for services that match the intended use, such as water for watering or power for equipment you have chosen. Ask the relevant qualified trades to confirm what is needed and how it should be installed. Show agreed routes and connection points on the coordinated plan before paths or other finished surfaces are in place.
Can the paths and planting be finished before the greenhouse is installed?
Possibly, but only after the installer has confirmed the access and working arrangements for the selected model. If finished paths or planting could obstruct delivery or installation, or leave the base and entrance difficult to complete, agree which areas must remain accessible and when they can be finished.
A well-coordinated greenhouse plan shows where the structure sits, how its base meets the site, how people and services reach it, and who is responsible for each hand-off. Agree those details before ground is concealed, then keep the shared plan current as the build progresses. That gives the landscaper a defined installation to work around and helps the finished paths and planting fit the greenhouse, rather than leaving late changes to resolve after the garden is complete.
