
Keeping a Greenhouse Growing Diary That Improves Next Year’s Plan
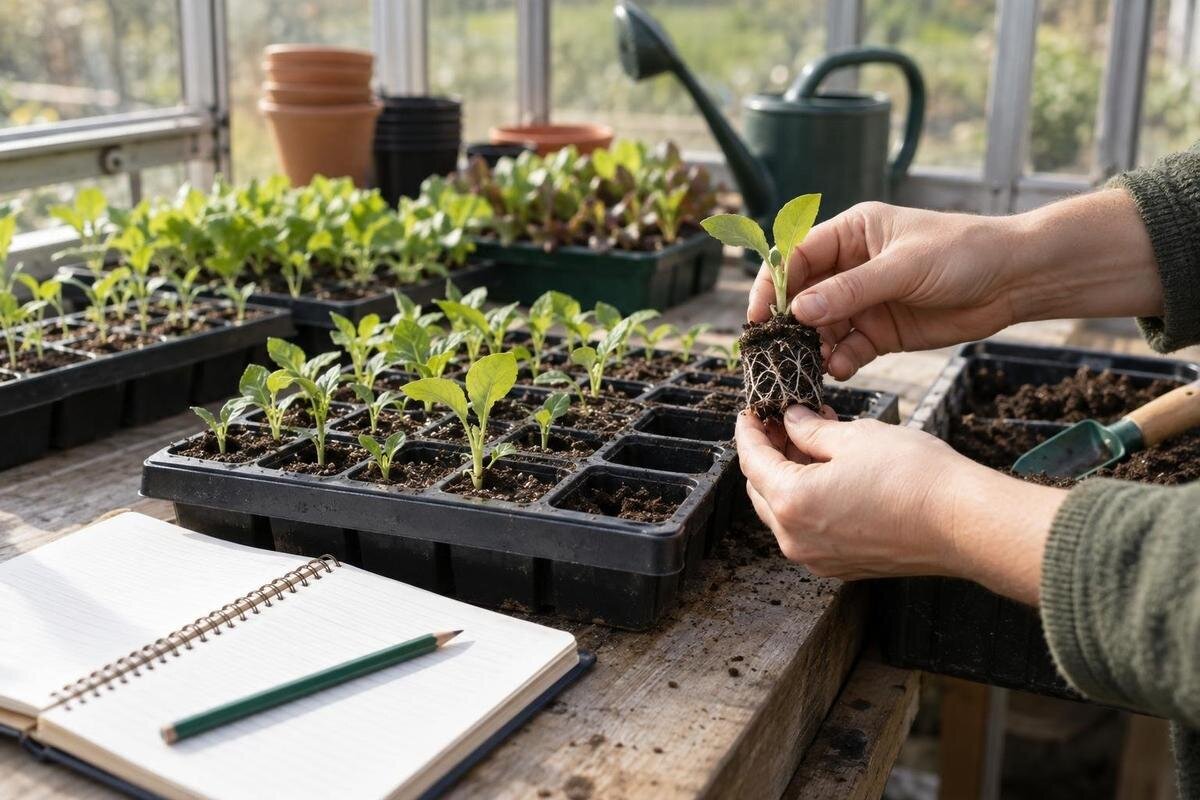
Greenhouse growing diary
By the end of a growing season, trays, harvests and routine jobs can blur into a single impression: things either went well or fell behind. A greenhouse growing diary replaces that impression with details you can use next year. Record what you sowed, the conditions you observed, when each batch moved on, what you harvested and how much time the work took. The aim is not to predict every result or write a long daily journal. It is to capture enough consistent information to see which choices fitted your space, schedule and priorities.

Decide what you want to learn
Begin by choosing the decisions you want next year’s notes to support. If seedlings competed for bench space, record sowing dates, tray numbers and when each batch moved on. If jobs regularly slipped, note the tasks and time involved. If harvests disappointed, capture quantities and conditions as well as crop names. You can follow several questions in one diary, but keep the list short enough to maintain. Recording details that will not affect a future choice can make the diary cumbersome without making next year’s plan clearer.
Write your questions at the front of the notebook or at the top of the file. Useful examples are whether successive sowings fitted the available space, whether a crop took more attention than expected, or whether a change in conditions coincided with a different result. Beside each question, identify the records you will need to answer it. A question about crowded benches needs dates and space notes, while a question about workload needs task times. This gives each field a purpose and helps you leave out details you will never use. Separate what you observed, what you did and what you think may have caused the outcome. The diary is evidence about your greenhouse and methods in one season; it is not proof that a date or technique will suit every crop or year.
Record your greenhouse and its growing zones
Create a greenhouse profile before the first sowing: give the structure a name or ID, note its location, and sketch benches, shelves, growing areas and access routes. Measure the surfaces you actually use, rather than assuming the whole floor is available for plants. The Limited-Edition Aluminium Greenhouses with Storage range is listed from 5.52 m² to 28.08 m²; treat that as an area range, not a statement of usable bench surface. In your profile, keep floor area, bench surface and storage space as separate entries so later comparisons use like-for-like figures. Note where trays, pots and tools are kept, including anything that occupies a growing surface between jobs. Keep this baseline separate from crop entries so you do not have to repeat permanent details. It should describe the starting arrangement clearly enough for you to recognise what changed during the season.
Label zones in a way you can use all season, such as A and B or upper shelf and lower bench. Define each label on the sketch, including which end is near the door, so you can place a batch consistently in your notes. If you move a bench or change how an area is used, date the change and update the sketch. A rough plan is sufficient for comparing where crops grew; the important point is to keep old and new arrangements distinguishable.
Give every sowing a batch record
Use a separate entry for each sowing, even when you sow the same crop or variety more than once. Record the crop and variety as labelled, the seed source or lot if available, the date, the number sown, the container, growing medium and zone. Add dates for first emergence, thinning or pricking out, potting on and planting out when those events apply. At each transfer, note how many plants moved on and how many remained. Keep seeds sown, seedlings counted and plants transferred in separate fields rather than using one changing total. If you divide a batch between locations, retain its original ID and add a location note for each group. These records can inform a comparison with the Bloomcabin Prestige Greenhouse range, listed from 3.77 m² to 28.08 m², when propagation space was a constraint. Tray capacity still depends on your bench arrangement, not the listed area alone.
Illustrative example only: every date, figure and result here is fictional, not sowing guidance or an expected outcome. Batch G07; Crop A; 24 seeds in two trays; sown on 8 April in Zone B; first emergence noted on 15 April; 14°C at a morning reading on 16 April; 12 plants moved on 28 April; harvest recorded as 3.4 kg over four picks; 42 minutes of task time recorded. The useful part is the sequence of dated details, not whether any figure looks desirable. Use the same entry order for later batches.
Pair condition readings with dated actions
A condition note needs a time and place to be useful. If you use a thermometer, record the displayed reading, when you took it and where the instrument was; if it records minimum and maximum values, note the period they cover. Keep outside weather separate from what you observed inside the greenhouse. You can also note visible conditions such as cloud, direct sun, condensation or nearby shade. A word such as warm may be a quick reminder, but it should not replace a reading when one is available.
Record what you did beside the observation: for example, whether you changed ventilation, shading or watering, and when. Keep the reading and the action as separate parts of the entry, so you can distinguish the condition you found from your response to it. If you take another reading later, add its time rather than overwriting the earlier one. Where no follow-up observation was made, leave the result open instead of assuming the action had the intended effect. If these notes lead you to compare greenhouse types, the Lean-to Greenhouses listing gives an area range of 3.69 m² to 14.34 m². That describes size, not temperature, shade or ventilation. Use your diary to identify the conditions you want to understand at your site, then assess those separately from the model category.

Track how much growing space each batch occupies
A dated sketch or simple occupancy note can reveal crowding that a crop list will miss. Record which bench or shelf a batch used, how many trays or pots were there, and when the space became free. Note areas reserved for access, tools or temporary staging as well as planted areas. If you only record the number of trays, add enough detail to identify their size or type; otherwise, counts from different batches may not be comparable.
Update the map when a layout changes, and note whether a batch was moved because it was ready or because another job needed the space. Give each period of occupancy a start and finish date. At review time, this lets you distinguish a brief overlap between batches from a bench that remained crowded for weeks. Record temporary holding areas too, rather than allowing a moved batch to disappear from the space record. For a footprint comparison, the T-Shaped Orangery Greenhouse range is listed from 16.52 m² to 30 m². Its name and area range do not show where benches, aisles or staging areas will fit in your own plan. Compare the details of a specific model with your dated layouts, including the busiest arrangement of the season, rather than treating total area as a measure of growing capacity.
Measure harvests consistently
For each crop, record the date and amount at every pick, then keep a running total if that helps with planning. Decide whether you are noting everything harvested or only the usable amount, and write down that definition. Use the same unit for comparable entries: a count for crops usually counted, or a weight where weighing is practical. Note losses or discarded produce separately if they affect your decisions, rather than silently changing the total.
Harvest figures are easier to interpret alongside the variety, number of plants, growing area and harvest period. A crop with several picks should not be compared with a single pick as if the figures covered the same period. Give each batch a first-pick date, a last-pick date and a season total, while retaining the individual entries behind that total. If harvesting is still under way when you review the diary, mark the total as incomplete. Also distinguish a day when nothing was picked from a day when no record was made. If the results prompt a space comparison, the Aluminium Greenhouses range is listed from 3.77 m² to 28.08 m², but this is not a yield forecast. Compare harvests against the space actually occupied by the crop, using the same recording method each season.
Add the time spent on greenhouse jobs
Include the work that shaped your schedule: sowing, watering, potting on, moving plants, harvesting and cleaning, for example. Record the date, task and approximate time spent actively doing it; do not count a long wait as continuous labour. You can time every job or estimate in a consistent way, but mark estimates as estimates. Note exceptional jobs separately from routine tasks so one unusual clean-up or repair does not distort the picture of ordinary crop care.
Review task time beside harvest and space notes. That can show whether a crop’s output justified the attention it needed for your own priorities, or whether several batches created a peak workload at once. Keep shared jobs identifiable: if one watering round covered several batches, record the total once and name the batches involved rather than counting the full time against each one. You can review workload by week as well as by crop, which makes busy periods easier to include in next year’s calendar. If you are considering a change of scale, the Spacious Greenhouse range is listed from 47 m² to 70 m². Area alone does not describe the labour required by your crop mix. Use your task totals and layout notes to assess the work involved, without assuming that more space automatically means less effort.
Review setbacks without assuming a cause
When a batch struggles, record what happened and at which stage: poor emergence, losses after a move, damaged plants or a harvest below your own expectations. Add any relevant observations, such as a missed watering round or a change in conditions, but distinguish a confirmed event from a possible explanation. A diary cannot establish the cause of a result from one entry. Mark uncertainty plainly, so a guess written during a busy week does not become accepted as fact next season.
Look for the same pattern in more than one batch before changing a whole plan. If two groups differed, compare seed details, dates, locations and handling, and note other differences that could have mattered. Write a short review entry with three parts: the outcome, the possible explanation and the change you might test. Keep the possible explanation labelled as such even if it seems convincing. This preserves the distinction between what the diary shows and what you still want to learn. Where the review raises the possibility of changing the greenhouse, the Limited Edition Aluminium Greenhouses range is listed from 3.77 m² to 28.08 m². Those figures cannot establish whether a layout would resolve the recorded problem. Identify the particular shortage of space or difficulty with the arrangement before comparing alternatives, rather than relying on an overall impression of a disappointing season.

Build next year’s plan from repeated patterns
At the end of the season, sort entries into three practical groups: crops or methods to repeat, changes worth testing, and items to drop or reconsider. Use actual dates from successful batches as planning references, not as automatic sowing instructions. For crop-specific timing, follow appropriate growing guidance and use the diary to see how it worked in your own conditions. Note which sowings overlapped, how long they occupied a bench and when space became available; those details help you plan quantities and avoid scheduling more batches than you can accommodate.
Turn the review into a calendar with planned sowings, expected transfers, space reservations and the jobs that need to happen around them. Leave room for uncertainty rather than filling every week with tasks. Beside each planned change, add the batch ID or review note that prompted it; this keeps the reason accessible when you revisit the calendar. Distinguish a date you intend to use from one you actually used, so next season’s records do not confuse plans with events. If you are comparing a different layout, the Pyramid Greenhouse range is listed from 5.53 m² to 18.9 m². Check the chosen model’s dimensions and usable work areas before assigning crops to it. Keep any trial small enough to identify what changed, and decide which results to record so you can assess it at the next review.
Keep the diary simple enough to maintain
Choose a format that is convenient where you work: a notebook, printed sheets or a spreadsheet can all serve as a diary. Keep the core fields in the same order, use the same units and spell zone names consistently. A batch ID written on the pot or tray can connect it to a fuller entry elsewhere. In a notebook, reserve an index for batch IDs and page numbers; in a spreadsheet, keep the ID in each relevant row so entries remain identifiable when sorted. If you use photographs to remember a layout or label, add a date and batch reference; an unlabelled image may be difficult to place months later. Keep photographs and written notes connected by the same references, rather than creating a separate collection that you have to reconstruct at the end of the season.
Make short entries when they are easiest to capture: after sowing, a condition reading, a move or a harvest. A brief weekly review can help you add missed job totals or note which areas are occupied, but there is no need to describe every day in detail. If you miss information, mark it unknown or estimated rather than filling the gap with false precision. A compact record that stays current is more likely to improve next year’s plan than a perfect template left unused.
Frequently asked questions
What should I record for every sowing?
Give each batch an ID and note the crop and variety, sowing date, seed details if available, quantity, container, growing medium and greenhouse zone. Add dated notes for emergence, transfers and final numbers. Record the conditions, harvest and labour that will help answer your own planning questions.
How often should I note greenhouse conditions?
Choose a routine you can keep up. Record readings at a consistent time and place, and add a note when conditions or your actions change. A regular set of comparable observations is more useful for reviewing a season than occasional readings with no date or context.
Do I need a spreadsheet for a growing diary?
No. A notebook, printed sheets or a spreadsheet can all work. Choose a format that is easy to reach in the greenhouse and lets you find entries by crop batch. Consistent labels and units matter more than the software.
How can I compare harvests from one year to the next?
Use the same unit and definition each time: for example, total picked weight or the number of usable fruits. Note the crop, variety, number of plants and growing area, as well as the harvest dates. If those details differ or are missing, treat the comparison cautiously.
What if I have forgotten a date or reading?
Mark it as unknown, or label an approximate date as an estimate. Do not turn a guess into a precise record. A clear gap is more useful next year than a detail that appears certain but was reconstructed from memory.
A useful greenhouse diary is not the fullest one; it is the one that lets you explain why next year’s plan has changed. Keep batch details, conditions, harvest figures and task time together. Carry forward patterns that appear in the records, while leaving uncertain causes open. Those small, consistent entries give you a more dependable starting point than a memory of the season as a whole.
