
Your First Greenhouse: What to Buy Now and What Can Wait?
First greenhouse guide
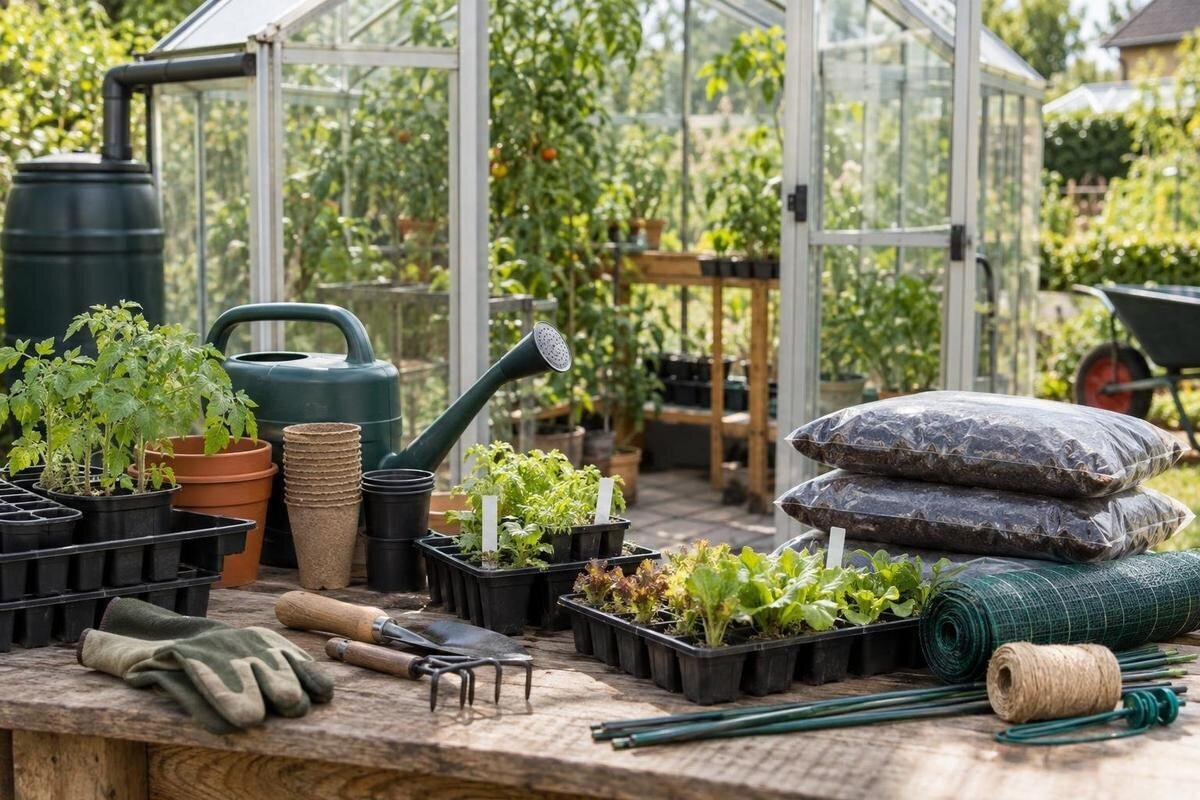
Buying equipment for a first greenhouse need not mean ordering a complete catalogue of accessories. Start with the crops you intend to grow and the selected greenhouse specification, equip that plan with a few essentials, then let real use reveal whether more storage, shade, irrigation or climate control is worth adding.
Before you buy 1
Start with the crops you plan to grow
Before you shop, write down what you want to grow in the first season and how you expect to grow it: sowing seed, raising young plants, keeping crops in pots or using beds. That short list determines whether trays, pots and propagation space are genuinely useful, or whether labels, a watering can and a few hand tools matter more. Choose a manageable number of crops and use crop-specific guidance for sowing and planting dates. There is little value in buying equipment for a year-round growing plan if you only intend to use the greenhouse seasonally. Treat future possibilities as a later decision, not a reason to fill the structure before the first planting.
Match the plan to the selected greenhouse’s actual usable footprint, not to a range heading or a photograph. The Limited Edition aluminium greenhouse range is listed from 40.6 to 302 ft², but that span is not a single layout; identify the exact option and its dimensions before counting containers. Sketch the crops and leave space for access, harvesting and moving items in and out. Consider what you can reach without shifting pots every time you water. A simple initial plan should leave some flexibility too: seedling trays may be temporary, while potted crops can occupy space for longer. This drawing helps prevent buying benches, containers or irrigation components in quantities the arrangement cannot accommodate.
Check the selected greenhouse specification first
Separate the greenhouse specification from the growing equipment you need to supply yourself. Read the product selection, order confirmation and relevant inventory or assembly documents for the exact model and configuration; record only what those documents confirm. A general category page, photograph or product-family name is not enough to establish what your particular order includes. This check matters before buying duplicate fittings or planning a separate purchase for an item already listed. Keep confirmed structure-related items on one note and planting equipment on another, so the first shopping list does not quietly become a second order for components you already have.
When comparing the Bloomcabin Prestige greenhouse with metallic base, turn any uncertainty into a specific question for the supplier. Ask whether the accessory you are considering is included in your chosen order, which compatible options are available, and whether it can be fitted later without moving established plants. A named feature is a starting point for that conversation, not a complete inventory. It is particularly useful to identify purchases that require an early decision and those that can genuinely wait. Keep the answers with your order documents and note any measurements needed before purchasing separate equipment. This gives you a practical buying sequence without having to order every available accessory at once.
Before you buy 2
Buy only the basics for sowing and potting
If you plan to raise seedlings, buy the trays or pots needed for your first batch and growing medium suited to the crop and method. Plants bought as young plants may not need seed trays at all. Clean, serviceable pots you already own can reduce the initial shopping list; check that their size and drainage suit the intended use. Add readable labels, a suitable pen and a small hand tool for potting. Include supports and ties before planting crops that will need them, choosing a method appropriate to the plants and greenhouse. Feed is another crop-dependent purchase rather than a universal starter item: check the growing medium and crop guidance before adding it to your basket.
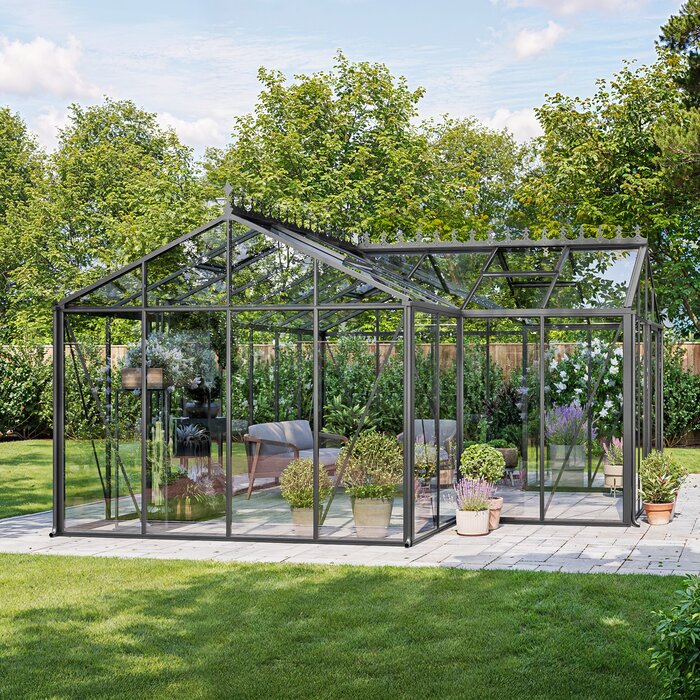
Think about the working area before ordering fixed staging. If the T-shaped orangery greenhouse is on your shortlist, sketch the selected layout with the entrance, crop positions and a clear route marked. Use that drawing to work out where you could fill pots and temporarily set down trays. A suitable movable surface you already own can help you trial a comfortable working height before committing to a permanent bench. Allow room for the containers you will use, not just the empty trays pictured in an accessory listing. Seedlings may need more space after potting on, so avoid filling all the available shelving with the first sowing. The trial should reveal whether you need a workbench, growing shelves or both.
Choose a watering method before buying irrigation
Before sowing, decide how water will reach the plants. Check where your supply is and whether you can carry a watering can or route a hose to the growing area without obstructing access. For a small group of containers, hand watering may be a straightforward way to begin; a larger planting or a different water source may call for another arrangement. The point is to choose for the plants and layout you actually have, rather than buying a timer or irrigation kit simply because it appears on a generic starter list. Follow crop-specific watering guidance, and check that your chosen method can reach every planned container or bed.
If you are considering the lean-to greenhouse range, include the route from the water supply in your equipment plan, rather than looking only at the space inside. Check where a hose or watering can will be kept and whether you can reach the furthest plants without moving containers. For irrigation, list the pots or beds to be served and investigate the system’s water-supply requirements before buying a timer, connectors or pipework. Different containers may need different attention, so a single arrangement should not be assumed to suit everything you grow. Try your initial watering method with the planned layout and note any awkward handling or inaccessible plants. Those observations help you choose the components that would actually improve it.
Before you buy 3
Measure temperature before adding controls
A basic thermometer gives you a starting point for understanding conditions in the growing area. A model that records minimum and maximum readings can help you notice changes between checks, but follow its own instructions for placement and use. Record readings over a period that reflects how you intend to grow, rather than relying on one visit or one sunny afternoon. Then compare what you observe with reliable guidance for your chosen crops. This does not require setting a single temperature target for every plant; different crops and stages can call for different conditions. A small record helps you decide whether another sensor or control would answer a genuine question.
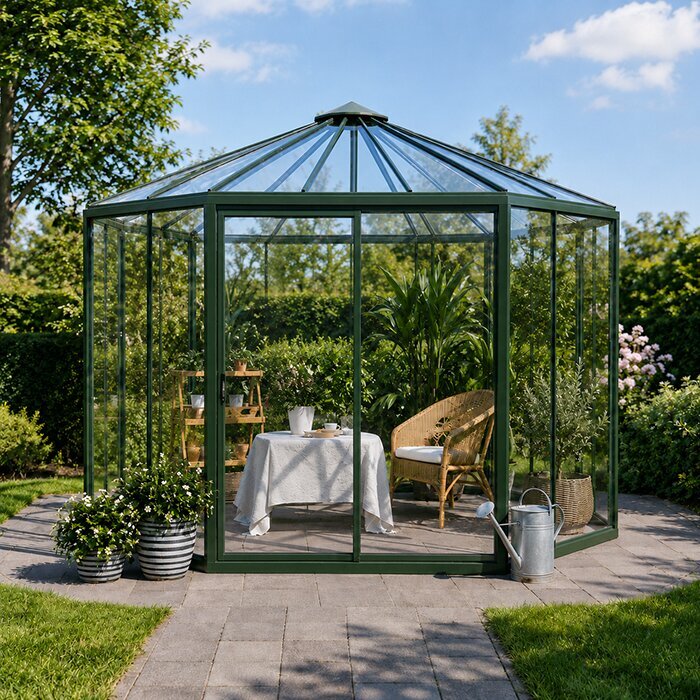
When planning equipment for a Pyramid-type greenhouse, distinguish a device that records conditions from one that changes them. A simple minimum–maximum thermometer may answer your first questions without a separate display, app or alarm. More elaborate monitoring is worth considering when you can explain what additional information you need and what you would do with it. Before purchasing, compare the device’s measurement range, recording method, battery requirements and suitability for its intended position. If you need to read it remotely, check the connection requirements too. A crop plan that depends on closely managed conditions needs those requirements assessed before planting; monitoring alone will not provide the heating, ventilation or other response that the crop may require.
Plan shelves and storage around the working layout
Permanent shelving can make space more useful, but it can also reduce room for taller plants, access and temporary trays. Before buying it, map the crop positions and the space needed to water, tend and harvest them. You could start with a small, movable arrangement if you already have one that is suitable, then see which items need to be close to hand. Keep the initial storage list modest: labels, hand tools and other small essentials are easier to organise once you know where you work. Avoid filling every available surface with pots or boxes; a clear route and a usable work area are part of the layout too.
A greenhouse with built-in storage is a useful prompt to check storage as part of the selected configuration, rather than assuming every greenhouse has the same provision. Confirm exactly what applies to the option you are considering and whether it is included in your order. If storage is already confirmed, plan around it before adding a separate cupboard or shelving unit. If it is not, wait until you know what you need to store and where it can sit without obstructing plants or access. The right amount of storage depends on the equipment you actually use; buying a large unit before the first season can take space away from growing.
Before you buy 4
Assess shade and ventilation before buying extras
Before bringing plants into the greenhouse, understand how its ventilation is intended to be used and whether your layout leaves it accessible. Consult guidance for your chosen crops: if they need protection from strong sun during establishment, plan that protection before exposure rather than waiting for visible damage. Where the need is uncertain, observations of light, temperature and plant condition can help you decide whether additional shade is useful. Do not choose a covering on the assumption that every crop needs the same treatment throughout the season. Keep plants and storage clear of ventilation controls, and make opening and closing them part of your initial routine. Shade should be considered alongside ventilation, not as a substitute for using it properly.
For a greenhouse shortlisted from the aluminium Classic range, compare shade products by how they would fit the chosen configuration and how easily you could adjust or remove them. Check the stated shading level, attachment method and access needed to operate existing vents. A covering that is awkward to move may be inconvenient when crops or seasonal light levels change. Permanent fittings deserve more thought than a temporary arrangement because they may affect other equipment positions. Extra fans are a separate purchase: identify the ventilation problem they are meant to address and check suitability before choosing one. Record when the problem occurs, so you can judge whether an accessory would help or whether the existing ventilation routine needs attention.
Treat heating, lighting and power as specialist upgrades
Heating and supplementary lighting are not essentials for every first greenhouse. Their relevance depends on what you intend to grow, when you plan to grow it and the conditions those crops need. If your first plan is seasonal, wait until you have a clear reason to extend it before buying powered equipment. If year-round or temperature-sensitive growing is part of the plan from the beginning, identify the requirement early and check the greenhouse manufacturer’s instructions and the equipment guidance. Do not select a heater or light merely because it is described as suitable for a greenhouse. Power requirements and safe installation are matters to check with a qualified professional where appropriate.
The Spacious Greenhouse range is listed from 506 to 753 ft², but floor area alone is not a heating or lighting specification. Before considering powered equipment, define which crops need it, where they will be grown and during which months. That brief is more useful for obtaining advice than a request for a general greenhouse heater or light. Include running costs, maintenance and any necessary professional work in the purchase decision, rather than comparing appliance prices alone. Ask a qualified professional to assess electrical provision and installation, and check the greenhouse and equipment manufacturers’ requirements. If your first-season crops do not need these additions, leave them off the initial order and reconsider them only when the growing plan changes.
Before you buy 5
Use first-season notes to identify what is missing
Keep a brief record of the crops you grow, where they sit and what you find inconvenient. You might note whether watering is easy to reach, whether trays compete with the work area, or whether a particular item is repeatedly hard to find. Record relevant conditions alongside a concern about temperature or light, rather than treating a single observation as a general rule. The notes do not need to become a detailed diary; their purpose is to make later purchases more specific. A few accurate observations can distinguish a recurring limitation from a one-off inconvenience, and can show which equipment you have not used at all.
Make each note specific enough to support a purchase decision. An illustrative entry might read: ‘Moved three pots to reach the back tray during watering.’ That identifies an access problem, but does not yet prove that irrigation is the answer; rearranging the tray might solve it without a purchase. Likewise, a crowded potting surface could reflect temporary seedling trays rather than a permanent shortage of bench space. Record how often the difficulty occurs and try a simple layout change where practical. If an accessory still seems worthwhile, write down the improvement you expect and check it after use. This creates a useful stopping point: when the arrangement works comfortably, there is no need to upgrade merely to complete a checklist.
Budget for consumables and later upgrades
Divide your equipment budget into purchases for the first planting, supplies you will use up, and optional additions. Pots and tools may serve several batches, while growing medium, labels and other consumables may need replenishing as the season progresses. Base quantities on your sowing and potting plan rather than buying every pack in the largest size. Check storage instructions and the space available for opened bags or spare supplies. Leave room in the budget for the next planned batch instead of spending it all on permanent accessories before growing begins. This is especially useful if you intend to start with seedlings and later move them into larger containers, because those purchases fall at different stages.
For each proposed upgrade, consider the whole purchase rather than the headline price. Staging may need compatible fittings; irrigation may need connectors or replacement parts; a monitoring device may need batteries or a separate service. Check what the accessory supplier actually includes and which ongoing costs apply, without assuming that every product has them. Decide whether the item addresses a current need, a planned seasonal change or only a possible future project. Current needs and confirmed plans deserve priority. Keep future ideas on a separate list with a reason for reconsidering them, such as a different crop or a larger sowing programme. That makes it easier to postpone an attractive accessory without losing track of a genuinely useful improvement.
Frequently asked questions
Do I need to buy every accessory before the greenhouse is ready?
No. Check the exact order specification first, then buy what your first crop plan needs. Many optional fittings are easier to choose after you have arranged the growing space and seen how you use it.
What are the first greenhouse essentials?
That depends on whether you are sowing seed, raising young plants, growing in pots or using beds. Common starting items include suitable growing medium or containers where needed, labels, a small hand tool, a watering method and a thermometer.
Should I install automatic watering straight away?
Not automatically. First establish what you will grow, where the plants will sit and how you will reach a water supply. Manual watering may suit a small initial planting; consider a system later if your layout and routine show a clear need.
Does every greenhouse need a heater?
No. The need depends on the crops, season and intended use. Check crop guidance and the greenhouse manufacturer’s instructions before choosing powered equipment. If electrical work is involved, ask a qualified professional to assess what is suitable.
When should I add shelving or shade?
Choose shelving once you have checked the crop layout and the space needed for access; trial a movable arrangement before committing to fixed shelves. For shade, consult crop guidance before planting. Provide it from the outset where the crops need protection, or use observations to guide a later purchase where the need is uncertain.
The most useful first setup is the one that supports a clear growing plan without crowding the space or your budget. Verify what your selected greenhouse order covers, buy the supplies needed for the first crops, and observe how the arrangement works. When a recurring limitation appears, choose an upgrade for that specific need. You can build a well-equipped greenhouse over time, without having to guess at every accessory before you begin.
