
How Much Clear Space Is Needed Around a Greenhouse?
Greenhouse site planning
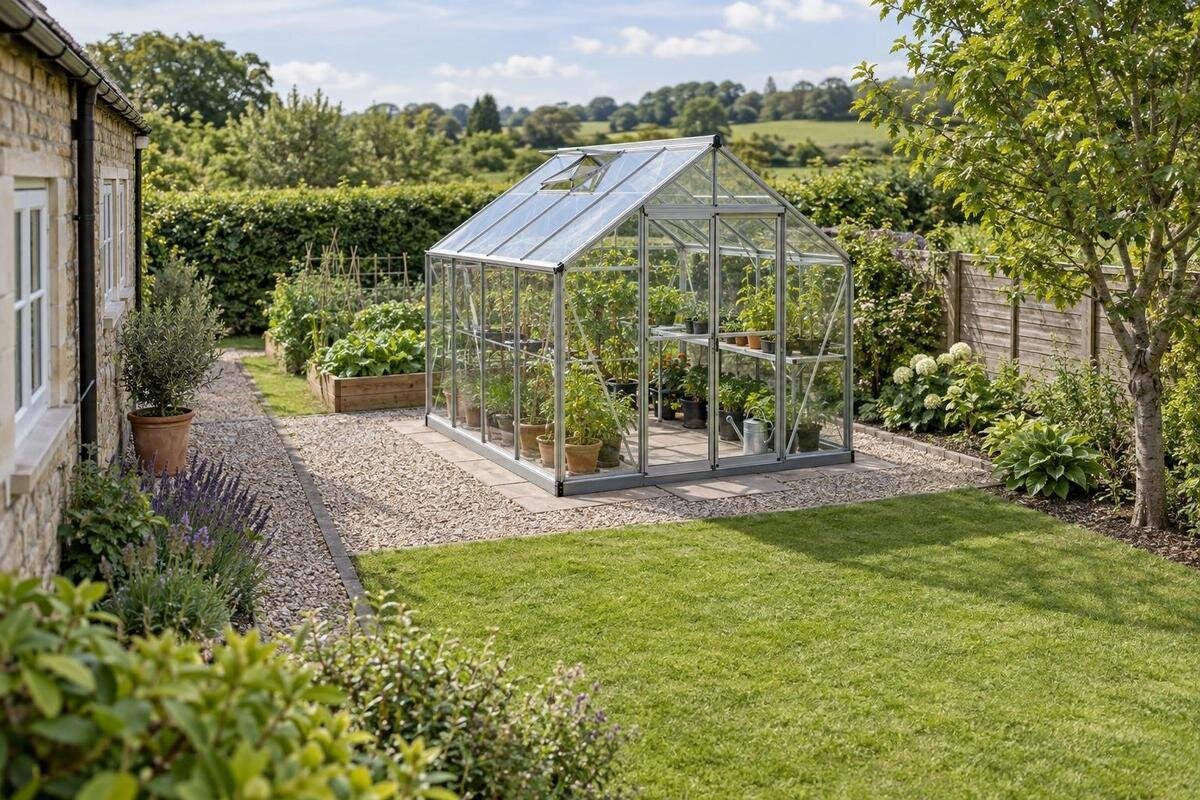
Clear space around a greenhouse is not one standard strip of ground. The room you need depends on how the structure is delivered and assembled, which faces need to be reached for cleaning or repairs, where doors open and how you maintain the garden. Plan those uses around the exact greenhouse you intend to buy, not a generic footprint. A scaled site sketch can show the everyday route separately from occasional work areas, helping you decide whether a position will work without reserving an arbitrary gap on every side.
Before choosing a greenhouse 1
Greenhouse footprint and working clearance are different
First separate the installed greenhouse footprint from its working perimeter. The footprint is the outside ground plan, not the usable growing area inside. Use a drawing for the exact model, size and orientation, and check what its stated width and depth include. A base, roof overhang, gutter, downpipe or openable component may affect the space you need, but include only projections shown for that product. If a plan gives several variants, mark the one you intend to order; an area figure alone cannot locate its corners. If dimensions are missing or ambiguous, ask the seller or installer for an overall plan before setting out the garden.
On your sketch, draw the installed outline as a solid line and show access separately, using shading or a different line style. Distinguish a route that must stay clear every day, such as the approach to the entrance, from temporary zones for assembly, cleaning, repairs or garden work. Some tasks need access to one face; others may require an end or side to be reachable. A uniform border around all sides can waste space in one garden and leave too little in another. The Classic aluminium greenhouse range identifies a family of models, but use the plan for the exact variant, not the family name or its advertised area, to set the outline.
Survey the garden before choosing a position
Measure the space that is actually available rather than estimating from a photograph. Mark the boundaries of the area, walls, fences, paving, paths, steps, gates, sheds, posts and other fixed obstacles. Note drains, access covers or taps that need to remain reachable, along with changes in level and surfaces that may be awkward to cross when wet. Record the narrowest point on the route to the proposed site, not just the open space beside it. Use consistent units and a scale, add a north arrow and date the sketch so you can relate later notes and photographs to the same layout.
Add items whose position or size changes: gate and shed-door swings, bins, hose reels, furniture, planters and garden beds. Allow for established shrubs and branches at their likely mature spread, not just their current outline. Take photographs from each corner and along the delivery route; these can reveal obstacles that are hard to capture with a simple plan symbol. A separate seasonal shadow diagram can show when nearby trees or buildings shade the proposed position. Keep it as a separate layer, though: shadows may help assess siting, while measured obstacles define the physical access space.
Before choosing a greenhouse 2
Allow for delivery and assembly
Trace the delivery route from the point where components can be unloaded to the greenhouse site. Measure gates and narrow paths, check turns, steps and changes of level, and note overhead branches or eaves. A route wide enough for a person may not accommodate a long component around a corner. Do not infer package dimensions from the assembled greenhouse size: ask the supplier or installer about the longest packages and how components will be moved. Mark any temporary unloading or staging area as well, making sure it will not block a path that needs to stay in use.
Assembly can need space for sorting components and moving around the structure, even though that space will not be occupied once the greenhouse is finished. Ask the installer which sides need access and at what stages; some work zones may overlap, while others may need to stay clear. Leave a workable route from the staging area to the final position, rather than assuming parts can be carried across beds or set down elsewhere. The Spacious Greenhouse listing shows options from 506 to 753 ft², but that area does not give package dimensions or assembly requirements. Check those details for the version you select.
Include the door and its approach
Treat the entrance as its own clearance zone. Mark the door’s exact position and show it fully open: draw the swing arc for a hinged door or the travel line for a sliding one. Confirm which way it opens and whether a handle or other projecting part affects the approach. The open door and a person pausing at the entrance use space outside the greenhouse, so the doorway width alone is not enough to plan around. If the chosen model has alternative door positions, use the plan for the arrangement you intend to order.
Check how you will reach the door from the garden path and whether you need to turn beside a fence, bed or other obstacle. Think about the largest item you routinely carry through the entrance, such as a tray or bucket, and test the route with it rather than judging an empty path. Keep the door’s movement clear of gates and other openings that are used at the same time. A Lean-To Greenhouse listing does not establish the approach for your particular site; check the selected model’s door position and the wall or obstacles beside it.
Before choosing a greenhouse 3
Plan access for glass and gutter cleaning
External glazing and frame cleaning needs a place to stand, move tools and reach the surfaces you intend to clean. Consider corners, roof edges and higher panels separately: a gap that admits a person may not give enough room to work. The access needed depends on the greenhouse design, the reach of your equipment and any nearby fence, hedge or wall, so avoid borrowing a standard walkway width from another garden. If a task requires high-level access, decide how it can be carried out before fixing the position rather than assuming that a narrow strip will be suitable.
Check the product information to see whether gutters or downpipes are included and where they run. Mark the places where they may need to be inspected or cleared, including access to any outlet shown on the plan. A fence, mature hedge or stored equipment can make a gutter awkward to reach even if the ground beside it appears open. Consider whether you will need to move a hose or cleaning kit along the route, and whether foliage changes the usable space later in the year. Do not assume every greenhouse has the same drainage fittings or maintenance needs.
Keep routine garden maintenance in the plan
Allow for the jobs you will do beside the greenhouse: mowing, edging, sweeping, removing weeds or moving a wheelbarrow. The area does not always need to be a paved path; lawn may be workable if your mower can reach it, while a planted border may need space for tending. Think about where tools will pass and turn, rather than only whether a person can squeeze between the frame and a bed. Mark recurring tasks by the side where they happen, so the access band reflects how you use the garden rather than becoming a vague empty margin.
Consider how you will maintain the ground immediately beside the structure. A mower may reach the main strip but leave an edge that needs a different tool; gravel or planting can also make sweeping and collecting debris less straightforward. Keep equipment from striking the frame or glazing, and follow the supplier’s care instructions for the base. For the Prestige Greenhouse with Metallic Base, confirm the base’s outside dimensions before deciding where the lawn, paving or border will end. Mark any access covers within this area so they remain usable. If the route becomes muddy after rain or slippery with fallen leaves, record that on the sketch rather than judging it only on a dry summer day.
Before choosing a greenhouse 4
Leave room for repairs and replacement parts
Think about occasional work as well as everyday access. A repair may involve a technician, tools or a replacement part that has to be carried to a particular face of the greenhouse. Ask which sides need to be reachable for the maintenance tasks specified by the supplier; do not assume every repair can be done from the doorway or from inside. Show those service zones separately from the route you use each day. If space is tight, keep the route to the relevant face clear of permanent storage or plants that would have to be moved whenever work is needed.
Trace the greenhouse’s actual outside shape, including any returns and recesses, rather than drawing a single rectangle around it. A T-shaped form such as the T-Shaped Orangery Greenhouse makes it especially important to check which faces can be reached without blocking a path or dismantling a bed. On your plan, connect the gate or access point to the sides that may need attention and mark where a replacement part could be manoeuvred. If a face would be inaccessible, ask the installer how relevant work is carried out before settling on the position.
Access beside walls and storage compartments
A greenhouse placed beside a wall has different access needs from a freestanding one. The wall-facing strip may not be a useful walkway, but it can still matter for assembly, inspection or maintenance of the wall itself. Follow the installation information for the exact model rather than assuming that it can sit flush against any surface or needs a particular gap. Mark nearby windows, doors, drains, pipes and other features that must remain accessible. A narrow space that cannot be used to reach either the greenhouse or the building should not be counted as a useful route.
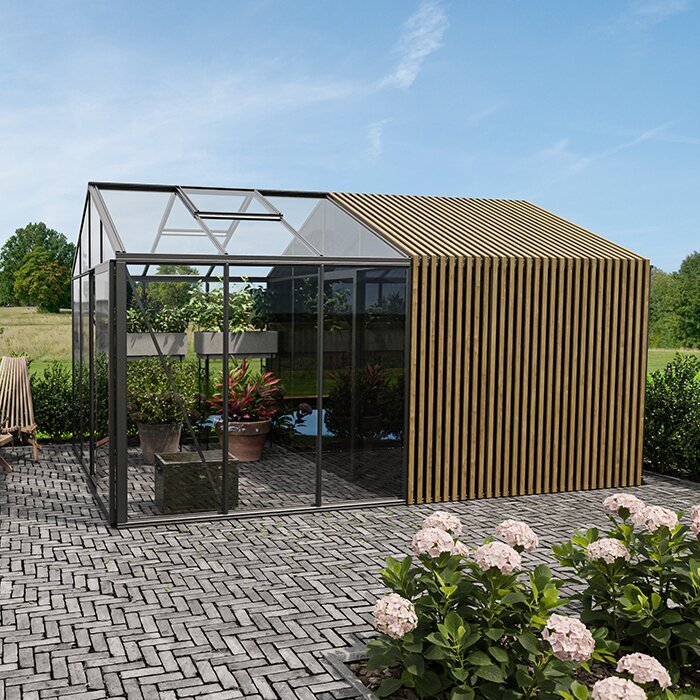
Storage access needs its own working area if a compartment opens towards the garden. When considering a greenhouse with built-in storage, first confirm the opening positions and dimensions from the chosen model’s drawings. Then think about removing the items you intend to keep there: space to open a door is not necessarily enough to lift out a bulky tool or turn with it. Keep this temporary handling area separate from any route that must remain usable while the storage is open. Draw neighbouring shed doors and gates in their open positions too. Where their movement overlaps, check whether changing the greenhouse’s orientation would resolve the conflict without restricting another entrance.
Before choosing a greenhouse 5
Draw a task-by-task perimeter plan
Use a scale you can measure reliably, then draw the exact outside footprint and label its dimensions. Add separate markings for three things: the route that needs to stay clear, temporary zones for work such as assembly or cleaning, and obstacles or areas that are not usable. Show door and gate movements with arcs, and mark gutters or service points where the product drawings identify them. Write a task beside each zone, such as access to the entrance or room to reach a particular face. This makes it clear why space is being reserved and which areas might be shared between different tasks.
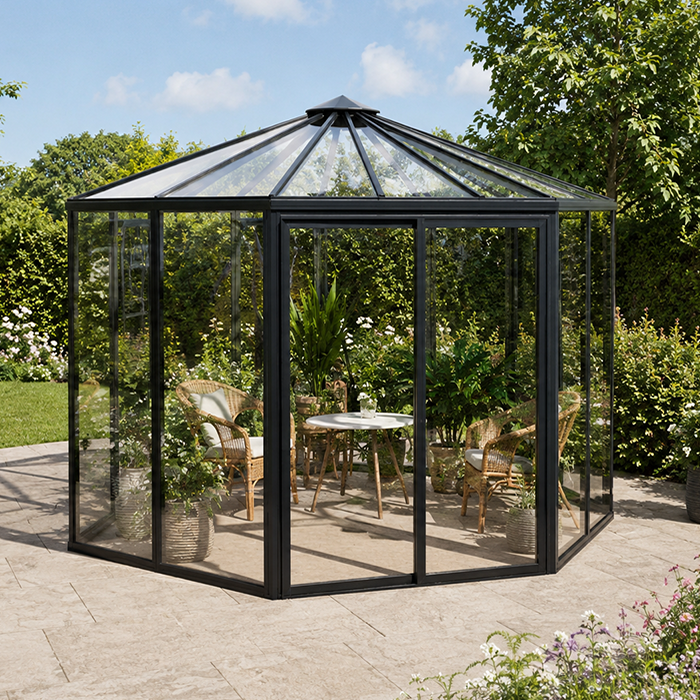
Test the drawing on the ground before ordering. Mark the footprint and proposed access zones with string or chalk, using the selected model’s dimensions; for the Pyramid-type greenhouse, obtain those dimensions rather than estimating the outline from its name. Walk the entrance route carrying your usual tray or bucket, and try any wheelbarrow turn without entering the marked footprint. Test a cleaning position separately from a through-route: standing to work and passing an obstacle are different tasks. Record the narrowest usable width at each restriction and label what was tested there. This gives the installer a more useful drawing than a perimeter band with no explanation of how you intend to use it.
Review the plan through the seasons and before ordering
A single photograph records only one moment. Take views of the site from the same positions at different times of year, noting changes such as hedge growth, overhanging branches, fallen leaves and ground that becomes difficult to cross. A seasonal shadow diagram can sit beside the access plan as a separate overlay, helping you understand when buildings or trees shade the proposed position without confusing shade with physical clearance. If you move a bed, remove a shrub or change the delivery route, update the sketch so it still reflects the garden you will use.
Before ordering, match the completed site sketch to the exact version on your quotation. The Limited Edition greenhouse range is listed with area options from 40.6 to 302 ft², so record the selected size and drawing reference rather than the range name alone. Resolve any unanswered access questions with the installer, particularly where temporary assembly space extends beyond the permanent working perimeter. Agree which furniture or planters will be moved and whether beds or fences will remain in place. Keep a dated copy of the agreed layout alongside the installation information. If the door position, size or site arrangement changes before installation, revisit the affected access zones rather than assuming the earlier plan still works.
Frequently asked questions
Is there a standard clearance to leave around a greenhouse?
There is no single perimeter width that suits every model, garden and task. Use the installation information for the exact greenhouse, then plan the extra room you need for its doors, assembly, cleaning, repairs and routine garden work. A site sketch is more useful than applying the same margin to every side.
Do I need a path all the way around the greenhouse?
Not necessarily. Keep the entrance route clear and provide access to the faces that need regular cleaning or occasional maintenance. A wall-facing side may not be a useful walkway, but installation or repair access could still matter. Check how that side is assembled and serviced before deciding it can be left inaccessible.
How much room should I allow for cleaning the roof or gutters?
It depends on the greenhouse design, the height of the surfaces, your cleaning method and nearby obstacles. Check whether gutters are included and where any outlets are shown. Mark a suitable place to stand and position equipment. If the work needs high-level or awkward access, establish an appropriate method before choosing the site.
How do I include the greenhouse door in my plan?
Show the door fully open. Draw its swing arc if it is hinged, or the space it travels along if it slides, then check that the entrance route remains usable. Confirm the door position and opening direction for the exact model and size; do not assume every version has the same arrangement.
Does the greenhouse’s advertised area tell me how much space the site needs?
No. An area figure does not show the full outside outline, projections, door movement or the room needed for access and maintenance. Use the selected version’s plan for its dimensions, then add task-specific working zones on the garden sketch.
Treat clearance as a set of task-specific zones around the greenhouse, not a blank border of standard width. Draw the exact outside footprint, then map the route and the places needed for delivery, doors, cleaning, repairs and garden maintenance. If a side would be difficult to reach, establish how it will be assembled and serviced before fixing the position. That gives you a practical answer for your garden rather than a measurement borrowed from somewhere else.
