
Lean-To or Freestanding Greenhouse: Compare Your Site
Greenhouse site planning
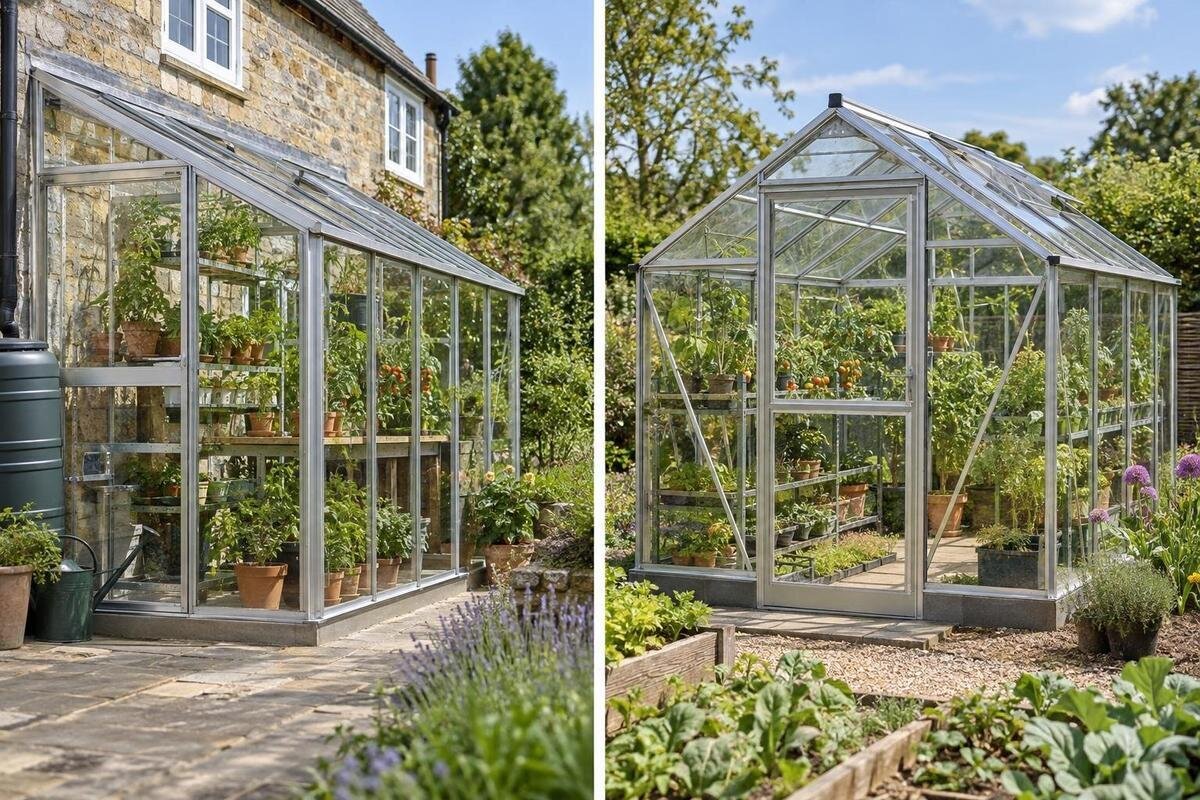
Choosing between a lean-to and a freestanding greenhouse is not simply a question of which uses less ground. On the same plot, one may shorten the route from the house but leave a wall awkward to maintain; another may offer more freedom of position but take up a clear patch and need access around its exterior. Compare both against your actual boundaries, light, paths, support wall and growing plan. The right choice is the layout that fits the site and remains usable after doors, beds and maintenance routes are accounted for.
Compare both designs on the same plot
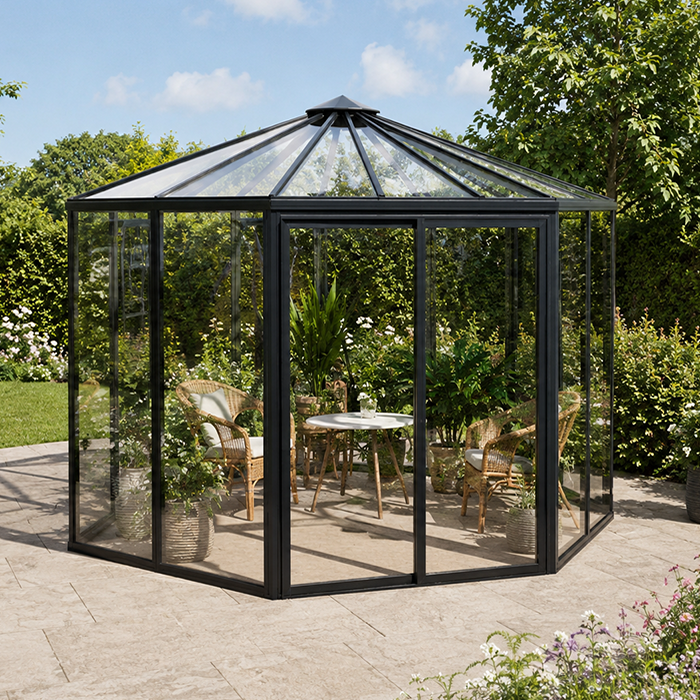
Start with the ground you can genuinely use. Measure the proposed zone and note boundaries, fences, trees, drains, level changes, paving, house projections, gates and the route in from the garden. A lean-to takes its position beside a wall; a freestanding model needs an independent patch, an entrance route and any required outside clearance. Include space that cannot be occupied even if it looks empty today, such as a gate swing or access cover. If your plans extend to a larger growing space, Bloomcabin’s Spacious Greenhouse range is listed from 506 to 753 ft². Plot the exact proposed footprint alongside existing garden uses before including a structure of that scale in your comparison.
Draw two outlines within exactly the same plot and give each a realistic entrance and working route. Compare like with like by using the intended size of each proposed greenhouse, not a small lean-to against a much larger freestanding option. If a suitable size is not available in both configurations, record that as a product choice rather than concluding that one type is inherently more space-efficient. Mark what must remain usable outside the structure too: a path, lawn, bin area, seating or route for bringing in compost and plants. The useful comparison is the space left for growing and moving around after those fixed needs are protected.
Check the wall and attachment requirements
A lean-to depends on a wall that can accommodate the chosen structure, not merely an empty stretch of brickwork. Check for windows, doors, vents, eaves, pipes, gutters, flues and fittings that could intersect the proposed position. The wall’s construction and condition must also suit the specific attachment design; do not assume that a house wall can carry the structure or that a greenhouse can be fixed to any material. Bloomcabin’s Lean-To Greenhouse listing identifies the product category, but its name cannot assess your wall. Have a suitable building professional check the wall and fixing approach against the manufacturer’s requirements before committing.
Think about what the attachment could make harder later. A structure close to a house may restrict access for window cleaning, gutter work, pointing or repairs; it may also affect a window’s light or the route to a back door. Keep household access and maintenance on the drawing rather than treating the wall as free space. If the greenhouse would sit across a boundary, affect a shared wall or change how water drains, check the relevant requirements for the property with the appropriate local authority or professional. Do not assume that a familiar wall detail is suitable for every greenhouse.
Measure the whole footprint and working space
Measure the complete proposed envelope: the base or frame dimensions and any eaves or projections shown in the selected manufacturer’s drawing, plus the clearance needed to assemble, use and maintain it. Keep floor area separate from overall length and width. Bloomcabin’s Classic aluminium greenhouse range is listed from 40.6 to 302.3 ft²; that spread shows why a family name or a single area figure cannot stand in for the exact model and size. Check what the published area measures, and ask for the configured plan if the information is unclear.
Then add the space outside the greenhouse that day-to-day use consumes. A door needs a clear approach and opening area; a path must remain passable when plants, pots and tools are in use; repairs may require access along an external side. Do not count the same strip as both a bed and a working aisle. Inside, allow for benches, staging, containers and the room needed to tend plants, not just unoccupied floor. When comparing the two designs, ask which leaves a coherent growing layout after these deductions, rather than which has the smaller outline on paper.
Compare sunlight and changing shade
Assess light where the greenhouse and its growing surfaces would actually sit. Note shade from the house, fences, trees and neighbouring structures at different times of day, and repeat the observations as the sun’s path changes through the year if possible. A single bright afternoon can conceal a long morning shadow. When assessing a candidate such as the Prestige Greenhouse range, listed from 40.6 to 302 ft², mark the corners of your proposed size on the ground. Observe shade across the whole outline rather than at its centre alone: one end may receive sunlight while the other remains behind a fence or building. Record those differences on your growing plan.
A wall can shade one side of a lean-to, while a freestanding position may be shaded by nearby trees or boundary features; the result depends on the site, not the name of the design. Do not assume the wall will supply useful warmth or that an open patch guarantees better light. Consider the roof and bed positions as well as the base: a wall or overhang may affect the pattern of light over the growing space. Mark the intended crops on each plan so you compare the same planting layout in both positions.
Plan the route to and through the greenhouse
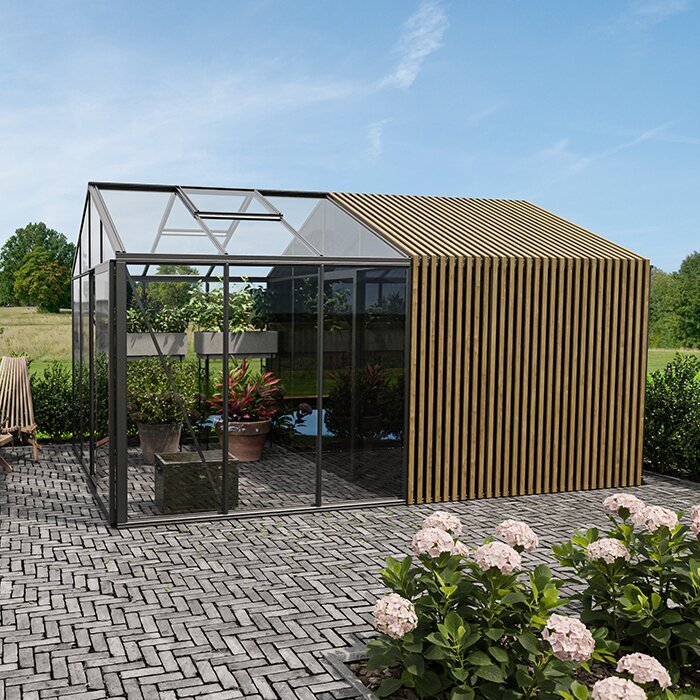
Map the full journey from the gate or house to the greenhouse. You may carry trays, compost, watering cans or harvested crops, so a route that looks clear on a plan should also work with those items in hand. Check steps, narrow passages, changes in paving, low branches and places where a door would open into a path. Door positions vary by model and configuration; use the actual drawing rather than assuming the entrance faces the garden. If you are also considering a shaped alternative such as the T-Shaped Orangery Greenhouse, trace each projecting part on your site plan. Check whether it narrows the approach, interrupts an existing path or leaves an awkward corner beside the entrance.
Inside, draw a route from the entrance to each bed or bench. A workable aisle lets you tend plants without repeatedly stepping over containers or brushing against crops; its useful width depends on how you garden and what you need to move through it. Allow room to turn with a tray or tool, and decide where pots will be watered or sorted. The wall edge of a lean-to may be less accessible from outside, so plan how you will reach plants and inspect that side from within. A freestanding greenhouse can be approached from several directions only if the plot leaves those routes open; a fence or hedge can close them off too.
Separate growing area from storage and circulation
Translate the floor plan into actual growing zones. Mark permanent beds, pots, shelves, staging, a potting surface and any space reserved for a person to work. The remaining floor area is not automatically productive: a narrow strip behind a bench, an unreachable corner or a path blocked by a tub may have little practical value. Use the same crop list for both designs and check whether each growing position is reachable for the tasks planned. In a lean-to, consider access to plants beside the supporting wall; in a freestanding layout, do not assume every edge can be used if the greenhouse will stand close to a boundary.
Storage can change the balance between floor area and cultivation space. Bloomcabin lists an aluminium greenhouse with built-in storage, but the product name alone does not establish how that storage is arranged or how the area figure is calculated. For any shortlisted configuration, confirm where the storage sits, whether it occupies space you had counted for plants, and whether tools remain reachable without blocking the route. Do the same for shelves and staging added later: draw them onto the plan instead of fitting them in only after choosing the greenhouse. This keeps the comparison focused on usable growing capacity rather than gross floor area.
Plan for drainage, openings and services
Water management deserves its own line on the site plan, especially when a greenhouse sits against a house. Consider where rainwater from both roofs will fall, where existing gutters and downpipes run, and whether the new structure would obstruct access to them. The ground around the base should not become an accidental route for runoff towards a doorway, path, bed or neighbouring property. Ask the greenhouse supplier and a suitable drainage or building professional how the selected arrangement should be handled; do not infer a drainage solution from the greenhouse type. For a freestanding option, check the same issues at its proposed position, including any nearby drain or access cover.
Mark the positions of any doors, vents, water points or electrical services shown for the exact proposed configuration, then check that they can be reached and used as intended. An opening behind a fence, or a route to a tap blocked by a bed, is a practical problem even if the structure fits. A wall may also make exterior inspection or cleaning more awkward. Verify which openings and services are included rather than assuming they come with a particular model name. If electrical work is part of the plan, have it assessed and carried out by a suitably qualified professional rather than improvising a route through the greenhouse.
Check the base and maintenance access
Both layouts need a base that suits the chosen greenhouse and the ground conditions. Check whether the proposed position meets the manufacturer’s stated requirements, and note changes in slope, soft ground, tree roots, buried services, paving joints and waterlogged areas. A freestanding structure still needs an appropriate base; attaching a lean-to to a wall does not remove the need to prepare the ground beneath it. Bloomcabin lists its Pyramid-type greenhouse from 60 to 203 sq ft, but an area range cannot establish the base dimensions for a chosen size. Ask the supplier or a qualified builder to resolve uncertainty about preparation or foundation design.
Maintenance also needs working room. A freestanding greenhouse may need outside access around several sides for cleaning, inspection or future repairs; include that strip in the site plan, even though it is not part of the base. A lean-to leaves one side close to a wall, so consider whether wall repairs, gutter cleaning and access to the greenhouse exterior can be managed without making routine work awkward. Keep any required maintenance route free from permanent beds and stored items. Where work involves height or specialist building components, plan for safe access and use a qualified person rather than assuming a narrow gap will be workable.
Test both layouts on a scaled plan
Put two plans to the same scale before selecting a model. Use the exact proposed configurations and show their base outlines, door opening areas, paths, beds, storage, shaded patches, drainage routes and required maintenance clearance. Keep a comparison sheet beside the drawings, recording the chosen size, glazing, openings, base requirements and any accessories included in each proposal. If you shortlist the Limited Edition greenhouse range, listed from 40.6 to 302 ft², identify the particular size and configuration on that sheet. Separate confirmed specifications from optional items and unanswered questions. This helps you distinguish a genuine difference between the two layouts from a difference caused by comparing incomplete proposals.
A paper drawing is easier to challenge when you also mark both outlines on the ground with temporary markers or string. Stand at the intended entrance, test the approach with a tray or watering can, and look from inside the house towards any windows or doors that must remain clear. Recheck the plotted light at relevant times and walk the route from the garden entrance. Note any pinch point, inaccessible bed, blocked opening or area that would be difficult to maintain. A short record of what works and what fails for each layout is more useful than relying on a product photograph or a rough impression of the garden.
Choose the design that suits the site’s constraints
A lean-to is worth considering when the wall suits the specified attachment, the proposed position receives useful light for your crops, and the resulting route and maintenance access work. It may use an area beside a building, but it is not automatically the smaller or simpler choice: wall projections, door clearance and inaccessible edges can cancel the apparent saving. A freestanding greenhouse may suit a site with a separate clear position and room around the outside, particularly where no appropriate wall is available. Its independent position still has to fit the paths and other garden uses, and external access must be planned rather than assumed.
If both layouts fit only by sacrificing something important, change the comparison before making a purchase. Try another position, a smaller configured size, a revised bed plan or a clearer access route, then redraw both options on the same plot. If only one survives the checks, the choice has been made by the site’s real constraints, not by a general claim that lean-to greenhouses save space or freestanding ones grow more. The strongest plan leaves a safe route, reachable growing zones and workable maintenance access while meeting the wall and ground requirements of the selected structure.
Frequently asked questions
Does a lean-to greenhouse always save space?
No. It may use an area beside a wall, but the door approach, wall projections, maintenance access and usable growing layout still take space. Compare the complete footprint and the routes around it with a freestanding option on the same plot; do not judge by the greenhouse base alone.
Will the wall make a lean-to greenhouse warmer?
Do not assume that it will. The wall can affect shade and exposure, but the result depends on the actual building, position and season. Compare the light where your plants will grow, and use the selected greenhouse’s specifications rather than treating attachment as a guarantee of a particular growing environment.
Can I attach a greenhouse to any house wall?
No. The wall, its condition and the proposed attachment must suit the specific greenhouse design. Check the manufacturer’s requirements and ask a suitable building professional to assess the wall and fixing approach. Windows, pipes, gutters, eaves and access for future repairs can also make an otherwise clear stretch unsuitable.
Which type is easier to maintain?
It depends on the access available around the chosen position. A freestanding greenhouse may need clear space around several sides for inspection and repairs. A lean-to can make its wall-side edge harder to reach, while also restricting access to the building behind it. Include both kinds of maintenance in your plan.
How do I compare usable growing area?
Use the exact internal plan for each proposed size. Mark beds, benches, storage, door clearance and a working aisle, then compare the growing zones you can comfortably reach and tend. Assess outside paths and maintenance space separately when checking how much of the garden each option occupies. A stated floor area is not the same as usable growing area.
The better design is the one that fits the plot without compromising the work around it. A lean-to depends on a suitable attachment point and a workable wall-side layout; a freestanding greenhouse depends on a suitable independent position and enough room for access and upkeep. When both are drawn to scale, their differences in light, circulation and usable growing space become clearer—and the choice can be based on your actual garden rather than assumptions about either type.
