
How to Plan a Greenhouse in a Sloping Garden
Greenhouse planning guide
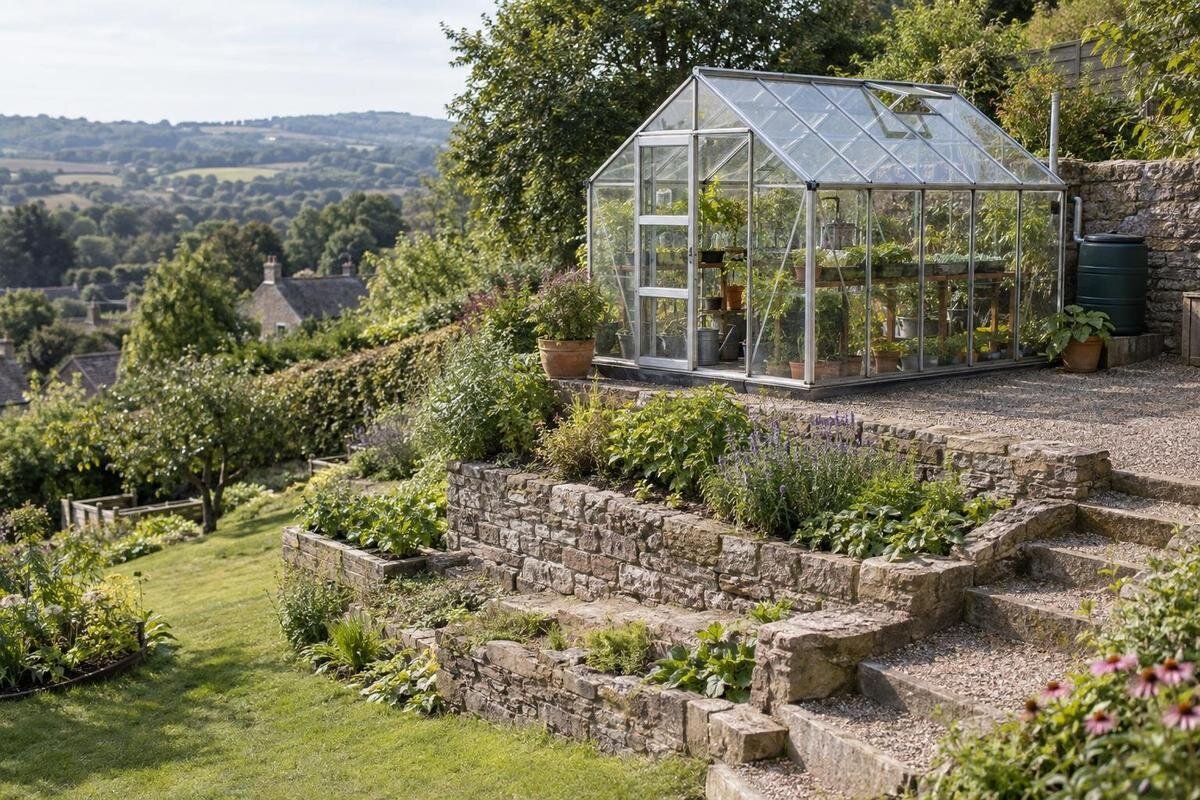
A sloping garden does not rule out a greenhouse, but its base needs a level, stable support designed for the actual ground. Before choosing a model, map the intended footprint, measure changes in level, observe where water travels, and check access and seasonal light. The survey will show whether it is easier to use a naturally flatter patch or create a terrace or raised platform. There is no universal slope or retaining-wall solution: the ground, drainage and greenhouse requirements all matter.
What to confirm before buying 1
Choose a greenhouse size to suit your growing plans
Decide what you want to grow and what jobs the greenhouse must handle before measuring a platform. Sketch beds, shelves, seed trays, larger pots, a workbench and tools, then draw the routes between them. An internal path can make a generous floor area feel cramped if it cuts through every growing zone; putting potting work elsewhere may free room, but you will still need a nearby place to stand and work. Mark where you will reach plants, turn with trays and water them. List the items that must stay inside, including anything you cannot conveniently carry through the door each time. This gives you a working layout to test against the garden, rather than choosing a size based only on the total plot area.
Catalogue area can help you compare scale, but it is not a site plan. The Limited Edition aluminium greenhouse range is listed from 40.6 to 302 sq ft, a broad span covering different sizes; it does not tell you whether a particular version fits a sloping shelf. Before setting out a base, identify the chosen size and obtain its overall dimensions, footprint drawing and base requirements. A stated floor area cannot reveal the outline, entrance position or how much level ground is needed around it. Use the drawing for the selected version, rather than the range heading, as the starting point for your survey.
Draw the complete footprint on a scaled garden plan
Draw the candidate footprint to scale on a garden plan, using one consistent scale and a fixed reference point such as a corner of the house. Mark boundaries, buildings, fences, trees, paths, sheds, paving, steps and visible changes in level. Add north so you can later note how shadows move across the site. This plan helps reveal narrow sections and pinch points, and makes it easier to compare the space between the proposed base and features that may affect access, light or runoff. Keep measurements beside the sketch rather than relying on photographs to show distances; update the same plan if you consider a different position or size.
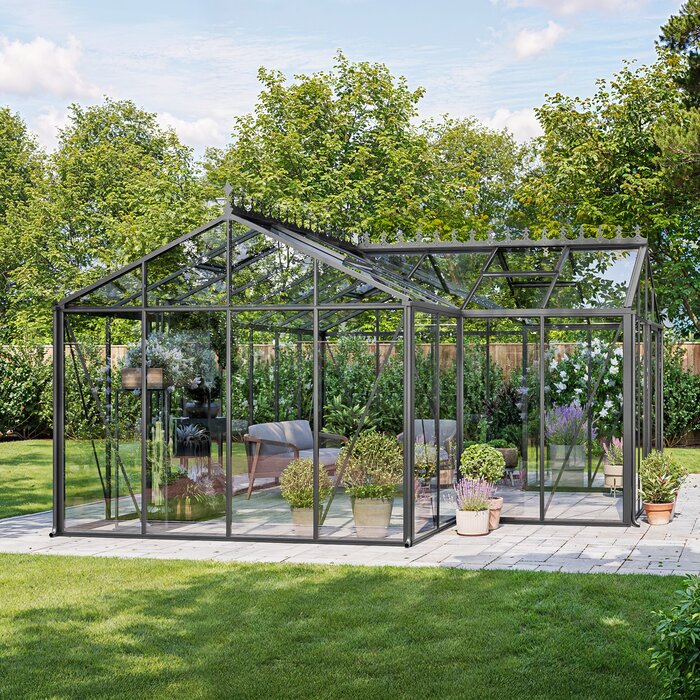
Trace the actual outline shown for the selected model, not just a rectangle based on its maximum width and length. When comparing an option such as the T-Shaped Orangery Greenhouse, use its footprint drawing to mark each corner and any changes in direction along the perimeter. Include the door opening, route to the entrance and any space specified for assembly or upkeep. Check whether the whole outline sits within the proposed level area, including parts that lie away from the main entrance. Survey beyond the greenhouse perimeter too, so the ground’s fall and possible runoff routes are visible. This gives a contractor more useful context than a sketch of the greenhouse alone, without relying on a standard clearance that may not suit the particular layout.
What to confirm before buying 2
Measure level changes across the whole proposed base
Mark the planned base on the ground and take level readings at every corner of its outline, along each side and at intermediate points where the surface changes. Record the positions and relative levels against one fixed reference; note which way the ground falls and the distance between readings. A single measurement from the high edge to the low edge can miss a hollow, ridge or cross-slope within the proposed footprint. For an irregular outline, include each projecting part rather than measuring only its outermost points. A suitable levelling instrument may help on a straightforward site, but arrange a competent survey if the plot is irregular or the readings will guide significant earthworks.
Transfer the readings to the scaled sketch, labelling the high and low points rather than leaving figures on a loose sheet. Take photographs from uphill, downhill and across the proposed base, then mark the camera positions on the plan. Include nearby retaining edges, steps and hard surfaces, since they affect how the platform meets the rest of the garden. For an initial comparison, this record need not be a construction design; its purpose is to make the ground’s shape clear enough to discuss with a greenhouse supplier or groundworks professional. If there are abrupt changes, show where they occur rather than smoothing them into an average.
Record soil, runoff and existing hard surfaces
Look at the site after rain as well as when it is dry. Note where water crosses from higher ground, where it collects, how long damp patches remain, and whether a path, patio or downpipe already concentrates flow. Photograph visible wash-outs, exposed roots, cracked paving, bulges or gaps at existing retaining edges, but do not try to diagnose their cause from appearance alone. A level platform can change the route of water, so include the uphill area that feeds it and the lower ground that receives runoff in your survey. These observations help identify questions that a simple level reading cannot answer.
Record the surface you can see—soil, gravel, paving or a mixture—and any known history of added fill, digging or earlier foundations. The surface alone does not establish how well the ground will support a structure, and buried rubble or previous groundworks can make a visual assessment misleading. Before excavation, identify known service routes using appropriate records or professional advice. If water may need to be redirected, the ground history is uncertain or there are signs of movement, ask a drainage or groundworks specialist to assess the site rather than improvising a channel or assuming an existing retaining edge is sound.
What to confirm before buying 3
Plan the approach to the greenhouse door
Plot the route from the garden entrance or house to the greenhouse door, not just the structure itself. On a slope, the shortest line may cross a steep or slippery patch, while a longer path may be easier when carrying trays, compost and tools. Mark bends, steps, narrow gates, changes in surface and any place where a person needs to turn or set something down. Check the selected model’s entrance position and door opening before choosing which side faces the approach. A level base with an awkward final route can still make everyday use frustrating, especially when you are carrying plants or working in wet weather.
If you are considering a lean-to format, include the adjoining wall and the ground at its foot in the same survey; those surfaces may not be level with each other. Check the selected model’s stated requirements for the wall, entrance and base, and consider whether you can reach the surrounding area for upkeep. The Lean-To Greenhouse range is listed from 40 to 154 sq ft, but that area span cannot establish whether a particular unit suits your wall, path or slope. Compare its actual dimensions and requirements with a freestanding alternative on the same site plan instead of assuming either arrangement needs less preparation.
Compare sunlight at each possible position
Visit candidate positions at different times of day and across the growing season if you can. Mark the date, time and weather on photographs, and draw the shadows cast by trees, fences, buildings and the garden’s higher edge onto the plan. A seasonal shadow diagram is more useful than one sunny-afternoon snapshot: leaf cover changes, and the sun’s path changes through the year. Note which part of a possible greenhouse footprint is shaded, rather than simply whether the patch looks bright from the patio. Match the available light with the crops and growing use you have in mind, without treating one orientation as right for every plot.
Repeat the comparison for each plausible position using the greenhouse outline you are considering. A larger option such as the Spacious Greenhouse is listed at 506–753 sq ft, so assess light across the full proposed growing area rather than judging a small sample patch. Place the selected version’s footprint over your shadow sketch and distinguish the areas intended for plants from paths and workspaces. Shade over a potting bench has different implications from shade over the beds you plan to use for light-demanding crops. If moving to a level shelf changes the light, access or exposure to runoff, record those trade-offs alongside the expected groundworks. This helps you compare positions without treating the easiest earthworks as the only criterion.
What to confirm before buying 4
Ways to create a level platform
First compare moving the greenhouse to naturally flatter ground with changing the garden. An existing patio or hardstanding may be a candidate only if its dimensions, level, condition, drainage and suitability for the selected base are confirmed; paving alone is not proof that it is an appropriate foundation. Another broad approach is to form a bench by cutting into the upper side and building up or supporting the lower side. Any fill, retaining edge and water management need consideration as part of the proposal. The amount of work depends on the site, so do not decide from a photograph or slope angle alone.
A raised platform or retained terrace may suit some layouts, but it creates a separate support structure to design and inspect. The prepared platform beneath a greenhouse and the base named for a particular model are different questions. For example, the Prestige Greenhouse with Metallic Base listing identifies a version with a named base, but that title does not show what support a sloping site needs. Check the requirements for the chosen model before deciding how to level the garden; never assume that a greenhouse base is intended to bridge uneven ground.
Retaining walls and raised platforms need site-specific design
Cutting into a slope, retaining soil or supporting a raised platform can affect ground stability and water movement. The appropriate design depends on what lies beneath the surface, the greenhouse’s size and position, nearby structures and how runoff will be managed. There is no universal wall height, platform depth or foundation recipe to copy. Ask a qualified groundworks or structural professional to assess significant level changes, uncertain fill, existing movement or a proposed retaining structure. The support needs to be designed for the actual site and greenhouse footprint, rather than treating a generic shed base as interchangeable.
Give the professional a scaled plan, level readings, photographs taken in wet and dry conditions, known site history, access route and the selected greenhouse’s base requirements. If you are considering the Classic aluminium greenhouse range, identify the exact version in that information pack so the support proposal relates to the greenhouse you intend to order. Ask what further site investigation is needed and which parts of the work require specialist design. Clarify how the proposed support will meet surrounding paths, how retaining work will be inspected and who is responsible for confirming the finished levels. Keep a record of the agreed proposal and any outstanding questions, particularly where separate contractors will prepare the ground and assemble the greenhouse.
What to confirm before buying 5
Keep drainage and storage in the finished layout
Show where water will go once the platform, paths and any retaining work are in place. Keep runoff from the upper garden in view, and consider whether paving, compacted areas or a platform edge would send it towards the greenhouse, a neighbouring plot or a low point. The right drainage arrangement depends on the site; do not assume a trench, drain or soakaway is suitable without assessment. Ask a specialist for advice if the work concentrates flow, connects to existing drainage or could affect other parts of the garden. Compare the finished levels with the agreed plan rather than judging drainage before the groundworks are complete.
Plan working space around the greenhouse at the same time as the platform. Allow for the route to the door, tasks such as cleaning and moving pots, and a place for tools or growing materials that will not block access. If storage is part of the greenhouse, check its outline and access on the selected model’s drawing instead of adding an assumed rectangle. The greenhouse with built-in storage is one option to compare, but its name does not replace checking the chosen version’s plan. Include the storage arrangement and the space needed to use it in the same scaled layout.
Confirm the exact greenhouse before setting out the base
Before groundworks begin, bring the chosen greenhouse footprint, base perimeter, measured levels, access, seasonal shade and water routes together on one current plan. Mark the proposed way of creating level ground, and show which details come from the product information and which require site-specific design. Use the same drawing when discussing the proposal with the supplier and installer. If the model, size or entrance position changes, update the plan rather than asking a contractor to work from an old sketch. This helps catch a mismatch between the greenhouse, its approach and the prepared ground before the platform is fixed.
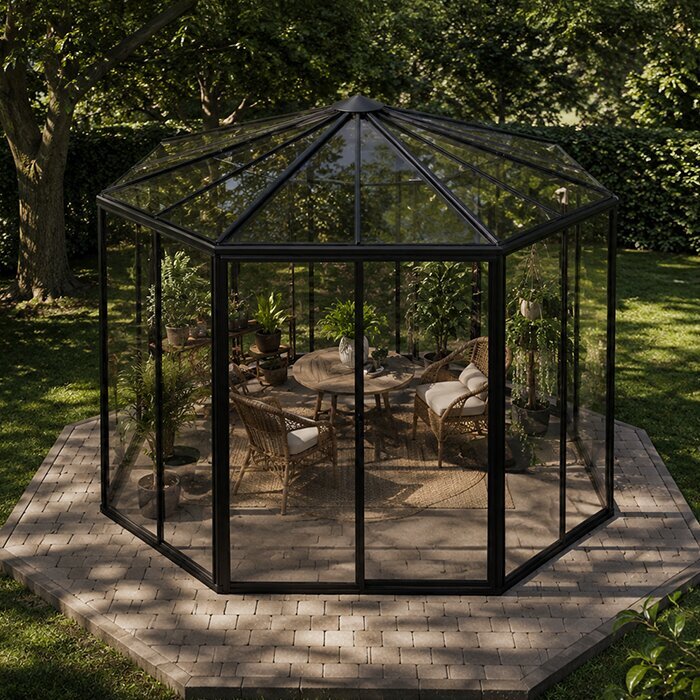
For an option such as the Pyramid-type greenhouse, arrange the final platform check around the selected version’s support requirements and the agreed site design. Confirm who will carry out that check and whether it must happen before delivery or assembly. Walk the approach with the current plan, checking that the entrance remains accessible and that temporary materials or unfinished landscaping will not obstruct installation. Ask the responsible professional to resolve discrepancies in the prepared surface or drainage before the greenhouse is erected, rather than leaving the assembly team to compensate for them. Keep the approved drawings and relevant completion records together so later landscaping does not inadvertently alter a drainage route or restrict access around the greenhouse.
Frequently asked questions
Can a greenhouse be built directly on a slope?
The greenhouse and its base generally need level support, so a sloping surface should not be treated as ready to use. The amount of preparation depends on the measured site and selected model. Compare a naturally flatter position with a designed platform; do not twist the frame or rely on improvised packing.
How do I survey a sloping garden for a greenhouse?
Mark the proposed outline, take level readings at its corners and at intermediate changes, and record them against one reference point. Add distances, the direction of the slope, paths, water routes, existing structures and photographs from uphill and downhill. If the ground is irregular or significant earthworks are likely, ask a surveyor or groundworks professional.
Which base is best for a greenhouse on a slope?
There is no universal choice. A naturally level patch or suitable existing hard surface may avoid major earthworks; elsewhere, a cut-and-fill terrace, retaining structure or raised support may be considered. The ground, drainage, greenhouse instructions and support design determine what is appropriate, so have the actual site assessed before choosing.
Can I level a greenhouse with blocks or shims?
Do not assume loose blocks, packers or adjustable feet are acceptable. Depending on the product and ground, they could leave parts of the base unsupported or put the frame out of alignment. Follow the requirements for the selected greenhouse and use a properly designed, level support. Ask the supplier or a qualified installer if the instructions are unclear.
Does a lean-to greenhouse solve a sloping-site problem?
Not automatically. It still needs suitable level support, and the adjoining wall, ground at its foot, access and water route all have to work together. A freestanding model may be another option, but compare the actual footprint, base requirements and proposed position rather than choosing a format just because the garden slopes.
On sloping land, the right greenhouse position is one where the full base, entrance, usable light and water route can all be planned with confidence. A scaled sketch and level survey let you compare a naturally flatter patch with a formed terrace or raised support, while keeping structural decisions tied to the actual ground. Once you have settled on a model, match its dimensions and base requirements to that site-specific proposal. That is a more reliable starting point than choosing a greenhouse first and trying to level the garden around it.
