
Self-Watering Containers in a Greenhouse: What to Check
Greenhouse watering
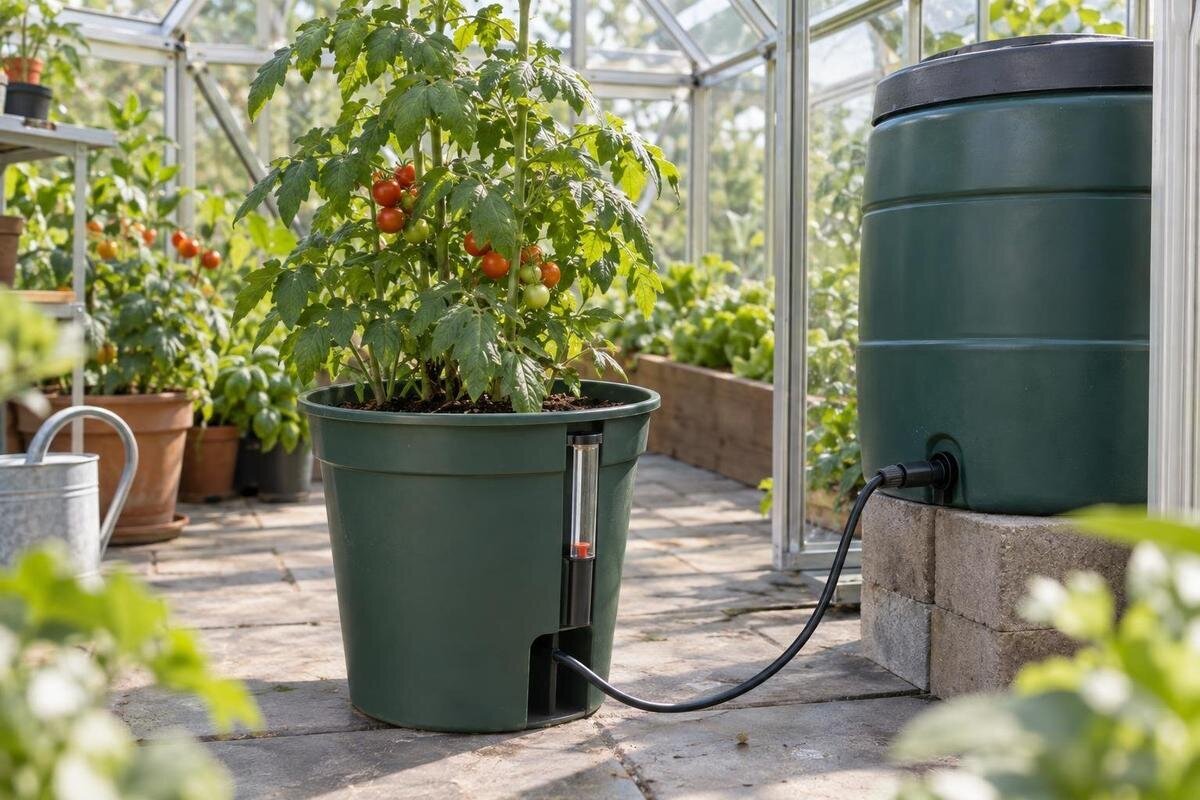
Self-watering containers can make greenhouse watering more manageable, but a reservoir does not remove the need to check the root zone or plan for excess water. On paving, surplus water cannot be assumed to soak away like it would in an open bed: depending on the outlet and the floor’s fall, it may collect in a tray, cross the floor or reach a doorway. Compare the reservoir layout, refill point and overflow route before buying, then test the arrangement on the actual surface.
What to check before buying 1
Plan around the usable greenhouse floor
Begin with the area you can actually use, rather than the greenhouse’s headline floor area. Mark the door opening and the space needed to use it, the main walking route, benches, vents you need to reach and room to lift a reservoir lid or remove a pot. Allow access for pruning and cleaning without shifting a whole row. The Spacious Greenhouse listing gives a range from 506 ft² to 753 ft²; that range alone does not show how much floor remains clear in the exact model you choose. Use the plan for that configuration, include fixed staging and draw the container row to scale. The useful measure is the space left after structure, access and work areas are accounted for.
A container’s footprint can be larger than its base if a fill tube, overflow outlet, lid or catch tray projects to the side. Record those parts in the plan and note where hands need to reach them. Leave a route for lifting a container when it needs cleaning or relocation; moving it after the reservoir is filled can be awkward and may spill water. If pots stand on a bench, measure the usable top and keep the refill route clear. Do not count a narrow gap behind pots as practical growing space: it may be impossible to inspect for leaks or reach an outlet. Spare room also makes it easier to spot standing water promptly.
Identify how the reservoir feeds the growing medium
“Self-watering” covers several arrangements. In a common design, a reservoir beneath the growing medium supplies water upwards through a wick or contact platform; other designs use a separate tank or a different connection. The reservoir stores water, but the potting mix and its contact with the wick determine whether that water reaches roots evenly. Check the maker’s diagram for the waterline, the route from reservoir to medium and whether the fill opening is separate from the overflow. A float or indicator, when included, reports the reservoir level; it does not measure moisture throughout the root ball. Look for any specified growing medium or assembly position, because a displaced wick or dry contact surface can interrupt the intended feed.
Compare parts you can see, reach and maintain. Is the reservoir built into the base or removable? Can you inspect its outlet, and is a wick replaceable? Do not assume every container has an overflow or a level marker. For a layout using the Classic aluminium greenhouse, record the planter dimensions alongside its reservoir arrangement: a removable base needs lifting space, while a side-access reservoir needs clearance beside the pot. The container’s instructions should show how these parts are assembled and accessed.
What to check before buying 2
Match reservoir capacity to your routine
Capacity means the water held at the usable fill level, not a promise about the number of days between refills. Look for a stated reservoir volume and maximum fill mark; a large-looking base may contain less usable water than its outer dimensions suggest. A larger reservoir can reduce top-ups, but it also holds more water and may make the container heavier when full. Choose a capacity you can check and refill comfortably, rather than simply the largest available. Confirm whether a quoted capacity applies to one pot or a linked group, and whether any compartments are shared. An indicator helps only if it is visible from your usual working position and clearly shows when the level is low.
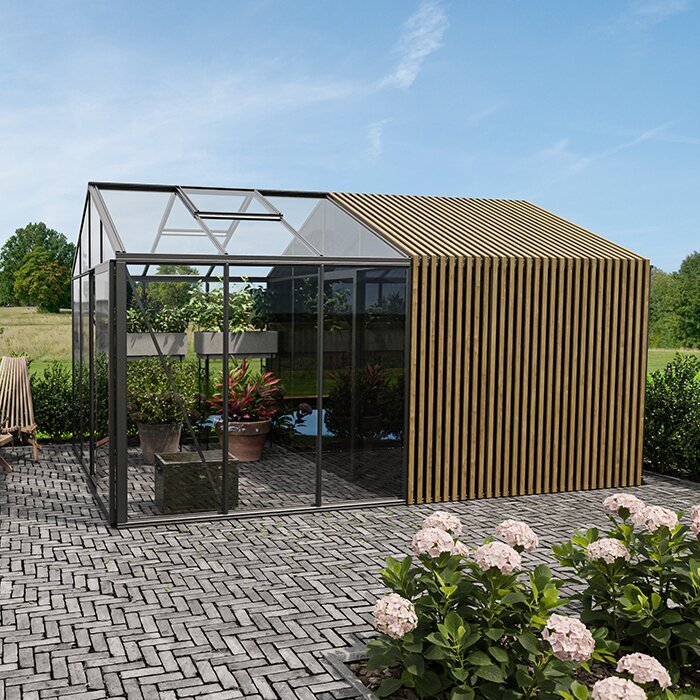
Refill frequency depends on the crop, number and size of plants, growth stage, growing medium, light and greenhouse conditions, as well as the container design. Warmer or brighter periods may change demand, so a calendar estimate made in one season can mislead later. When planning containers for the Lean-To Greenhouse, compare the number of reservoirs you will need to check and the total amount of water required for a refill round. Several small reservoirs may mean more separate checks than one larger unit. At first, note the reservoir level and moisture below the surface; use those observations to set a checking routine. Reassess it as plants grow, and keep groups with noticeably different water needs separate.
Keep the refill point within reach
Refilling should not require removing plants, lifting a heavy pot or reaching behind a bench. Check whether water enters through a tube, an open reservoir or a removable section, and identify the correct opening before filling. If there is a level window or float, make sure you can see it from the aisle and that leaves will not hide it as plants grow. Check that a cap or cover can be removed without knocking neighbouring pots. A separate fill point is useful only if it remains accessible and easy to keep clear; an unclear opening can lead to accidental overfilling.
Position containers so lids, indicators and fill tubes face the working side, without narrowing a path or crossing a doorway. Include the length of any projecting tube in your layout: a loose hose can become a trip hazard, and a tube that is bent or buried may be difficult to inspect. When considering the Limited Edition aluminium greenhouse, mark the refill points on the plan for your chosen configuration. Check whether you can bring a watering can close enough to pour comfortably and withdraw it without catching foliage. Taller crops may need their fill points beside, rather than behind, the plants. Leave room for routine tasks, not only enough space to fit the pots.
What to check before buying 3
Trace the overflow before placing containers
Find out whether the container has a designated overflow, where it sits and what happens when the reservoir reaches that level. Some designs release surplus water through a side outlet; others may not provide a separate overflow at all. Read the diagram and do not block an opening because it looks like a drain: it may be essential to the intended water level. If the manufacturer specifies a hose connection, check its dimensions and approved route. Do not assume that an outlet can be attached to a gutter, drain or another planter, or that water will disappear without a visible discharge.
Before planting or placing the final row, test the container as the instructions require. Add water gradually to the stated limit, watch where an overflow emerges and check the floor beneath and around it. A temporary catch vessel can help you observe the route, but do not treat a small tray as a permanent solution unless it can hold the expected surplus and be emptied. For a proposed layout in the T-Shaped Orangery Greenhouse, mark each outlet position alongside the aisles and planting areas. Keep discharge points visible so you can distinguish an expected overflow from a leak at a joint or base. Map the water’s route on site, at the container’s intended position.
Check how the paving handles a spill
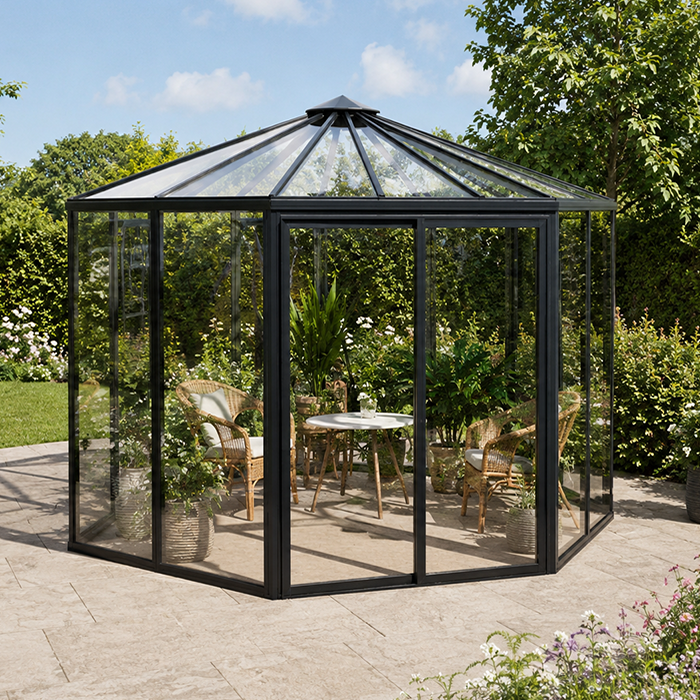
Treat the paved floor and the container outlet as separate parts of the plan. Paving does not absorb water like open soil, and joints or gaps are not dependable drainage unless you know where they lead. Check the precise place a pot will stand: a fall may send water towards an aisle, threshold, wall or greenhouse base, while another surface may leave it pooled. When planning the floor layout for the Pyramid Greenhouse, note any existing drain, low point or change in paving level before assigning positions to the containers. Follow the water across the surface during your test, including beyond the immediate pot area. If the floor has different levels or surfaces, check each proposed position separately.
Decide where small drips and accidental spills will go, not just the planned overflow. A removable saucer or tray can catch minor drips if it is suitable for the pot and remains accessible, but water left in it may leave the container base sitting in excess water. Empty and inspect it rather than letting it become a hidden second reservoir. If the paved floor has no suitable route for surplus, reconsider the position or container design before filling it. Do not rely on water reaching a drain through a gap; changes to a floor drainage system need appropriate advice.
What to check before buying 4
Keep the root zone moist, not saturated
The main root-zone risk is confusing a full reservoir with correctly watered roots. A wick can supply moisture from below while the surface of the mix remains comparatively dry; the reverse problem is also possible if the lower mix stays saturated. Check moisture at root depth, not just at the surface or through the reservoir indicator. Follow the container maker’s guidance about suitable growing medium and keep the wick or contact surface in the specified position. If a dry mix does not draw water upwards, a first watering from above may be needed, but follow the system’s start-up directions rather than assuming every design works the same way.
Plant choice matters. Crops differ in how continuously they need moisture, and seedlings or recently transplanted plants may not yet have roots near the part of the medium supplied by the reservoir. Some plants and growing mixes are not suited to a permanently damp lower layer. Group containers with comparable watering needs and check a sample from each group; one plant’s response is not a reliable guide to every pot. If leaves wilt or growth changes, do not immediately add more water. Check the moisture lower down and look for an empty reservoir, blocked wick or excess water before changing the routine.
Check support and working access
Include the filled container in any support decision. Its combined weight comes from the pot, wet growing medium, plant and reservoir water, so it can differ substantially from an empty container’s weight. Check the container maker’s stated full mass if available, and consider the surface it will sit on. On paving, check that the base is stable and does not rock. For a raised bench or shelf, use a published load limit for that specific support rather than estimating from appearance. If the support or floor capacity is uncertain, seek advice from a qualified professional. Plan how to move the container for cleaning before filling it, not when it is already heavy.
A model description is not a load rating. The greenhouse with built-in storage listing identifies a storage feature, but does not establish that a shelf or storage surface is intended to carry water-filled planters. Use a support whose purpose and capacity are clear; do not use glazing or an unverified storage shelf as a stand. Leave enough space to inspect the container base, reach the overflow and remove the pot if necessary. Check that a full container will not obstruct the main route or prevent access to vents and other parts of the greenhouse you use regularly.
What to check before buying 5
Plan for cleaning and compatibility
Reservoirs, fill tubes, wicks and outlets need periodic inspection. Look for debris, roots or visible deposits that could obstruct the fill opening or water path; check that removable components still sit as intended and that an indicator moves freely. Follow the manufacturer’s cleaning instructions for the reservoir and wick. Do not apply a cleaner or treatment simply because it is used elsewhere in a greenhouse; it may not suit the container, plants or water system. If a part is damaged or a blockage cannot be cleared by the stated method, find out how it should be repaired before continuing to use the arrangement.
Maintenance is easier when the system can be emptied and inspected without dismantling a planted container. Before buying, check which components are removable and whether the manufacturer identifies replacement wicks or parts, if the design needs them. Treat compatibility as a separate check: the Prestige Greenhouse page identifies a greenhouse model, but does not prove that a particular planter, shelf, drain fitting or watering accessory fits it. Compare each item’s stated dimensions and permitted connections; products intended for greenhouse growing are not automatically compatible with one another.
Test the setup before relying on it
Trial the arrangement with one container or a small group before committing every crop to it. Follow the start-up instructions, fill to the stated line and watch whether the medium receives water as intended. Check root-zone moisture after the reservoir has been used rather than judging success by how much water disappeared. Note when you refill, which crop is in the pot and what the growing conditions are. Keeping the fill level consistent makes those observations easier to compare. A few checks as conditions change will give a better guide than estimating a refill interval from reservoir capacity alone.
During the trial, look at the paved floor after filling and after ordinary watering. Check for unexpected discharge, water trapped under the container or a spill running into the main route. Adjust the pot position, refill access or overflow plan before scaling up, and repeat the check if the layout changes. Self-watering can reduce routine watering work, but it is not automatic monitoring. Keep a quick visual check in your usual greenhouse routine, especially after changes in weather, plant size or how the doors and vents are used.
Frequently asked questions
Do all self-watering containers have an overflow?
No. Designs vary: some have a marked overflow outlet, while others rely on a stated fill level without a separate discharge. Check the diagram and find out where water exits, if it does. Do not block an opening or assume a saucer will cope with an untested overflow.
How often will I need to refill the reservoir?
Capacity alone cannot give a reliable interval. Plant size, crop, growing medium and greenhouse conditions all affect water use. Fill to the maker’s mark, note how the level changes and check moisture at root depth. Repeat as plants grow or conditions change.
Can every greenhouse plant use a reservoir container?
No. Match the watering method and growing medium to the crop. Seeds, young transplants and plants with different moisture needs may need particular attention. Group plants with similar requirements and check each group rather than assuming one container design suits every pot.
Will paving carry overflow to a drain?
Not necessarily. Joints or a fall in the paving do not show where water will travel unless you inspect the route. Test the container where it will stand, watch for pooling or flow towards a threshold, and plan a suitable route before using it.
Can I put a full container on a greenhouse shelf?
Check the container’s full operating weight and the published capacity of the specific support. Wet growing medium and reservoir water add weight, so an empty pot is not a useful guide. Do not rely on a shelf’s appearance; seek qualified advice if its capacity is uncertain.
A self-watering container is only a good fit when its reservoir, refill point and root-zone behaviour suit both the plants and the way you work. On a paved greenhouse floor, the overflow route and support matter just as much as reservoir capacity. Check the system’s instructions, observe moisture below the surface and test where surplus water goes before setting up a full row. That small trial helps turn a convenient watering feature into a manageable part of the greenhouse routine.
