
How to Add a Potting Station Without Sacrificing Growing Space
Greenhouse planning
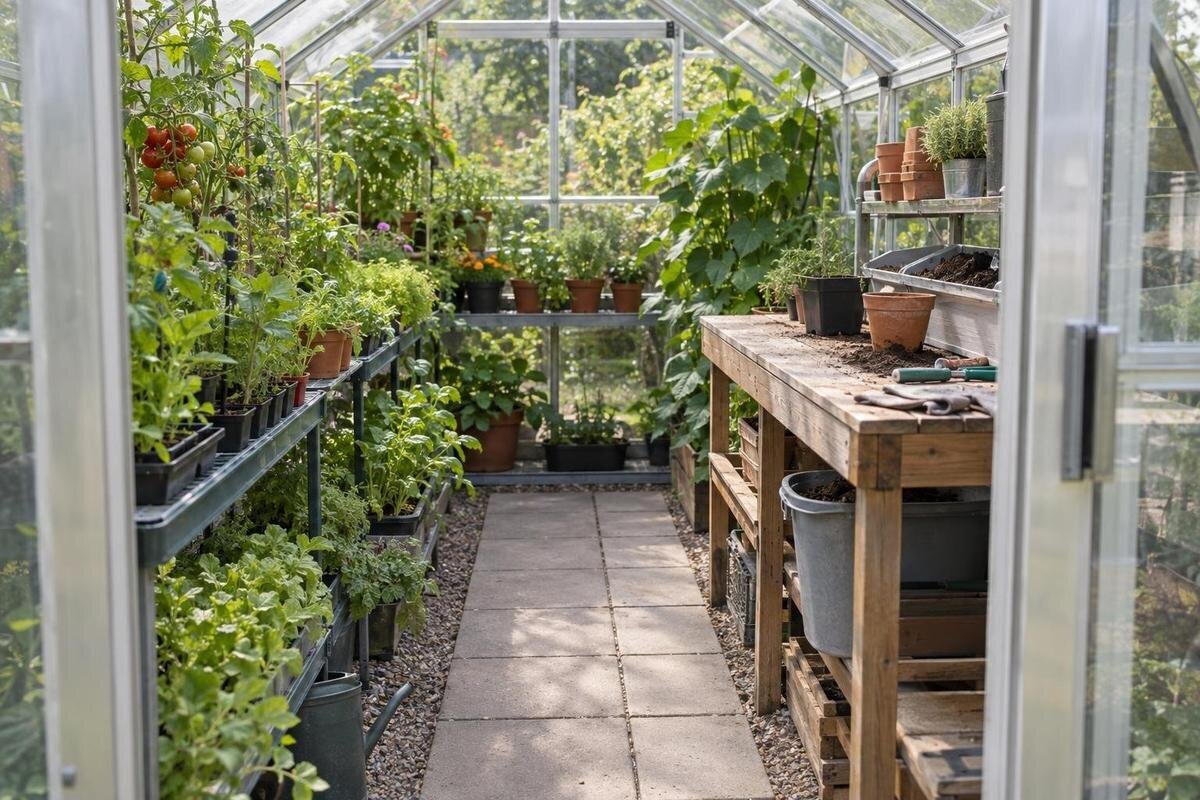
A potting bench takes up more room than its top suggests. The person using it, supplies within reach and trays waiting to be filled all need space, often at the same time as crops are growing. Plan those working and seasonal clearances as well as the furniture, then check the finished arrangement against the chosen greenhouse’s internal measurements. That is the difference between fitting in a bench and keeping the potting area useful without quietly taking over a growing bed or route.
01
Count the whole working footprint
An empty bench tells you only how much floor its legs occupy. During potting, the working area also includes the person at the bench, room for elbows, a tub of compost, the next pot or tray, and a clear route in and out. If you move plants from a growing bench to the station, allow for the pause while they wait and the space needed to carry them. A waste container, watering can or stack of empty pots may join the job too. These items are not all present every minute, but the busiest overlap, not the tidy unused bench, determines whether the station works. Consider where newly potted plants go next rather than letting them accumulate around your feet.
Draw the different uses as separate zones: worktop, standing position, route, storage and temporary tray space. This shows what is occupied all year and what is needed only while you work. For an illustrative sketch—not an available product size—you might mark a top 90 cm wide by 45 cm deep. Its surface is 0.405 m² before adding a person or any clearance; this is a planning example, not a recommended standard. Trace the task from reaching for compost to carrying a filled tray away, and check that the route to the door and planted areas stays usable. Do not count the same patch of floor as both approach space and tray parking. If storage sits under the top, show its bins or doors open as well as shut.
Measure the clear space inside the greenhouse
Begin with the clear internal measurements of the exact greenhouse variant, not only a headline floor area. Measure the uninterrupted wall run at the intended worktop height and the floor space taken by legs or supports. Note the door swing, frame members, low eaves and vents that may affect a top, shelf or the person standing there. Width at floor level can differ from width higher up under a sloping roof, so one overall measurement will not describe every usable strip. If the plan has returns or corners, measure each continuous run separately. Where drawings show only external sizes, ask for the internal drawing rather than subtracting an assumed frame allowance.
The Limited Edition greenhouse range is one product family to compare, but its name and any listed area cannot tell you how much uninterrupted bench depth remains in the chosen size. Check the drawing for clear internal length and width, door position and obstructions; record the measurement at the height where the bench will sit. Add the station’s real projection, including legs, handles or containers that extend beyond the top, then map the floor left for crops and access. Check both ends if a support or return changes the available run. If the drawing does not show the measurement you need, ask before ordering instead of relying on an estimate.
02
Choose a worktop depth for your regular jobs
Worktop depth should follow the jobs you actually do, not a guess at how to save floor space. A surface for labelling small pots can be shallower than one used to fill seed trays, open a compost bag or handle a larger pot. The item itself needs room, but so do your hands and any tools you use alongside it. A very deep top can push the far edge out of easy reach and encourage leaning across open containers; one that is too shallow may leave trays balanced on the edge. List your regular tasks and the largest tray or pot you handle often, rather than designing around a rare exception.
Put that largest regular tray on a temporary board, then add the compost tub and tools you reach for during the same job. The clear strip left—not the top’s nominal depth—is the space available for handling a pot. Test the tray in the orientation you use, set down the next item and reach for tools without spilling into the route. Repeat with two possible depths using cardboard before choosing a bench. When comparing sizes in the Classic greenhouse range, mark your tested worktop depth on the exact variant’s internal drawing. Compare the planting space left by each option, including any projecting legs or containers. If only an occasional large pot needs more depth, consider handling that job on a separate temporary surface rather than enlarging the permanent bench.
Consider a removable surface for seasonal work
A fixed bench is ready for daily jobs, but its full footprint remains occupied during quieter months. If potting is seasonal, a removable top or folding surface can return some floor area to crops when it is not in use. That only saves space if the folded or stored surface has a genuine home: a board leaning in the aisle or a folded table that blocks the door simply moves the obstruction. Check the depth in both its working and closed positions, and include any legs or supports that remain on the floor. Consider how often you will need to move it; a system too awkward to put away may stay open all year.
Before choosing a hinged or wall-mounted option, find out which fixing points the greenhouse manufacturer permits; do not assume glazing bars or other frame parts can carry a shelf or worktop. For a model in the lean-to greenhouse range, establish whether the proposed support would attach to the greenhouse or the adjoining wall, and have the fixing method checked by the manufacturer or a qualified installer as appropriate. A free-standing unit avoids relying on either structure, although its feet still take up floor space. Try opening it, clearing it and carrying a tray past it in the proposed position. Include somewhere to store loose boards, mats and containers when the surface is put away.
03
Keep tools and compost within a planned storage area
Separate items needed at every potting session from supplies used occasionally. Keep hand tools, labels and ties together in a compact carrier or shallow drawer that can be brought to the worktop; store spare pots, empty trays and seasonal kit elsewhere if they are not used regularly. The carrier still needs a parking place, so include its footprint instead of assuming it can stay on the bench. A narrow shelf may reduce floor clutter, but only if its position leaves crops, vents and the route clear. Sort small items into labelled compartments so you can retrieve them without emptying the whole container. Avoid putting heavy supplies overhead where they must be lifted across open pots.
Compost is bulky, so plan for the amount you use rather than automatically storing full bags beside the bench. A lidded working tub can keep the daily supply close while reserve bags stay elsewhere; include the tub’s footprint and the room needed to lift or refill it. If you are considering the greenhouse with built-in storage, check what storage the exact variant includes and compare its usable dimensions with your supplies. Measure containers with their lids open and allow room to lift a bag or tub out, not merely slide it into place. Establish how much planting area the storage occupies and whether you can retrieve compost without moving trays or dismantling the working arrangement.
Allow for the peak number of seed trays
Seed trays create a seasonal peak that can dwarf the floor space used for one-pot jobs. Count how many are likely to be inside at the busiest point, not the average number on a quiet week. Measure the trays you actually use, including pots, covers or labels that extend beyond their base, and note whether any must be set down while another batch is being filled. Decide which trays will be actively growing, which are waiting to move and which can leave the greenhouse. A worktop that is clear for potting is not automatically a suitable holding area for every finished tray; counting it for both uses can leave the station permanently occupied.
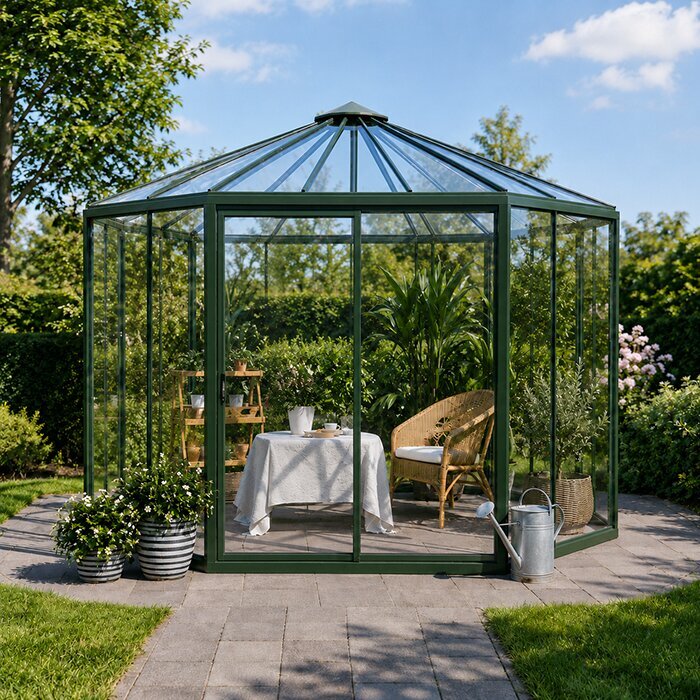
Draw the trays to scale on the intended bench or shelving, then allow space to pick each one up without disturbing its neighbours. Multiplying a tray’s area by the number of trays gives only their combined footprint; it does not account for gaps, shelf supports or access. If you consider extra tiers, check that they will not shade crops below or make watering and inspection awkward. When assessing the Pyramid-type greenhouse, use the exact variant’s internal drawing to check the width available at each proposed shelf height. A tray arrangement that fits at floor level may not fit higher up beneath a sloping roof. Label each seasonal holding area with its tray count and expected period of use, so you can see when it becomes available again.
04
Leave room to work and move trays
Access at the station means more than fitting a person between a bench and a bed. Rehearse the actual sequence: enter carrying an empty tray, put it on the worktop, reach for compost, fill the tray, then carry it away without twisting around a door leaf, hanging tool or plant. Include the tray’s width in your hands and room to turn where it leaves the station. If a door, stool or waste tub is used only occasionally, include its open or parked position too. A floor plan cannot show every awkward movement, so mark the approach route and try it at full scale with the objects you use. If you work with another person, test whether one can pass while the other remains at the bench.
Keep the route to planted areas open while the bench is in use, not only when everything is tidy. If you use a watering can and trays at once, decide where each will wait so the entrance does not become a storage area. When reviewing a Prestige greenhouse, mark the station on the exact size plan and follow the route from its worktop to the intended tray shelf or growing bench. Check the narrowest point with the tray held in front of you, including any handles or projecting pots. Where passing and potting use the same strip, decide whether those activities can realistically happen at different times. An arrangement that requires you to clear the worktop whenever someone enters may be inconvenient even if it fits on paper.
Protect planting space around the station
Bench position changes how much uninterrupted planting space survives. A station along a side wall may give you a continuous work run but replace part of a bed or shelf; placing it at an end may preserve more of that run but complicate access if the door is there. Neither position is automatically better: compare the proposed station with the actual door, supports and crop plan. Keep frequently harvested plants reachable, and avoid putting the bench where it takes the only space for entering, carrying a tray or working on the opposite side. Mark bed edges for the plants’ expected spread, not just as a narrow line on an empty plan.
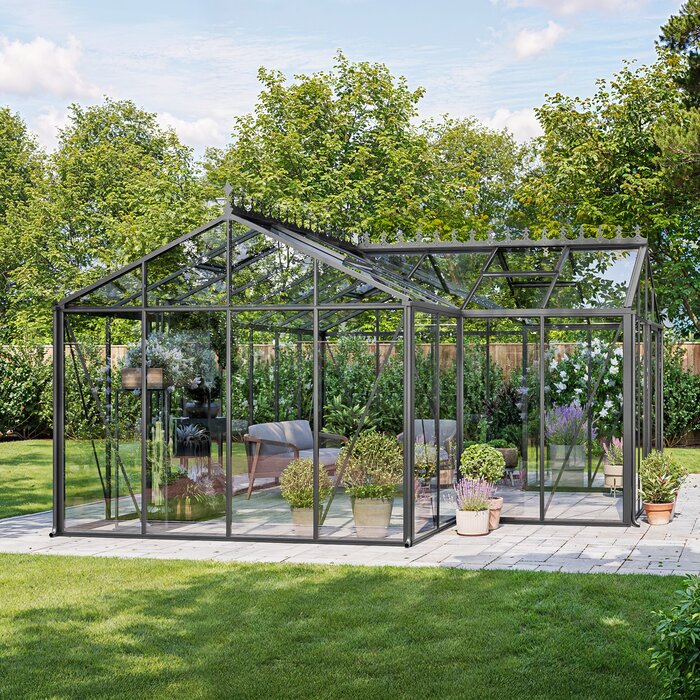
With a less familiar footprint, count continuous lengths rather than assuming two short wall sections make one useful worktop. For a T-shaped orangery, use the drawing for the exact variant to compare possible station positions and the growing space each would replace. Note whether a corner leaves the far end of the top difficult to reach or creates an inaccessible pocket behind storage. Also check whether opaque storage beside or above the bench will shade nearby plants; a position that fits furniture may still use light needed by a crop. Compare the arrangement with the expected spread of mature plants, allowing for foliage beside the working surface. The station should not depend on clearing another planted bed every time you pot.
05
Choose surfaces that are easy to maintain
Choose a surface for the mess it will meet: damp compost, drips, plant labels and pots repeatedly moved across it. Ask what material and care instructions apply to the product you are considering; do not assume a surface sold for indoor use is suitable for greenhouse conditions. A smooth, easy-to-wipe finish and edges that do not catch trays can simplify routine cleaning, while a removable mat or tray can collect loose mix during filling. Check that an insert leaves enough flat working area and can be lifted away for cleaning rather than becoming another permanent layer. Consider whether small seeds, labels or tools could roll off an unprotected edge.
Think through where water and spilled compost go after a session. Keep bags and cardboard packaging off damp floor areas, leave any drain or access point clear, and sweep loose mix before it is tracked among pots. Store hand tools where they can dry and be found, rather than on the top needed for the next seed tray. Under-bench containers should be removable so you can clean the floor beneath them; check that a full tub can be pulled out without catching on a leg or shelf. Avoid narrow gaps that collect compost but cannot be reached with your cleaning tools. Allow room to wipe behind the station without leaning against glazing or moving a whole row of plants.
Mock up the layout before you commit
Before buying a bench or fixing a position, make a full-scale mock-up. Tape the worktop, its legs or base, the standing zone and route on the floor; use cardboard at tabletop height if a shelf or frame projects into the space. Put the largest everyday pot, tray, compost tub and storage carrier in the marked area. Carry a filled tray along the approach and try the motions you actually use, including putting down a second tray. Repeat the test with the peak-season number of seedlings and the intended crop beds drawn in, not just an empty greenhouse. A mock-up can expose collisions before they become permanent.
On the final drawing, label fixed furniture, seasonal staging and space that must remain for crops or access. If the Spacious Greenhouse range is under consideration, compare the exact variant with the same task-based plan rather than enlarging the station simply because more floor area is listed. Record the worktop dimensions, storage positions and peak tray count alongside the drawing, so later purchases can be checked against it. Photograph the successful mock-up with the containers in place; this is a useful reference when choosing furniture with different leg positions or projecting handles. If the trial fails, identify the specific obstruction before changing the plan. A smaller compost tub or relocated tray shelf may solve the problem without reducing the surface you need for potting.
Frequently asked questions
How deep should a greenhouse potting worktop be?
There is no single depth that suits every job. Set out the largest tray or pot you handle regularly, the tools you use at the same time and the space needed for your hands. Try the arrangement on a temporary board, then plan the standing and access space separately from the worktop.
Can I fit a potting bench in a small greenhouse?
It depends on the clear internal dimensions and on how much room your crops and access need. A compact or removable surface may help, but include the person using it, nearby supplies and temporary trays in the plan. A headline floor area alone cannot show whether the working footprint will fit.
How much room should I leave for seed trays?
Count the trays likely to be in the greenhouse together at the busiest time of year. Measure the trays you actually use and allow for picking them up, setting them down and moving them to their growing position. Keep this seasonal space separate from the permanent footprint of the bench.
Will wall-mounted storage save growing space?
It can free floor space, but may shade plants or make tools awkward to reach. Check that the chosen fixing is permitted for the greenhouse structure and confirm any load limits with the manufacturer or a qualified installer. Allow for cupboard doors opening, containers being lifted off shelves and any folding fittings in their working position.
Does a bigger greenhouse automatically leave more room for a potting station?
No. The station’s working footprint still includes standing room, storage and tray clearance, and its position may affect a bed or route. Compare the clear internal measurements and layout of the exact greenhouse variant, then calculate what remains for the crops you intend to grow.
A potting station saves space only when its worktop, storage, working position and seasonal trays have been accounted for without borrowing the same floor area twice. Measure the tasks you actually do, plan for the busiest time of year and check the remaining planting area on the finished drawing. If a full-size mock-up leaves the route clear and the beds intact, the station can earn its place without taking over the greenhouse.
