
Straight-Sided or Curved-Wall Greenhouse: What Space Is Usable?
Greenhouse planning
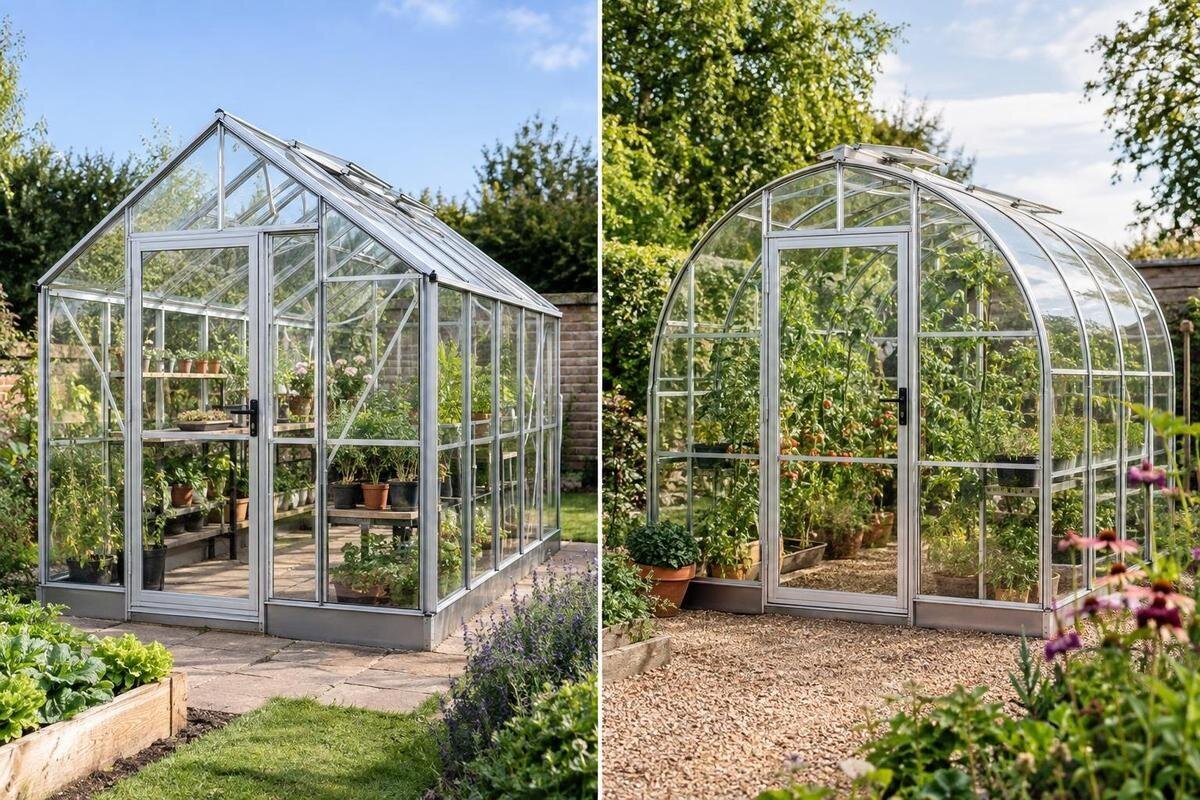
Two greenhouses can enclose the same floor footprint yet offer very different room beside the walls. With a vertical side, the inside boundary stays at broadly the same lateral position until the roof begins; where a wall curves inward as it rises, the high-clearance strip narrows. That can change where a shelf, tall pot or mature canopy will fit. It does not make one shape automatically better: the eaves height, curve, width and roof profile all matter. Compare a cross-section of the exact size with your intended layout, not the outline alone.
A greenhouse footprint is not the same as usable space
Footprint is the area enclosed on the ground, not a promise that every part works equally well for growing or storage. A curved side may leave floor space for low pots while offering too little height for an upright shelf; a straight wall may provide a vertical strip but still meet a low roof quickly. Equally, a broad greenhouse with a shallow eaves line can have less useful edge clearance than its overall width suggests. Floor-area figures may also refer to outside dimensions, so check whether the stated area is internal or based on the outer footprint. Treat the outline as one measurement, not the result.
Separate three questions: how much floor area is inside; how much clear height and width exist above each part of that floor; and how much can be reached and used without obstructing the route through the greenhouse. These are related but not interchangeable. A side bench adds growing surface but takes up floor width that might otherwise serve as an aisle; empty floor below a sloping wall may be useful for trays but not for standing. Decide which zones matter for your plans before comparing designs. You may care more about a continuous shelf run than total enclosed area, or about central height than edge clearance; one headline figure cannot express both.
What a cross-section needs to show
A cross-section is a slice across the greenhouse’s width. It should show the base or finished floor, the inside line of each side, where any curved section begins, the eaves or point where the roof starts to rise, and the ridge. Use a drawing for the selected model, size and configuration; a perspective photograph can make a slope look shallower or a side look taller than it is. Check whether stated dimensions are external or clear internal measurements, because frame sections, base details and glazing lines affect the space available inside. If the drawing only traces the outside, it may not show the clear width you need.
Put two drawings at the same scale and compare their internal profiles across the width. At a given height, the gap between the inner boundaries is the width available at that level, before you account for shelves, pots or fittings. Note both the width at floor level and where the sides stop being vertical; do not compare only the ridge height. Check that the drawings use the same floor reference and show the same type of base. If a T-shaped orangery greenhouse is on your shortlist, seek the selected configuration’s section rather than assuming its outline tells you how much perimeter headroom it has.
Headroom along a straight wall
Where the side wall is genuinely vertical, its inside face does not move towards the centre as it rises. That creates a more regular strip beside the wall for a bench, a row of containers or plants that need height there, up to the point where the roof slope begins. It can make shelf widths easier to plan because the wall clearance at the shelf edge changes less as the shelf position rises. You can compare the usable strip along the whole run instead of guessing how a curve will meet each shelf. The benefit exists only over the vertical part; above it, the roof profile still determines clearance.
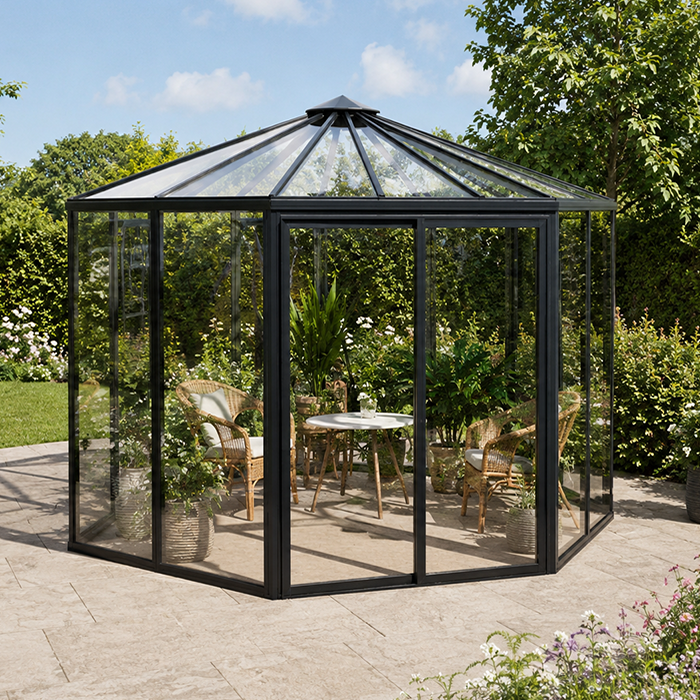
Read the eaves height and wall height with the intended use in mind. A straight wall that ends below the top of a tall pot does not provide the same side clearance as one that continues higher, even if both greenhouses have similar ridges. Measure from the actual growing surface, not just from an external base line, then check the height at the outside edge of the shelf or canopy. Roof bars and other fixed elements shown in the section can also limit the clear zone. When comparing a pyramid-type greenhouse, mark these same heights on its section to see how its profile accommodates your intended planting positions.
How curved walls affect the perimeter
On a curved profile that bends inward from the base, the wall’s inner line moves towards the centre as height increases. The floor may still extend under that curve, but the width available above it decreases: a pot can fit on the floor while a shelf directly above it would meet the glazing or frame. A short straight section below a curve changes the point at which this narrowing starts, so “curved” alone does not say how much room is lost or at what height. A gentle sweep and a tight arch can therefore leave different clear widths, even when both are described with the same broad label.
This is a change in how space is distributed, not proof that the side strip is wasted. Lower plants, seed trays or compact containers may use an area where an upright person or tall crop would not fit. The practical limit depends on the height and spread of the item, space to reach it, and how close its leaves or stems can sit to the greenhouse structure. Check whether a lower bed or pot can be tended from the aisle without leaning across other plants; usable height matters alongside floor space. Compare the width at several heights rather than labelling the whole curved edge unusable.
Planning shelves against the side profile
A shelf needs more than a flat-looking place on a plan. Record the deck height, its depth, the height of the items on it and the clear gap above them. On a curved side, the inside profile may cut into that gap at the outer edge; shifting the shelf inward can recover headroom but reduces the central growing or walking lane. Lowering a shelf may give more clearance over it while changing the room available underneath, so note both zones. With a vertical wall, the shelf can retain a more consistent relationship to the side for longer, although roof slope and frame members still matter.
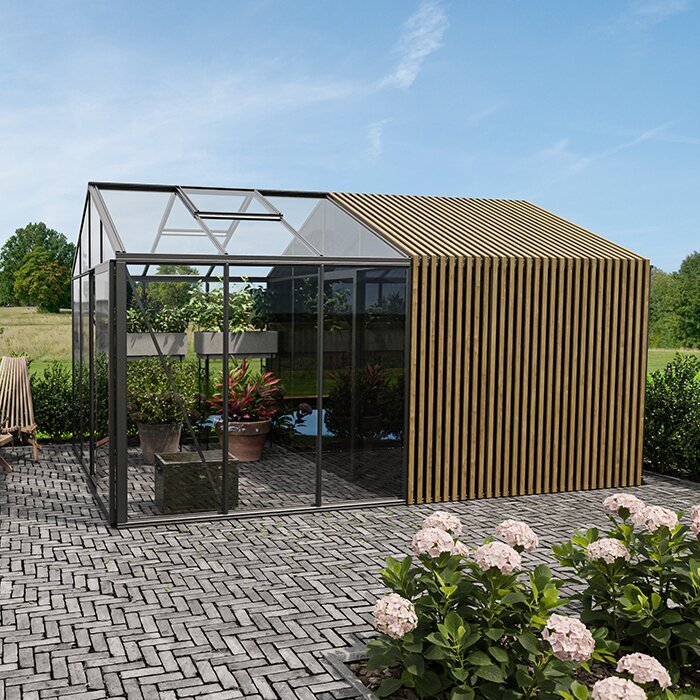
Also distinguish a shelf that is included in a supplied configuration from one you hope to add later. Check that the intended shelf, support and position are covered by the maker’s details for that model; do not assume the frame is designed for an unlisted attachment. For a greenhouse with built-in storage, use the configuration plan to identify which space is available for growing and which is allocated to storage. Check access to both areas, including any doors or partitions shown. A storage shelf is not necessarily intended for growing plants, so establish its purpose and dimensions before counting it as part of your growing layout.
Allowing for mature plant height
Choose positions from the plant’s likely full size, not the height of a young plant at planting time. Tall, trained or spreading crops need space above and beside their growing point; if that zone falls beneath an inward curve, the available height and canopy width shrink towards the wall. Include any support or training height in your estimate rather than measuring only the plant’s current stem. In a profile with its highest point at the ridge, placing taller plants nearer the centre may provide more height, but it also uses space that might otherwise form a path or a second row. Check the actual section and layout together.
Measure from the top of the bed, staging or container, since each raises the plant’s starting point relative to the roof. Include the width of the mature canopy and room to reach stems, fruit or pots from the aisle; a plant that technically fits on paper can still be awkward if foliage blocks access to its neighbours. When considering a Prestige greenhouse, draw the intended containers and mature plants onto the section for your selected size. Show their full width as well as their height: a narrow stem below the roof does not establish whether the surrounding foliage will fit.
The aisle and working space matter too
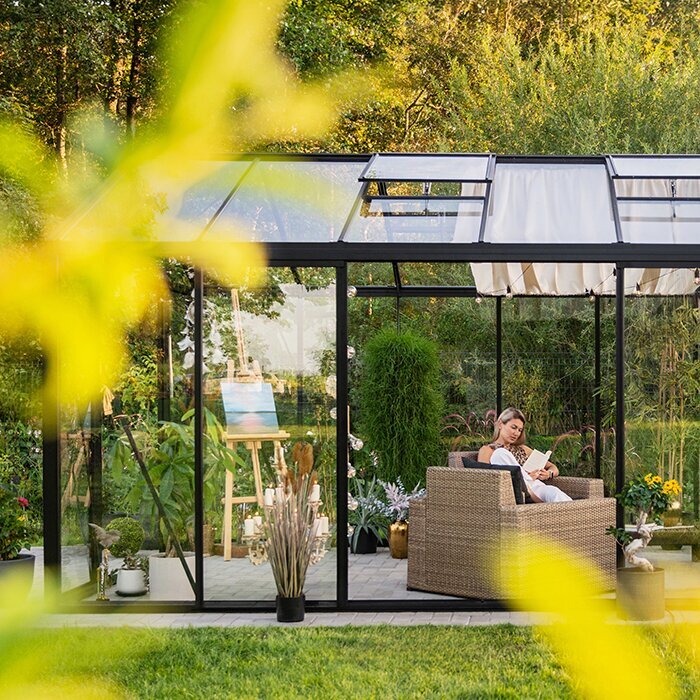
An area is useful only if you can get to it. A bench along a straight wall may give a long, regular work surface, but it also takes floor width; containers under a curve may use low space yet be harder to tend if there is no comfortable route beside them. Consider whether you work from one central aisle, reach across a bed, or need room to carry trays. Usable space includes the strip where you can stand or move, not just the planting surface and headroom above it. Think about access to both sides of a bed if that is how you intend to tend it.
Sketch the footprint with beds, shelves, door openings and the route you expect to use. Check the narrowest point between these items, not just the width of an empty greenhouse, and allow for the way doors actually open on the chosen configuration. For a model listed as a Spacious Greenhouse, test whether the extra area in your selected size supports the layout you want: a wider bed, a second working route or room to turn with a tray. Keep frequently used pots within comfortable reach, rather than filling every available strip and leaving no practical way to tend them.
Compare dimensions on the same basis
Like-for-like means more than two outlines that look similar. Compare the same external footprint if that is how the sizes are given, then establish the internal clear width at floor, shelf and plant levels. Record wall or eaves height and ridge height separately: two roofs can share a ridge measurement but begin their slopes at different heights. Also use the same reference floor, especially if drawings include a base, raised bed or different finished floor levels. This helps separate a real difference in profile from a difference in how the dimensions were measured.
Frame positions, glazing and any internal fittings can reduce the clear space shown by a simplified outside profile. When a specification gives only overall dimensions, do not silently treat them as internal ones; ask for a dimensioned section or confirm which faces the measurement refers to. Compare the chosen size rather than a family range. For the Classic aluminium greenhouse, record the selected configuration alongside each measurement so that figures from different versions do not become mixed together. Keep any unconfirmed internal dimension blank in your comparison table rather than estimating it from the photograph.
Measure usable width at the heights that matter
Make a small comparison table from the drawings. List the heights that matter to you, such as the top of each shelf, the tallest crop and the clearance needed over a work surface, and write down the internal width available at each one. Use identical heights for both models, measured from the same floor reference. Mark where the roof begins to slope and where a curved wall starts. This reveals whether extra width exists only at floor level or remains at working height, without relying on a single headline area figure. Note the narrowest clear width if a frame member or fitting interrupts the profile.
Then test the plan separately: mark the footprint, bed edges, shelf depth and aisle on the ground with tape or another temporary marker. This checks whether doors, paths and work zones fit the available site; the section still answers the vertical question. For a lean-to greenhouse, label the two sides of the section so that each planned shelf or bed is checked against the correct side of the profile. Walk through the marked layout carrying a tray to identify awkward turns or reaches. If the drawing omits a relevant internal height, leave that part of the vertical comparison unresolved until it is confirmed.
Choose by the tasks you need the space for
If regular shelving or tall planting right beside the wall is central to your layout, favour a straight-sided profile only when the drawing confirms that its vertical wall continues high enough and the roof does not remove the clearance you need. If most of your edge use is low containers and your taller plants fit nearer the centre, a curved side may still work well. If the aisle is the priority, compare the clear route after beds and shelves are drawn in rather than choosing on shape alone. Give the dimensions that matter most to your work more weight than a general impression of spaciousness.
Make the decision against a short list of actual tasks: shelf levels, container heights, mature crop size, access to the edges and walking space. Separate essentials from preferences. A fixed bench you already own may set a firm depth requirement, while a movable row of pots gives you more flexibility. When assessing a Limited Edition greenhouse, apply those priorities to the selected configuration rather than simply totalling its floor area. If two designs both meet your essential clearances, consider which leaves more flexibility for changing between propagation trays, larger containers and taller crops over the growing season.
Frequently asked questions
Is a straight-sided greenhouse always more usable?
No. A vertical wall can preserve more width beside it above floor level, but the wall height and roof profile determine how much clearance you gain. If the roof starts low, it may still slope over a bench quickly. Compare the internal width at the same shelf and plant heights.
Do curved walls make the edge space unusable?
Not necessarily. The floor strip may still suit low plants, trays or compact containers, even if it lacks headroom for a tall crop or shelf. Check the curve at the height and depth your items need, and consider whether you can reach them from the aisle.
Which height should I use when comparing shelves?
Measure the shelf deck height from the finished floor, using the same reference for both greenhouse drawings. Then check clearance at the shelf’s outer edge and above the tallest item you intend to place on it. For plants in a raised bed, measure their height from the bed surface and include the bed’s height when plotting them on the section.
Can I add shelving to any curved wall?
Do not assume so. Check the maker’s details for approved shelves, supports and positions in the configuration you are considering. A curved profile can affect both shelf depth and headroom, while appearance alone does not confirm that the frame is designed for an added attachment.
What should a greenhouse cross-section show?
Look for a scaled, dimensioned view of the selected size showing the floor or base, internal side profile, start of any curve, eaves and ridge. It should also make clear whether measurements are internal or external. If the drawing omits the heights or clear widths you need, ask for clarification.
Straight and curved sides distribute height differently across the same width. A cross-section shows where that difference matters; your shelf heights, crop sizes and working route show whether it matters to you. Once those requirements are marked against internal measurements, the better fit is the shape that leaves enough clear space where you actually need it, rather than the one with the more impressive outline or footprint.
