
How to Light the Area Around an Outdoor Sauna at Night
Outdoor sauna lighting
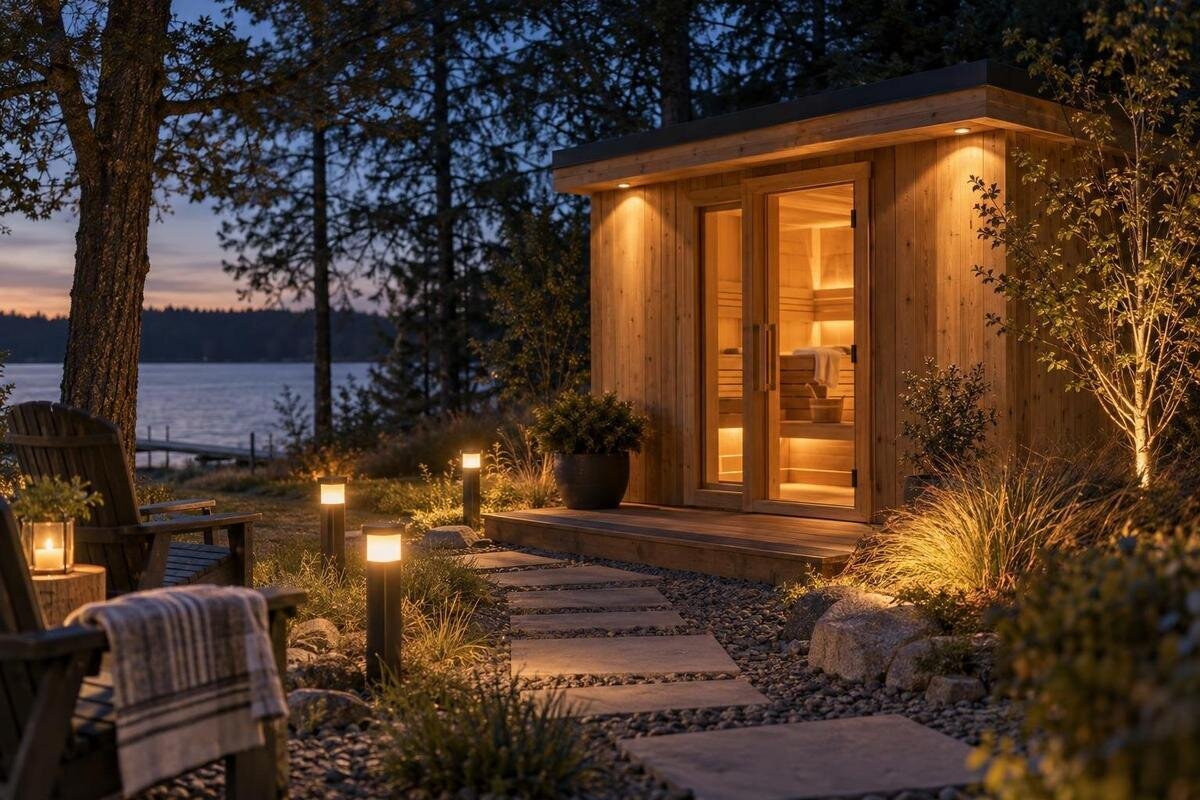
Outdoor sauna lighting works best when it supports the whole evening route, not just the sauna door. Consider the journey from the moment you leave the house: where the path changes direction, how you recognise the entrance, and where you sit afterwards. A few well-placed, controllable lights can make these separate areas easier to see without flooding the garden with brightness. The right fittings and electrical arrangement depend on the site, the sauna’s documented configuration and the exposure. Have a qualified professional specify them, and confirm which lights, if any, are actually included.
Before choosing fittings 1
Plan the route from the house to the sauna
Start with a simple plan of the route from the house to the sauna and then to the place you intend to sit. Mark the garden exit, bends, changes in paving or level, the sauna entrance and the way back. Add places where someone may pause to find a switch or set something down, but keep the access route distinct from the relaxation area. The aim is to understand the whole journey in darkness, not to put a lamp at every mark. A short walk outside after dark can reveal planting, garden furniture or a turn that was obvious in daylight but disappears once the sun goes down.
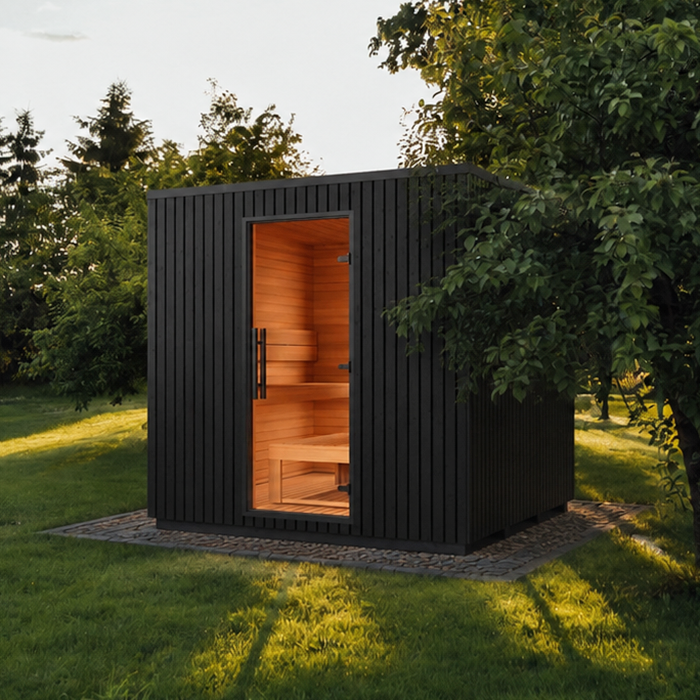
Set the sauna’s position before choosing lighting points: the route depends on where the entrance actually sits and how much space remains around it. If you are considering the HCF-300 sauna, use the current manufacturer drawing for your chosen configuration to mark its outline, openings and required clearances. Do not estimate these from a product photograph. Draw the approach and rest area around the confirmed details, including the point where the path meets the entrance. This helps prevent a well-lit path arriving at the wrong side of the door and gives the lighting professional a clear layout to work from.
Light the entrance without creating glare
Give the entrance its own clear light, including the landing immediately outside the door. Someone approaching should be able to recognise the entrance, see the surface underfoot and pause to open or close the door without standing in a dark pocket. Mark where the door opens and whether it could cross a proposed fitting or cast a shadow; do not assume the hinge side or direction from an online image. A wall-mounted light is not automatically the best answer. The suitable position depends on the opening and the way the beam reaches the threshold, so leave fixture placement to the lighting plan rather than deciding from appearance alone.
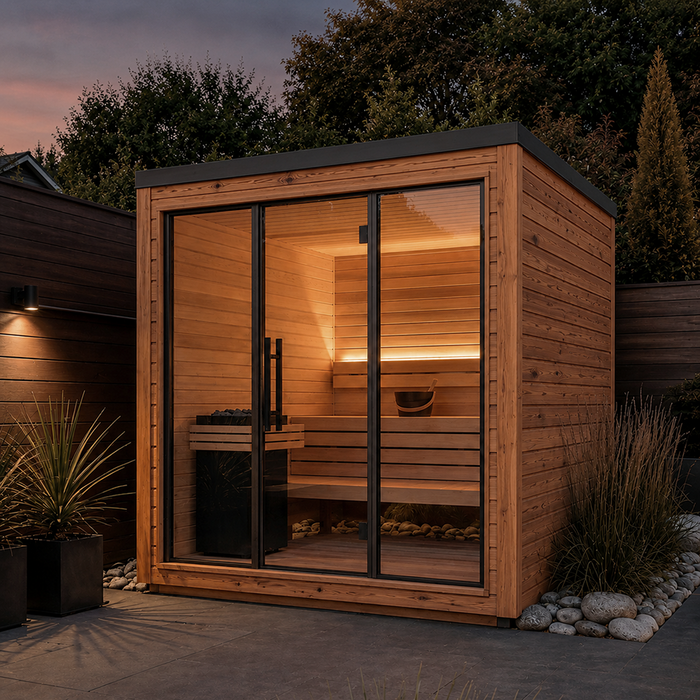
Keep entrance lighting separate from the path and garden seating so each zone can be adjusted for its purpose. A single source behind someone can throw a shadow across the threshold, while one facing the approach can shine into their eyes or appear as a bright reflection in glass. When planning around Thermowood Barrel Sauna LCF-300, confirm the door arrangement before settling on a fitting position. Ask the installer to review the view from both the path and the doorway, including what happens when the door is open. The entrance should remain clearly visible when the garden seating is lit more softly.
Before choosing fittings 2
Make changes in level visible
Give changes in level more attention than decorative edges. Steps, a raised deck, a transition from paving to gravel, a drainage channel or a sloped section can disappear in a dark patch. The goal is to make the route and its edges easy to read, not to illuminate every square metre. A beam crossing the ground may reveal texture, while a single bright point can leave deep shadows; the effect depends on the surface and fitting, so discuss placement with a lighting professional. Lighting does not correct an uneven or poorly maintained path, and the walking surface still needs to be suitable for outdoor use. Mark a route wide enough to avoid brushing planted borders or furniture.
Review each light from normal walking height and from the direction of travel. A row of bright points can be distracting, while wide gaps between isolated pools of light can make a level change difficult to see; adding more fittings is not always the answer. Include permanent route lighting in the professional’s layout rather than running temporary leads across paving. For a layout around the S-140 model, mark where the entrance and any planned steps meet the approach. Repeat the walk at an ordinary pace in both directions, rather than stopping directly under each light, and note any edges that remain difficult to distinguish.
Check glare from every viewpoint
Glare depends on where the light source is visible, not simply on its advertised brightness. Check the path while standing, then sit in the relaxation area and look towards the sauna; a bare or poorly screened lamp may catch your eye from one position even if it seems unobtrusive from another. Glass can reflect a bright point and make the view beyond it harder to read. Avoid directing a beam at eye level, across the doorway or towards a window. Shielding, careful positioning and an appropriate output can help, but the chosen fitting and aim must suit the actual site. A brighter lamp is not a cure for one that is poorly placed.
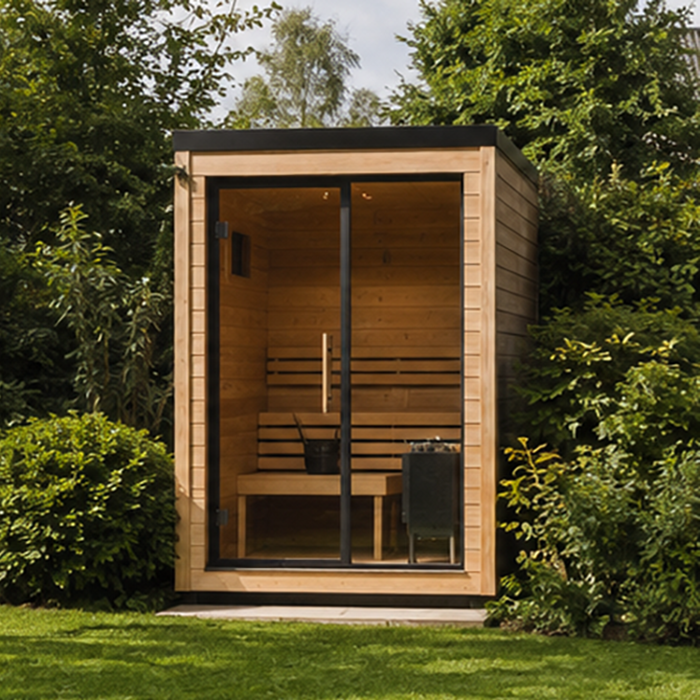
Review the proposed effect after dark before accepting the final position. A lighting professional can demonstrate a fitting or beam pattern, then check it from the path, doorway and seat; a catalogue image cannot show glare at your site. If you are considering Sauna HC-150, confirm the front and door configuration so any glass is shown correctly on the plan. Use those positions to assess possible reflections rather than judging only how the fitting looks beside the sauna. Check both the approach and the return journey, as a light that is unobtrusive in one direction may be uncomfortable in the other.
Before choosing fittings 3
Keep the relaxation area softly lit
Give the relaxation area a gentle, separate layer of light. It should be possible to find a seat, put down belongings and see the way back without turning the whole garden into a brightly lit patio. A source behind the seating may create silhouettes; a fitting in direct view can feel harsh. Decide where people are likely to sit and face, and whether a table or movable chair might cast shadows over the route out. If the area may be rearranged, avoid basing every fitting on one temporary furniture position. The light should support the chosen use while leaving the rest of the garden subdued.
Check the transition from the sauna entrance to the resting place: if one is brightly lit and the other completely dark, it may be difficult to judge where the seat or belongings are. Separate controls, or adjustable output where the specified equipment allows, let the seating light work independently of the route. When considering the HC-225 sauna, plan the external seating and its lighting separately from the sauna’s supplied components. Mark the way into and out of the seating area, not just the seats themselves. Check the view towards the entrance while seated so the light intended for access does not dominate the relaxation area.
Choose controls for each lighting zone
Plan controls alongside the route, not as an afterthought. Someone approaching should be able to switch on the path lighting before walking into darkness; the entrance and rest area may need independent controls so one zone does not have to remain unnecessarily bright. Dimming or timed operation can be useful if compatible with the chosen fittings, but compatibility and electrical arrangements must be confirmed by a qualified electrician. Think through ordinary use: arriving, returning to the house and switching lights off after the evening. Controls should be easy to understand for visitors who do not know the garden layout. Show their proposed positions on the lighting plan.
Motion sensors can suit an approach, but their position and switching behaviour need to match how the space is used. A sensor that fails to detect someone sitting still, or switches off unexpectedly, is a poor fit for a relaxation area; a manual control may be needed as well. If Sauna N-210 is on your shortlist, distinguish any supplied controls from those needed for the external lighting. Discuss how the route will stay visible while someone is seated and when they return to the house. Do not rely on a sensor as the only control unless a professional has specified it for that use.
Before choosing fittings 4
Specify fittings for the outdoor conditions
Choose outdoor fittings for their exact position, not just because the packaging says “garden light”. An exposed wall, a sheltered overhang and a low fitting near the ground encounter different combinations of rain, splash, dirt and accidental knocks. A qualified lighting professional or electrician should specify suitable fittings, connections and mounting for the site, taking account of the sauna manufacturer’s instructions and the actual exposure. Do not guess suitability from a photograph or move a fitting selected for a sheltered patio into a more exposed spot without checking. The name of a product category is not a substitute for a site-specific specification.
Allow for maintenance access as well as the first-night appearance. A fitting hidden behind a plant may be blocked as growth fills out; a low light can collect soil or get in the way of routine garden work. The sauna exterior is not automatically a suitable fixing surface. If you are considering the N-250 sauna, check its manufacturer’s instructions before proposing an attachment, and have the installer assess the mounting arrangement. Where an attachment is not permitted, discuss independent supports or a suitable nearby surface. Leave enough access to maintain the chosen fittings without having to move seating or disturb planting each time.
Limit spill light beyond the sauna area
Light spill matters beyond the path. A beam reaching a house window, neighbouring property or a darker part of the garden can be more intrusive than it seemed beside the fitting. Use light only where it serves a clear purpose, and ask for shielding and aiming that keep it on the route, entrance or seating. Check views from inside the house, near the garden boundary and from the seat itself. Where privacy matters, avoid directing light towards neighbouring windows or creating a bright view into them. Lighting a tree canopy or the whole boundary is not a substitute for making the route legible.
Review the proposed layout after dark from several viewpoints. A beam can strike glass or a pale wall, then reflect towards the people using the space, so inspect the effect rather than relying on daytime appearance. Mark house windows and boundaries on the same plan as the sauna, route and rest area. When planning around the LC-260 model, include its confirmed entrance position in this wider view of the garden. Check whether light intended for the doorway reaches beyond that area or becomes distracting from the house. Ask the lighting professional to revise the aim or shielding where spill is difficult to control.
Before choosing fittings 5
Test the layout after dark
Before installation, review the layout on site after dark, not only on paper. Walk from the house to the entrance, then return to the planned seat and walk back again. Notice whether a change in paving disappears, whether the door can be found quickly and whether a light is in your eyes. A hand-held torch can help you find places that need attention, but it cannot demonstrate the beam spread or performance of a permanent fitting. If a professional proposes a temporary demonstration, agree a safe method that avoids loose leads across the route and uses equipment as intended. Repeat the walk from the viewpoint of someone unfamiliar with the garden.
Give the electrician or lighting designer one annotated plan: show the sauna outline and entrance from current documents, the route, level changes, relaxation area, seating, nearby windows and proposed control points. Note details that still need confirmation, such as whether a light is included, where a fitting can be mounted or whether controls are compatible. This makes the brief more useful than a list of lamp styles and helps prevent the route or seating area being designed around an assumed door position. Review changes on site before work begins, so the agreed light points still match the actual layout.
Confirm what is included and who maintains it
Clarify the scope before buying fittings or agreeing an installation. Ask which exterior lights, controls and mounting work are included and which are separate from the sauna purchase; do not assume approach or garden lighting comes with the sauna. Confirm the specific fittings, proposed positions and control arrangement in writing. Ask the installer which parts of the sauna must be left clear and which manufacturer documents they need. If several trades are involved, decide who will coordinate the external lights with the sauna setup. This keeps the product specification and site lighting plan aligned without assuming one arrangement suits every configuration.
Include operation and upkeep in the handover. Find out how to use separate zones, switch them off and who to contact if a fitting stops working; ask how to keep plants, soil or stored garden items from obscuring lights. The professional can explain maintenance needs for the chosen fittings and exposure, rather than relying on a universal cleaning or replacement interval. Keep the lighting plan with the sauna’s instructions so later changes can be checked against it. Record which controls operate each area and any agreed settings, so everyone using the sauna can light the route and entrance without unnecessarily brightening the seating area.
Frequently asked questions
Should the sauna entrance be the brightest point?
Not necessarily. It should be easy to find and the surface outside the door should be visible, but a very bright fitting can cause glare or make the rest of the garden seem darker by comparison. Check the entrance from the path and from the place where you plan to sit.
Can I fix an outdoor light to the sauna?
Only if the manufacturer’s instructions permit the proposed fitting and a qualified professional approves its position and electrical arrangement. Do not assume that an exterior panel is suitable for mounting. If the instructions do not allow it, plan the lighting on a separate support or nearby surface.
How bright should sauna entrance lighting be?
There is no single output that suits every path, doorway and surface. The light needs to make the entrance and landing clear without shining into people’s eyes or reflecting harshly from glass. Ask a lighting professional to specify the fitting and check its effect at the site after dark.
Are outside lights included with an outdoor sauna?
Do not assume they are. Check the inclusions for the exact model and configuration, and ask whether approach, entrance and relaxation-area lighting are separate from the sauna purchase. An itemised plan helps distinguish the sauna’s supplied components from the external fittings and installation.
Can I use ordinary garden lights along the path?
A garden fitting may be suitable, but it must be specified for its actual position and exposure. Decorative lights may not make steps or changes in level easy to see. Ask a qualified lighting professional or electrician to assess the fittings, placement and controls for the site.
Effective outdoor sauna lighting is less about illuminating the whole garden than making a few places clear: the route, the entrance and the seat. Decide how each zone should look from standing and sitting positions, control glare, and have a qualified professional specify fittings and electrical details for the actual site. Confirm the sauna’s configuration and the lighting scope before work begins, so evening use does not depend on a single bright lamp.
