
Planning a Garden Sauna with an Optional Shower and Rest Area
Garden sauna planning
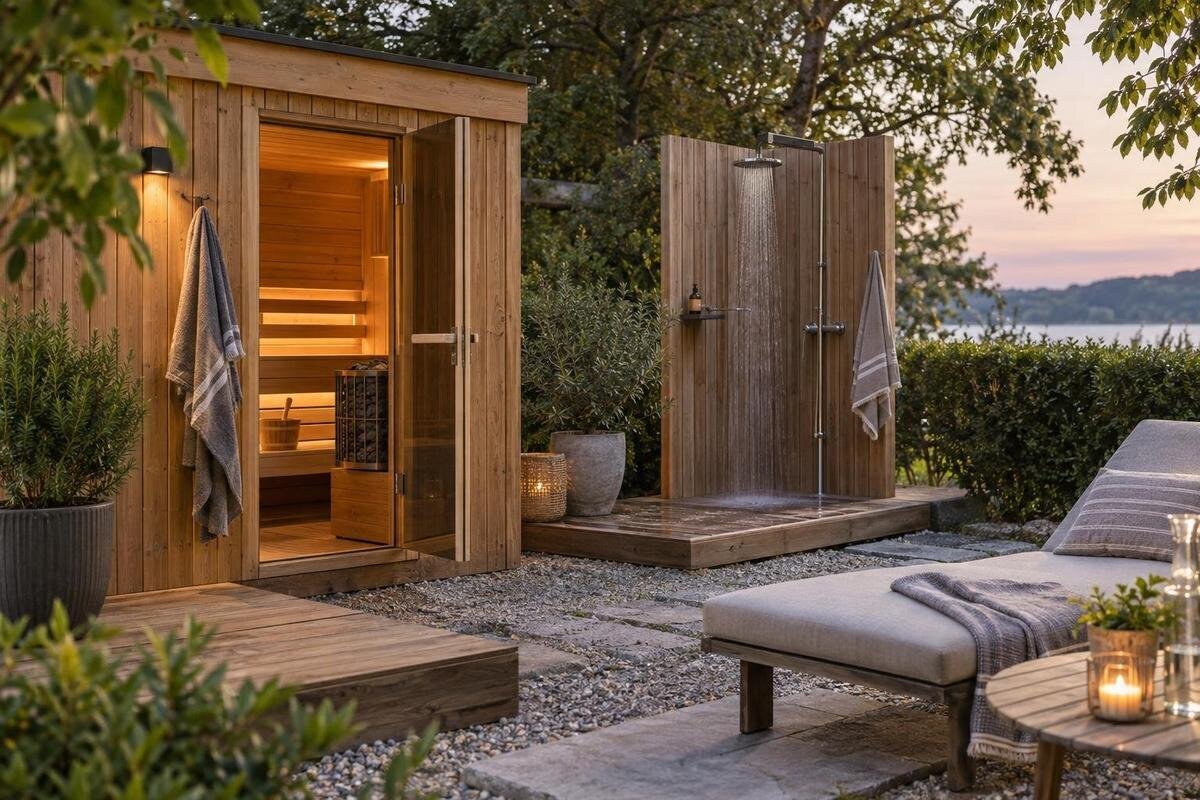
Planning a garden sauna area means arranging more than the building. The approach, entry space, optional shower and place to sit all need room, while water, drainage, furniture, screening and services may involve separate products or trades. A considered layout makes the journey clear without forcing everyone through a narrow corner or across a wet patch. It also helps you compare a proposed position with the chosen sauna’s actual drawings, rather than relying on a product photograph. The aim is a practical sequence from the garden path to the sauna and back to a comfortable resting place, with each feature specified on its own terms.
Map the route from the house to the sauna
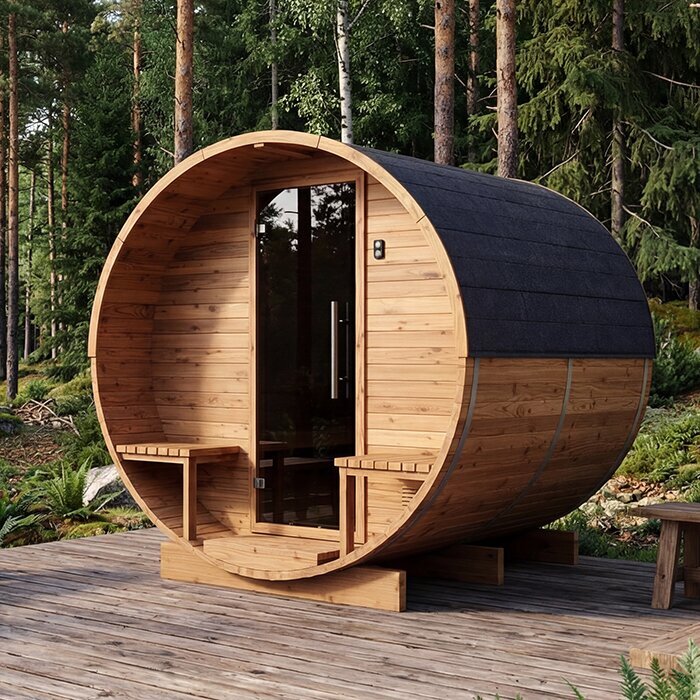
Begin by tracing the ordinary approach from the house or garden entrance to the sauna. Mark gates, steps, paths and planting that already shape the journey, then note where someone might pause to put down shoes or pick up a towel. Keep this route distinct on the plan from the area where people sit; the shortest line across the garden may cut through the quieter part of the layout. A clear route also makes carrying supplies and reaching the sauna for routine cleaning more straightforward.
Trace the route from the sauna door to the shower and on to a seat, then consider what happens if another person arrives or leaves at the same time. The aim is not to prescribe one order of use, but to spot pinch points before they become paving or furniture decisions. A shared path can work, provided people can turn and pass without stepping through a wet patch or squeezing past a chair. Note whether access to a shed, washing line or other garden feature crosses the same route. Include the return indoors: someone heading back to the house should not have to walk around occupied seats or through the shower enclosure. Where routes cross, leave that space free rather than filling it with towel storage, a table or planting.
Measure the sauna and its access space
Measure the available area and establish the sauna’s exact external dimensions from a current manufacturer drawing for the configuration you are considering. An area figure, if shown in a listing, is not a substitute for the outside footprint, door position or required clearances. Mark the door opening, any steps or entry platform, and the space needed to clean and maintain the building. Follow the model’s own siting and access instructions rather than borrowing a clearance from another sauna that looks similar.
If Sauna N-250 is on your shortlist, use its current drawings to place the exact configuration on your garden plan. Measure around fixed obstacles and allow gates and people to pass. Include the approach needed for delivery and installation as well as the space around the finished sauna. Record the building footprint and the surrounding access space separately, so neither disappears when you compare alternative positions. A layout that fits between two fences on paper may still leave an awkward entrance or no useful access at the rear. If the plan only works with the building tightly against a fence, check the proposed position with the manufacturer or installer before fixing it. Keep measurements on the plan rather than relying on a photograph or a model name to judge scale.
Give the sauna, shower and seating distinct zones
Think of the area as a sequence of useful zones: a dry place to arrive or put down a towel, the sauna entrance, an optional wet area and a separate place to sit. They do not need fences or walls between them. A change in paving, a small screen or simply the position of a chair may make each area clear. The important point is to reserve real ground for each one, rather than drawing the sauna and assuming the rest will fit around it.
Keep the route between the zones open, and avoid placing a seat directly where someone needs to step out or turn. If the shower is included in your plan, allow for splash space as well as the shower unit itself. When comparing the LC-260 sauna, place its entrance within the wider layout using the drawing for your chosen configuration. Then draw the other zones around that entrance, rather than treating the sauna outline as the whole garden area. Give towels and belongings a defined place outside the shower’s splash area, without using the main path for storage. On a smaller plot, a dry arrival area can also provide somewhere to put things down beside the seating, provided it remains accessible when the chairs are occupied. Specify the shower and outdoor seating separately.
Choose a practical position for an optional shower
Decide what you mean by a shower before reserving space. A simple rinse point and an enclosed shower have different needs for privacy, room to move and connections. Think about who will use it, whether they need a sheltered place to change, and how they will get from the sauna to the shower without crossing the main seating area. The answer may be a nearby corner or a more screened position elsewhere; convenience alone should not dictate the layout.
Check views from the house, garden paths and the intended seats as well as from the shower itself. Leave room for a person to use the area and for any door or screen to operate, while keeping the main path clear. Consider where a towel will hang and where clothes or shoes can stay out of the spray; these small details belong on the layout alongside the shower fitting. If you are considering Sauna HCF-300, treat the shower as a separate choice rather than assuming it forms part of that model’s configuration. Decide whether you want an open rinse point or an enclosed space before settling its position. That choice gives you a clearer basis for discussing privacy, water supply and drainage with the relevant professional, without committing to fittings prematurely.
Plan water supply and drainage separately
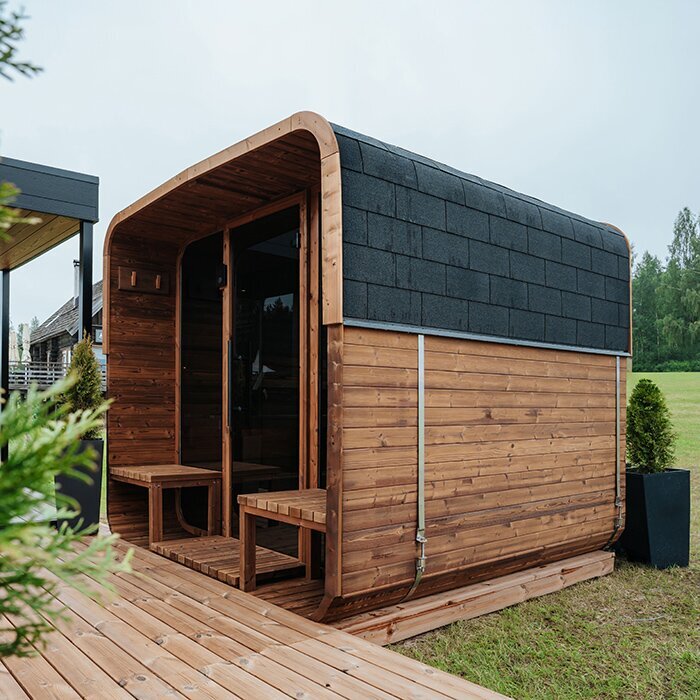
Show the likely water supply and the route for drainage on the site plan before choosing paving or planting. Note where water may splash or run and how to avoid an obvious puddle on the approach, at the sauna entrance or beside the seats. Do not assume that a nearby lawn or existing drain will handle the shower. The right arrangement depends on the site and the services already there, so ask a qualified plumbing or drainage professional to confirm what is practical.
Include access for future inspection or maintenance when discussing pipe routes, rather than hiding every service beneath a finished surface. Keep the wet area distinct enough that towels, chairs and the main route are not continually exposed to spray. For a layout centred on Sauna LCF-300, show the sauna’s service requirements and the separate shower connections as distinct items on the plan. This helps you see which decisions concern the building and which concern the garden works. Ask the relevant professional to explain how the proposed drainage arrangement relates to the finished shower area and nearby path. Resolve that relationship before choosing the final paving pattern or placing permanent furniture. A neat-looking layout is not complete if an inspection point becomes inaccessible or water collects where people need to stand.
Make the outdoor resting area comfortable
Plan the seating as a destination rather than a spare space left over after the sauna and shower are placed. Decide how many people you want to seat, whether they need a table or a place for towels, and whether chairs can be moved without blocking the path. Consider sun, shade and exposure to wind at the times you are likely to use the garden. A seat that looks inviting on a plan may be awkward if it faces a busy route or sits in the shower’s splash area.
Choose outdoor furniture and finishes intended for their location, and leave room to move around them and clean beneath or behind them. Draw chairs in their occupied positions, not just neatly tucked against a table: the space needed to sit down and stand up is part of the resting area. If you want a screen or canopy nearby, check that it does not crowd the seating or conflict with the sauna’s stated access requirements. When considering the S-140 sauna, measure the outdoor furniture independently rather than choosing it by how it looks beside the product photograph. Think about where movable pieces will go when you need to clean the area or use the garden for something else. Keep towel storage within reach of the seats, but outside the route and shower splash area.
Choose a clear, wet-weather route
The route between the garden entrance, sauna, shower and seating should remain easy to follow when the surface is wet. Choose paving or another path finish suited to outdoor use, and ask the supplier how it behaves when damp and how it should be maintained. Avoid creating narrow turns that are difficult to negotiate while carrying towels, or a path that requires people to step across the shower area to reach a seat. The aim is a clear connection, not an elaborate network of paths.
Consider where leaves, soil or water may collect, and keep access to drains and other maintenance points in mind. Check the transition from path to any entry step or platform against the chosen sauna’s instructions; do not assume all models have the same entrance arrangement. If Sauna HC-150 is on your shortlist, use its entrance details to assess that transition while selecting the surrounding path finish separately. Look at the whole route, including existing paving, rather than only the new surface immediately beside the sauna. Note any changes in level or awkward edges for discussion with the installer. Also consider how you will sweep or clean the path once furniture and screens are in place. The finished approach should remain straightforward to use and maintain, not merely look tidy on installation day.
Check privacy from each part of the layout
Assess privacy from the places people will actually stand or sit: the sauna entrance, the shower, the resting area and the paths around them. Look towards windows, neighbouring gardens and other points from which the area might be visible. A screen that works from one angle may leave the shower exposed from another, while a seat may feel private when occupied but not when someone walks along the main path. Sketch those sight lines before choosing a screen or changing the planting.
Existing fences or plants may provide some cover, but check what they conceal through the seasons and how much space they take up. A new screen or planting can define the area without separating it completely from the garden; position it so it does not obstruct the route, gates or access needed for the sauna. Assess the shower and seats separately, because a screen placed for someone standing at the shower may not give the same cover to someone sitting nearby. Temporary markers can help you judge the proposed screen position before choosing its finish. From the seating, consider which parts of the garden you still want to see. Keep privacy features as a landscape decision, not an assumed part of the sauna purchase, and confirm any clearances before fixing a screen close to the building.
Coordinate services, delivery and maintenance access
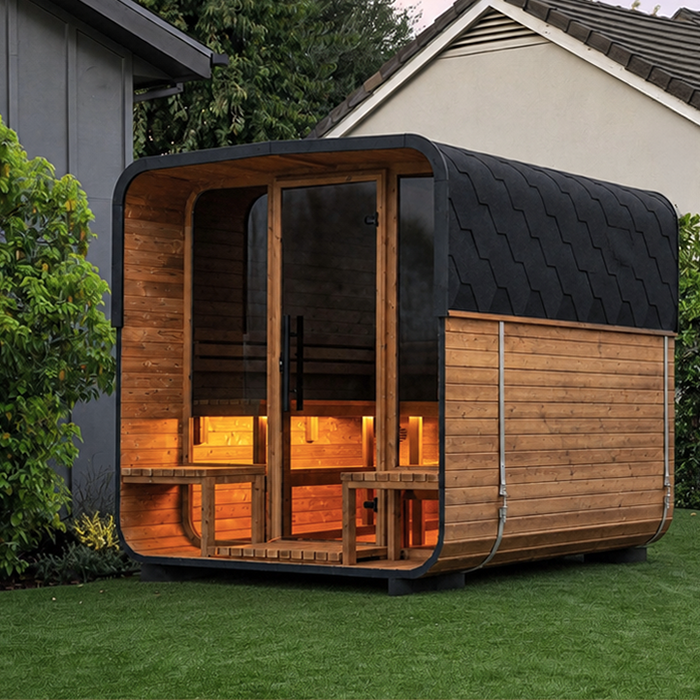
List the services that the chosen sauna and any separate shower will require, then ask the relevant supplier and qualified professionals where connections need to run. Do not assume that a sauna includes utility work, a shower system or other accessories. If the selected model has specific service or access requirements, use its verified instructions to discuss the layout; installation details should be confirmed by the appropriate professional, not guessed from another model.
Keep a route open for delivery and installation, and ask the supplier what access is needed for the exact product. If you are comparing the HC-225 sauna, establish its delivery requirements before deciding where permanent screens, paving edges or other obstacles will go. Separate the temporary space needed to bring the sauna into the garden from the access you will need afterwards for cleaning or repairs. Both belong on the plan, but they may affect different stages of the work. Think about the order in which the sauna, shower and landscape features will be installed, and discuss any shared access with the relevant providers. Avoid designing a service route that cuts through the resting area if another practical route is available. Furniture and planting should not leave essential maintenance points out of reach.
Test the plan before committing to a layout
Once the manufacturer’s measurements are available, mark the sauna footprint and door position on the ground with tape, string or another temporary marker. Outline the proposed shower, path and seating area as well. Walk the route with a towel or other items you would normally carry, and place chairs where they are intended to go. This simple trial can reveal a blocked turn, a seat too close to the wet zone or a route that conflicts with a gate before you order materials or arrange installation.
Review the marked layout against the exact sauna configuration, its drawings and stated clearances, then confirm local availability and inclusions for the model you are considering. If Sauna N-210 is your preferred option, make sure the trial uses its measurements rather than an approximate outline based on a product photo. Record any changes revealed by walking the route, so the final plan reflects the test rather than the earlier sketch. If the shower is optional, compare the layout with and without it: its reserved space should not make the seating awkward in the meantime. Discuss future service routes now, as changing those later may affect the finished path, drainage or privacy. Keep decisions that depend on professional advice open until they are confirmed, while settling the furniture positions and everyday routes you can assess on site.
Frequently asked questions
Should an outdoor shower sit beside the sauna?
It can be convenient to keep the two close, but leave a clear route and prevent the shower area from becoming the only way to reach the seating. The best position depends on your intended use, privacy and the service and drainage arrangements.
Can I add a shower after the sauna is installed?
Possibly, but the space, water supply and drainage route can affect where it will work. If you may add one later, mark a possible shower zone and discuss service routes with a qualified professional before settling the garden layout.
How much space should I leave around a garden sauna?
There is no reliable universal clearance. Use the current manufacturer drawing and instructions for the exact model and configuration, including the door, access and maintenance requirements. Also allow for the path, delivery route and any separate shower or seating area.
Does a sauna purchase include a shower or outdoor seating?
Do not assume that it does. Check the stated inclusions for the exact sauna and configuration. Treat a shower, paving, outdoor furniture, screening and utility work as separate choices unless the supplier explicitly confirms otherwise.
How can I check whether my layout will work before building?
Mark the measured sauna footprint and door position on the ground, then outline the path, shower and seating areas. Walk the route and move chairs into place. Compare the result with the verified drawings and confirm service details with the relevant professionals.
A coherent garden sauna area depends on a usable route, a measured sauna position and enough space for the separate features you actually want. Confirm the exact sauna dimensions and access requirements first, then resolve any shower services and drainage before finalising surfaces, seating and screening. Keeping those choices distinct makes it easier to create a calm resting area without implying that the sauna includes the shower, furniture or garden work.
