
How to Plan an Outdoor Sauna for Cold Winters
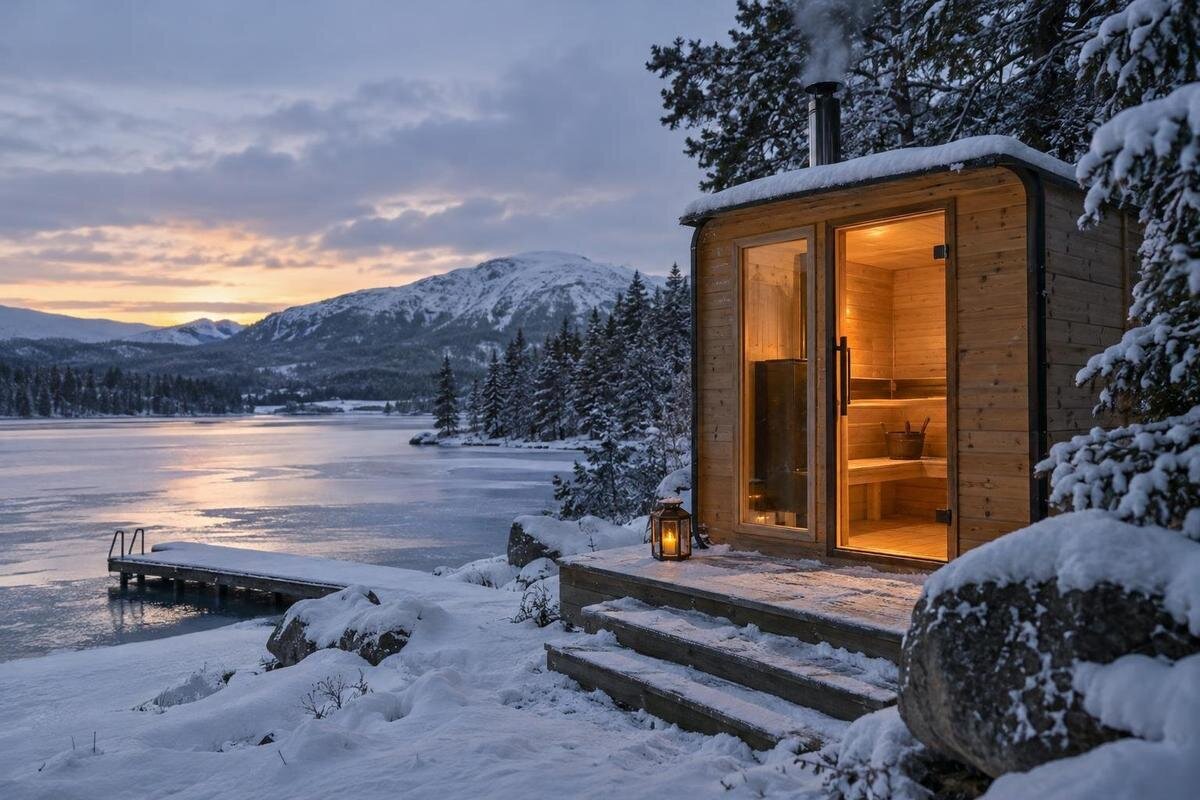
Outdoor sauna planning
Planning an outdoor sauna for a cold winter means checking more than whether a cabin can stand in a garden. Cold spells, wind-driven rain, frost, snow, wet ground and an icy route all put different demands on the site and equipment. The decisive evidence is model-specific: the cabin's construction and exposure limits, the heater's requirements, the base drawing and the instructions for maintenance. A product name or photograph cannot answer all of these questions. Compare the right documents, assess the plot and plan winter access before settling on a particular configuration.
01
Cold-weather limits for the exact cabin and heater
For a cold-winter installation, ask for the manual and technical sheet for the precise cabin and heater combination, not just a general statement that the sauna is intended for outdoor use. Look for separate conditions for storage, assembly and operation, including any stated minimum outside temperature and limits relating to wind, rain or snow. The heater's operating requirements and the cabin's permitted exposure are different questions, so obtain both sets of instructions. If the documents do not state a limit that matters at your site, ask the maker or supplier for a written answer before ordering. Do not turn a broad sales description or product photograph into a technical guarantee.
Ask whether each limit applies to the cabin while in use, to a cold start, or to storage before assembly; these are not interchangeable. Find out whether the guidance changes for the exact heater, glazing or other selected options, and request cold-weather warm-up information only for that configuration. A time quoted for another cabin or a milder day is not a reliable planning figure. The HC-225 model listing identifies a variant to match against its manual, but its listed 4.4 m² area is not an operating limit. If the manual uses terms such as installation temperature and operating temperature, ask which one applies to the conditions at your site. Keep written replies with the drawing and manual so the supplier and installer are working from the same version.
Construction details and weather protection
Cold-weather planning should account for the assembled cabin, not just the main wall material. Ask the maker what the specification says about the roof, walls, floor, joints, door and window seals, glazing, ventilation openings and exterior finish. Check where rainwater is directed and how junctions and penetrations are treated; a robust-looking wall does not by itself confirm that these points are protected. Confirm that the exact model is designed for the exposure expected at your site, rather than assuming any sauna described as outdoor will tolerate wind-driven rain, frost and snow equally well. Assembly details matter too: a change to a specified joint or finish can alter the intended build.
Request a dimensioned drawing, assembly instructions and a written inclusions list for the exact configuration. The drawing should show the roof edge, openings, floor and any required access space; the inclusions list should distinguish supplied parts from items such as a heater, base or weather covering that may be optional. When considering the N-210 product page, use these details to establish what the proposed package contains and how its parts fit together. Ask which sealants, finishes or replacement parts are permitted if the documentation is unclear, instead of choosing them by appearance. Compare documents for the configuration you intend to order, not just a similar photograph.
02
Exposure to rain, wind and snow
Assess the site in wet weather as well as on a dry day. Note where rainwater runs, where it pools, and whether water from the sauna roof would land on the base, doorway or access path. Avoid a hollow that collects runoff, and plan drainage so it carries water away without creating a new wet or icy patch. Look at the direction of driving rain at the actual site and consider whether a fence, hedge or neighbouring building changes the exposure. A sheltered position can help with exposure, but it must still leave room to enter, ventilate and maintain the cabin. Check the plot in different conditions rather than relying on an assumed prevailing wind direction.
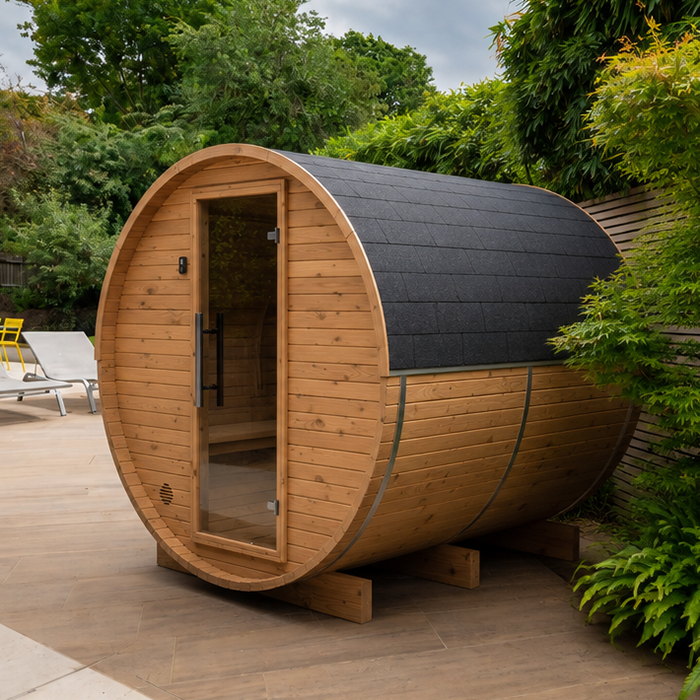
Ask the manufacturer or installer for documented wind and snow limits, roof-covering details and any maintenance requirements for the exact model. Do not infer a snow rating from a roof shape or assume that a small garden building is designed for every winter load. If you are considering an added canopy, screen or cladding, have its effect on ventilation, clearances, runoff and wind exposure checked before making changes. Improvised shelter can create different problems rather than solve them. For the N-250 sauna listing, confirm which weather-protection details apply to the ordered configuration; its listed 5.27 m² area and a product photograph do not establish a wind or snow rating.
Base requirements for the actual ground
Start with the maker's base requirements and the conditions under the proposed position. A surface can appear firm in summer and soften or hold water after persistent rain or frost. Find out whether the cabin needs a particular type of support, a defined level or a clear space below it, then check that the planned groundworks match the drawings. Think about where roof runoff and surrounding surface water will go; a base that leaves water standing around the structure may undermine the wider weather plan. Confirm that the finished height lets the doorway work as shown without directing runoff towards the entrance. There is no universal foundation that suits every site.
For a model such as the LC-260 barrel sauna, ask the supplier or installer to identify support points, finished height, access gaps and any anchoring details in its installation drawing. If the plot is sloped, made-up, uneven, prone to pooling or otherwise uncertain, involve a suitable groundworks or structural professional before fixing the design. Avoid choosing concrete pads, paving, a deck or another base merely because it is common elsewhere; those options are not interchangeable without reference to the manufacturer's requirements and the site. Also check who is responsible for preparing and checking the base before assembly, so that the groundworks and sauna installation are planned together.
03
A practical route to the sauna in winter
Plan the walk from the house or changing area with wet evenings and freezing mornings in mind. A route that feels short in summer may become awkward if it crosses puddles, becomes slippery, has an unlit step or needs to be cleared before every use. Choose a clear, well-drained path with dependable footing and lighting, and consider how you will remove leaves, ice or snow without pushing water towards the cabin. Check the route at the times you are likely to use the sauna, including after dark, rather than judging it at midday. Keep the door approach clear of roof runoff and obstructions.
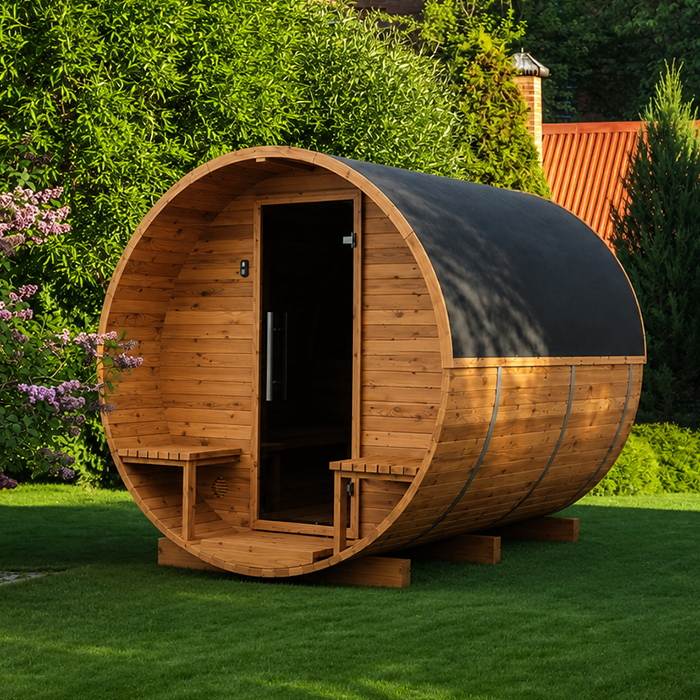
Measure every pinch point between the delivery drop-off and the installation position, including gates, turns, steps and overhead obstructions. If you are considering the HCF-300 sauna listing, ask the supplier for package dimensions and handling requirements to check against those measurements. Its published floor area does not show whether the delivery can pass through a gate or negotiate a turn. Establish how much room assembly needs and where parts can be kept without blocking the route. Once installed, the sauna must still leave room for the door to open fully and for maintenance access; do not use all the available space simply to accommodate the cabin.
Heater pairing and electrical supply
Settle the heater and power questions before finalising the cabin. Confirm the exact heater model and controls proposed, whether they are included, and whether the manufacturer approves that pairing for the cabin dimensions and winter conditions at your site. Ask for the heater's own operating and installation documentation, including any cold-start guidance; do not substitute a general rating or a recommendation for another cabin. A suitably qualified electrician should assess the supply, circuit, cable route and control locations against the exact equipment and applicable requirements. Whether an existing supply is adequate cannot be determined from a sauna listing.
Have the supplier state what the quote includes and what is left to others: heater, controls, electrical connection, commissioning and any separate groundwork should not be assumed to arrive together. Use the LCF-300 model listing to identify the variant being quoted, and have the proposed heater and controls recorded alongside it. Ask where the required equipment will sit, how it remains accessible for servicing, and what documents you will receive for normal operation and faults. Give the electrician the specification for that exact combination rather than a general cabin description. If power is interrupted in bad weather, follow the maker's instructions for restarting rather than improvising.
04
What an area figure can and cannot tell you
Do not choose by the largest or smallest area figure alone. Product records may give an area without showing whether it means internal usable floor area, external footprint or another measurement, so check the drawing before comparing. The S-140 sauna page lists 1.93 m²; treat that as the published figure, not proof of how many people fit or how much bench space remains. For a fair comparison, request overall and internal dimensions, bench layout, ceiling height, door position and heater clearances. Ask about intended occupancy only where it is stated in the maker's specification, and compare that with the way you expect to use the room.
Mark the proposed footprint on the ground from the drawing, then include the door swing, steps, approach and clearance needed to reach components for maintenance. Allow for practical items used before and after a winter session, such as somewhere nearby to leave outdoor footwear and a towel, without counting that as sauna floor space. If the drawing shows options, check the exact layout and whether changing a feature alters the space or heater pairing. Area comparisons are a useful first filter, but only dimensioned plans show whether the interior, doorway and service access work in the space you have.
Entry clearance and ventilation
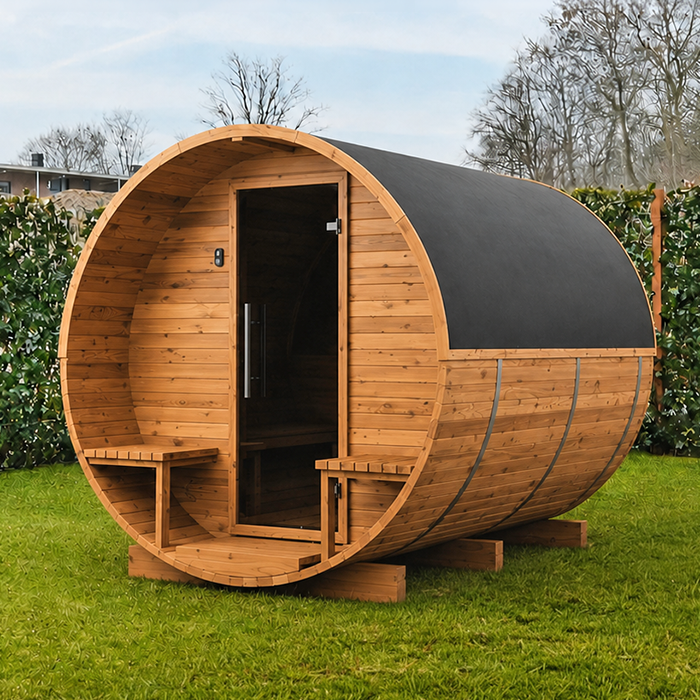
Door position affects how convenient the entrance is in cold weather. Check which way the door opens, how much space it needs and whether the threshold remains accessible when rainwater or snow reaches the entrance. Locate the entry where you can approach without stepping into roof runoff or a cramped corner, while preserving the clearances shown in the drawing. If you are considering the HC-150 model page, request its door dimensions and opening direction when assessing the layout. Ask about seals and routine door adjustment in the manufacturer's instructions; do not add a threshold strip, awning or extra seal without checking that it is compatible.
Keep the manufacturer's ventilation arrangement in view when thinking about retaining warmth. Do not close or cover designed openings to stop cold air, and do not add insulation or a secondary lining unless the maker approves it for that cabin. Ask how the room should be aired and dried after use in winter, and whether the guidance changes when outside conditions are cold or damp. If the entry catches a strong gust, consider whether a different orientation or an approved screen would help, while preserving ventilation and service access. The aim is a usable entrance and the intended air movement, not an airtight cabin created by guesswork.
05
Maintenance through wet and freezing weather
Winter protection is easier to manage when the sauna can be inspected without awkward or unsafe access. Follow the maker's schedule for checking the roof covering, joints, door seals, drainage, exterior finish and any fixings that are meant to be inspected. Ask which cleaning and maintenance products are compatible and when any finish needs attention; do not infer a treatment interval from another timber building or apply a coating simply to make the surface look more weather-resistant. Keep the service side and runoff routes accessible through the season, and note changes such as persistent damp, a leak or a door that no longer closes as described.
Plan how leaves, ice and any snow will be dealt with at the entrance and around water outlets, without assuming that the roof can be cleared safely by a particular method. Follow the maker's instructions on roof and exterior maintenance; if they are silent about snow or access, ask for advice rather than making up a procedure. After visible movement, recurring water ingress or an electrical fault, have the relevant part assessed by the installer, manufacturer or electrician instead of adding homemade sealing or changing the heater. Keep the maintenance instructions with the sauna so that care does not depend on memory or advice intended for another model.
Delivery, assembly and package scope
Before ordering, make a written schedule of the chosen cabin model, heater and any options, and match it to the documents you have reviewed. Ask the supplier to spell out what is included and excluded: cabin parts, weather covering, base materials, heater and controls, delivery, assembly, groundworks, electrical work and commissioning may be handled separately. Confirm who is responsible for checking the prepared base and who answers questions if the installed configuration differs from the drawing. Read the relevant terms for after-sales service and warranty coverage; do not assume one part of the package covers the full structure or every winter condition. Clear scope prevents gaps between trades.
Agree the sequence of groundworks, delivery and assembly before choosing an installation date, especially if the garden becomes difficult to reach in wet weather. Ask how components should be stored if groundworks or weather delay assembly, and whether the site must be ready in a particular way before delivery. Check any stated storage and assembly conditions against the proposed schedule rather than assuming that operating limits also apply to unassembled parts. Keep model, heater and drawing references together so the electrician, groundworker and installer are working from the same versions. This makes it easier to resolve a delay or change without losing track of the configuration you agreed to buy.
Frequently asked questions
Is there a minimum outside temperature for an outdoor sauna?
There is no single temperature that applies to every cabin and heater. Check the operating and installation limits for the exact combination, including any guidance for cold starts and storage. If a relevant limit is not published, ask the manufacturer or supplier for a written answer rather than inferring it from the heater type or a product image.
Does every outdoor sauna need insulation for winter?
Not necessarily; it depends on the documented cabin design, heater pairing and intended use. Ask for construction details and model-specific cold-weather guidance. Do not add insulation, a lining or extra seals unless the manufacturer confirms they are suitable, as changes can affect ventilation and the intended construction.
Can I leave an outdoor sauna outside all winter?
Only if the manufacturer confirms that the exact configuration is suitable for the exposure at your site. Check any limits for rain, wind or snow, along with requirements for exterior finish and maintenance. Confirm what weather protection is included rather than assuming it comes with every sauna.
What base should I use for an outdoor sauna?
Follow the installation drawing for the exact model, then check the ground, drainage and support requirements with the installer. There is no single base type for every site. If the ground is sloped, soft, filled or prone to pooling, involve a suitable groundworks or structural professional before deciding.
How should I plan the route to the sauna in winter?
Plan a clear route with dependable footing, drainage and lighting, and leave the door area unobstructed. Consider how you will deal with leaves, ice or snow without directing water towards the sauna. If the route includes steps or a steep change in level, account for that when planning access.
A reliable winter plan is based on evidence for the exact sauna and the conditions at its actual site. Confirm the documented limits, construction details and heater pairing, then match the base and access route to the ground and the way the garden is used in cold weather. If the manufacturer cannot substantiate a point that matters, keep it as an unanswered question rather than filling the gap with an assumption. The result is a setup you can assess and maintain through the weather you expect, without relying on a promised heat-up time or a generic product description.
