
How to Site a Sauna in a Wet or Humid Garden
GARDEN SAUNA PLANNING
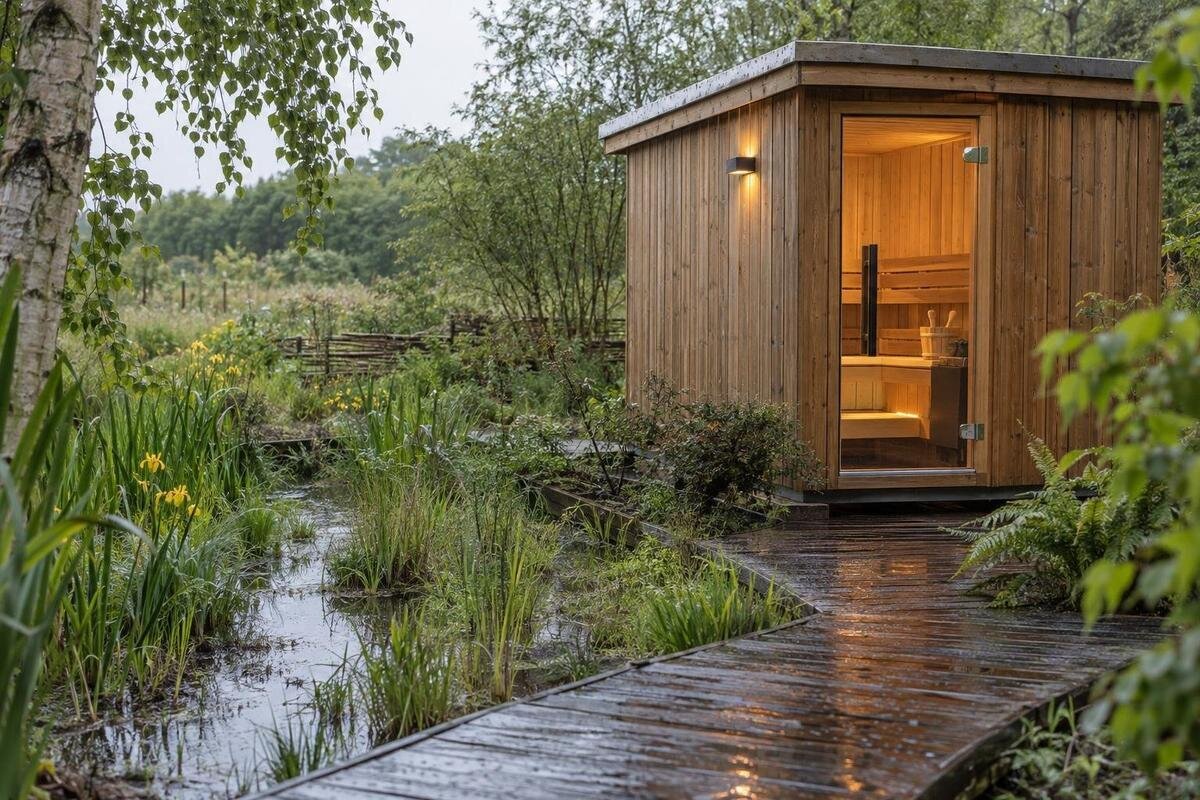
A garden can be humid without having a drainage failure, and a patch that looks dry between showers can still become soft or waterlogged after sustained rain. Siting an outdoor sauna on a wet plot therefore means checking more than the view from the house: follow the water, assess the ground, allow the outside to dry and leave practical access for delivery and upkeep. Use the current documentation for the exact sauna model, and get a qualified groundworks or installation professional to review uncertain conditions. No single base, clearance or drainage detail suits every site.
Map where rainwater goes
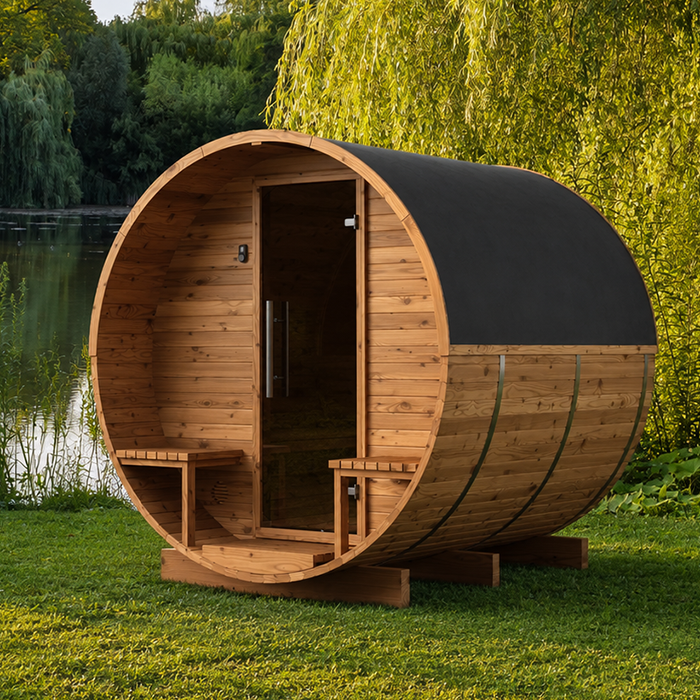
Begin by separating damp air from water on the ground. A garden can feel humid even where surface water drains away; a breezy plot can still have a low pocket that stays saturated. On a wet day, observe the proposed position and the ground above it. Note whether water runs from a house, shed, paving, slope or path, where it collects, and which way it leaves. A simple sketch with arrows and photographs from fixed points can preserve details that are easy to miss when the weather improves. Look at the sauna's intended position, not just the surrounding lawn: a shallow hollow or roof discharge may fall exactly where its base is planned.
Repeat the observation after different periods of rain, as one visit may not show the plot's usual pattern. Notice whether puddles drain away or remain, whether the ground becomes soft underfoot, and whether runoff crosses the position from elsewhere. Include downpipes, drains, raised paving and boundaries in the sketch, rather than treating the sauna area as an isolated patch. If water keeps standing, the source is unclear or the ground stays saturated, get advice from a suitable drainage or groundworks professional before choosing a base. The aim is to understand the site's existing water routes, not to guess at a drainage solution from a dry-weather view.
Assess the ground before choosing a base
Ground that appears firm between showers may soften when wet. Topsoil, made-up ground, compacted areas and sloping patches can behave differently, while nearby roots or previous groundworks may affect where a support system can sit. These are reasons to assess the actual position in wet conditions rather than assuming that a level-looking patch is ready for a structure. Record which parts remain firm and where the ground becomes soft, keeping those observations separate from your notes on surface water. A place without visible puddles still needs its ground conditions assessed. If you know that the area has previously been filled, excavated or landscaped, include that information when discussing the site. Avoid settling on a base type simply because it has worked for another garden: the required support arrangement depends on the chosen sauna and the ground beneath it.
Check the current installation drawing for support points, base requirements and how level the base must be. If you are considering the Thermowood Barrel Sauna N-210, use that exact model name when asking for its matching documentation; a product image or catalogue entry does not show how its supports should be arranged. Coordinate the base with the route water takes across the plot, so that the finished work does not create a hollow or barrier that traps runoff. Where the site is soft, uneven or built up, have a groundworks professional review it before the installation plan is fixed.
Keep roof runoff and splashback away
Look up as well as down. Water from a house, shed, raised deck or another roof can discharge into the sauna position, particularly below an eaves line or beside a downpipe. Check where those outlets send rain before deciding where the structure will go. Avoid a position where a nearby roof continually sheds water onto the proposed base or lower walls. If an outlet needs to be redirected, plan a suitable route rather than allowing it to empty beside the sauna and hoping the ground will absorb it.
Paving and other hard surfaces can also send rain towards a structure or splash it back onto the lower exterior. Check how runoff behaves at their edges and whether the finished level would cover or obstruct a clearance specified by the manufacturer. Do not rely on a paved apron or gravel strip as a substitute for a site drainage plan. If the Thermowood Barrel Sauna N-250 is on your shortlist, use its matching drawing to understand the actual outer profile before setting nearby paving; a catalogue image is not a reliable guide to the space around a particular model.
Airflow and access around the sauna
Dense hedging, close fences and walls can create still, damp pockets around a structure and make its exterior harder to inspect. Consider how nearby shrubs will grow, not just how much room they occupy on the day the site is planned. A position with open space around the sauna is easier to check for leaves, damp patches and surface changes, and less likely to be boxed in by later planting. There is no single clearance that suits every model, so use the manufacturer's requirements rather than making up a standard gap.
External air movement is not a substitute for ventilation inside the sauna. Follow the relevant manufacturer and heater instructions for internal ventilation, and do not block any openings or clearances they specify. Keep enough practical access to check the outer surfaces and to carry out routine cleaning or maintenance without removing a fence or cutting back established planting. When comparing the Thermowood Barrel Sauna LC-260 with other models, include this surrounding access space in your site plan, using the documented clearances for each model.
Plan drainage around the whole site
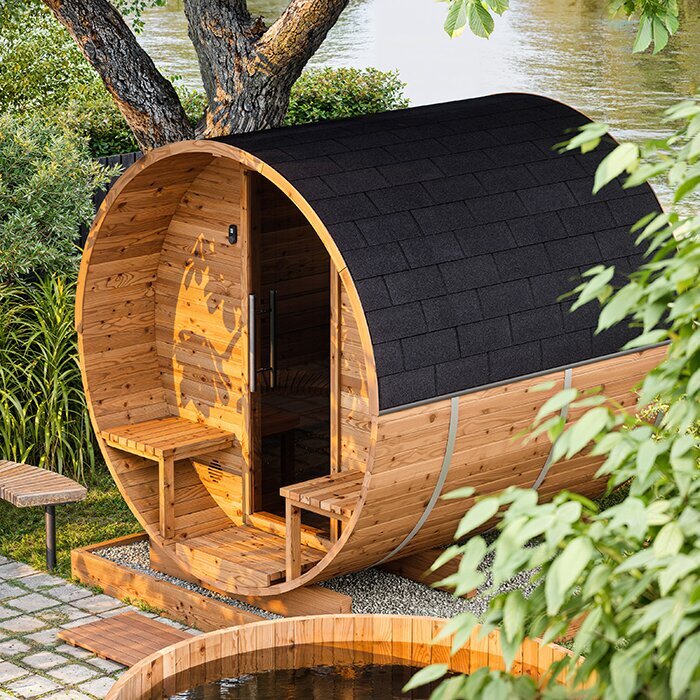
Once you understand how water moves, plan where it can go without making another part of the garden worse. Avoid sending runoff beneath the sauna, towards a building, across a regularly used path or onto neighbouring ground. Do not assume that a particular drain, trench or soakaway will work simply because it is a familiar option; soil conditions, existing drainage and the available outlet all matter. Where drainage work involves excavation or the water route is unclear, ask a qualified professional to assess the site rather than attempting to design a solution from general advice.
Plan drainage and the base at the same time. A raised edge, paved area or other change in level can redirect water, so check the whole route after the proposed work is laid out. Mark the chosen position on the drainage sketch once its outline has been confirmed from the right model documentation. If you are considering the Thermowood Barrel Sauna HCF-300, show its documented outline alongside the existing water routes, rather than planning the structure and drainage on separate sketches. If the project includes washing or other water use, check the manufacturer's care information and plan any separate water route rather than letting it collect around the structure.
Keep the approach usable in wet weather
A route that is convenient on a dry day may be difficult to use when the garden is saturated. Check the path from the house or gate, where people will turn, and whether the approach crosses a muddy hollow or a surface that becomes slippery. The route should remain firm and manageable underfoot, with rainwater directed away from the walking line where practicable. Consider the transition from the path to the entrance as well as the path itself: note any step, narrow turning space or patch where water gathers. Think about carrying towels or cleaning equipment, rather than judging the route only by whether you can walk along it empty-handed. Delivery and assembly may also require temporary space that everyday use does not. Identify where components could be set down without blocking the approach or a drainage route, and discuss that space with the supplier or installer.
If access is tight, note gates, bends, steps, overhead obstructions and places where components may need to pass or be set down. Ask the supplier or installer for the relevant delivery and assembly information rather than relying on the dimensions of the finished structure alone. If the Thermowood Barrel Sauna LCF-300 is among the models you compare, use its exact model name when requesting the information needed to assess your route. Check the entrance position and any required access space in the current drawings, and keep the approach separate from any route used to carry surface water away.
Consider shade, wind and surrounding planting
The most sheltered corner is not always the easiest place for a sauna to dry. Buildings and dense planting can limit air movement, while persistent shade may leave nearby surfaces damp for longer. An exposed position can have the opposite issue if wind-driven rain repeatedly wets one side. Observe the proposed area at different times and after rain, noting shade, drips from trees, leaf litter and the direction from which water tends to arrive. Use these observations to compare possible positions; there is no universal orientation that will suit every garden.
Balance drying and access with the layout of paths and planting. Avoid placing the entrance where people have to cross a runoff channel, and leave room to keep leaves and vegetation from building up against the structure. Use the exact model drawings to confirm the door position and external outline before deciding which side should face a path or sheltered area. When considering the Thermowood Barrel Sauna S-140, compare its documented layout with the positions you have observed in wet weather. This connects the model choice to the garden's actual shade, airflow and approach, rather than choosing an orientation from appearance alone.
Check the full dimensions, not just an area figure
A product listing may include an area figure, but that number alone does not tell you the complete space needed for installation. The catalogue entry for the Thermowood Barrel Sauna HC-150 includes the figure 2.97 m²; it is not enough by itself to establish the external footprint, height, roof projection, support layout, access clearance or delivery route. Obtain current drawings for the exact model and configuration, and check which dimensions refer to the assembled structure and which relate to its base or other components.
Compare the drawing with a site plan that shows nearby paving, fences, downpipes, trees and the route people will use. Allow for any manufacturer-specified clearances and for practical access to inspect and maintain the outside; do not add an arbitrary measurement or assume the product image is to scale. If the site is tight, mark out the documented outline on the ground before committing to the position. Show the structure, its required clearances and the approach separately, so that the same patch of ground is not inadvertently allocated to incompatible uses. Check the marked position from the entrance side and from the sides that need maintenance access. If a dimension or projection is unclear, note the specific point on the drawing when asking the supplier for clarification. This makes it easier to see whether a feature that seemed minor—such as a gate, low branch or drain—would interfere with delivery, assembly or later access.
Coordinate groundworks with the installation plan
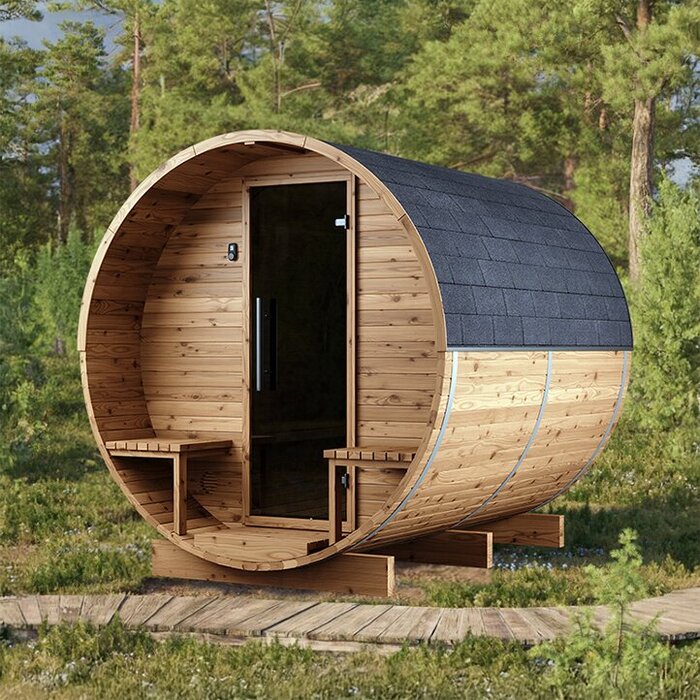
The position of the sauna, its support system, drainage and service routes should be considered together. The heater and electrical configuration can affect installation requirements, so do not infer the necessary arrangements from a generic image or another model's instructions. Ask the supplier or manufacturer for the documentation that matches the exact model and configuration, then have the installation reviewed by appropriately qualified professionals. Electrical work should be planned and carried out by a qualified electrician; this article is not a substitute for model-specific installation instructions.
Share the same site sketch, wet-weather observations and confirmed model details with the people responsible for groundworks and installation. Agree who will assess the ground, plan the water route, confirm the base requirements and review access for services and maintenance. Use the Thermowood Barrel Sauna HC-225 model reference to keep those discussions tied to the sauna under consideration, while confirming the heater and electrical configuration separately. Record any outstanding decisions on the shared plan, including an unresolved outlet, an uncertain base detail or a route that still needs checking. If the proposed position changes, revisit the connected arrangements rather than carrying over assumptions from the earlier layout. Resolve gaps in the drawings or instructions before groundworks begin, so that the proposed base and service route fit the chosen installation.
Recheck the site after rain
Once the sauna is installed, observe the area during and after rainfall to see whether water follows the route you planned. Look for pooling near the base, fresh splash marks, softening ground, debris in drainage features and standing water on the approach. These checks can show whether changes to planting, paving or an outlet have altered how the site behaves. Keep any maintenance access clear and follow the manufacturer's guidance for cleaning and caring for the exterior; avoid adding coatings, cleaners or other treatments based on assumptions about what a damp site needs.
A garden can change as planting grows, surfaces settle or drainage features collect leaves. If water starts collecting around the sauna, or the ground becomes persistently soft, note what has changed and ask the installer or a suitable groundworks professional to review it. Photographs taken from the same points used during planning can help explain the change. Record where the water appears and whether it remains after rain, rather than simply describing the whole area as damp. Do not cover openings or alter the base to try to correct a problem without checking the relevant instructions. Regular observation is more useful than assuming that a site that looked dry on installation day will remain unchanged through every wet spell.
Frequently asked questions
Is a garden that stays wet automatically unsuitable for a sauna?
No, but rainfall alone cannot establish whether a particular position will work. Check where water runs and collects, whether the ground stays firm, and whether the outside of the structure can dry and be inspected. If water remains around the proposed base or the ground is soft, have the site assessed before settling on a location.
Does an outdoor sauna always need a concrete base?
There is no universal base that suits every sauna and garden. The appropriate support arrangement depends on the chosen model and actual ground conditions. Check the current manufacturer documentation and have a groundworks professional assess uncertain or persistently wet ground; do not choose a base just because it is common elsewhere.
Will gravel solve splashback and drainage problems?
Not on its own. Gravel may form part of a planned surface, but it does not resolve water flowing from a roof, a low point that collects rain or an unsuitable outlet. Observe the site after rainfall, then plan surfaces and drainage together without relying on gravel to keep the sauna dry.
How much space should be left around the sauna?
Use the clearance requirements for the exact model rather than a general measurement. Allow for the structure's full external outline, access for inspection and maintenance, and any requirements in its installation documentation. A product photograph or an area figure is not enough to establish those clearances.
Can airflow around the sauna replace internal ventilation?
No. Air movement around the outside of the structure is different from ventilation inside the sauna. Keep the exterior accessible and avoid blocking specified openings, but follow the manufacturer and heater instructions for the internal ventilation arrangement.
On a wet or humid plot, choose a position by observing how it behaves in rain, not just how it looks on a dry day. Pair those observations with current drawings for the exact model, so that the support, water route, clearances and access all fit the same plan. If the ground remains soft or water continues to collect, resolve that uncertainty before fixing the base or service layout.
