
Planning an Outdoor Sauna on Sloping Ground
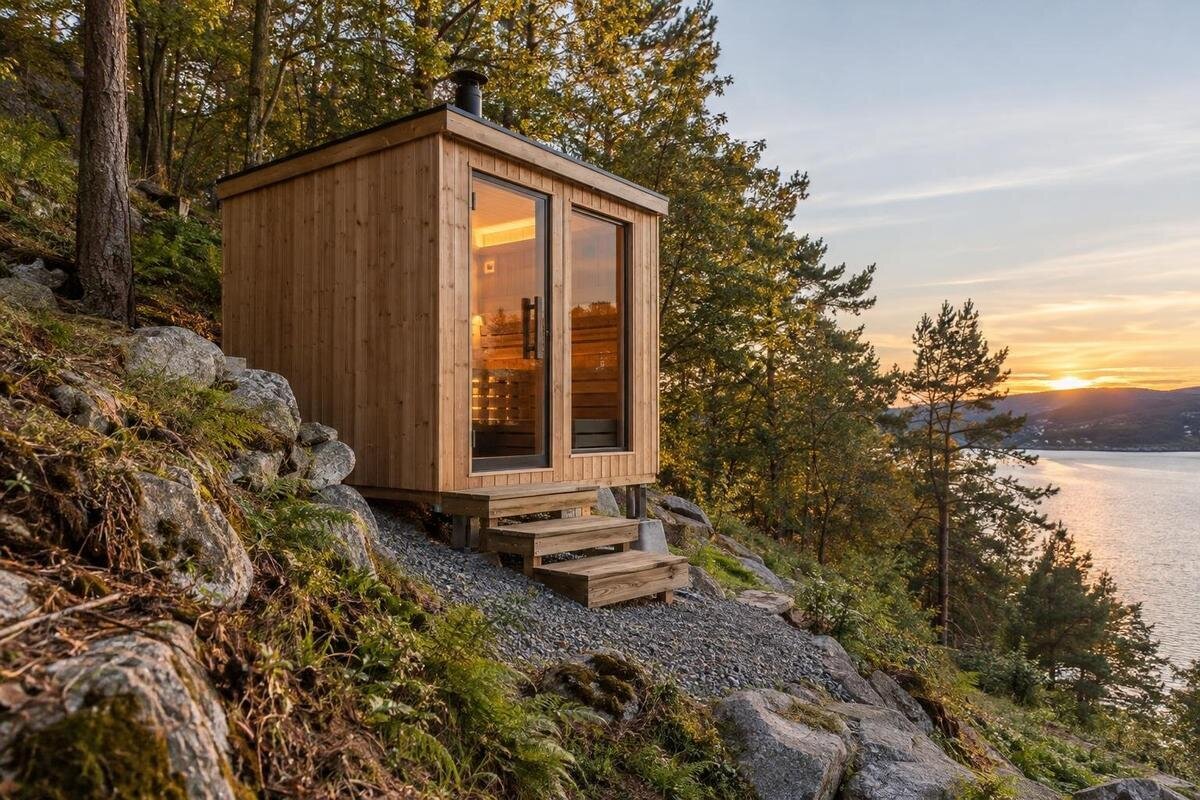
Planning an outdoor sauna
A sloping garden does not automatically rule out an outdoor sauna, but the flattest-looking patch is not a complete site plan. A fall across the proposed footprint affects the support arrangement, while the same contours influence where rainwater travels, how people reach the entrance and how equipment can be brought in. Begin by recording the levels and observing water movement; then check the exact sauna drawings against the ground. A stable support design and workable drainage plan need site-specific advice where the slope or ground conditions make them uncertain. Settling these questions before ordering or changing the ground is more useful than trying to make a poor position work afterwards.
01
How a slope changes sauna siting
A slope affects more than the appearance of the garden. Across the proposed footprint, ground may rise from one end to the other, fall across its width, or change in both directions. That affects the relationship between the sauna’s required support points and the ground, as well as access, water movement and the work needed to create a stable arrangement. A site that looks almost flat from the patio may still have a noticeable fall across the building area; the reverse can also be true. The slope alone does not decide whether a location is suitable: its direction and extent, ground conditions and the chosen model all matter.
Draw the proposed footprint on a site sketch and show which side faces the entrance route and which way the ground falls. Include the manufacturer’s clearances, the actual door position and space to approach it; a rectangle alone is not the whole installation. Compare another orientation, because turning the sauna changes its relationship to contours, water and the path. Include access needed for assembly or maintenance where the instructions call for it. Views and privacy can help distinguish locations, but should not override support, drainage or access questions. At this stage, mark possibilities rather than assuming the ground must be cut, filled or retained.
Record levels across the whole area
A first sketch need not be an engineering drawing; its purpose is to show where levels change and what must be considered. Mark the full proposed footprint, not just its centre, and record levels across the uphill and downhill sides and from end to end. Include the entrance and the route leading to it, because a change near the threshold can matter even if the main area appears manageable. Where levels are important to the support design, a surveyor or suitably experienced site professional can establish reliable measurements. On ground that changes in two directions, a single reading or a visual estimate will not describe the whole area. Keep the sketch tied to identifiable points so everyone refers to the same places.
Note features that already affect the site: retaining walls, steps, paving, outbuildings, drains or channels, boundary levels and low spots where water collects. After wet weather, observe where water arrives from and where it leaves, but treat that as information for a drainage professional, not a complete design. Record visible changes to the ground, such as an area that has been built up or recently disturbed, and pass that information to the designer; appearance alone does not establish how it will support a structure. If buried services may be present, ask a suitable professional to confirm their position before excavation is planned. These details make the site brief more useful than a photograph.
02
Use the exact model drawings
Before deciding whether a position works, use dimensioned drawings for the exact sauna configuration. Confirm its overall dimensions, the manufacturer’s specified support points and level requirements, and any stated clearances or working space. Check the entry and equipment positions on the drawing too. A floor-area figure or catalogue photograph cannot answer all of these questions. Models and variants may differ, so do not scale an image, infer dimensions from a model name or assume one sauna’s support arrangement applies to another. If the official information does not explain a requirement clearly, ask for clarification before the site is designed around it.
If Sauna LC-260 is on your shortlist, use that exact model reference when requesting the current plan and installation instructions; the model name and a product photograph are not a dimensioned drawing. Set the confirmed outline against the surveyed ground and identify any features shown beyond the main footprint, the entrance position and the manufacturer’s stated clearances. Compare shortlisted models on the same basis rather than relying on catalogue area alone. On a sloping site, changing the orientation or choosing a different model may also change the support design and the usable space around the entrance.
Plan the route to the entrance
Separate the route used every day from the route used for delivery and assembly. Walk the proposed everyday path in both directions and note changes in level, tight turns, surface transitions and places where rainwater may cross it. A short, steep approach can be awkward in wet weather, while a longer route may be easier to use but take up more space. Think about where someone will pause, open the door and step across the threshold; the entrance needs clear space for the door arrangement shown in the manufacturer’s drawing. Do not assume that placing the sauna at the bottom of a slope will automatically make entry easier.
Consider the route in ordinary use, including carrying items to and from the sauna. A visitor should not have to make an awkward turn immediately after a change in level or negotiate a path crossed by planned drainage. If people with different mobility needs will use the sauna, discuss the route with an appropriate access professional rather than relying on a generic step or ramp rule. Confirm the entrance position from the chosen model’s drawings: for Sauna HCF-300, for example, check the current plan instead of inferring the door position from a photograph. Keep the route clear of service runs and any features that may make it harder to use.
03
Understand water movement and drainage
Look at water on both sides of the proposed position. Runoff from higher ground may cross the site, collect at a low point or follow an existing path; nearby roofs or paving can add to it. Once installed, the sauna will also change how rain reaches the ground beneath and around it. Note what happens during wet weather and share it with a drainage professional, including any existing drain or channel whose route or capacity is uncertain. A dry-day inspection may miss a problem that appears during prolonged or heavy rain, so one brief visit is not enough to describe how water moves across the site.
Ask for a drainage plan that explains where water comes from, how it will be managed around the sauna and where it will go, taking the slope and existing site drainage into account. Do not assume the lowest point is a suitable outlet, that a small channel will solve the issue or that water can simply be directed towards a boundary. Changes to levels or retaining work may redirect runoff, so drainage needs to be considered alongside the support design. If Sauna LCF-300 is the model under consideration, give the drainage professional the confirmed layout for that configuration.
Design a stable support arrangement
A stable support arrangement is a designed response to both the sauna and the ground, not a universal detail for every sloping garden. The designer needs to consider the measured change in levels, the condition and consistency of the ground, the position of the manufacturer’s support points and whether excavation or retaining work affects stability. If the area includes made-up ground, signs of movement, a steep fall or a nearby retaining structure, describe those conditions before a solution is chosen. A structural engineer or other suitably qualified designer can advise what assessment and design are appropriate for this particular site.
Give the designer the exact model drawings and installation manual, including instructions about bearing points, alignment and any permitted variation. Ask for the finished support arrangement to be shown in relation to the surveyed levels, and clarify which parts of the work are covered by that design and which need a separate drainage or groundworks detail. For a shortlisted model such as Sauna S-140, confirm the actual configuration before design work begins. Do not copy a support arrangement used elsewhere, improvise height adjustments or treat a retaining wall as a sauna support unless the responsible designer has included that use in the design.
04
Check the work against the design
Once the design and ground preparation are agreed, make sure the installer is working from the same information as the designer and sauna supplier. Before assembly, confirm who will check the prepared support positions and level against the design and the manufacturer’s stated tolerances. If the actual ground or levels differ from the survey, or the support arrangement cannot be built as drawn, pause for the designer’s advice rather than allowing an unrecorded adjustment. If Sauna HC-150 is selected, make sure the instructions used are for that exact model and configuration. Keep the final plan and any written revisions with the installation information.
After installation, keep an eye on the ground and drainage where the slope makes water movement important. New ponding, a fresh channel cut by runoff, soil washing away or a visible change around the support area deserves attention. Do not try to correct movement by packing under the sauna or changing drainage yourself; record what you see and ask the relevant designer or installer to assess it. Having the original drawings available makes it easier to explain what has changed and who can advise.
Plan delivery and assembly on a slope
Ground levels can complicate installation even when the finished position is suitable. Ask the supplier or installer how the sauna will be delivered and assembled, and what clear area and ground conditions are needed during the work. Confirm package and assembled dimensions, route width and turning constraints from the actual delivery and installation information; a catalogue footprint does not show whether a delivery vehicle or installation team can reach the site. On a sloping approach, identify where items would be unloaded or moved across unprepared ground. The installer should assess the proposed method rather than assuming access is straightforward from a garden photograph.
Show temporary access and assembly space separately from the finished route to the entrance. Materials, equipment or an assembly area may need to be positioned somewhere other than the sauna itself, and the slope can affect how that work is carried out. Ask how existing drains and surfaces will be protected and whether temporary access or further preparation is included in the work. If Sauna HC-225 is on your shortlist, request confirmed package information for that configuration so the installer can assess the delivery route. Once the sauna is installed, retain practical access for inspections or maintenance described in the manual.
05
Check the heater and service requirements
The heater and the sauna’s exact configuration can affect where the unit may be placed, so resolve those requirements before fixing its position. Check the manufacturer’s instructions for the selected model and heater, including any specified clearances, ventilation, chimney or flue arrangements and service requirements. Not every sauna has the same equipment, and a photograph cannot show what is included or required. Have a qualified installer assess the chosen configuration and explain which site constraints matter. Do not design a support, screen or roof enclosure on the assumption that a clearance for one model applies to another.
Show confirmed service routes and unresolved requirements on the site plan, rather than leaving them for the installer to work around after the supports are in place. Consider whether a route passes through ground that may be changed, and preserve access for installation and later inspection as advised by the relevant trade. If Sauna N-210 is being considered, ask the supplier to confirm the exact configuration and applicable instructions before a professional reviews its position. Electrical connections, flues and other specialist work should be assessed or carried out by suitably qualified people; general siting advice cannot replace model-specific instructions.
Compare locations before starting groundworks
Compare more than one possible location on the same site plan. For each, note the level change across the footprint, the support arrangement required, likely groundworks, water movement, everyday access and the delivery route. A spot that needs little excavation may still have poor drainage or an awkward entrance; a more accessible position might require a more complex designed support. Ask the site professionals to assess each option against the actual model drawings and identify unknown ground conditions before you commit. Comparing the same scope for each position also makes it easier to understand whether one option involves additional drainage, retaining or access work.
Before ordering or commissioning groundworks, bring the chosen model, surveyed levels, access details and proposed support and drainage design together in one agreed plan. Confirm that the supplier, installer and any structural or drainage professional are referring to the same configuration, and clarify responsibility for each part of the work. Use Sauna N-250 as the model reference when requesting documents for that candidate. The agreed plan should distinguish the permanent installation from temporary access and assembly arrangements, so everyone understands the full scope of the work.
Frequently asked questions
Can an outdoor sauna be installed on sloping ground?
Possibly. A slope does not automatically rule it out, but the answer depends on the chosen sauna’s requirements, measured ground levels, soil conditions, drainage and a designed support arrangement. Have the exact location assessed before ordering or carrying out groundworks.
Does the sauna’s support arrangement have to be perfectly level?
Follow the installation instructions for the exact model and any tolerances they specify. There is no single requirement that applies to every sauna. Ask the supplier or manufacturer what is needed, then have the support design meet it; judging by eye is not enough.
Can I level the site myself?
Do not treat it as simple excavation. Cutting, filling or retaining a slope can affect ground stability and change where water flows. Ask a suitable professional to assess the planned work for your site before starting; a general guide cannot provide a safe earthworks method for every garden.
Where should rainwater drain on a sloping site?
There is no universal outlet. Consider runoff from higher ground, nearby surfaces and the sauna roof alongside existing drainage. A drainage professional can advise how water should be managed and where it can go; do not assume the lowest point or a boundary is suitable.
When should I seek structural or drainage advice?
Before settling on the final position or beginning groundworks if support, retaining work or runoff is uncertain. Seek a site-specific assessment if the ground appears disturbed, water ponds, there are signs of movement or a retaining structure is nearby. Share the sauna’s exact installation information.
Planning an outdoor sauna on sloping ground means considering the support, drainage and access together. Map levels across the full footprint and route, note where water moves, and compare the site with the chosen model’s actual drawings. The relevant qualified professionals can then specify a support arrangement and drainage response for the conditions on that plot. With installation arrangements and responsibilities also agreed, you can assess the proposed position from a complete plan rather than from how level it looks at a glance.
