
Comparing Sauna Bench Heights, Levels and Seating Layouts
Sauna buying guide
Two sauna cabins with a similar stated area can offer quite different places to sit, while two layouts with the same number of bench levels can leave different amounts of usable space. Bench height, depth, seat length and the way levels connect all affect how people sit together and move between positions. Compare drawings for the exact configuration rather than assuming there is a standard bench height or arrangement.
01
Drawings for the exact sauna configuration
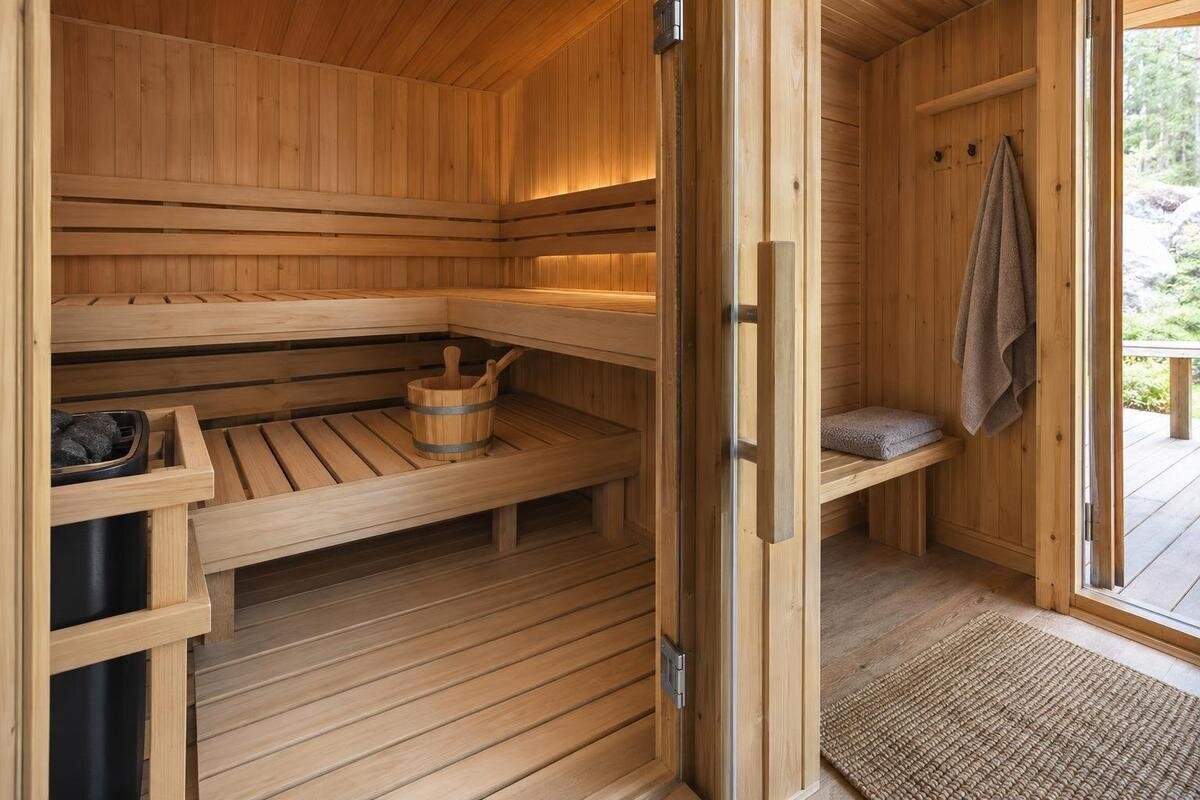
A product photograph or headline area figure cannot show how a sauna’s seating is laid out. Compare the dimensioned plan and side elevation for the precise model and option you are considering. From above, the plan shows the benches’ length, orientation and relationship to other fixed features; from the side, the elevation shows each seat level and the space above it. Both views matter: a plan does not establish seat height or headroom, while an elevation cannot show the full route across the cabin. If you have only a perspective image, use it to understand appearance, not to measure a seat or infer the number of usable places.
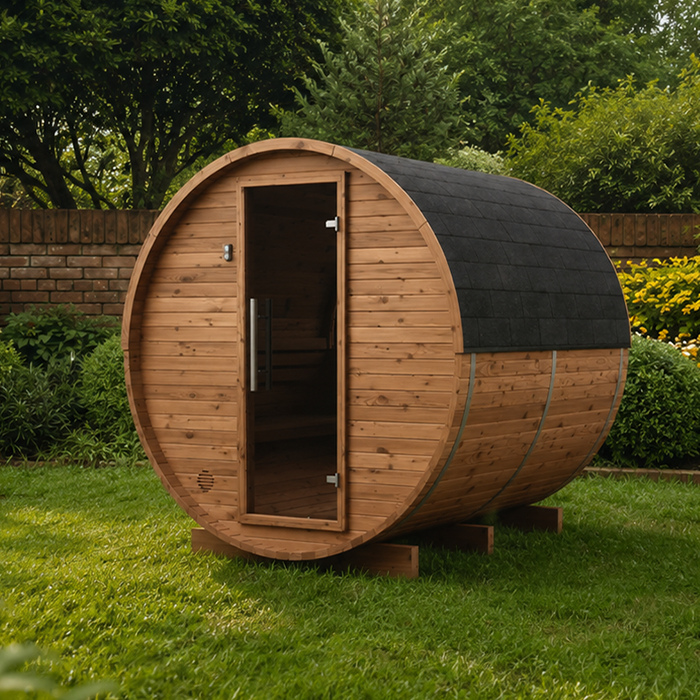
The listing for Sauna HCF-300 gives an area of 6.89 m². That figure does not give the bench height, usable seat depth or uninterrupted length, so treat it as an area reference rather than a seating specification. Check that the drawing carries the same model code and configuration as the item you intend to buy. Read the dimension labels closely: a measurement from the floor, from the finished seat surface or from an outer edge answers a different question. If the listing and drawing use different codes, or the measurement point is unclear, resolve that before comparing layouts.
Single-level and tiered benches
One level and two levels offer different choices, but the number of tiers is not a comfort score. A single bench can provide a simple shared seating line; a lower and upper bench add positions at different heights, while also taking up space in different parts of the cabin. The lower surface may be designed mainly as a step or foot platform rather than a full seat, so check its depth, position and how the drawing labels it. For an upper position, look at the available room to sit upright and at the gap between knees or feet and the lower bench. Do not count every horizontal surface as an equally usable place.
The catalogue entries for Sauna LCF-300 and the HCF-300 each give an area of 6.89 m². Equal area figures do not prove that the bench layouts are identical, or that they are different; the drawings are needed to answer that. Compare each plan and elevation separately, noting every seat level, its dimensions and any step shown. If one page gives a more detailed diagram than another, do not treat missing information as evidence that a feature is absent. Ask for matching views before using the layouts as a basis for a choice.
02
Usable bench length and depth
Overall bench length is not always the same as usable seating length. Check where the sitting surface begins and ends, whether a corner is narrowed, and whether a wall return, support or adjoining feature interrupts it. For depth, compare the clear distance from the front edge to the back edge, accounting for any fixed backrest if the drawing shows its position. If a bench turns a corner, do not add the two lengths together as though the whole corner were equally usable unless its dimensions support that. Compare clear seat dimensions with clear seat dimensions across models, not the external outline of one bench with the usable surface of another.
When comparing the S-140 sauna, keep its listed area of 1.93 m² separate from the measurements of its seating surfaces. Record the clear length and depth of each bench rather than combining them into a single total. If a seat narrows at one end, note that separately so a full-length measurement does not conceal the change in usable depth. Use the same approach for the other models on your shortlist. This gives you a useful comparison of individual seats, including any interrupted runs, without confusing the cabin’s footprint with the space available on a bench.
Bench height, headroom and foot position
Bench height is useful only when its reference point is clear. In the side elevation, look for the floor-to-seat measurement for every level, the vertical distance between levels and the remaining space above the top seat. Together, these dimensions help you assess the sitting position rather than relying on the proportions of a drawing. Check whether height is measured to the finished top of the bench or to another point, and compare models only when the same datum is used. Also distinguish seat height from the height of a step: they answer different questions. In a cabin with a curved ceiling, check the headroom where people will sit, not just at the highest point.
Consider foot position as well as the seat itself. A lower level may offer somewhere to rest feet while sitting above, but that depends on its depth, alignment and clear space around it. For the HC-150 model, listed at 2.97 m², assess the upper and lower surfaces together in the side elevation. Identify the intended seat and the surface beneath the sitter’s feet, then compare their relative positions. This separates a complete sitting position from an isolated seat-height measurement. If the lower surface is labelled as a step, do not automatically count it as another seat in your comparison.
03
Seating for more than one person
Seating layout matters when several people will use the cabin at the same time. Count the distinct positions supported by the drawing, not just the number of bench boards. A long run may let people choose where to sit, while separate benches can create different orientations; either arrangement may leave someone with limited elbow room or their knees close to another seat. Check the length of each uninterrupted surface and the spacing between facing or adjoining benches. For opposing seats, look at the space between them as well as their individual dimensions. Then picture ordinary movements: if reaching one position means stepping across someone else’s legs or asking them to move, it may be less convenient than the plan first suggests.
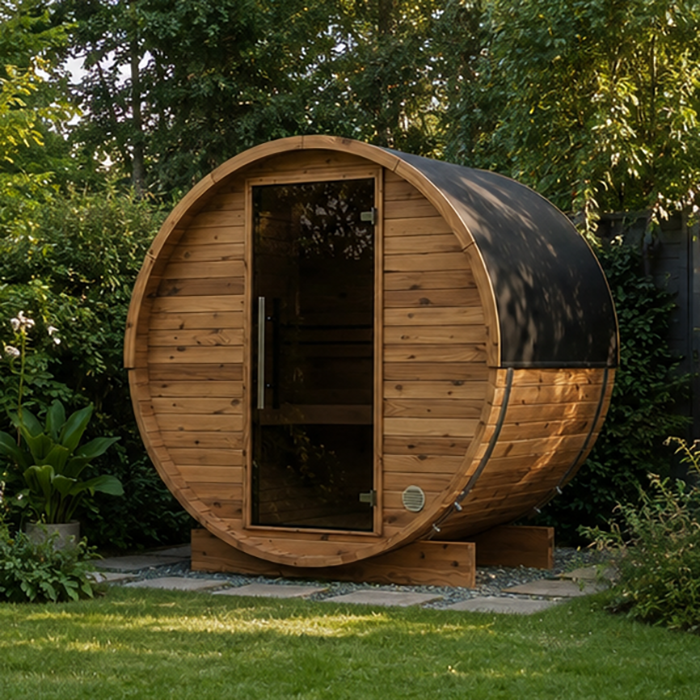
Use your usual group size as a practical test of the layout. For the HC-225 sauna, whose entry lists 4.4 m², assign each person a place on the plan and check the space around knees, feet and elbows. Consider whether everyone can use their chosen position at once, rather than counting places that overlap or depend on another seat being empty. If the manufacturer states a capacity, assess it alongside this seating arrangement. Your comparison should distinguish the stated number of occupants from the particular places your group would use, especially where people sit opposite one another or share a corner.
Bench shape and the cabin layout
The shape and direction of a bench can matter as much as its total length. A continuous straight run offers a range of places along one surface; an L-shaped or opposing layout can bring seats closer together but may create a corner or gap that is less useful. In a cabin with curved or tapering walls, check the width where a person actually sits rather than assuming the widest point is available along the full bench. Note whether the seat follows the wall or projects into the central floor area, and how much clear floor remains in front. The plan should let you distinguish a continuous seating line from several shorter positions.
The catalogue lists the N-210 sauna at 4.43 m². When comparing its plan with another model, describe the bench arrangement separately: note the direction of each run, any corner and the floor space left between seats. This makes the comparison more useful than ranking cabins by area alone. Where the areas are similar, identify which layout gives you the seating arrangement you prefer and where it uses space differently. Keep a corner’s usable dimensions separate from the straight runs on either side, so your notes reflect the shape of the seating rather than just its combined length.
04
Access between bench levels
An upper bench may appear easy to reach in a side view, yet the plan is needed to see how someone gets to it. Check whether the route uses an integrated lower bench, a separate step or another platform, and confirm from the written inclusions whether each item comes with the configuration. Do not count an item as both a step and a full seat unless its dimensions and position support both uses. Look at whether the approach to the upper position passes across another person’s seating surface. If a perspective image shows a step that is not named on the product page, ask whether it is included or illustrative. The plan and elevation together show more than either view alone.
Compare the clear floor immediately in front of each bench as well as the dimensions of the bench itself. Someone sitting down or moving between levels needs room outside the seat outline, and a projecting platform can reduce that space. When reviewing the N-250 layout, keep its listed area of 5.27 m² separate from this movement space. Trace the route from the floor to each seat and note where a platform or occupied bench affects it. If the heater or its guard is close to that route, use the selected heater’s manual for its stated clearances; the cabin plan alone cannot confirm them.
Seating for upright and stretched-out positions
Choose a layout in light of the positions you expect to use. If you mainly sit upright, compare seat depth, headroom and the relationship between neighbouring places; if room to stretch out matters, check the uninterrupted length and width of one surface. A bench may look long on the plan but lose usable length at a corner or where another feature breaks the run. A wider platform can allow more choice of posture, but it also uses more of the cabin’s floor. If a backrest matters to you, check whether one is shown and included. Do not treat an optional arrangement in a brochure as the standard version.
For the LC-260 sauna, listed at 5.12 m², compare the uninterrupted length and depth of the intended seat with the equivalent surface in another model. Keep upright seating and room to stretch out as separate preferences in your notes: a layout may suit one better than the other. If several people will use the cabin together, mark the stretched-out position on the plan and see which other seats remain available. This helps you compare the arrangement you expect to use, rather than counting the same surface once as shared seating and again as a place for one person to stretch out.
05
Included bench components and finishes
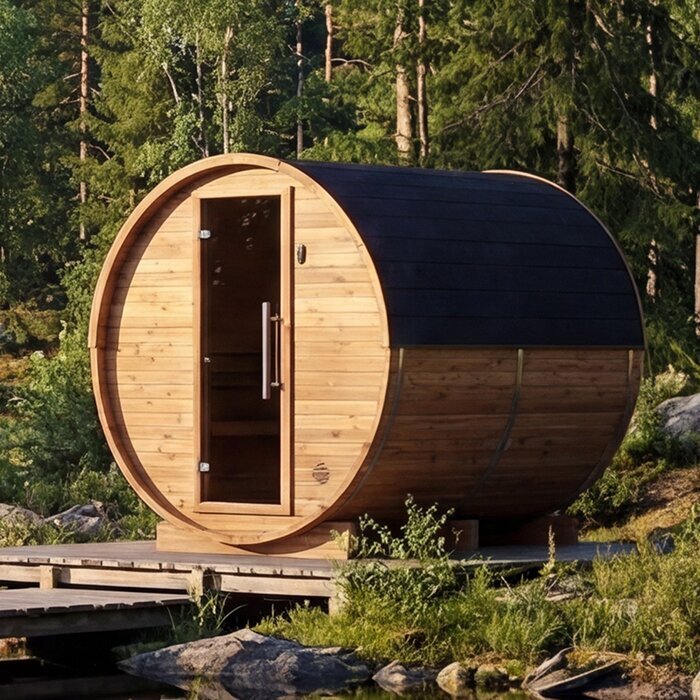
Two product pages can depict similar bench layouts while listing different supply packages. Check the written inclusions for the bench structure, any step, backrest or foot platform, and whether those pieces are standard or optional. A cabin name that identifies an exterior material does not establish what the benches are made from or how they are finished; look for a separate bench-material and finish specification. Check whether supports or other components reduce the clear space around a seat. If items are described generally without being tied to the chosen model, ask which pieces belong to that exact configuration. This avoids relying on features shown only as illustrations.
Maintenance also depends on how the seating is arranged. Check whether the drawings leave access to the floor and corners beneath and around the benches, and whether the manual describes any surfaces as fixed or removable. Do not assume a visible gap in a photograph is enough room to clean, or that a separate-looking bench can be lifted out. Written instructions should clarify what can be removed, how it is supported and what care the finish requires. These details can help you compare practical layouts, but they do not answer questions about seat length or height.
A like-for-like comparison of sauna layouts
Make a short comparison sheet for every model and configuration. Record the stated area separately from bench details; list the number of levels, clear seat length and depth, floor-to-seat height, vertical gap between tiers, headroom above the top bench and clear floor in front. Note whether measurements refer to internal surfaces or external outlines, and whether steps, backrests or foot platforms are included. Mark each detail as shown, not shown or unclear, rather than filling gaps with estimates from photographs. Record the drawing’s model code or revision too, so you can match the measurements to the version you are assessing.
Once the measurements are recorded, compare the layouts against your main priorities. For shared use, focus on the usable positions and the space between them; for a preferred upper seat, consider its headroom, foot position and route of access together. Where a detail is missing, identify the specific question it prevents you from answering. You may still be able to compare bench orientation while leaving seat height undecided. Ask for the relevant plan, elevation or inclusion detail rather than substituting a generic dimension from another sauna. This keeps the comparison useful without treating an incomplete drawing as a complete description of the seating.
Frequently asked questions
Is a two-level sauna bench always better than a single-level bench?
No. A second level adds another seating position, but it can also reduce clear floor space or leave the lower surface too small for sitting. Compare the usable dimensions, headroom and route between levels. Choose tiers when both positions suit the way you expect to use the cabin.
How can I compare bench height if it is not listed?
Do not estimate it from a photograph. Ask for a side elevation showing the height of each seat from the floor, the gap between levels and the space above the top bench. If those details are unavailable, treat the height as unknown rather than ranking models on a guess.
Does a sauna’s stated area tell me how many people can sit?
No. An area figure does not give the clear length or depth of the benches, or the number of usable positions. Check a plan and elevation, and assess any stated capacity separately. See whether your usual group can sit without overlapping or blocking one another.
What should I look for when comparing bench depth?
Check the clear surface from the front edge to the back edge, allowing for any fixed component that takes up space. Compare labelled seat dimensions rather than the overall outline of a bench. A perspective photograph cannot reliably establish depth.
What if a product page shows the benches only in a photograph?
Use the photograph to understand appearance, not dimensions. It cannot confirm seat height, usable length or whether a step is included. Request a dimensioned plan and side elevation for the exact model and a written inclusions list. If these are unavailable, keep the layout details unverified.
Compare sauna benches as usable seating positions, not as a tally of tiers or a single area figure. The plan shows how the seats are arranged and how much clear space remains; the side elevation shows their height and headroom. When both drawings match the configuration you are considering, you can weigh seat depth, shared space and movement on evidence. If key dimensions are missing, keep that uncertainty visible rather than guessing from photographs. The best fit is the documented layout that suits the way you expect to sit.
