
Where Should a Sauna Go Beside a Swimming Pool?
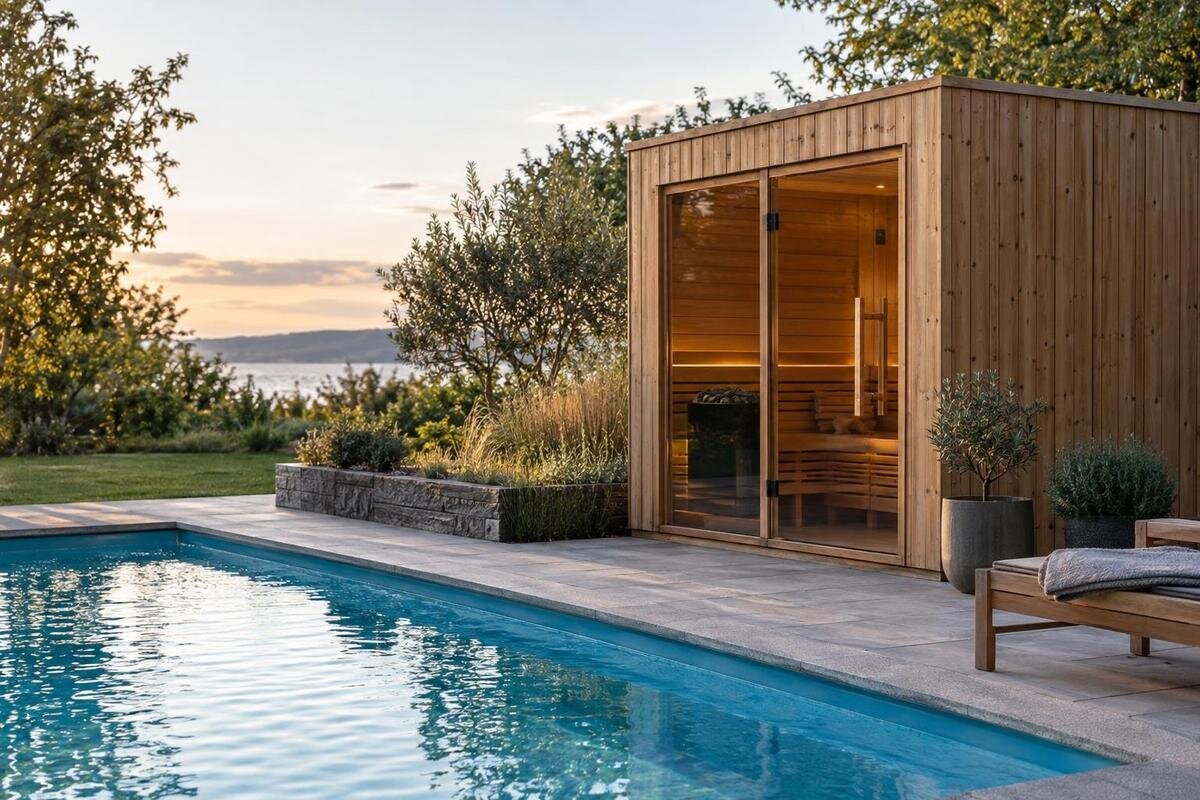
Poolside sauna planning
A sauna beside a swimming pool can make moving between the two more convenient, but the nearest open patch is not automatically the right place. The position needs to work with wet walking routes, the pool’s gates and equipment, surface water, the sauna base, service routes and the instructions for the selected heater and model. Do not assume one generic distance suits every pool and configuration. Plan the two installations together, then have the proposed layout reviewed by the appropriate local professionals before ordering or starting groundworks.
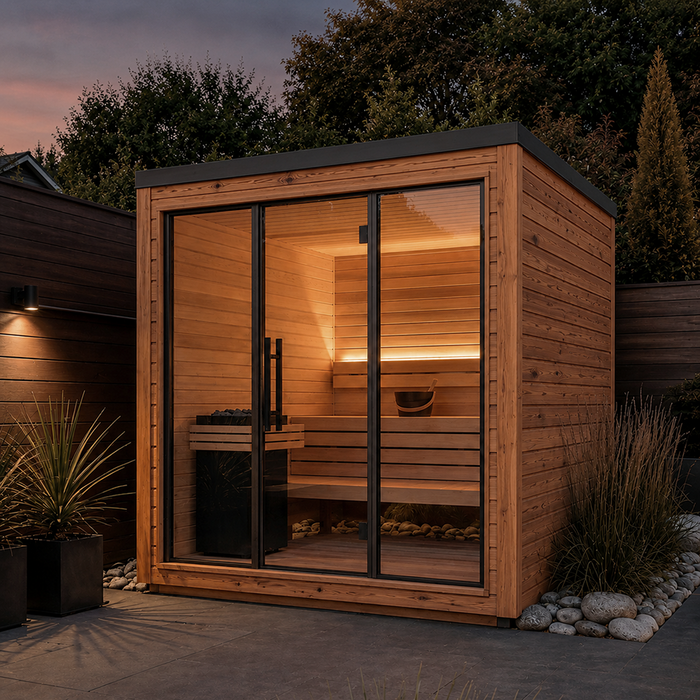
Circulation between the pool, sauna and house
Map each journey on a normal pool day: from the house or changing area to the pool, from the water to the sauna, and back again. Include places where towels and robes are kept, seating, and the route used to cover or clean the pool if those are part of the routine. Ask whether people will cross each other’s path at the steps, gate or back door. A nearby sauna should not sit in the main line of movement or turn a broad route into a pinch point. Think about people passing in both directions, someone carrying towels, and the route a pool professional needs to use.
Use a measured plan rather than judging from a photograph or an empty patch of patio. Mark the pool edge, steps, gates, doors and the full sauna outline, then trace the routes people will actually use. Include journeys that happen at the same time: one person leaving the water while another brings towels from the house, for example. This helps identify where routes cross and where a seemingly convenient position could obstruct access. The S-140 barrel sauna has a listed area of 1.93 m², which is useful for catalogue comparisons but is not the whole space requirement. Request the manufacturer’s dimensioned drawing for external measurements, entrance position and any projections. Add the required clearances to the plan and distinguish them from the space needed for people to pass, gates to open and pool equipment to remain accessible.
Space around the sauna entrance
Treat the doorway as a working part of the layout, not a dot on a sketch. Check the selected unit’s door position and direction of opening in the current manufacturer drawing, then keep the stated clearance free. Avoid a doorway or waiting spot that lands in the main route from the pool, crosses the approach to a gate, or leaves someone stepping into a tight corner. Leave a practical place to pause, put down a towel and pass another person without blocking movement between the pool and house. If you plan seating or storage nearby, include that in the space check rather than adding it after the layout is fixed.
Privacy and visibility also affect orientation. Look from the pool, nearby windows and adjoining properties to see what the entrance or any glazing may expose. Consider screening only if it leaves access and useful views of the pool intact; planting or a screen can narrow a path or conceal a gate. Check the view from the main routes, not just from inside the house. When comparing orientations, show the entrance, its approach and any proposed screening together on the plan. That makes it easier to see whether solving a privacy concern would create an access problem. The listed area of 2.97 m² for the HC-150 sauna does not establish doorway clearance or privacy. Use its model-specific drawings to compare positions, including where someone would stand while another person opens the door, before fixing the layout.
Surfaces along the wet route
People coming from the pool may be barefoot and wet, so review the whole route rather than only the paving immediately outside the sauna. Do not assume existing patio material is suitable just because it is outdoors or looks textured. Ask the supplier or installer for documented suitability for the intended wet, external use, and consider cleaning, wear and how the surface feels underfoot. A sample can help compare options but cannot show how the installed surface will drain or perform. Think about the route after rain as well as during pool use; a dry inspection may not tell you how the finish feels when wet.
Mark transitions too: thresholds, joints, changes in level, steps, drainage channels and corners where people turn can all interrupt an otherwise clear route. Check that people will not have to cross a pool-equipment work area or a path used by others to reach the garden. Follow the route from the point where someone leaves the water to the sauna entrance, rather than assessing each surface in isolation. Note where the paving changes and where a person would need to turn or step across a joint. For the HC-225 barrel sauna, the listed 4.4 m² is an area comparison, not a plan showing the entrance and outer edges. Use the selected model’s drawing to plot the walking route accurately, and ask the installer how joints or drainage channels would fit into the finished surface.
Drainage and surface water
Map where rain, splash and routine cleaning water currently go, and note low points or places where water lingers. Include runoff from nearby paving and downpipes where relevant, rather than looking only at the patch under the sauna. The proposed base and any additional hard surface can change the way water moves; have a competent drainage or landscaping professional review the combined plan. Do not guess a fall or discharge route from a generic diagram. A site with little room between the pool surround, a building and a boundary needs a clear account of where water can go.
Be clear about the source of water and where it can be accepted. Rain, pool overflow and water from cleaning or maintenance may be managed differently on a particular property; do not assume an existing drain or pool system can take extra runoff. Show these sources separately when discussing the layout so that a route for rainwater is not mistaken for an answer to every drainage question. Include the selected unit’s actual outline and the surrounding ground levels, not just its position relative to the pool. The N-210 sauna listing gives an area of 4.43 m², but does not provide a drainage drawing or identify an outlet. Have the installer explain how the finished surface and base fit the site’s water-management plan, including any low points already noted during the site inspection.
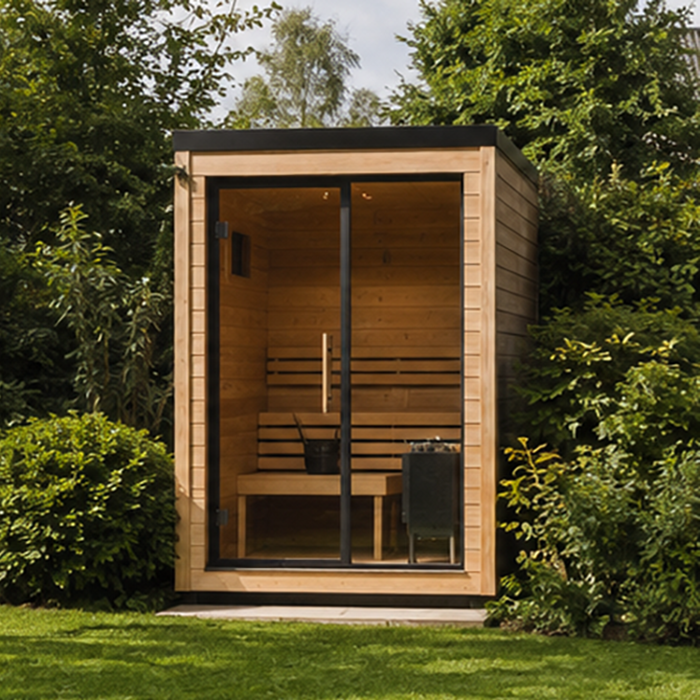
Ground support and the proposed base
Check what is beneath and around the proposed base before treating an existing paved area as ready. A patio, pool surround or raised structure may have been designed for a different use, and its apparent solidity does not confirm that it is suitable for a sauna installation. Ask the sauna manufacturer for the base and support requirements, then have a competent contractor assess the existing ground or construction against them. If the sauna would sit near a pool edge or on a raised deck, show that relationship clearly in the drawings. Avoid assumptions about support, anchoring or levelling based on photographs or area figures.
Record changes in level, retaining edges, nearby pool structures and known buried services, and give that information to the professionals reviewing the base. Distinguish what is known from what still needs checking: an unconfirmed service route should not appear on the plan as a settled fact. Show the proposed base in relation to the pool and any raised or retained ground, so the review covers its surroundings as well as the patch directly beneath it. Do not plan excavation or other groundworks until the pool construction and service routes have been considered. The N-250 barrel sauna has a listed area of 5.27 m²; support design, site preparation and loads need separate consideration. Obtain the manufacturer’s documentation for the chosen configuration and have the proposed groundworks reviewed before committing to a position.
Electrical and heater services
Bring services into the siting discussion early. Confirm the selected sauna’s heater type and consult the manufacturer’s instructions before deciding where supply equipment or associated fittings could go. If the configuration needs electrical work, have a qualified local electrician assess the proposed route and its relationship to the pool equipment and water. The professional needs details of the actual site and equipment; do not rely on a measurement copied from another project. Confirm the applicable requirements before groundworks or service routes are fixed.
Coordinate service routes with drainage, access and base work so one part of the project does not compromise another. Put the proposed routes on the same plan rather than discussing each in isolation, and identify any point where they overlap with a walking route or maintenance area. Leave decisions about electrical work to the qualified electrician; the purpose of the layout is to make the site constraints clear. The LC-260 sauna product page records an area of 5.12 m², not a service specification. Its model name, catalogue area and photograph do not establish an electrical load, heater arrangement, cable route or clearance. Request documentation for the exact configuration and ask the electrician to identify the current requirements around the pool. This guide does not set or imply an electrical separation distance.
Pool and sauna maintenance access
Keep the pool’s everyday and maintenance access intact. Map the routes to any plant, controls, inspection points, cleaning equipment and pool cover, if fitted, and check that doors, gates and working areas remain usable. Consider whether equipment access depends on opening panels, lifting a cover or moving hoses. The sauna should not turn a service route into a narrow passage or make routine maintenance depend on moving awkward items around wet paving. If visitors or other household members use the pool, include the route they take to enter and leave, not only the one familiar to the owner.
Allow a practical approach for the sauna as well. Ask the manufacturer what access is needed for installation, inspection and future maintenance, then confirm that the proposed location leaves room for that work. Separate the route needed to bring the sauna into the garden from the access needed once it is in place: both should be considered before choosing the position. The HCF-300 barrel sauna has a listed area of 6.89 m², but that figure does not describe service access or how the site can be reached. Review the manufacturer’s drawings and instructions alongside the pool-equipment layout. If delivery or assembly requires a particular approach, confirm it with the supplier and show it on the plan. Include any gates or corners along that approach rather than checking only the final installation area.
Pool sightlines, gates and privacy
Check sightlines before adding a solid structure or screening beside the pool. From the house and the places where people supervise the pool, consider whether the proposed position would hide the water, an entry point or existing safety equipment. Draw the views that matter rather than relying on one viewpoint, and check them from the places people actually use. Keep gates and their approaches unobstructed. If the sauna position would require a change to an existing barrier or access arrangement, pause and have the proposed change reviewed against current local requirements.
Balance visibility with privacy and the way the garden is used. Consider what people in the sauna or at its entrance could see, while avoiding a screen that blocks the route, narrows maintenance access or creates a blind corner beside the pool. Compare the proposed view from each relevant position, including the house, the pool entrance and the places used for supervision. Keep those sightline checks separate from the privacy check at the sauna doorway: an arrangement can work for one without working for the other. The listed area of 6.89 m² for the LCF-300 sauna does not establish its visible outline, orientation or effect on those views. Use the selected model’s actual drawings in the site plan. Have the installer assess any additional siting requirements for the chosen heater in that position.
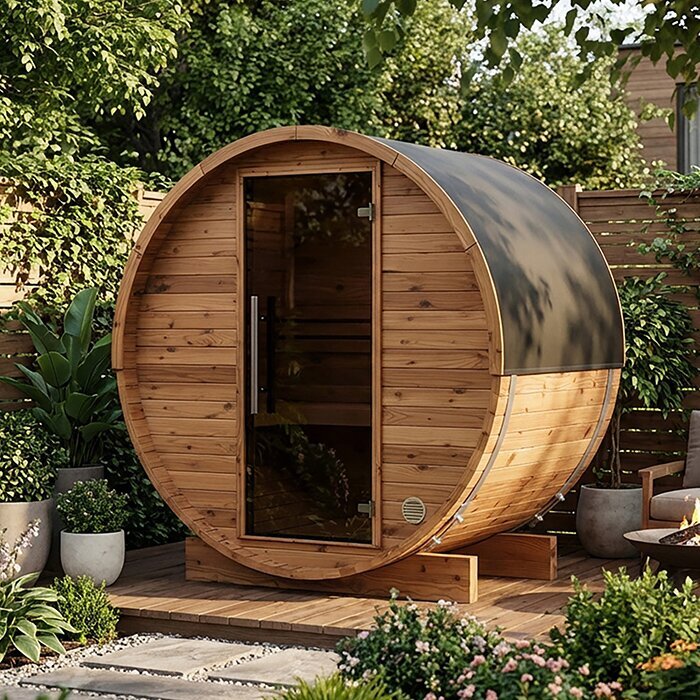
Local requirements and professional review
Check requirements for the actual proposal rather than guessing from a general guide. Ask the local authority whether approvals or conditions may apply to the structure or associated works, and ask the pool professional about current requirements affecting access, barriers or pool operation. Get the sauna manufacturer’s installation manual and configuration-specific clearances. Where heater, electrical, drainage or structural work is involved, the relevant qualified professional should confirm what applies to that part of the project. Keep a written list of questions so that local checks cover more than the sauna’s position alone.
Share the same, up-to-date plan with everyone reviewing the site: the pool installer or maintenance provider, sauna supplier or manufacturer, electrician, and an appropriate groundworks or structural professional. Ask each person to identify assumptions that need checking and any conflict with the proposed location. Do not copy a separation distance from another pool, sauna or product page, or treat an arrangement elsewhere as confirmation for your garden. If current local requirements are unclear, check with the responsible authority or professional before proceeding. This is a planning checklist, not a statement of legal requirements.
A measured site plan before installation
Before ordering or preparing the ground, make a measured plan showing the pool edge, sauna outline, doors, gates, route, changes in level, known services, drainage and maintenance areas. Use the manufacturer’s drawings for the chosen configuration rather than an online image or area figure. Mark the proposed outline on the ground with removable markers, then walk the route in both directions and check whether people can pass without obstructing a gate, pool cover or service area. A dry mock-up is only a space check; it cannot confirm wet-surface performance, drainage or structural suitability.
Use the plan to resolve the questions in order: can people move between the pool, sauna and house; can the surface and water-management approach be reviewed; can the base and service routes be assessed; and do the manufacturer’s instructions and local checks support the proposed arrangement? If one answer is unresolved, revise the position before buying materials or starting work. A location that looks convenient in a photograph is not a reliable test. Choose the position that preserves circulation and pool access while meeting the requirements of the exact sauna and site.
Frequently asked questions
How close should a sauna be to a swimming pool?
There is no single distance to use for every pool and sauna. Check the instructions for the exact sauna and heater configuration, and ask the relevant local professionals which current requirements apply to the site. A qualified electrician should review electrical matters. Include circulation, drainage and maintenance access in the same plan.
Can I put a sauna on an existing pool patio?
An existing patio needs assessment before you use it as a sauna base. Ask the sauna manufacturer about the required base, then have a competent professional assess the patio or deck, ground conditions, drainage and any known buried services. A surface that feels solid does not confirm that it is suitable for the proposed installation.
Should the sauna door face the pool?
Choose the orientation that works with the actual door opening, clearances, wet route, gates, privacy and sightlines. Draw both possible orientations if you are unsure. A door facing the pool is not automatically the best arrangement if it interrupts movement or leaves people with little room outside the entrance.
What should I check about paving between the pool and sauna?
Ask for documented suitability for the intended external, wet use, and consider cleaning, wear and changes in level along the whole route. Texture alone does not confirm suitability. A sample can help compare finishes, but it cannot confirm how the installed surface will drain or perform.
Who should review a proposed poolside sauna position?
Depending on the project, seek input from the sauna manufacturer or supplier, pool installer or maintenance provider, a qualified electrician, and a competent groundworks or structural professional. Ask the local authority about approvals that may apply. Each reviewer should confirm the requirements relevant to their part of the project.
The best poolside position works for the whole area, not just the short trip from the water to the sauna. It leaves room at the entrance, keeps gates and maintenance routes usable, and accommodates the base, drainage and services for the chosen configuration. If one location creates a pinch point or blocks an important view of the pool, compare another orientation or position on the measured plan. Resolve those layout conflicts before groundworks begin, with the relevant professional review informing the final choice.
