
Planning Winter Access Between Your Home and Garden Sauna
Garden sauna planning
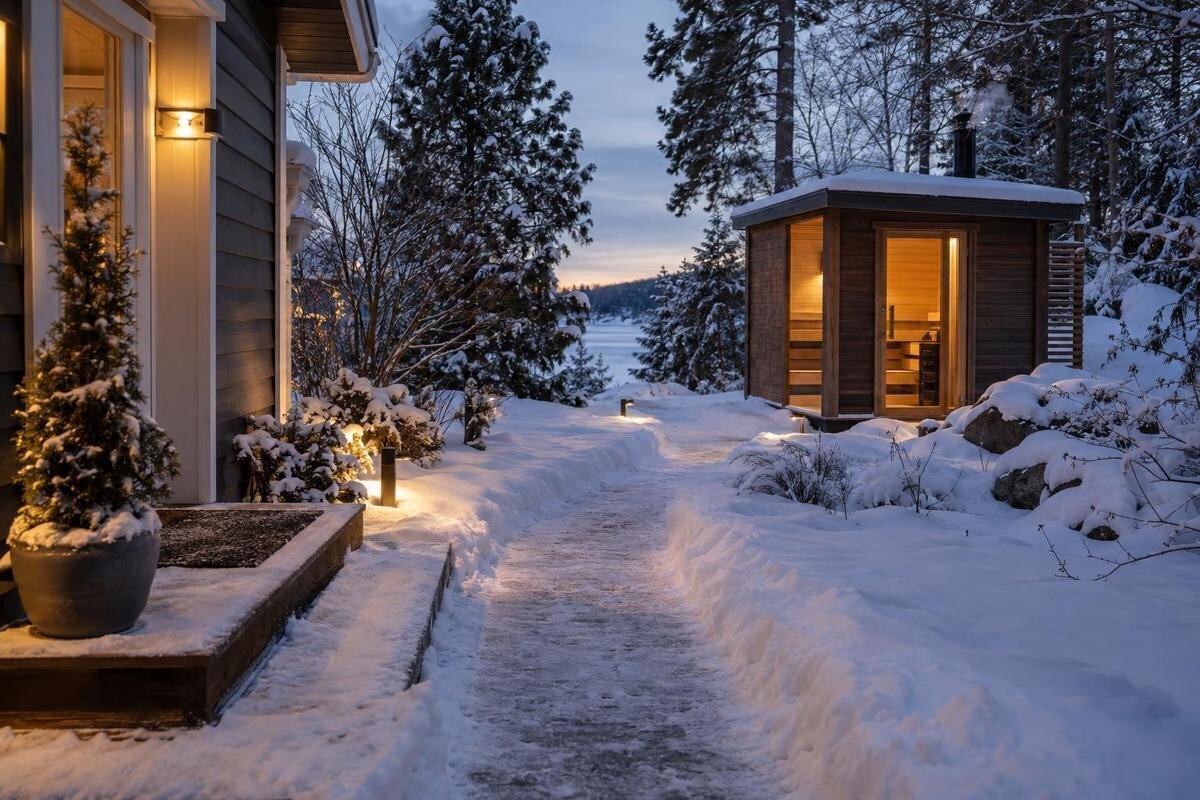
A garden sauna may be only a short walk from the back door, yet the route can feel very different on a wet, dark or frosty evening. The journey depends on more than distance: the house exit, the position of the sauna entrance, the surface underfoot, water run-off and the work needed to clear leaves or frost all play a part. Planning these together helps avoid a path that looks direct on a drawing but becomes muddy, exposed or cluttered in use. This guide focuses on winter access between home and sauna, including route layout, shelter, surfaces, drainage and seasonal care—not choosing a sauna for a particular climate.
01
Map the route between the doors
Begin with the house door you are most likely to use in winter and the exact side of the sauna where its entrance will be. On a simple site sketch, mark existing paving, steps, gates, drains, outside taps, bins and places where people already cross the garden. Draw the likely walking line, including turns and places where someone might need to pause. A route that looks shortest from indoors may cross a muddy lawn or pass behind stored items; a slightly longer line beside firm paving can be easier to use and keep clear. Record changes of level rather than hiding them in a straight line.
Keep the sauna model provisional on the sketch. The LCF-300 product listing identifies one model to consider, but a product name does not establish its entrance orientation or the space required around it. Obtain the current manufacturer drawing and installation information for the exact configuration, then mark the entrance and any space needed for installation or maintenance. If the proposed sauna position changes after you check the drawing, update the route before work begins. This simple step helps prevent a finished path from ending at the wrong side of the entrance.
Set the sauna position before laying the path
The position of the sauna and the route to it affect one another, so plan them together rather than treating the path as a strip to fit in afterwards. Check that the chosen spot allows an uncomplicated approach, space for the door to open and normal movement around the garden. Notice whether the route would cross a low or persistently wet area, run between a fence and planting, or cut across a route to a shed. A small change to the proposed position may make the approach easier to keep firm and visible. It is better to understand a ground-level problem first than to expect new paving to solve it.
When placing the Sauna S-140 on your site plan, consider what else needs access around that position. Note existing services, equipment and garden features, including anything that needs to be reached for maintenance. The finished route should reach the entrance without forcing users to detour around these obstacles. If the proposed site has a slope, soft ground, retaining work or uncertain drainage, ask a qualified installer or relevant groundworks professional to review the location. Include any changes they recommend in the same plan as the path, rather than leaving the sauna position and the approach on separate sketches that may no longer agree.
02
Keep the route direct and easy to walk
A short path is usually easier to clear, but straightness alone is not a good measure of comfort. Consider the real walking line: how sharply it turns, whether a gate or door opens across it, and whether someone carrying a towel or robe can follow it without stepping into planting. Keep the usable width free of pots, furniture, bins and projections from walls or fences. If people may walk together or pass near the entrance, allow for that rather than planning only for one person travelling empty-handed.
If the HC-150 model is on your shortlist, include the space around its entrance when assessing the walking line, rather than stopping your route sketch at the building. Mark the proposed line on the ground and walk it in the footwear you expect to wear, carrying an ordinary item. Check that turns feel natural and that the route still works when someone else is nearby. Try it in both directions: a turn that feels straightforward on the way out may be awkward on the return. If a wheelchair or walking aid will be used, ask a qualified access professional to review the width, surface, turns and level changes; generic dimensions may not suit every site.
Choose a surface that stays firm when wet
Look for a surface that remains firm and even and can be maintained through rain, leaves and frost. Paving slabs or blocks, decking and compacted path materials may all suit different gardens, but a material name alone does not guarantee secure footing. Check whether edges or joints could catch a shoe, whether the surface might rock or shift, and how easily you can clear debris from it. Consider the work involved in upkeep as well as appearance: gaps that collect leaves or mud can take extra attention through winter.
Think about how the route will actually be used. If people expect to step onto it in slippers or barefoot, mention that when discussing finishes; if outdoor footwear is usual, their needs may be different. A textured pattern or coating is not a guarantee against ice, and a smooth surface can become difficult when wet. Loose aggregate may move underfoot or be harder to cross with a wheeled aid. Ask the supplier about care and suitability for your situation, and, if possible, look at a sample outdoors after rain before settling on a finish.
03
Plan where rainwater and meltwater will go
Follow the water around the proposed route before choosing levels or drains. Note where downpipes discharge, where rain already collects and where meltwater might travel across a slope. The path should not become a shallow trough that holds water in the walking line. Nor should runoff be directed towards the house or sauna base, or create another wet patch elsewhere in the garden. Looking at the site during or after rain can reveal persistent puddles that are easy to miss in dry weather. If the ground levels are complex, get advice rather than guessing from a sketch.
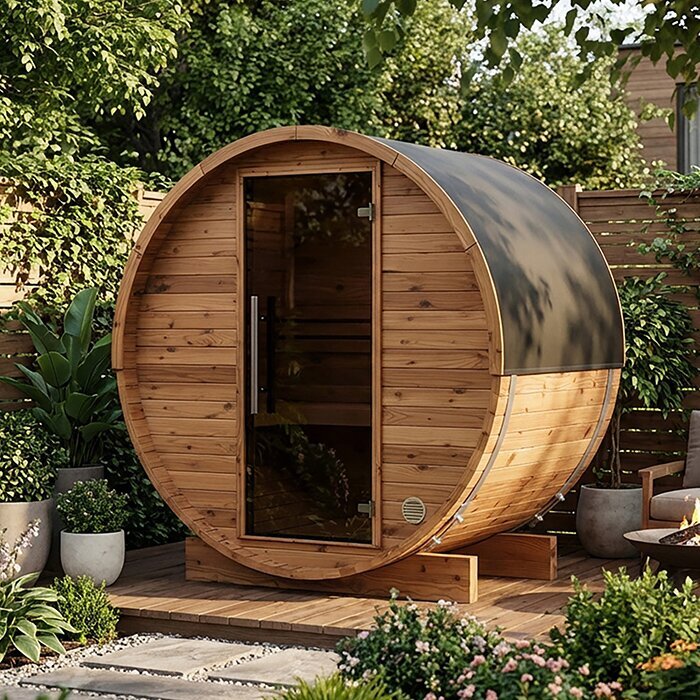
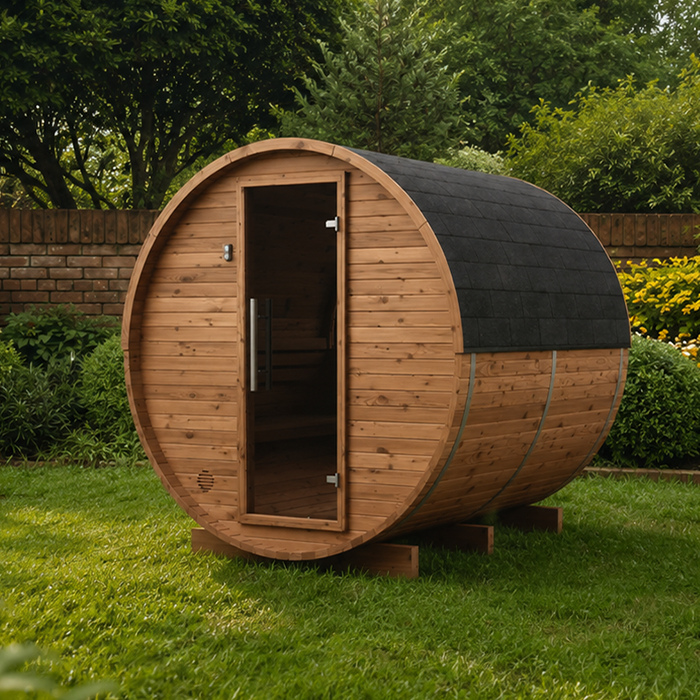
The Thermowood Barrel Sauna HC-225 listing identifies a model, not the drainage or ground preparation its site may require. Use current manufacturer installation documents for the exact unit, and ask a competent landscaper or drainage professional to review the route if the site is steep, waterlogged, involves retaining work or has services nearby. Drainage can reduce standing water, but it cannot guarantee a frost-free path: moisture that remains may still freeze. Keep drains accessible so leaves can be cleared, and plan the route so water can escape without running across the walking line.
Add shelter only where it improves the route
A covered stretch may make the transition more comfortable, but shelter does not have to run along the entire path. A roof near the house door or sauna entrance may limit direct rainfall at that threshold, while wind can still drive rain onto an open route. Pay attention to where the roof sheds water: a drip line that lands across the path could create the wet patch you hoped to avoid. Posts, edges and low projections should not obstruct the walking width, a turn or the space needed for a door to open.
If you are considering the Sauna N-210, mark any proposed shelter separately on the site plan so its posts and roof edges can be considered alongside the sauna entrance. Do not assume that an existing garden structure can be adapted as a walkway cover or support extra loads. A new canopy or pergola should be designed for its intended setting and drainage by a suitably qualified professional. Consider the surface beneath it too: shaded or sheltered corners can retain wet debris. Leave room to reach those corners with cleaning tools, rather than creating narrow gaps between posts, planting and the edge of the path that are difficult to clear.
04
Make room at both entrances
Allow a landing at the house and sauna entrances where someone can stop, turn and open the door without standing on a step edge or blocking the path. Check how each door opens, then leave space for wet footwear, a robe or a small item to be set down away from the walking line. A loose outdoor mat can bunch up or hold water and become a trip point. If you choose one, make sure it is intended for the location and will not interrupt drainage or door movement.
When planning the entrance area for the N-250 model, distinguish the space needed for the open door from the space where someone will wait or put down belongings. Both need to fit without spilling onto the walking line. Connect the landing to the path without abrupt edges or loose boards, and make any change in level clear. If steps cannot be avoided, include their treads and the landing in the winter clearing plan, not just the path leading up to them. Ask the installer or a competent path professional to review the layout if entrance details or changes in level are not straightforward.
Plan a routine for leaves, rain and frost
Base winter care on conditions rather than an invented calendar. Before use, scan the entire route, both entrances and any steps for leaves, mud, standing water and visible frost. After heavy rain or wind, check whether drains are blocked or debris has shifted. Clear organic matter and water using tools suitable for the selected surface. Do not assume that a roof or permeable finish makes these checks unnecessary; joints and shaded patches can collect debris in different ways.
Keep a broom, suitable scraper and any surface-compatible treatment somewhere handy but outside the walking line. Follow the paving or decking supplier's advice before using salt, chemical de-icer or abrasive grit, as a treatment suitable for one finish may affect another. If you are considering the LC-260 product listing, distinguish care of the sauna itself from care of the route: its manufacturer instructions do not replace guidance for the path surface. Decide in advance who will check the route before use and where the clearing tools will be returned afterwards. Do not rely on a loose mat to cover an icy patch, or use a treatment without checking that it suits the surface.
05
Keep stored items out of the walking line
Make the path part of the way the garden is used, rather than a line drawn between two buildings. Decide where outdoor shoes, slippers, towels and robes will be kept so they are not left on the paving or balanced at a doorway. Keep storage boxes, pots, garden tools and hoses off the route, including the space needed for doors to open. If a gate, shed door or outside tap shares the area, include its normal use on the plan. A gate swing or hose stretched across the path can turn an otherwise clear route into an obstacle.
Walk the route in both directions and check whether its edges are easy to distinguish from nearby paving or lawn. Trim planting before it narrows the clear space or hides a drain. If part of the route crosses lawn, do not assume it will remain firm through winter; consider a stable surface or a different line. Also think about two people using the area at once, such as one leaving the sauna while another approaches from the house. A clear place for belongings and a little room near the doors can help them pass without stepping off the path.
Test the layout before groundworks begin
Before groundworks start, mark the proposed route at full scale with string or temporary markers and stand at each doorway. Check the door openings, turns, usable width, drainage features and any shelter posts together; a small change can crowd a landing or move runoff onto the path. Walk the marked line at the time of day you expect to use it, wearing normal winter layers and carrying the items you would usually take. This checks the layout and visibility, not how a surface behaves under ice. Do not deliberately wet or freeze it as a test.
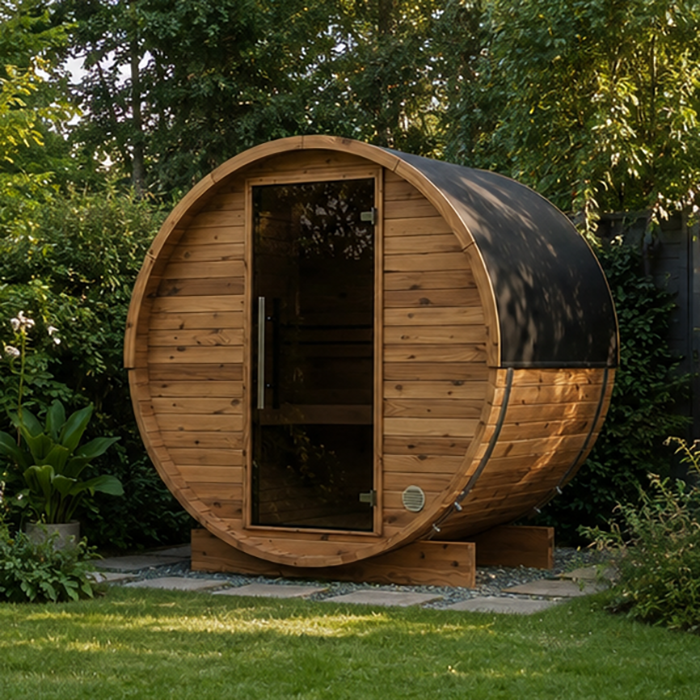
Use the Thermowood Barrel Sauna HCF-300 listing as a model reference when recording your choice on the plan. Before finalising the groundworks, confirm any delivery or installation access needed and what must remain accessible for future maintenance. Compare those access routes with the proposed path, landings and shelter posts so the different uses of the space are considered together. If levels, drainage, retaining work or a shelter are complex, ask the appropriate qualified professional to review the proposal before work begins. Record the chosen surface and its care instructions on the plan as well. This keeps the practical decisions about winter upkeep with the layout, rather than leaving them to be considered after the path is finished.
Frequently asked questions
Does the whole route need to be covered?
No. A covered stretch at the house or sauna entrance may help with direct rainfall, but wind can still carry rain onto the path and a roof can send water onto the walking line. Plan where any cover sheds water, and have a new canopy or pergola designed for its intended use.
What is the best surface for a winter sauna path?
There is no single best material for every garden. Look for a firm, even surface that can be cleared and maintained, and consider how its finish feels when wet. Ask the supplier about care and suitability for the way you expect to use the route; no surface can guarantee grip on ice.
Can a gravel path work?
It may suit some settings, but loose material can shift underfoot and be harder to cross with a wheeled aid. If you are considering gravel, ask the supplier or installer how it will be contained and maintained, and check that the finished route is firm enough for everyone expected to use it.
Will good drainage prevent the path from icing over?
Drainage can help limit standing water, but it cannot guarantee a frost-free route. Check for wet patches after rain, keep drains clear and respond to frost before using the path. Follow the surface supplier's advice before using grit or any de-icer.
How often should I check the route in winter?
Check it before use in winter, and again after weather that may have moved leaves, debris or water onto the path. Look at the entrances and any steps as well as the middle of the route. The care instructions for the chosen surface can help you decide what to clear and how.
A comfortable winter route brings together a sensible line between the doors, a firm surface, a place for water to drain and enough room to use each entrance without obstruction. Shelter may help at a threshold, but it does not remove the need to check the path or clear it when conditions change. The most useful layout is one that fits everyday use of the garden as well as the walk to the sauna. With belongings kept out of the way and awkward corners made easy to clear, the route can be maintained as a whole, from the house door to the sauna landing.
