



MATERIALS
Designed for wind, snow and year-round outdoor conditions
A weather-ready greenhouse depends on more than choosing the right model. Site, foundation, assembly quality, ventilation, drainage and regular checks work together. This guide explains how to assess these factors for New Zealand conditions.
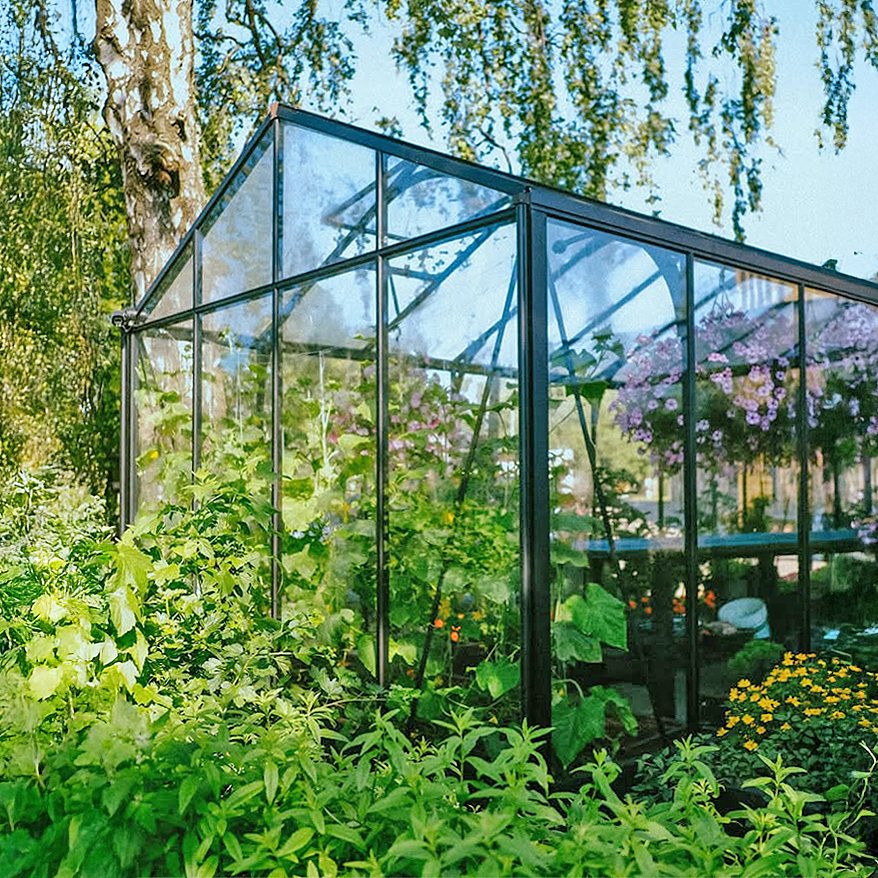
A greenhouse permanently sits between a controlled interior and changing outdoor weather. Wind pressure and suction, snow, driving rain, frost, summer heat and sudden temperature changes may occur in sequence or together. It is therefore not enough to consider the frame and glazing alone. Site, design, foundation, anchoring, installation and everyday use must function as one system.
This guide supports technical preparation and later use. It does not replace the model-specific assembly manual, structural assessment or project-specific consent advice. Where requirements depend on the site, council, district plan or particular product, check the applicable requirements.
What “designed for outdoor conditions” really means
A greenhouse developed for outdoor use is intended to remain exposed to changing environmental conditions over time. That does not mean it will withstand every possible weather event regardless of its site, foundation and operation. A structure performs only within the conditions specified for its model and when assembled correctly.
Weather readiness involves several connected tasks:
- Load transfer: Wind and snow forces must pass from roof and walls through the frame, fixings and base into the ground.
- Structural stability: Profiles, glass or panels and connectors must be installed and secured in full accordance with the manual.
- Water management: Rain and meltwater need clear drainage routes without pooling at the base or on adjoining surfaces.
- Movement allowance: Aluminium, glass, polycarbonate and seals respond differently to temperature changes.
- Operational checks: Doors, windows and automatic openers must be used and checked to suit the weather.
The care of an aluminium greenhouse is therefore not purely cosmetic. Cleaning and inspection help keep drainage, ventilation and connection points working properly.
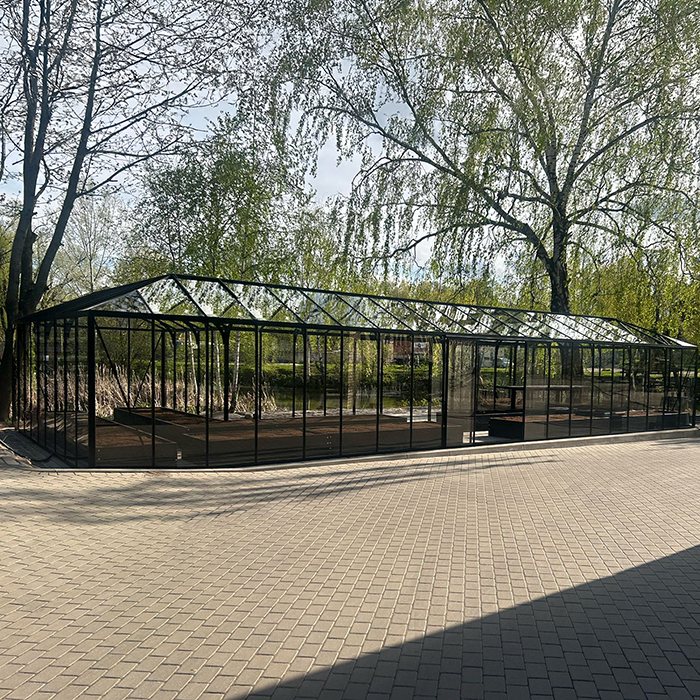
Assess the site before choosing a model
Assess the site before deciding on size, roof form or equipment. Photograph the intended location from several directions and, where possible, observe it in rain and on a windy day. Note slopes, shade, trees, buildings, walls, access routes and existing services.
Wind exposure
Open paddocks, ridge lines, coastal areas, wide road corridors and gaps between buildings can receive stronger or more turbulent winds than sheltered gardens. Apparent wind protection can also cause problems: eddies and locally increased suction can form behind walls, hedges and building corners.
Check the direction from which strong winds most often arrive and whether doors or roof vents would face it directly. An open door creates a large wind-catching surface. At the same time, the location must not be so confined that assembly, replacing panes, cleaning or snow removal becomes impossible.
Snow and water movement
Assess more than precipitation falling directly onto the greenhouse. Snow can slide from higher roofs or drift between buildings. Rainwater can run from slopes, terraces and neighbouring surfaces towards the foundation. Avoid such additional loads when selecting the location.
The ground should direct water away from the structure. Roof outlets need a suitable discharge point that does not undermine the foundation or paths. When the ground is frozen, meltwater can also collect in places that seem harmless in mild weather.
Access and seasonal use
A greenhouse used all year needs safe access in winter too. Allow room for door movement, carrying routes, cleaning and maintenance. For electrical or water services, check site-specific requirements and obtain suitably qualified advice before installation.
Also consider how the greenhouse will be used. Requirements for a simple propagation house differ from those for a larger orangery or occupied space. Guidance on different concepts is available in the orangery and greenhouse guide and the overview of greenhouses and conservatories.
Choose the model and configuration
Start selection with the actual site conditions, not only the available floor area. Compare roof shape, door layout, ventilation options, glazing type, access and the intended foundation solution. Product details always apply to the specific configuration; do not transfer values or characteristics from one model to another.
With polycarbonate, construction, light transmission and thermal properties matter differently than with glass. The article polycarbonate for greenhouses explains the basic differences. For style and form, greenhouse reviews and project experiences can also provide inspiration without replacing a site-specific assessment.
Compare only fully defined configurations. Extra windows, doors, shelving or technical fittings change use, airflow and sometimes the assembly sequence. Accessories should be expressly compatible with the model and fitted according to the manual.
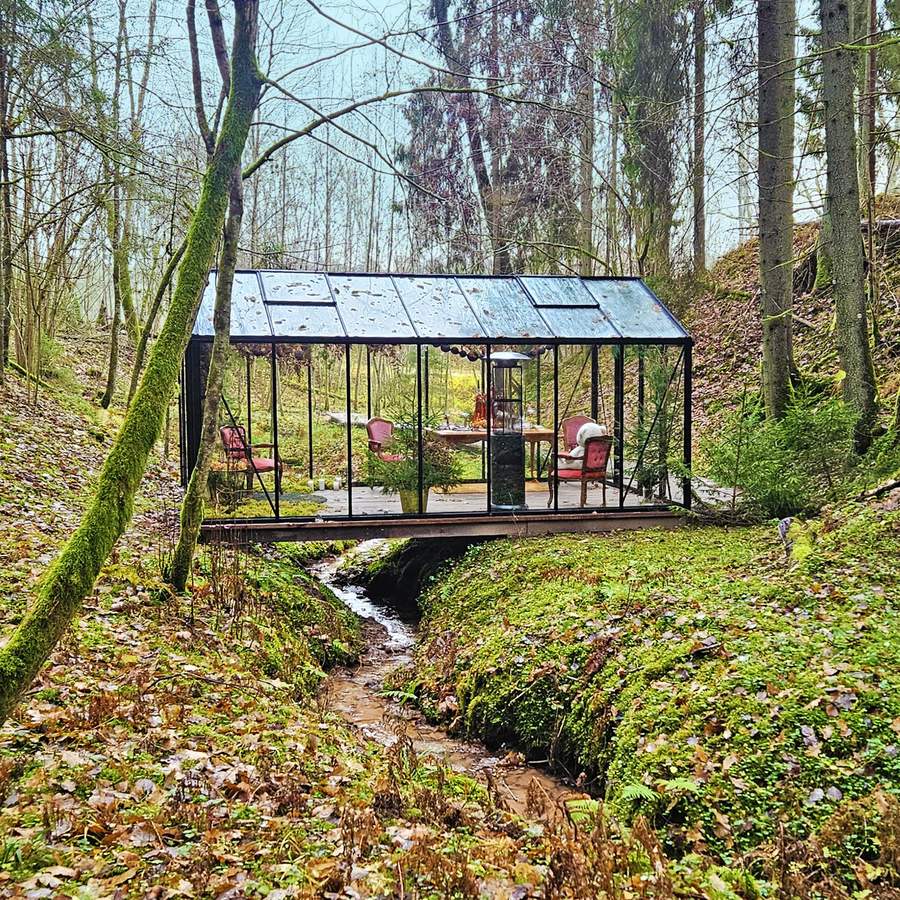
The foundation is part of weather preparedness
The frame can transfer forces reliably only when the substructure is level, load-bearing, dimensionally accurate and permanently stable. A sloping or settling foundation can cause stressed profiles, poorly closing doors, uneven pane support and leaking connection areas.
The suitable foundation type depends on the model, soil, frost conditions and local requirements. An existing patio is not automatically suitable. Pavers may appear level but can settle with insufficient sub-base or prevent the intended anchoring. Check the model-specific details and have uncertain ground professionally assessed.
Foundation planning checklist
- Set out external dimensions and reference points using current documents.
- Check squareness across both diagonals.
- Check surrounding levels, flatness and gradients.
- Consider soil bearing capacity and frost behaviour.
- Coordinate anchor points before concreting or drilling.
- Lead rainwater and meltwater away from the base.
- Locate and protect underground services.
- Keep adequate working space around every side.
- Recheck dimensions and surface before assembly begins.
The same physical principles apply to other outdoor structures. The pergola foundation guide shows why ground conditions, drainage and fixings should always be planned together.
Receive and store components before assembly
Check the delivery promptly against the accompanying documents. Record the condition of packaging and any visible discrepancies before distributing parts or discarding packaging. Find process information under ordering and delivery.
Store profiles, panes, panels and small parts dry, securely and as instructed in the manual. Long components need even support. Glazing must not tip over or be damaged by point loads. Secure light packaging and panels against wind. Do not leave components on wet ground or in standing water for extended periods.
Sort fixings only by their position or part identification. Similar-looking screws can have different purposes. Mixing them prematurely increases the risk of incorrect allocation.
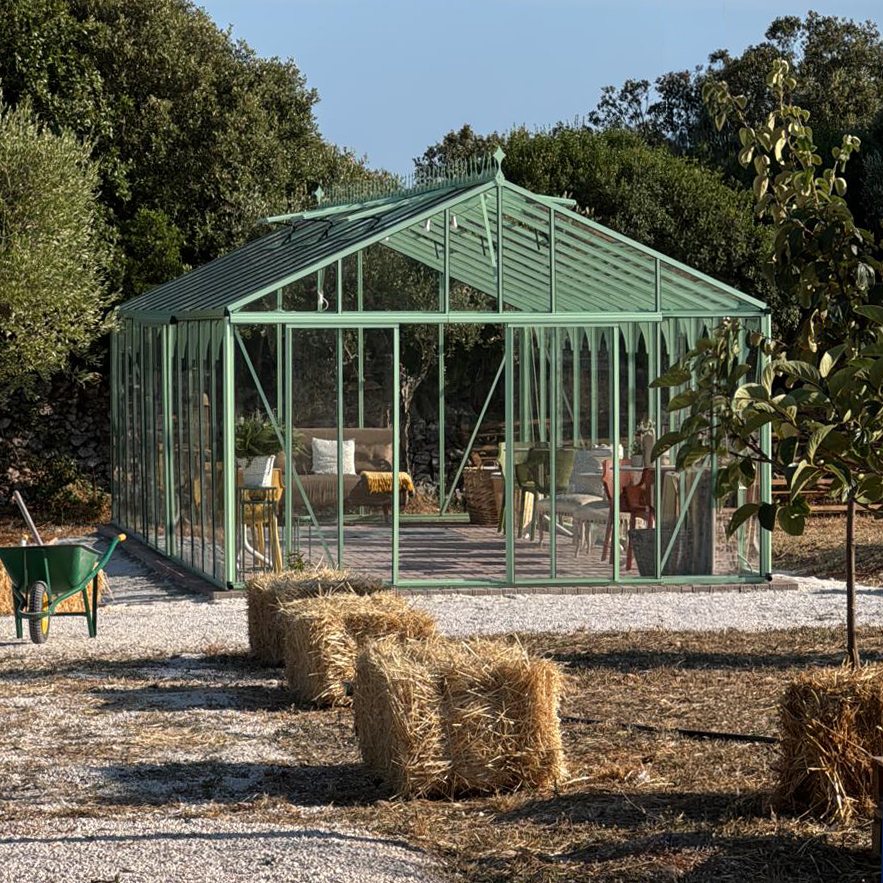
Assembly quality and the Anna-Koku-Skola sequence
The documented Anna-Koku-Skola installation should be understood as one connected assembly sequence: from preparing the ground and setting up frame sections in order through to glazing and the final check. What matters is not a single photograph or isolated step, but the controlled sequence.
Begin only in suitable weather. Strong wind makes aligning large frames difficult and handling panes or panels unsafe. Before each stage, check that the preceding assembly is square, plumb and secured according to the manual. Small deviations at the base can become obvious at roof level.
Practical assembly checks
- Match documents: Confirm that the manual and parts list match the supplied configuration.
- Pre-sort components: Group profiles and fittings by assembly stage without removing identification marks.
- Measure the base: Check sides, diagonals, level and anchoring before building the frame.
- Align the frame provisionally: Tighten connections initially only as far as the manual specifies.
- Check roof geometry: Do not force ridge, eaves or rafters into position.
- Install glazing systematically: Keep bearing surfaces clean and use all specified retainers.
- Test opening elements: Doors and windows must operate without rubbing, binding or excessive play.
- Carry out a final check: Complete all specified finishing tasks only after checking the overall geometry.
Do not drill extra holes, shorten profiles or substitute fixings unless this has been expressly approved. Such changes can affect load paths, corrosion behaviour or glazing support. If uncertain, contact Bloomcabin before making changes.
Manage wind in everyday use
Many wind-related failures begin not with the closed frame, but with an open door, unsecured window or loose object. Check latches regularly and keep the area around the greenhouse clear of garden furniture, tools, branches and light plant containers.
Before strong winds
- Close and lock doors and manually operated windows fully.
- Check automatic openers in line with their instructions and prepare them where necessary.
- Secure or remove loose items inside and outside.
- Do not leave damaged panes, panel clips or seals until after the storm.
- Keep gutters and outlets clear if heavy rain is expected.
- Do not attempt outdoor repairs during the storm.
A partly open door is not controlled pressure relief. It can catch wind and transfer additional forces to the frame and glazing.
Snow, ice and frost
Snow load does not depend only on visible depth. Wet snow is considerably heavier than loose powder, while drifting and snow sliding from roofs can create uneven loads. Always follow the information for the specific model and the local conditions.
Watch the roof during extended snowy periods and act before critical or uneven accumulations form. Remove snow only with a safe method that protects materials. Do not stand on the roof, strike panes or panels with hard tools, or force frozen surfaces loose.
Ice can block doors, windows and outlets. Never force opening elements. Where water repeatedly thaws and freezes, inspect connections and drainage paths after the frost period. The article pergolas in winter: snow, ice and wind offers further transferable winter guidance.
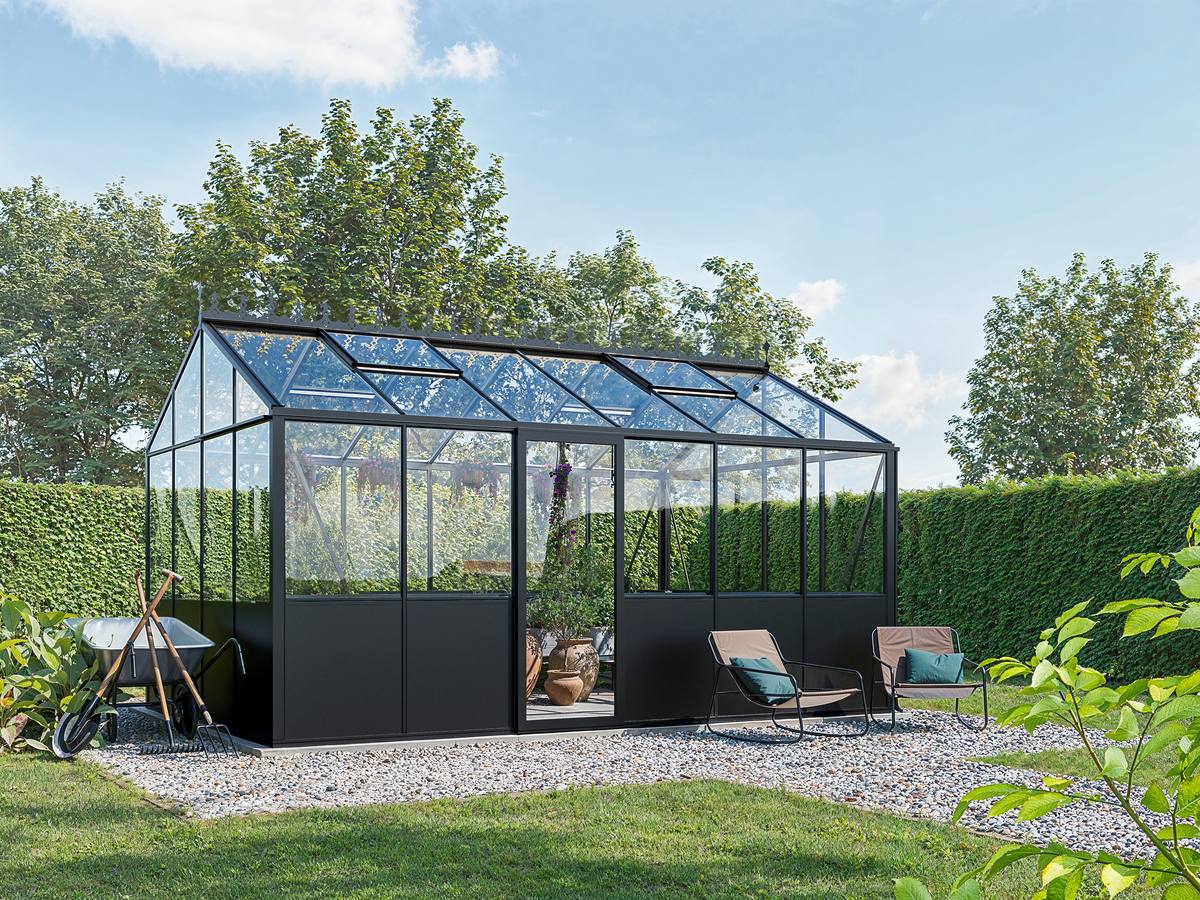
Rain, drainage and condensation
A greenhouse is not a climatically sealed space. Rainwater must drain neatly outside, while plants, damp soil and temperature differences create condensation inside. Droplets on the inside are therefore not automatically evidence of a leak.
Clear leaves, moss and soil from gutters, drainage openings and connection areas. Water standing around the base is more likely to indicate a site or drainage problem than a fault in the glazing. After driving rain, check whether nearby roofs or hard surfaces are directing water towards the greenhouse.
Balanced ventilation, sufficient air movement and controlled watering can reduce condensation. Detailed guidance is available in the guide to greenhouse temperature and humidity.
Heat, ventilation and seasonal temperature changes
Solar gain can heat the interior quickly even on mild days. Roof vents, doors and, where appropriate, shading must therefore be treated as an operating system. An open setting suitable for summer may be unsuitable when wind gets up.
Automatic window openers make temperature management easier but do not replace inspection. Check their operation, setting and free movement in line with the relevant documents. Plants must not obstruct window leaves or mechanisms.
In winter, sunshine does not automatically mean permanently frost-free conditions. Temperatures can fall quickly after sunset. Anyone growing lettuce in a greenhouse must consider plant needs, ventilation and local frost risk together. Active heating needs separate professional planning.
Regular inspection and maintenance schedule
| When | Checks | Action |
|---|---|---|
| Monthly during the use season | Doors, windows, latches, visible connection points | Clean, test operation and address visible looseness as instructed |
| Before forecast severe weather | Openings, loose objects, outlets, damaged glazing | Close, secure, clear and resolve damage in good time |
| After storms or heavy rain | Frame geometry, pane clips, seals, foundation surroundings | Document changes and stop use if there are safety concerns |
| Before winter | Gutters, roof surfaces, door operation, anchoring, surrounding branches | Clean and rectify visible defects before frost and snow |
| After the frost period | Settlement, standing water, ice effects, moving parts | Check ground and components again |
Use only suitable products and methods for cleaning and care. Aggressive chemicals, abrasives or hard tools can damage surfaces, seals or glazing. A simple maintenance log with dates and photographs helps identify gradual changes.
Purchase planning and documentation
Keep the quotation, order confirmation, parts list, assembly manual, foundation documents and installation photographs together. Record accessories and later changes. Find ordering information under how to order; the applicable commercial warranty terms are in the warranty section.
Before buying, also check whether building consent, resource consent, boundary controls or other approval may be needed for the site. Requirements depend on the actual structure and use, foundations and services, fire separation and the relevant council district plan. The article building consent for a greenhouse or pergola in New Zealand offers a starting point, but does not replace advice from the relevant council.
For New Zealand delivery, confirm the agreed importer, delivery charges, GST and customs-clearance responsibilities before checkout. See greenhouse delivery to New Zealand and further topics in our useful information section.
Frequently asked questions
Can a greenhouse stay outside all year?
Yes, provided the specific model is intended for permanent outdoor installation and the site, foundation, assembly and use meet the associated requirements. Year-round installation does not mean maintenance-free operation. Inspections are needed before and after unusual weather events.
Does an aluminium frame eliminate rust and maintenance issues completely?
Aluminium resists corrosion, but cleaning and inspection remain necessary. Fixings, contact points, coatings, seals, gutters and moving parts can become dirty, damaged or altered. Avoid unsuitable cleaners and unapproved material combinations.
Can I install a greenhouse on an existing patio?
Only if its construction, bearing capacity, level, drainage and anchoring options suit the intended structure. A level surface alone is not sufficient. Unknown substructures or floating-laid paving must be professionally assessed first.
Should roof vents remain open in strong winds?
As a rule, close and properly secure doors and windows before strong wind. Open elements increase the wind-catching area and can create internal pressure. Always follow the instructions for the particular model and opening mechanism used.
Must every snowfall be removed immediately and completely?
Not every thin layer of snow automatically requires action. The key factors are the model specifications, snow type, drifting, additional snow sliding from roofs and the actual load distribution. Monitor conditions and avoid heavy or one-sided accumulations.
Does a greenhouse stay warm in winter?
An unheated greenhouse stores solar warmth during the day but can cool sharply overnight. Glazing and design influence this pattern but do not guarantee frost-free temperatures. A required minimum temperature needs a coordinated heating, ventilation and safety plan.
Does condensation prove that a greenhouse leaks?
No. Condensation forms when humid interior air meets colder surfaces. Recurrent water at the same external connection point, especially during rain, should nevertheless be investigated. Assess interior humidity, watering, ventilation and possible water ingress separately.
Can a lean-to greenhouse be attached to any wall?
No. Wall construction, bearing capacity, flatness, weatherproofing, roof overhangs, drainage and existing services must be suitable. Insulated facade systems and cladding also need appropriate connection solutions. When in doubt, obtain a professional assessment.
May I replace fittings or drill additional holes?
Only where the documents provide for it or approval has been expressly confirmed. Extra holes and alternative fixings can weaken profiles, alter water paths or create unsuitable material contact. An apparently easier installation can cause later problems.
What should I do after a severe storm?
Approach only when the surroundings are safe. Check and photograph glazing, opening elements, frame, connection points, anchoring and the foundation area. Secure the area if components are broken or displaced, and do not continue normal use until the matter is resolved.
What is the most important preparation step?
Careful site and foundation planning. It determines how wind, water and loads affect the structure and whether the frame can be assembled accurately. An unsuitable base cannot be compensated for simply by tightening screws more firmly.
The same planning principles apply to other outdoor structures, even where their construction and use differ. When coordinating several garden buildings, see the pergola size guide, the comparison wall-mounted or freestanding pergola and the guide to bioclimatic or classic pergolas . For a separately planned wellness area, consider the Elma S outdoor sauna and the HC150 thermowood barrel sauna . Check foundations, clearances, connections and consent questions separately for each structure.
