



PREPARATION
Photos, measurements and drawings for a quote request
Well-organised site information makes it easier to select a suitable greenhouse, pergola or outdoor sauna. This guide explains which photos, measurements, sketches and details are useful for a sound initial assessment.
A good quote request does not start with as many files as possible, but with clear information. You need a clearly named product type, intended use, a complete set of photos, checked measurements and a simple site sketch. Also document slopes, drainage, the foundation situation, and delivery and installation access.
These documents do not replace a technical site assessment or any planning required from suitably qualified professionals. However, they help identify obvious conflicts early, reduce follow-up questions and compare suitable options. This applies to greenhouses and conservatories, pergolas and products in the sauna range.
Quick check for your quote request
Before sending, check that your package includes at least the following:
- the preferred product type and intended use;
- the address, or at least postcode and town, of the proposed site;
- overview photos from several directions;
- detailed photos of walls, ground, drainage, obstacles and access routes;
- available length and width, plus relevant heights;
- distances to buildings, walls, trees, paths and property boundaries;
- details of slope and the proposed base or foundation;
- a labelled plan view with dimension lines and north direction;
- information about vehicle access, unloading point and carrying route;
- notes on pipes, inspection chambers, roof drainage and other services;
- clearly marked preferences, assumptions and unresolved points.
If individual details are missing, do not estimate them and enter them as supposedly exact measurements. Instead, mark them as “to be checked” or “approximate position”. This makes clear which information is reliable.
1. Define the product and intended use
First state which type you wish to consider: a freestanding greenhouse, lean-to greenhouse, orangery, wall-mounted or freestanding pergola, rectangular outdoor sauna or barrel sauna. If you are still comparing options, describe the alternatives clearly. The complete product range provides an overview of the available categories.
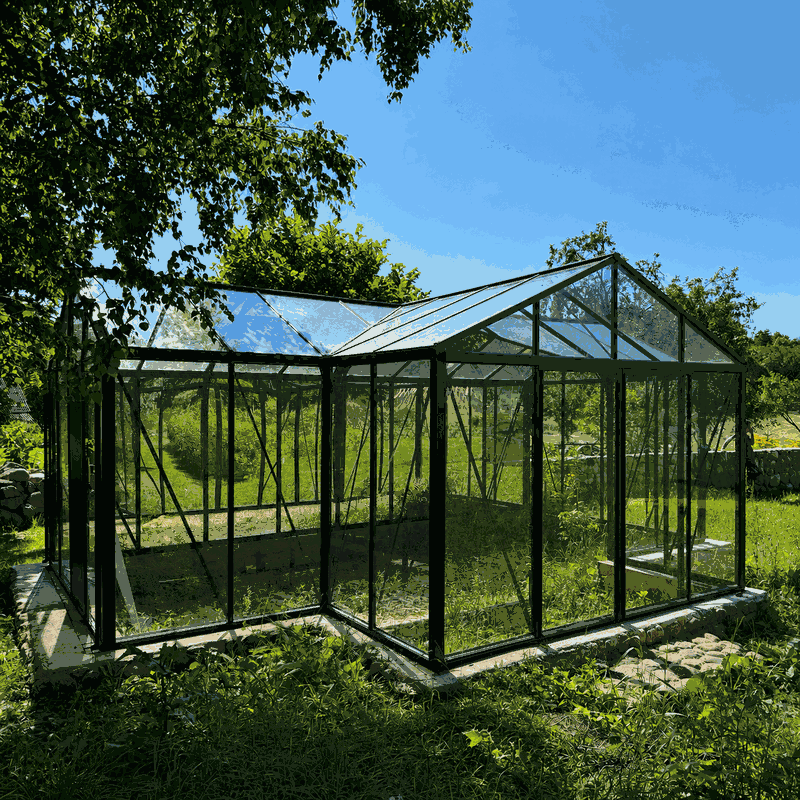
The intended use affects a sensible site assessment. For a greenhouse, growing areas, working routes, ventilation and water access are relevant. Anyone exploring different garden concepts can find further guidance in articles about polytunnels, guides to Victorian greenhouses and an introduction to the orangery as a greenhouse concept.
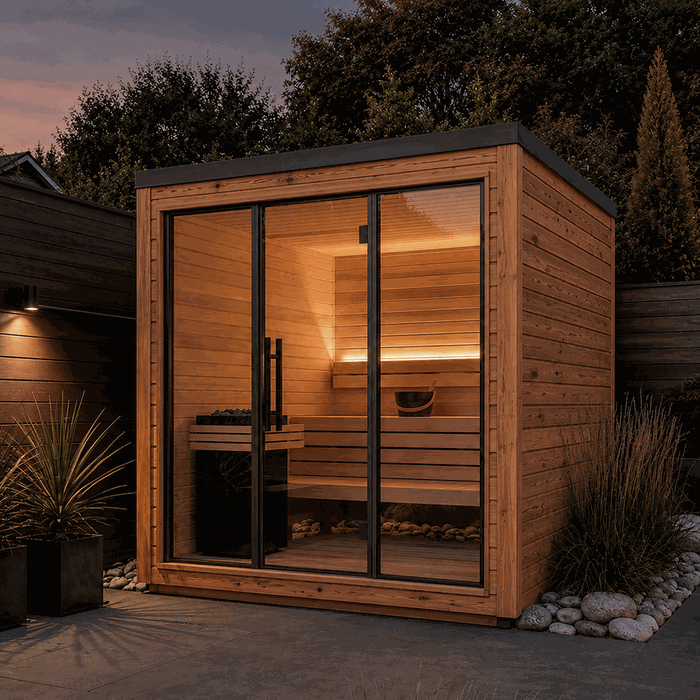
For a pergola, state whether it is mainly intended for seating, shade, weather protection or as a transition between house and garden. If useful, first compare bioclimatic and classic pergolas as well as wall-mounted and freestanding pergolas. For a sauna, include the expected number of users, preferred form and planned technical equipment in the request. Product examples such as the Elma S outdoor sauna, the Elma L outdoor sauna or the HC150 barrel sauna help define the desired basic form clearly.
2. Take a complete series of site photos
Do not photograph only the open area. For an initial technical assessment, the site must be visible in its spatial context. Overview images show its relationship to the house, garden, paths and boundaries. Detailed images document connections, level changes and obstacles.
Recommended photo sequence
- Property access: Photograph the vehicle route from the public road to the possible unloading point.
- Carrying route: Show gates, passageways, steps, tight turns, walls, canopies and sensitive surfaces.
- Overall view: Photograph the proposed location from all four main directions. Stand far enough back.
- Ground area: Photograph paving, soil, existing foundations, edges, chambers and visible slopes.
- Adjacent structures: Document façades, roof overhangs, downpipes, windows, doors, plinths, steps and walls.
- Obstacles: Show trees, hedges, fences, lights, services, outdoor equipment and permanently installed garden features.
- Measurement photos: Add individual images showing a ruler or tape measure clearly placed at a relevant point.
A scale in a photograph helps orientation, but does not replace a written measurement. Perspective, wide-angle lenses and height differences can significantly distort distances.
What not to rely on alone
- a single panoramic image;
- real-estate photos or older garden images;
- photos with obscured ground;
- handwritten measurements with unclear reference points;
- map screenshots without a scale;
- a mark on the lawn without labelled dimensions.
If planting or stored items conceal important edges, photograph the area from the side as well where possible. State which elements are to be removed and which will remain permanently.
3. Measure the available area
Measure the genuinely usable space, not only the desired product size. The request should show how much room is available overall and which clearances remain to fixed objects. Two measurement levels are useful: the overall dimensions of the site area and individual dimensions to obstacles.
| Measurement | Why it is needed | Suitable information |
|---|---|---|
| Overall length and width | Defines the available planning area | State clear endpoints and units |
| Diagonals | Show whether a rectangular area is square | Measure both diagonals |
| Distances to obstacles | Check access, use and possible conflicts | Measure from a clearly named edge |
| Height differences | Document slopes and steps | Number measuring points on the sketch |
| Openings and paths | Relevant for delivery and later use | Clear width and, where relevant, clear height |
Use millimetres or centimetres consistently and write the unit beside every measurement. Do not mix units within the same drawing. Also state whether you measured between finished surfaces, rough edges or only approximately marked points.
A rectangular area is not automatically square. Therefore measure both diagonals. Different diagonals indicate a deviation without identifying its cause. For an initial product selection, the pergola size guide can also help. However, product dimensions must not be treated as the required construction and circulation space.
4. Additional measurements for wall-connected projects
For a lean-to greenhouse or wall-mounted pergola, the façade forms part of the planning. A general statement such as “the house wall is about six metres long” is not enough. Prepare a straight-on elevation drawing and enter the following measurements:
- usable wall width between fixed limits;
- height from the intended finished ground level to the eaves or roof overhang;
- position, width and height of windows and doors;
- distance from each opening to a clearly defined reference corner;
- projections from sills, plinths, cornices and downpipes;
- location of exterior lights, ventilation openings, taps and technical equipment;
- wall construction, where known, including external insulation or cladding;
- roof drainage and the direction of water runoff.
Photograph the entire wall as frontally as possible, as well as from both sides. Fixings must not be determined from photos alone. Load-bearing capacity, substrate and suitable fixing methods require project-specific assessment. Where wall construction is unclear, it must be checked by an appropriately qualified professional.
5. Document slope, drainage and the intended installation area
A terrace that looks level may have a planned drainage fall. Lawn areas often have local hollows, built-up areas or soft edges. Do not simply note “level” or “sloping”; instead, measure height differences between defined points.
A practical layout uses four corner points and a centre point. Set one point as the reference height and enter relative differences on the sketch. If suitable measuring equipment is unavailable, mark the slope as unchecked. Do not invent precision.
Also show where surface and roof water can drain. Relevant features include gullies, gutters, downpipes, lightwells, basement steps and lower neighbouring areas. A new structure must not unintentionally pond water or divert it problematically. Requirements and acceptable solutions must be checked for the site.
State whether there is already a concrete area, paving, strip foundation or only natural ground. For pergolas, the pergola foundation guide offers an introductory overview. It does not replace planning tailored to the ground conditions and specific project.
6. Prepare a simple site drawing
A professionally drawn CAD file is not normally needed for a quote request. A neat hand sketch can be sufficient if it is fully labelled, legible and free from contradictions. Use graph paper or a simple drawing program. The sketch should show a plan view; wall projects also need a façade elevation.
These items belong on the plan view
- outline of the available area;
- desired product position and orientation;
- house, garage, walls, paths and terrace edges;
- property boundaries where their course is reliably known;
- trees, larger shrubs and other obstacles;
- doors and intended opening directions;
- unloading point and carrying route;
- chambers, services, drains and technical connection points;
- dimension lines, diagonals and numbered height points;
- north arrow and photo directions.
Number the photos and enter their numbers and viewing direction on the plan. This makes it possible, for example, to identify “Photo 07, looking south towards the house wall” clearly. If you wish to consider two possible positions, draw two separate options rather than overlapping outlines.
Satellite images can supplement the surroundings, but are not decisive. Property boundaries, current planting and height relationships cannot be reliably derived from them.
7. Explain delivery and installation access
The site may be spacious while the route to it presents major restrictions. Therefore document the entire route from the possible delivery vehicle to the installation area. State the narrowest clear width, any height restrictions, steps and sharp changes of direction.
- Can a suitable vehicle stop nearby?
- Are there access restrictions, gates or narrow road sections?
- How far is the unloading point from the site?
- Does the route cross lawn, gravel, steps or sensitive surfaces?
- Do components need to be carried through a building?
- Are there temporary obstacles such as parked vehicles or locked accessways?
Separate confirmed site conditions from assumptions. Information about the general process is available under shopping and delivery. For site-specific questions, please contact us early.
8. Check local project conditions early
Whether building consent, resource consent, setbacks or other requirements apply depends on the site, district plan, design, actual use and specific project. Do not assume a similar-looking neighbouring project has the same conditions. An initial overview is available in the article Do you need consent for a greenhouse or pergola?Ask the relevant council which requirements apply to your property and proposed greenhouse, pergola or sauna, including its foundations, services, boundary fire separation and stormwater.
Document known property boundaries, easements, service areas or protected areas where they may be relevant to the project. Bloomcabin cannot confirm a property boundary from garden photos. If uncertain, use appropriate existing records or obtain a professional survey.
For an outdoor sauna, also consider the planned power supply, cable routing, ventilation, drainage and safe access. Ask a licensed electrical professional to assess the installation, protection, equipment suitability and certification, and have other specialist work assessed for the project. State whether connections already exist, are only planned or remain entirely unresolved.
Material and use choices can also influence planning. Information about greenhouse polycarbonate, as well as bioclimatic pergolas and roof options or automatic window openers can help organise outstanding equipment questions before making an enquiry.
9. State preferences without presenting them as measurements
Preferences matter, but they must remain separate from measured facts. For example, write “preferred width about four metres, measured available width 4.65 m” rather than simply “four metres wide”. Colour, door position, glazing type, roof design and accessories should likewise be described as preferences.
If your priorities compete, rank them. For example, state maximum usable area first, then the clearest possible view, followed by the preferred door position. This allows an alternative to be assessed objectively without treating a preference as an unchangeable site condition.
10. Organise files clearly
Name files systematically, for example “01_Access”, “02_Carrying_Route”, “03_Site_North” and “Plan_View_V2”. Do not combine every image into difficult-to-read screenshots. Original photos retain more detail and can be enlarged more effectively.
A short accompanying list should state which files are attached, when measurements were taken and which matters remain open. If a sketch is revised, the old version should not use the same filename. Use a date or version number and clearly identify the current version.
11. Use product documents at the right time
Product drawings and assembly documents are useful once a construction type has been narrowed down. Use confirmed external dimensions and connection principles from them, but do not transfer values from a similar-looking model. Always check that the document, model and version belong together.
Preparatory information is available in the useful information section. Guidance on later use, such as caring for an aluminium greenhouse, should be treated separately from site measurements. Information about the guarantee does not change the need to document the proposed site correctly.
12. Check the document package before sending
Carry out a final plausibility check. Do measurements in the sketch and accompanying text agree? Are units shown? Can photos be identified clearly? Have the width and height of passageways been recorded separately? Is it clear which area is existing and which is only proposed?
A quote request is especially easy to assess when a third person can describe the site from the documents without having seen it.
Mark unresolved points openly. A clearly named gap is more helpful than an estimate on which further decisions are based. If a measurement changes later, send the complete corrected version and highlight the change.
Frequently asked questions
Do I need professional drawings for a quote request?
For an initial request, a neat hand sketch with dimensions is generally sufficient. Professional measurements and planning may be needed for complex connections, unclear boundaries, demanding foundations or significant height differences. The need depends on the specific site.
Can I send only the dimensions of the greenhouse I want?
No. Product dimensions do not show whether there is enough space for installation, doors, maintenance, drainage and access. Also send the dimensions of the available area and distances to adjacent objects.
How many site photos should I send?
There is no fixed number. What matters is complete coverage: vehicle access, carrying route, four site views, ground, adjacent structures and relevant details. A simple open site may need fewer photos than a tight wall installation.
Can photos replace measurements?
No. Photos provide spatial context, but perspective and lenses can distort proportions. Measurements need clearly defined start and end points, plus a unit.
Should I include satellite images?
They can be useful as a supplementary overview. Do not use them as evidence of exact measurements, boundaries or heights. Current photos, your own measurements and reliable existing documents serve different purposes for these details.
What should I do if the site is not level?
Measure and mark height differences at several points. Show the direction of slope, steps and drainage. The required solution for the sub-base or foundation must be determined from the product, ground conditions and local circumstances.
What should I send for a lean-to or wall greenhouse?
Provide a full frontal photo of the wall, side photos, a dimensioned façade elevation, ground measurements and details of windows, doors, roof overhangs, plinths, downpipes and known wall construction. Suitability for wall fixing must be assessed separately.
Should utility lines be shown on the drawing?
Yes, where their location is known and relevant to construction, fixing or operation. Mark water, electricity, drainage, chambers and underground service areas. A suspected location must be clearly labelled as unconfirmed.
Can Bloomcabin confirm my property boundary from photos?
No. Fences, hedges and paving edges do not necessarily match a legally or survey-defined boundary. Use suitable documents and have uncertainties clarified professionally.
Does a quote confirm that my site is ready for installation?
Not automatically. A quote is based on the information supplied and does not replace any required site assessment, foundation design, consent or specialist planning. The preparatory work needed must be clarified for the individual project.
Should I send maintenance questions with my quote request?
You can state relevant usage requirements, such as access needed for cleaning. General maintenance questions should, however, be listed separately from measurements and site data. This keeps the technical documentation clear.
What happens if my measurements change?
Inform Bloomcabin before making further decisions and send an updated, fully labelled drawing. State the changed values explicitly. Do not work with several unclearly labelled versions at the same time, as old measurements may otherwise be reused accidentally.
For further questions about your document package, use the central contact page . For delivery within New Zealand, including its islands and territories, also see information about buying a greenhouse with delivery in New Zealand.
