



PROCESS
What happens after you order? From confirmation to dispatch
This guide explains what happens after you order: from checking your order confirmation and preparing the site to dispatch notification, delivery acceptance and checking components before installation.
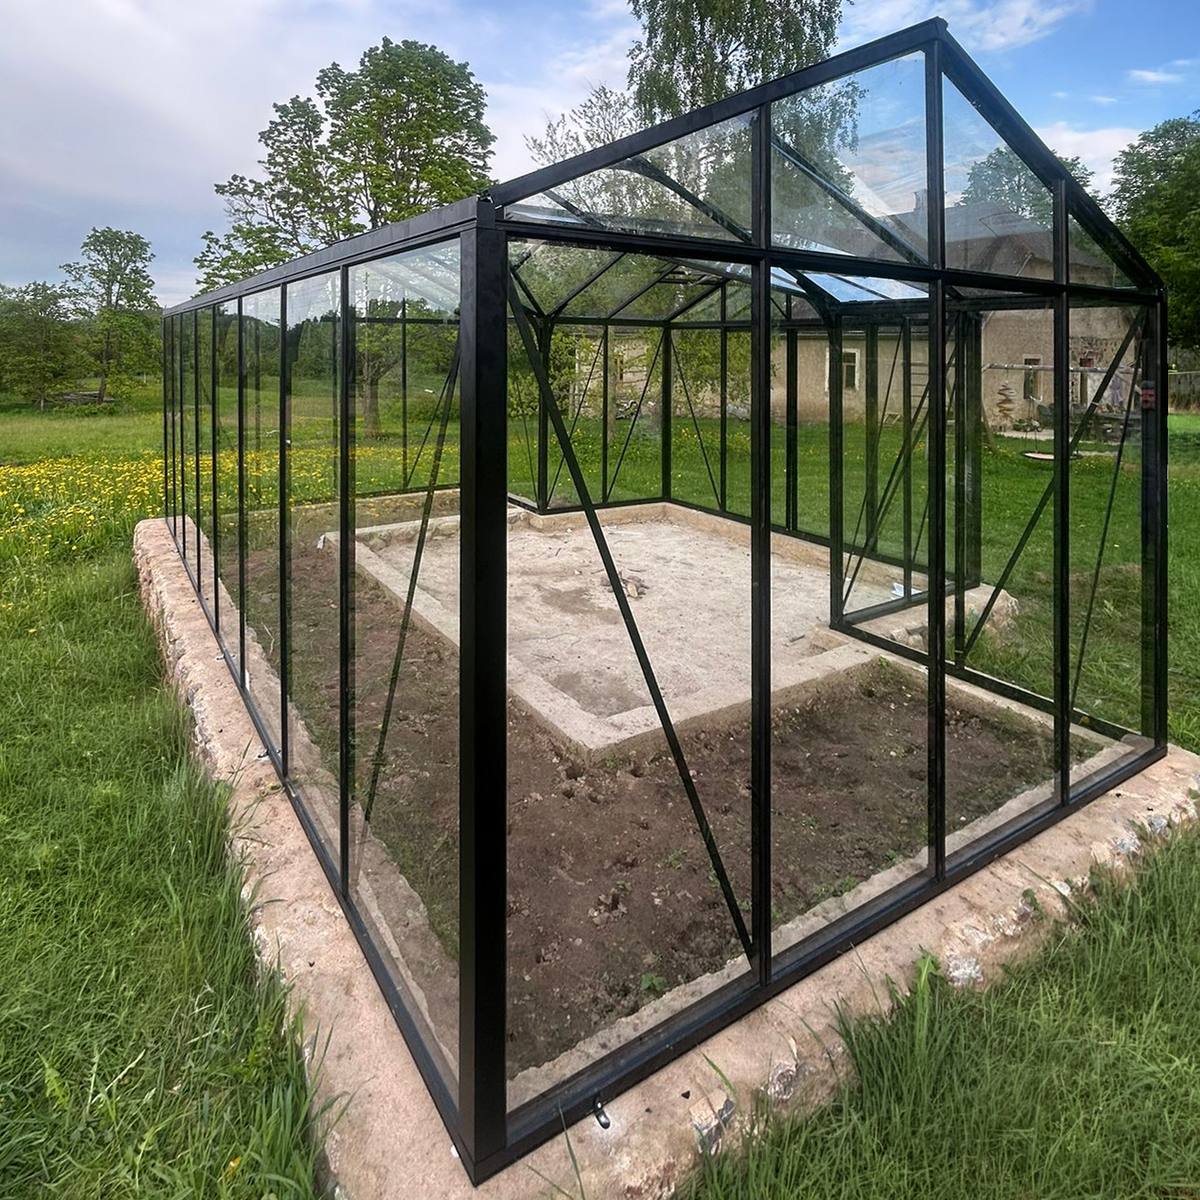
Submitting an order does not mean installation begins at your property straight away. Several important technical and organisational stages come first: order details are confirmed, the selected configuration is checked, the site must be prepared and delivery planned. Dispatch communication, delivery acceptance and an inventory check then follow before installation begins.
This guide sets out which tasks make sense in which order. It generally applies to greenhouses, pergolas and outdoor saunas. Details depend on the model ordered, delivery location, access route and local requirements. The documents and communications for your specific order always take precedence.
An overview of the post-order process
- Read the order confirmation: Check the model, configuration, billing and delivery addresses, and contact details.
- Await order review: The order is checked for completeness and technically relevant information.
- Report changes early: Do not wait until the dispatch notice to report errors or requested changes.
- Prepare the site: Clarify consent questions, the installation area, foundation, wall connections and access.
- Prepare for dispatch: Before actual dispatch, the order and packages are prepared for handover.
- Watch dispatch communications: Read delivery instructions and arrange an available contact person if needed.
- Receive and document the shipment: Check the number and external condition of packages.
- Check components before installation: Sort and identify components using the order-specific documents.
General information on placing an order is available under How to order. Guidance on purchasing and delivery procedures is in the Purchasing & delivery section.
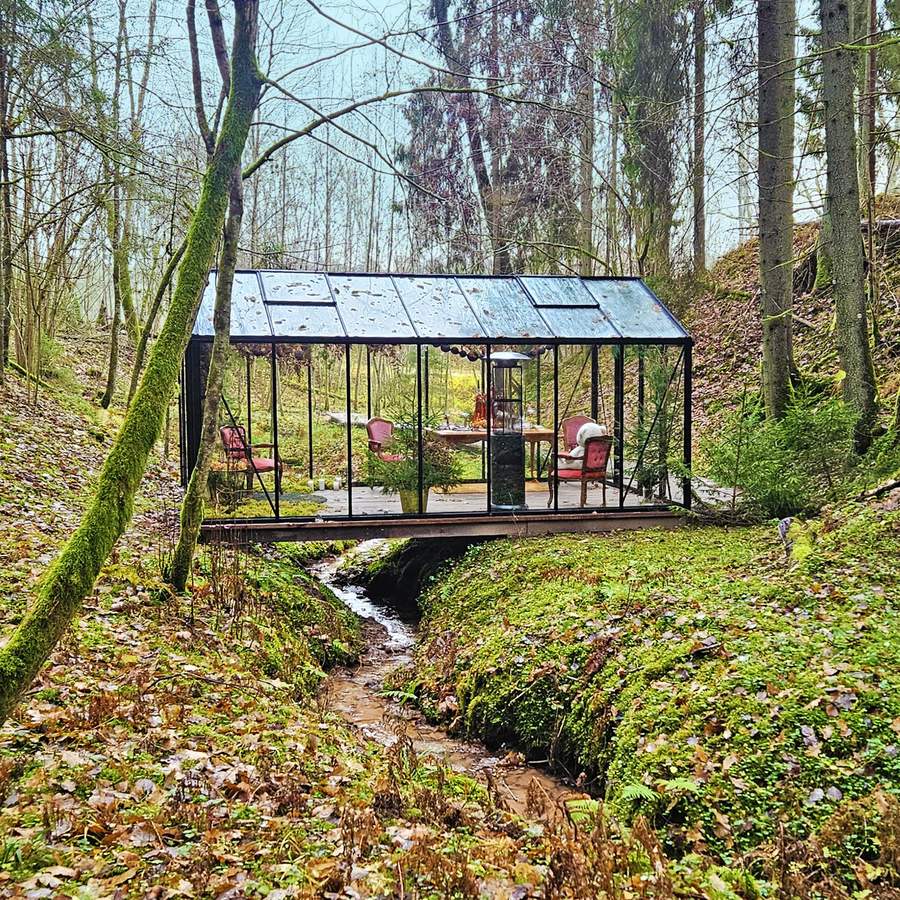
Stage 1: Read and check the order confirmation
Your order confirmation is the first key checkpoint. Compare it not only with your shopping basket, but also with your actual plans for the property. Check the product name, model variant, selected options, quantities, delivery address and billing address in particular. Your telephone number and email address must also be correct, as they may be needed for enquiries and later delivery arrangements.
Take particular care with similarly named models or sizes. An outdoor sauna such as the Elma S is not, for example, the same as the Elma L . The same applies to barrel saunas such as the HC150 and the HC 180. The version listed in your documents is the one that applies.
An order confirmation is not yet a dispatch confirmation. It initially records that the order has been received with the listed information. Keep the message with related documents and respond promptly if you identify any discrepancies.
Stage 2: Checking the order and configuration
Internal processing follows confirmation. This may include checking completeness, configuration details, delivery data and order-specific features. An enquiry may be needed where information is unclear. Reply fully and quote your order or reference number in every communication.
This review does not replace your site planning. Without separate information, the supplier does not know the actual ground conditions, boundaries, service routes, access widths or council requirements. Product selection and the construction suitability of the specific site therefore remain separate checks.
If you still need to choose between construction types, technical decision guides such as bioclimatic or classic pergolas, the comparison of wall-mounted or freestanding pergolas and the pergola size guide can help. Ideally, such decisions should be complete before ordering.
Changes, cancellations and corrected information
Report changes as early as possible, especially changes to the model, version, accessories, delivery address or contact details. Whether a change or cancellation remains possible depends on the processing stage and the terms of the specific order. An informal request does not mean the change has been accepted. Wait for clear written confirmation.
When making a correction, state not only what is wrong but the complete intended final information. For example, “replace the delivery address with …” is clearer than “change the street number”. Then check every reissued document.
For deliveries to New Zealand, import and handover procedures may differ. See the guidance on buying a greenhouse for delivery across New Zealand . For questions about an existing order, use the stated order contacts or the Contact page.
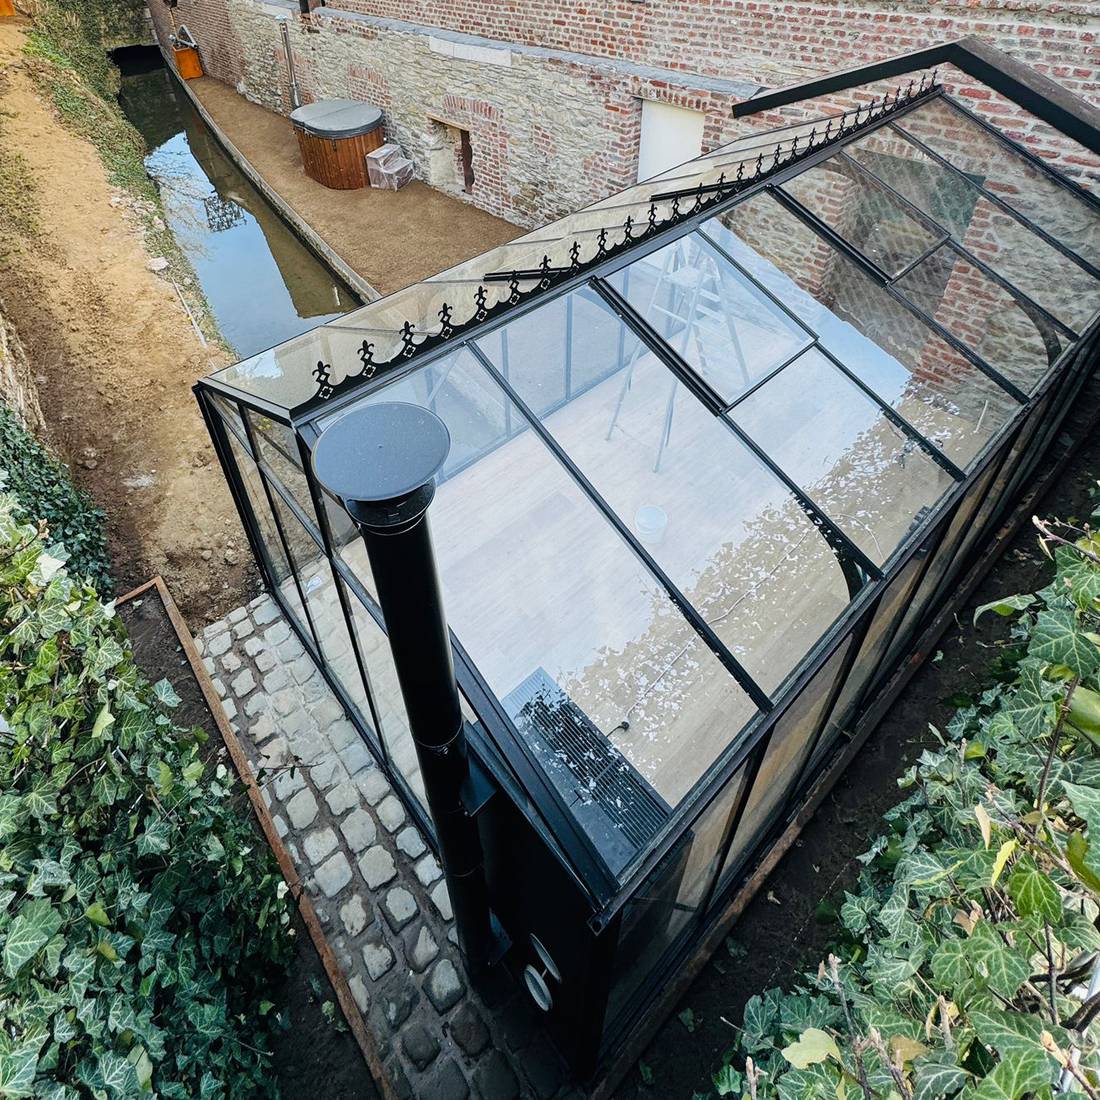
Stage 3: Prepare the site while the order is being processed
Use the time between ordering and dispatch for planning and checks. However, do not start permanent building work that cannot readily be corrected until the exact model, installation dimensions and applicable assembly instructions are confirmed beyond doubt.
Clarify permissions before construction starts
Whether a greenhouse, pergola or outdoor sauna can be built without building consent has no single answer in New Zealand. Building-consent exemptions, Building Code duties, resource-consent requirements, district-plan controls, boundaries, use and site conditions may all matter. An exemption does not automatically remove every regulatory requirement.
Check the project with your local council and, where needed, a qualified professional. The article Building consent for a greenhouse or pergola in New Zealand offers an initial guide. For the actual build, rely on the current requirements applying at your site.
Check placement and future use
Mark out the planned footprint on site. Check doors, opening areas, paths, drainage, shade, roof overhangs, trees and maintenance access. For greenhouses, light, ventilation and intended crops affect usability. Further ideas are available in articles on greenhouse temperature and humidity and growing lettuce in a greenhouse.
For pergolas, consider the sun path, direction of rain, furniture and circulation space. If you are still considering uses, the article Is a bioclimatic pergola worth it? may help. For a sauna, safe access and every locally permitted connection needed for operation must be professionally planned.
Coordinate the foundation or load-bearing installation surface
A sound, level and dimensionally accurate base is not a minor detail. Deviations can make installation harder and affect alignment, door operation and component connections. Foundation type, dimensions, levels, drainage and fixings must suit the specific model, ground and site.
Use the pergola foundation guide, but do not transfer any example specification to another product without checking it. Coordinate excavation and concrete work with the current assembly instructions and, where appropriate, a local professional. Before digging, also check for services or drainage systems in the work area.
Check wall conditions for attached models
For wall-mounted structures, the existing wall must suit the intended fixings. Cladding, external insulation systems, cavities, unknown masonry types or uneven façades require a project-specific solution. The visible façade surface alone cannot establish load-bearing capacity.
Discuss fixings, weatherproofing and connection heights with a competent person. Also consider windows, shutters, gutters, downpipes, external lights and services. Do not drill until the wall construction and possible service zones are known.
Plan access and a protected holding area
Check the route from public access to the drop-off point. Narrow sections, bends, gates, parked vehicles, low branches, slopes and weak ground can make handover difficult. Tell Bloomcabin early if the address has restricted access.
Reserve a level, dry and protected area for packages. It must leave paths and emergency exits clear. Do not lean long or heavy components insecurely. Children and unauthorised people should not have access to the storage or installation area.
Who is responsible for what?
| Task | Typical responsibility |
|---|---|
| Check model, options and addresses are correct | Customer |
| Process the order using submitted information | Bloomcabin |
| Clarify local consents and property requirements | Customer or property owner |
| Create a sound, dimensionally accurate base | Customer and appointed professional |
| Report access restrictions in good time | Customer |
| Provide dispatch information for the order | Bloomcabin or participating transport provider |
| Externally inspect packages at handover | Recipient |
| Carry out electrical or other specialist work | Appropriately qualified professional |
This table describes the general allocation of tasks, but does not replace order-specific agreements. For rented or jointly used properties, check the project with the owner and any other parties involved before work starts.
Stage 4: Preparation before dispatch
Before handover to transport, the order is prepared for dispatch. This stage differs from order confirmation. A status of “ordered” or “confirmed” does not mean the goods are already in transit.
Keep your contact details current and monitor the stated email inbox, including junk mail. Do not schedule building or installation teams solely on an unconfirmed assumption about dispatch timing. Firm planning should be based on communications specific to your order.
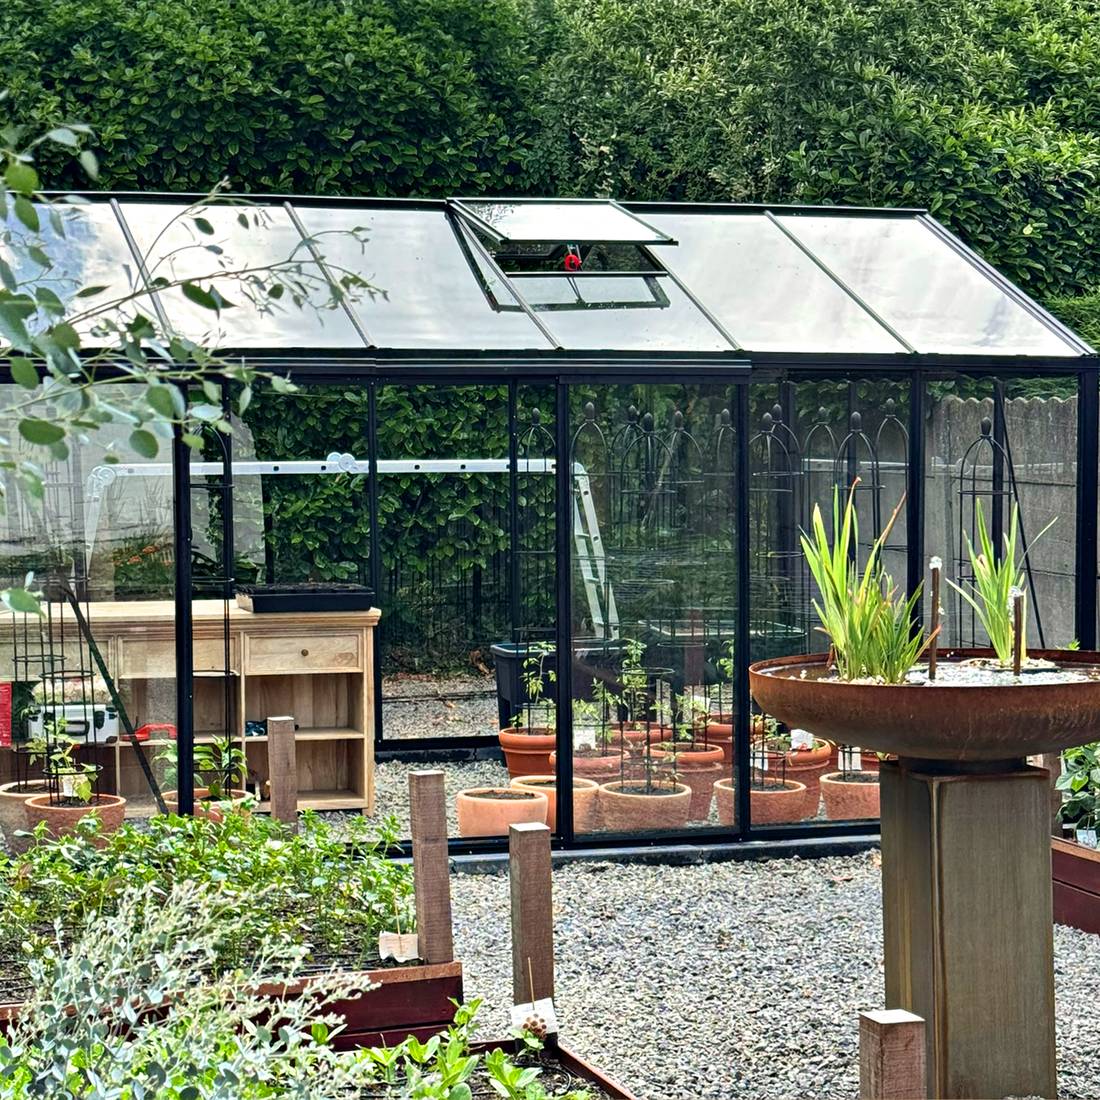
Stage 5: Dispatch notice and delivery communication
Once a shipment is genuinely scheduled for dispatch or has been handed over, you will receive the information available for the order. What it contains depends on the shipping method and transport process. Read every message fully; individual instructions about availability or handover may require action.
A dispatch notice does not necessarily mean a guaranteed arrival time. Traffic conditions, regional delivery runs and other logistics factors can affect delivery. Allow sufficient organisational contingency and do not book immediately following work that depends on delivery at an exact minute.
Further order information is collected under Useful information . Product sections are available for greenhouses and conservatories and under Sauna.
Stage 6: Accept and document delivery
Delivery acceptance is a checkpoint, not a mere formality. Ensure an informed person is present. They should know the order, be able to show the intended drop-off area and understand how to document visible issues.
First check the number of packages handed over against the available delivery documents. Then inspect every side of the packaging. Look for tears, punctures, severe crushing, moisture, loose strapping or open packaging. Photograph issues from an overall view and close up before packages are moved or opened.
Record visible damage specifically on the available handover documents. A general statement is less useful than identifying the affected package and location. Then open packaging carefully and keep labels and damaged packaging material for the time being.
Delivery acceptance checklist
- Keep the order or reference number and delivery documents ready.
- Arrange an available, briefed person for handover.
- Check package numbers and record discrepancies.
- Inspect packaging all around for visible damage.
- Photograph and specifically document issues.
- Do not remove labels before identification is complete.
- Move packages to the prepared area, keeping them stable and dry.
- Contact us promptly with your order number and photos if anything is unclear.
After delivery: check components before installation
Do not begin by opening every package in no particular order. First lay out the assembly instructions, packing lists and labels. Open packages one at a time and keep fittings and small connection parts in their labelled groups. Protect profiles, glazing elements and surfaces from scratches, dirt and tipping.
Match components to the numbers or names used in the instructions. Shape alone is not a reliable identifier because profiles can look alike. If a part cannot be identified clearly, note the package, label, approximate position and visible features. Clear photographs speed up clarification.
Technical construction can vary by model. Material information, such as the article on polycarbonate in greenhouses, is background information and does not replace model-specific assembly instructions.
From packages to installation: the Anna Koku Skola sequence
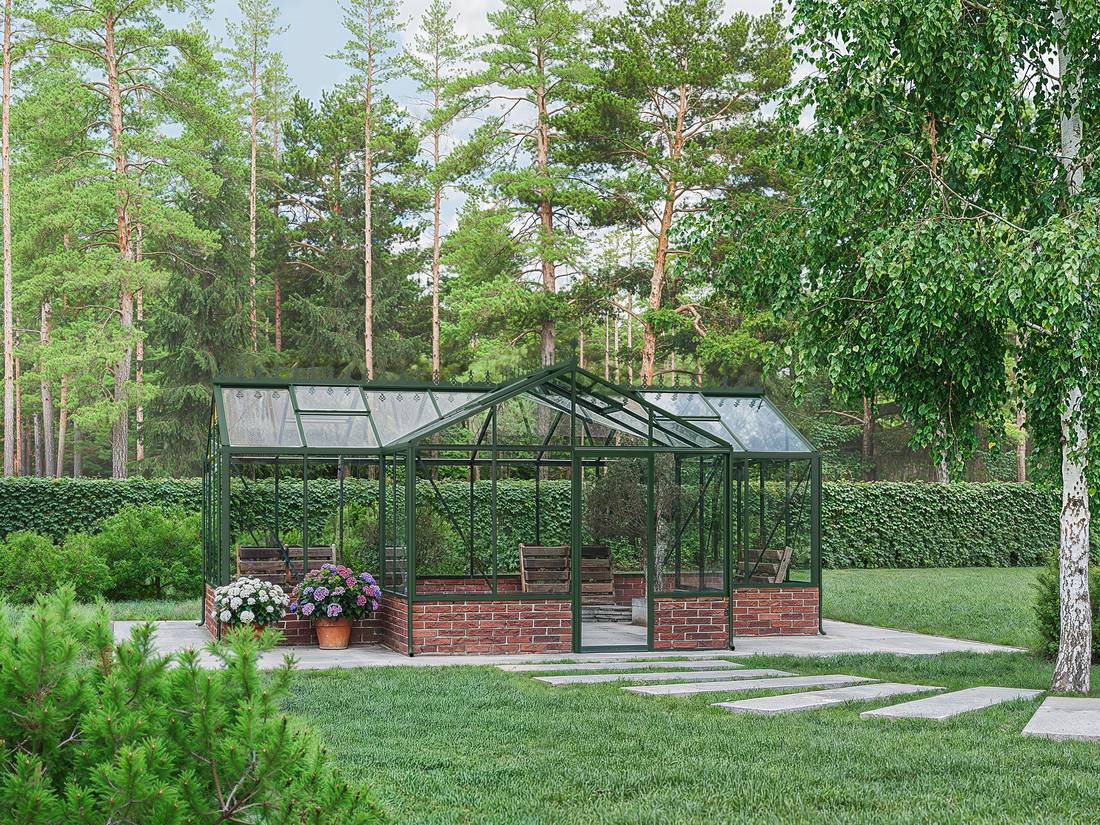
The installation at Anna Koku Skola should be understood as one connected project sequence. It does not show several unrelated projects, but the progress of one site from prepared starting conditions through construction to a fully usable finished structure.
The same approach is useful for your own project records: photograph the site and base first, then sorted packages, key assembly stages and finally the completed structure. This makes later questions easier to place in time and shows whether any deviations existed in the base or arose during a work stage.
- Record the starting condition: Document the area, level reference, adjoining elements and access routes.
- Set out delivery in order: Group packages by their labels without leaving delicate parts unprotected.
- Install in sequence: Do not improvise for appearance; use the current instructions.
- Check intermediate stages: Check alignment, diagonals, lines and connections at the specified checkpoints.
- Document completion: Record doors, opening elements, connections and the tidied surrounding area.
Those seeking different design approaches can find examples in articles on Victorian greenhouses and the orangerie greenhouse. These articles offer inspiration, not installation instructions.
Plan use after assembly
A project is not complete simply because all major components are assembled. Check that doors and moving elements operate freely, fixings have been completed as instructed and the area is safe to walk through. Remove packaging waste and store any remaining clearly identified parts in an orderly way.
For greenhouses, plan ventilation, irrigation, paths and planting areas before the interior is fully occupied. The article on growing basil in a greenhouse shows how use and crop management connect. Long-term care advice is available under caring for an aluminium greenhouse.
For pergolas, allow for water drainage, furniture and clear circulation areas. For saunas, have connections, commissioning and testing assessed against current local requirements and the manufacturer’s documentation. Use an appropriately qualified professional for any electrical work.
Keep documents after project completion
- Order and order confirmation, including later corrections
- Invoice and payment documents
- Dispatch and delivery documents
- Assembly and operating instructions for the specific version
- Photos of delivery acceptance, foundation, assembly and final condition
- Correspondence about changes or reported issues
- Records of commissioned specialist work, where available
Information on the applicable terms is available in the Warranty section. Store documents so the model and order can still be clearly identified years later.
Frequently asked questions
Does the order confirmation mean my greenhouse has been dispatched?
No. The order confirmation initially confirms that the order has been recorded with the listed information. Only separate dispatch communication indicates that the dispatch stage has been reached.
When will my order be dispatched or delivered?
Your individual order communications are decisive. General information does not replace a confirmed order-specific status. Also remember that dispatch and actual delivery are two different points in time.
Can I change the model or delivery address after ordering?
That depends on the processing stage. Report the requested change immediately and completely, quoting the order number. The change is accepted only after explicit confirmation.
Should I build the foundation immediately after ordering?
Not solely on the basis of a general product description. Wait until the model, version and relevant assembly instructions are clearly confirmed. Match the foundation to local ground conditions and, where appropriate, consult a professional.
Can I book an installer before the dispatch notice arrives?
A non-binding provisional booking can be useful for organisation. However, only arrange a fixed, chargeable appointment with sufficient contingency and after considering the actual delivery communication.
What should I do if property access is restricted?
Report narrow points, weight restrictions, cul-de-sacs, low clearances or other obstacles as early as possible. Describe the situation specifically and add access photographs if helpful.
What should I do if the packaging is visibly damaged?
Document the package and damaged area before opening it. Record the issue specifically on the available handover documents, and retain packaging, labels and photographs for further clarification.
What should I do if I cannot identify a component?
Compare its label and shape with the model-specific instructions. Do not force assembly. Photograph the part, label and packaging context, then make an enquiry quoting your order number.
Are assembly instructions the same for every Bloomcabin model?
No. Models, construction types and versions can require different components and assembly stages. Use only the current instructions that match your specific version.
Can I store the delivery outdoors until installation?
Unprotected outdoor storage is not recommended. Moisture, wind, UV exposure, unstable positioning and dirt can affect packaging or components. Use a dry, protected and stable storage location.
What must I check before completing the project?
Check completeness, alignment, intended fixings, doors, moving parts, connections and the safe condition of the surrounding area. Follow the final checks in the relevant assembly and operating documentation.
Where can I find examples of other projects?
You can find experiences and ideas in the greenhouse reviews and the Bloomcabin blog. Examples can assist planning but do not replace checking your own property.
Final checklist before dispatch
- Order confirmation fully checked
- Model, version and options clearly confirmed
- Delivery and billing address correct
- Telephone number and email address reachable
- Consent and property questions clarified
- Foundation plan matched to the specific model
- Wall construction professionally checked for attached models
- Access route and drop-off area checked
- Protected storage area prepared
- Person briefed for delivery acceptance
- Assembly instructions and order documents available
- Installation date planned with sufficient logistics contingency
The key rule is simple: check the information first, then prepare the site technically, accept delivery with records, and begin installation only after every component has been fully identified.
