



PREPARATION
Measuring checklist before ordering a greenhouse, pergola or outdoor sauna
A reliable site measure covers more than length and width. This checklist covers the site, foundation, heights, wall connections, doors, service routes, drainage and installation access.
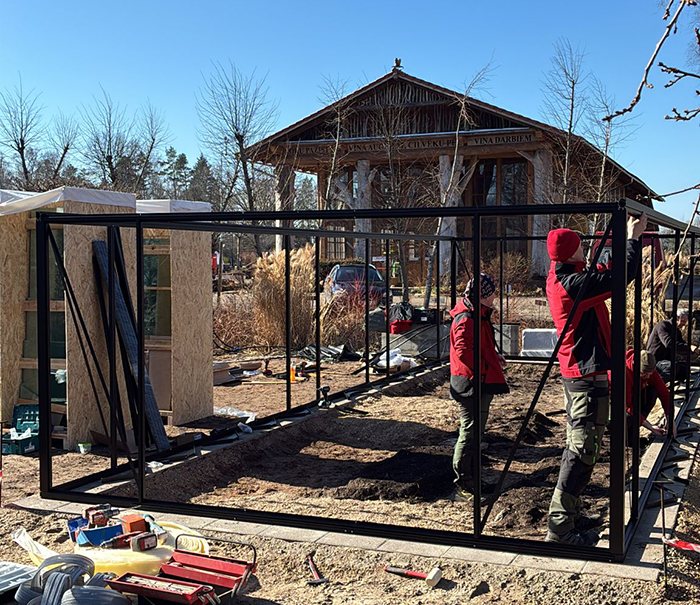
Accurate measuring is the basis for a dependable order. For a greenhouse, pergola or outdoor sauna, two roughly measured side lengths are not enough. Heights, diagonals, slopes, foundations, roof overhangs, circulation space, service routes and access to the installation site also matter.
This guide helps homeowners, designers and installation teams survey a site systematically. It does not replace model-specific drawings or site-specific checks. Use the documents for the chosen model, and confirm the requirements applying at the installation site.
Measure the site before choosing the final model
Do not start by asking which nominal product size will just fit in the garden. First record the area that is genuinely usable. This shows which form, orientation and size make technical sense.
Mark property boundaries, buildings, walls, paths, trees, beds, inspection chambers and services. Before proceeding, check both building consent and resource consent requirements for the actual use and site. The article Building consent for a greenhouse or pergola is a starting point; confirm the specific greenhouse, pergola or sauna with your council, including foundations, services, boundary fire separation and stormwater.
Consider more than the structure itself. Doors, roof edges, drainage, maintenance and installation all need space. A model may fit geometrically but remain impractical if a door cannot open fully or a side wall cannot later be reached.
Four measuring rules that always apply
- Measure twice: Record important dimensions at least twice. Where possible, have two people check long distances.
- Do not assume square corners: Patios, walls and existing foundations are often not perfectly square. Measure both diagonals.
- Record heights separately: A flat drawing does not show a slope. Document level differences at every corner and notable intermediate point.
- Separate actual and planned dimensions: Write measured values, intended positions and product dimensions in separate columns. This prevents assumptions being treated as existing measurements.
Do not round prematurely to a convenient dimension. Rounded figures may help with selection, but actual product and connection dimensions must be checked before ordering and building the foundation.
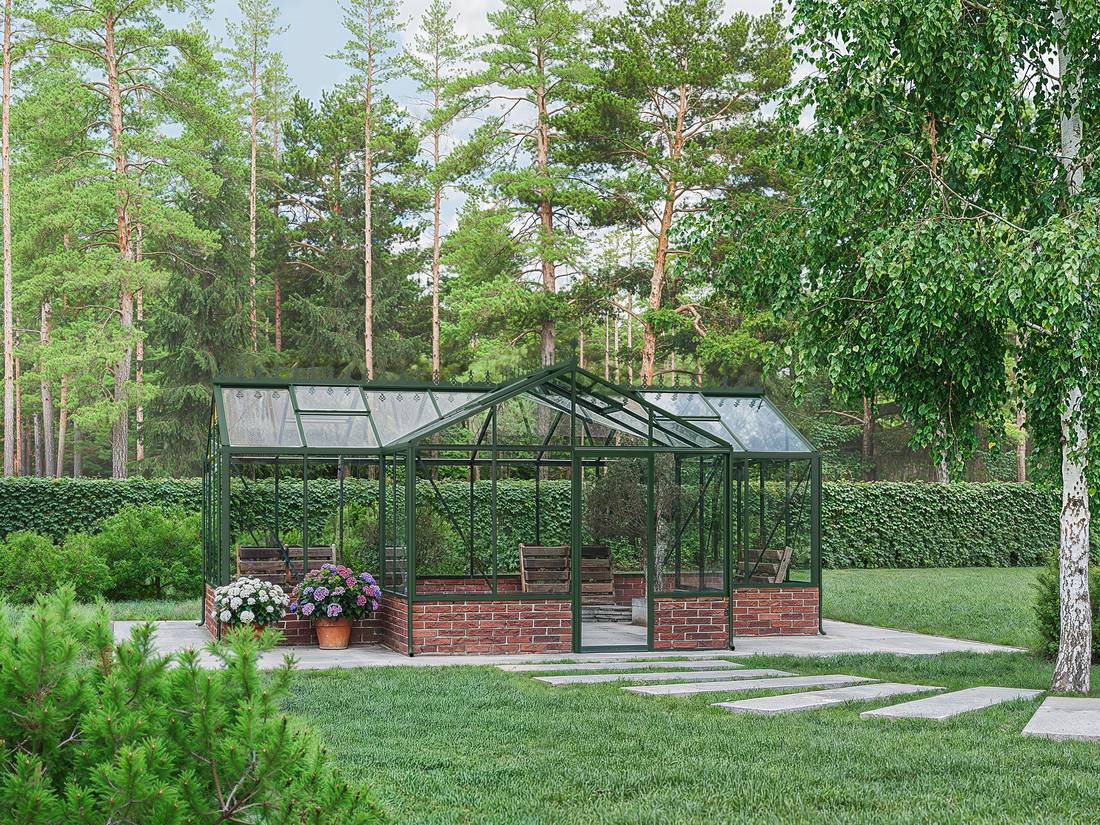
Prepare tools and information
- sturdy tape measure and suitable distance meter;
- spirit level, straightedge or suitable levelling instrument;
- string, pegs, chalk or removable marking tape;
- square, plumb line and, where needed, a ladder for safely reachable height measurements;
- notepad, site-plan sketch and camera for documentation;
- product drawing, foundation plan and installation instructions for the intended model;
- information about underground services, drainage and existing foundations.
Find further product areas and planning guidance under Useful information, in Greenhouses and conservatories and in the Sauna section. For project-specific questions, use Contact before building the foundation to clarify which documents govern the chosen product.
Create a complete site plan
Draw the installation area in plan view. The sketch need not be to scale, but it should have a clear reading direction. Mark north, every boundary and at least one fixed reference point, such as a building corner.
Record the planned structure’s distances from at least two permanent reference lines. Add side lengths, diagonals, door swing areas and maintenance routes. A structure connected to a building also needs a wall elevation.
| Plan content | Record |
|---|---|
| Site and existing features | Boundaries, buildings, walls, paths, vegetation, chambers |
| Planned structure | External outline, orientation, doors, roof edges |
| Heights | Corner heights, slopes, steps, thresholds and wall connections |
| Services | Service routes, outlets, drainage direction |
| Logistics | Access, delivery route, pinch points and assembly area |
Measurements needed for every structure
Regardless of product type, record the following values:
- available overall length and width;
- both diagonals of the marked area;
- heights at every corner;
- distances from boundaries, walls and obstacles;
- narrowest clear width of the delivery route;
- available height beneath branches, roof edges or services;
- width and opening direction of neighbouring doors and gates;
- positions of chambers, pipes and cables;
- space for installation, ladder placement and future maintenance.
Measure extra intermediate points on irregular areas. A supposedly straight wall can bulge, a patio can be trapezoidal and a kerb can project into a planned post location.
Choose the product type before fixing the footprint
The structure’s form changes the site and foundation requirements. A wall-mounted pergola needs a suitable connection wall; a freestanding structure needs defined support points all around. The comparison Wall-mounted or freestanding pergola helps with this basic decision.
Roof function also affects drainage, clear height and adjoining façades. Read Bioclimatic or classic pergola and the background article What is a bioclimatic pergola?.
For saunas, rectangular cabins and barrel forms differ in spatial effect, access and usable surrounding space. Compare Elma S, Elma L and the HC150 barrel sauna using their individual product documents, not garden photographs alone.
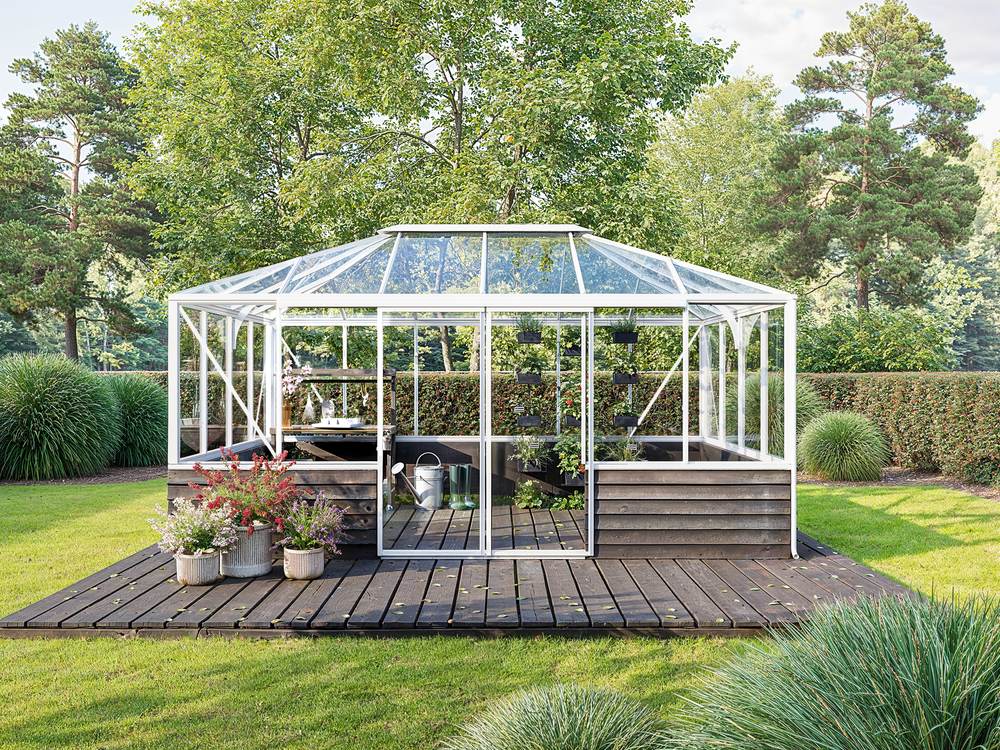
Measuring checklist for a greenhouse
- Document sun path, shade and longitudinal-axis orientation.
- Check the footprint, including the foundation or plinth area.
- Allow for the door side, opening path and step-free access.
- Check eaves and ridge areas for branches, services and roof overhangs.
- Keep space clear for window openers, ventilation elements and cleaning.
- Allow for water access, rainwater drainage and routes for bringing in potting mix.
- For wall models, record window sills, downpipes, plinths and façade projections.
Historically inspired or geometrically divided structures can have extra axes and connection details. The article on Victorian greenhouses shows design relationships; for measuring, only the chosen model’s specific drawings are binding.
Measuring checklist for a pergola
- Measure patio width and depth at several points.
- Check every planned post position has load-bearing support.
- Allow for roof overhangs and any integrated drainage routes.
- Check clear height against doors, windows and roller shutters.
- Plan clearance and movement for louvres, shading or glazing.
- Record runoff from the existing patio and possible splash zones.
- Document exposed sides and surroundings for site-specific planning.
For size selection, the Pergola size guide is useful. Material and use concepts are explained in Aluminium or timber . If side walls are planned, measure sliding paths, stops and ground levels too; see Pergola with glass walls.
Measuring checklist for an outdoor sauna
- Record the complete installation zone, including entry and maintenance access.
- Mark the door position, opening direction and safe area in front.
- Check foundation points or continuous bearing surfaces against product documents.
- Document service routes for the intended technical equipment.
- Clarify drainage and cleaning options for the site.
- Check distances from vegetation, buildings and other facilities.
- Assess the delivery route for width, height, turns and load capacity.
Different models must not be planned using one standard footprint. Check documents for HC 180, HC 225, HCF 225, HCF 300 and LC 225 separately. The article Choosing a timber or barrel sauna offers a general introduction.
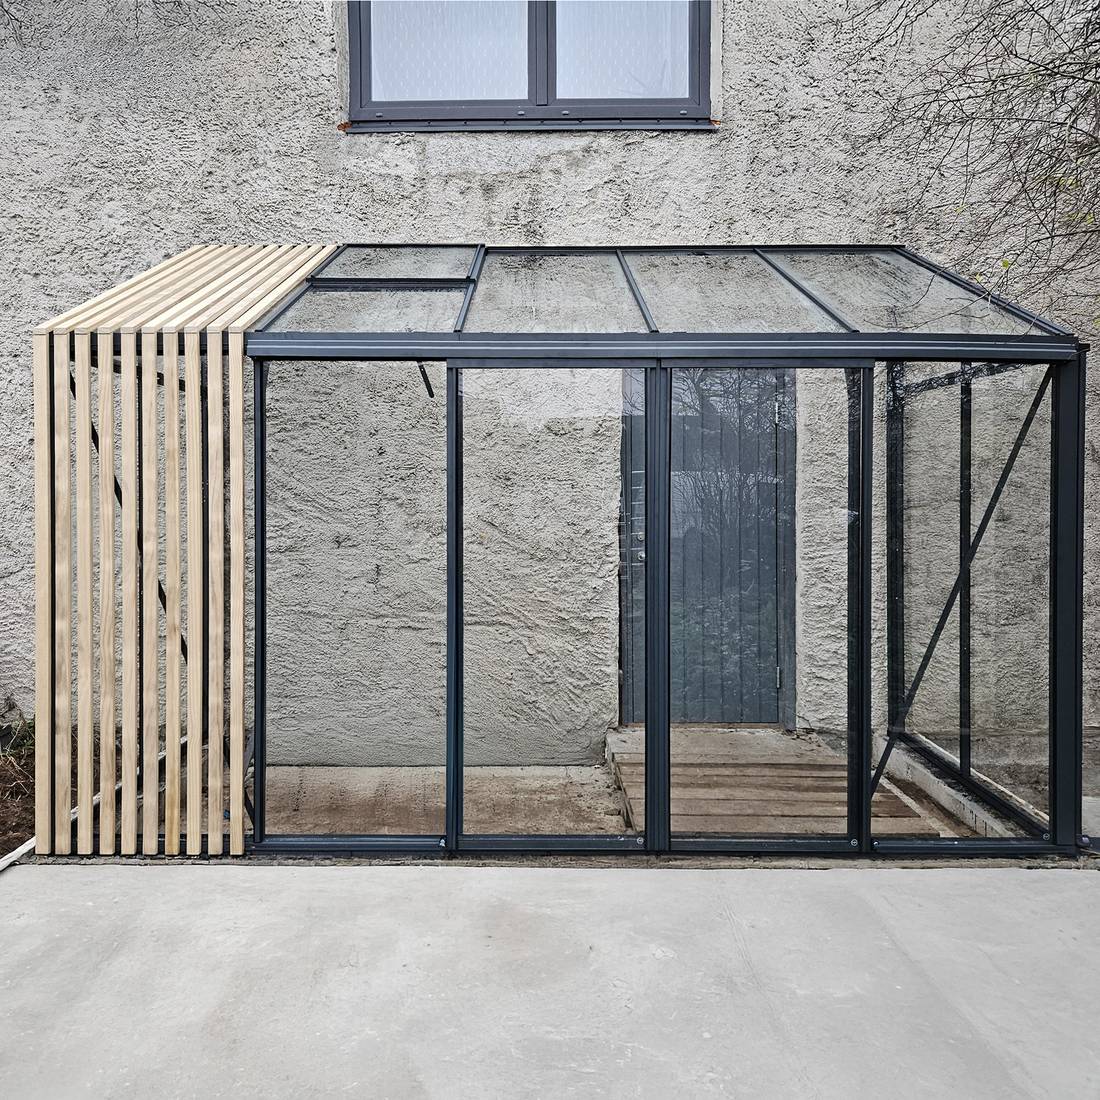
Measure the foundation and patio
An existing surface is not automatically a suitable foundation. Record its build-up, edge distances, joints, slope, visible damage and available information about the substructure. Whether load capacity, frost resistance, anchoring and drainage are adequate must be professionally assessed for the individual structure.
For pergolas, the Pergola foundation guide summarises key planning issues. Transfer drilling or bearing points only from the approved product drawing. Do not estimate distances from a product photograph.
How to check a marked-out rectangle
- Mark outer edges with string.
- Measure both long sides and both short sides separately.
- Record both diagonals.
- If diagonals differ, adjust the corners and measure again.
- Level heights at every corner.
- Then secure positions against a fixed reference point.
Equal diagonals are an important check, but do not replace checking every side. For complex layouts, check each rectangular section separately.
Additional checks for wall-mounted structures
Create a dimensioned wall elevation. Record façade width, usable connection height, windows, doors, shutter boxes, lights, downpipes, vents, outdoor taps, projections and plinth offsets. Check the wall at the future connection-profile height, not only near ground level.
Wall and fixing suitability must be assessed for the property. Do not replace insulation, cladding or uncertain wall build-ups with assumptions. Engage a qualified professional early where needed.
Plan doors, routes and internal space
Mark every door in its open position. Check whether it clashes with paths, furniture, raised beds or existing building doors. A comfortable main route should not be narrowed by a post, bench or technical equipment.
Plan internal space before fixing the orientation. In a greenhouse, potting benches and wheelbarrow routes matter. Under a pergola, tables, chairs, a barbecue or outdoor kitchen define circulation space. For a sauna, allow for entry, changing and a safe route to the building. Find patio ideas under Pergola ideas for patios and gardens.

Services, drainage and site conditions
Add existing and planned services to the site plan, including electricity, water, drainage and other installations. Plan connections only after checking the chosen product and local requirements. For outdoor supplies, pergola motors and sauna heaters, have a licensed electrical professional assess installation, protection, equipment suitability and certification.
Observe the site during rain if possible. Document water flow, pooling and water running from buildings. Also check shade, leaf fall, wind exposure and winter conditions. Guidance on seasonal use is in Pergola in winter. Site-specific load assumptions and local requirements must be checked separately.
Measure delivery and installation access
The route from unloading point to installation area is part of the survey. Record the narrowest clear width and height, tight turns, steps, slopes, soft ground, gates and low branches. Check whether long components can pass corners and whether the destination offers enough space for sorting and assembly.
Also document restrictions on shared areas or narrow driveways. A sufficiently wide garden gate does not automatically mean every component can travel the entire route.
Practical measuring sequence: Anna Koku Skola
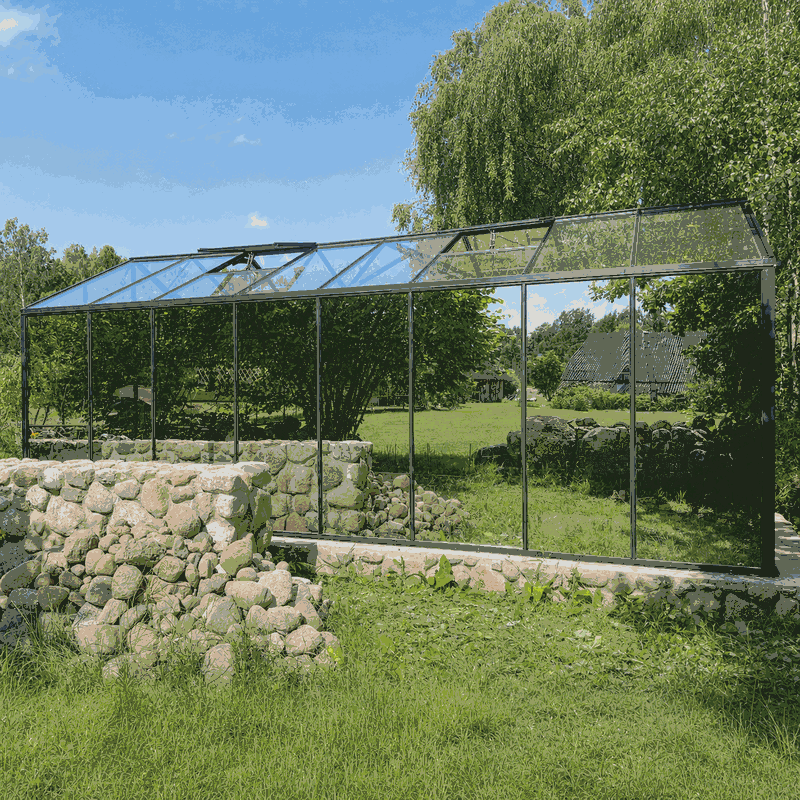
Treat the Anna Koku Skola image series as one connected installation sequence. It suggests a clear process for site measurement: record the overall site first, mark out the structure, check foundation and connection areas, then keep the assembly surroundings clear.
- Record the site: Note fixed reference points and obstacles in a sketch.
- Transfer the outline: Make the intended footprint visible with string.
- Check geometry: Measure sides, diagonals and heights independently.
- Check connections: Compare wall, ground and drainage areas with the documents.
- Simulate use: Open doors, walk routes and mark internal areas.
- Confirm logistics: Make a final check of delivery route and assembly area.
The individual images must not be interpreted as separate projects. They document the same installation context from different phases or viewpoints.
Pre-order measuring worksheet
| Check point | Actual value or result | Status |
|---|---|---|
| Available length and width | Enter | Pending/checked |
| Diagonal A and B | Enter | Pending/checked |
| Heights at every corner | Enter | Pending/checked |
| Distances to boundaries and existing features | Enter | Pending/checked |
| Door and walking routes | Describe | Pending/checked |
| Foundation condition | Describe | Pending/checked |
| Services and drainage | Mark | Pending/checked |
| Delivery route | Enter narrowest point | Pending/checked |
| Product drawing checked | Note document version | Pending/checked |
Final check before approving the order
- The exact model and its configuration are clearly defined.
- All measurements come from the actual site.
- Footprint, overhangs and opening areas have been distinguished.
- Diagonals and heights have been checked.
- Foundation and anchoring were not assessed from the visible surface alone.
- Wall connections and façade obstacles are fully documented.
- Accessories and planned extensions are included in space requirements.
- Delivery and installation access is plausible.
- Building consent, resource consent and other local requirements have been checked with the council and any other relevant authority.
- Open technical questions are answered before release.
Information about the company is available under About us . Find related garden areas useful for an overall plan under Garden sheds.
Check drawings and instructions again after ordering
Once order-specific documents arrive, complete a second comparison. Check model name, orientation, external dimensions, foundation points, door positions and connections. Do not begin foundation or service work from an old sketch, a similar model or an on-screen image without dimension checks.
Give the foundation contractor and installation team the same current document version. Site changes must be added to the documents and checked again.
Measure for future maintenance, not installation alone
A structure can be installable yet difficult to maintain. Keep areas accessible for cleaning, hardware care, checking drainage routes and replacing accessible components. Do not plant vigorous shrubs directly beside components that need regular inspection.
Also consider ladder placement, window cleaning and access to roof edges. The space required depends on model, surroundings and maintenance task, so no general clearance should be adopted as a binding dimension.
Frequently asked questions
Should I order using the footprint shown on a product page?
No, not without comparison. Check what the measurement covers and whether roof overhangs, fixing areas or movement space must be allowed for separately. The documents for the exact selected model are decisive.
How can I tell whether a marked rectangle is square?
Measure both diagonals. In a geometrically correct rectangle they are equal. Opposite sides must also match, and corner points must be checked at the intended level plane.
Can an existing concrete patio be used?
Possibly, but not from its surface alone. Build-up, condition, slope, edge distances, load capacity, frost behaviour and anchoring options must suit the project. A professional assessment may be needed.
How much space should remain around the structure?
There is no universal dimension. Clearance depends on doors, roof overhangs, cleaning, installation, drainage, the property situation and local requirements. Set it for the specific model.
What must be measured for a lean-to greenhouse or wall-mounted pergola?
In addition to the footprint, you need a dimensioned wall elevation. It must include connection height, wall width, plinth, openings, services, downpipes, projections and wall construction.
Do I need to measure myself when Bloomcabin provides product drawings?
Yes. The drawing describes the product, not the real conditions on your property. Comparing product data with a site survey shows whether installation, use and assembly are possible.
When should the installer be involved?
Ideally before foundation construction and service installation, especially with slopes, tight delivery routes, wall mounting or uncertain existing conditions. This clarifies assumptions before difficult-to-correct work begins.
What should I do with a sloping garden?
Measure every corner and relevant intermediate height. Do not plan only from the average slope. Suitable foundations and ground adjustment must be set for the site and product.
Must planned accessories be included in the survey?
Yes. Side walls, shading, gutters, technical components, steps, furniture and future extensions can affect space, connections or foundation areas.
What is the most common measuring mistake?
Often only nominal length and width are measured. Diagonals, level changes, door movements, overhangs and installation routes are missed. A complete site plan avoids this limited approach.
