



PREPARATION
Prepare for DIY Installation: Technical Checklist
Careful preparation helps ensure that self-installing a greenhouse, pergola or outdoor sauna proceeds safely, in a controlled way and without avoidable interruptions. This checklist covers product checks, site, foundation, tools, goods receipt, component sorting and final inspection.
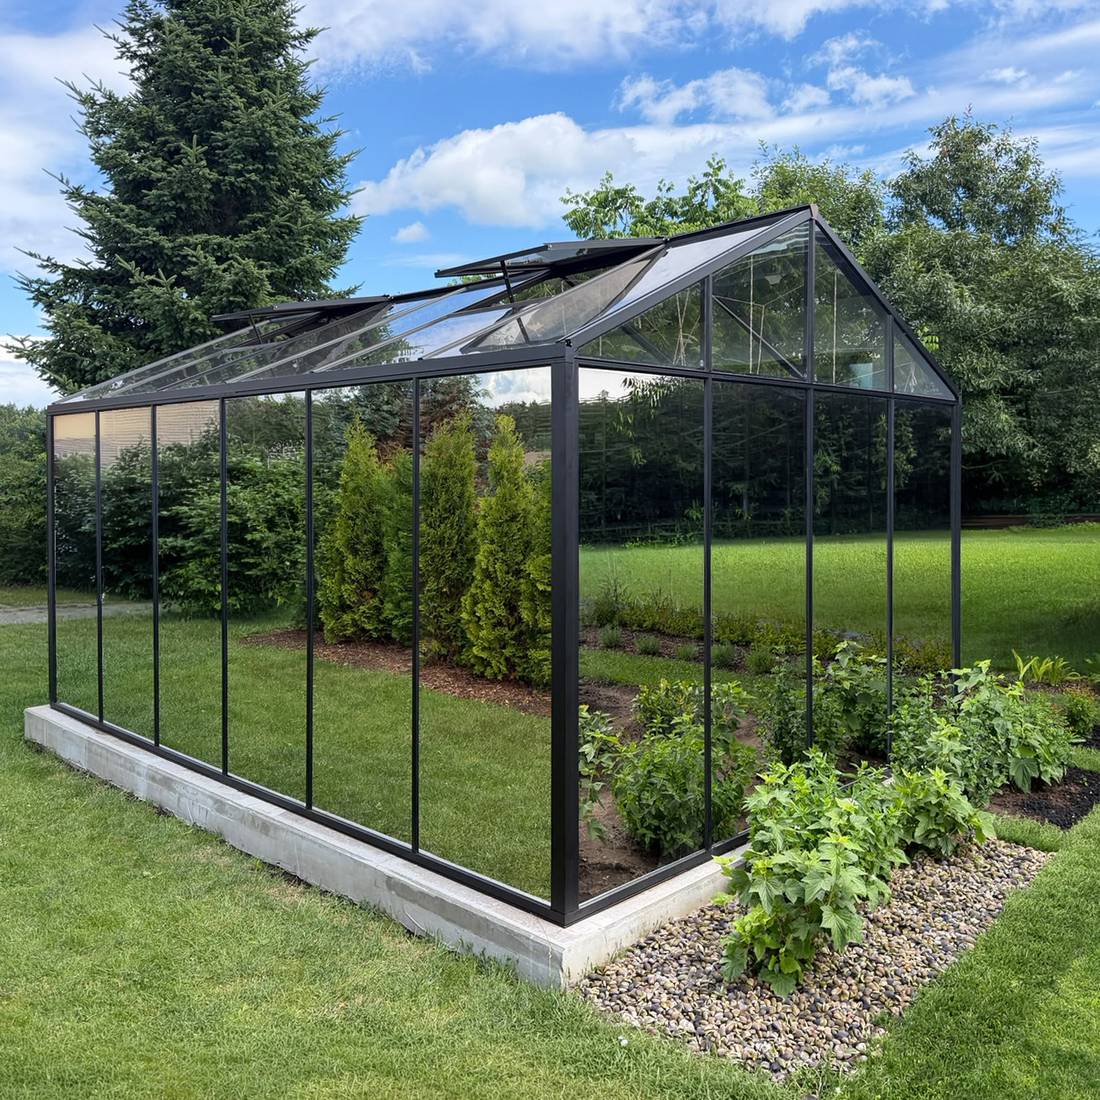
DIY installation preparation at a glance
Installation does not start with the first profile, but with checking the product, documentation, site and foundation. Small deviations in the base can have major consequences for aluminium structures: frames may not align squarely, glazing can be under stress or doors may not close correctly.
This process provides a working basis for greenhouses, pergolas and comparable garden structures. Outdoor saunas also require consideration of technical connections, ventilation and product-specific treatment of timber parts. The documentation for the delivered model always takes priority. General guidance does not replace installation instructions or local requirement checks.
| Stage | Key outcome |
|---|---|
| Before ordering | Suitable model, enough space and practical access |
| Before delivery | Checked site, finished foundation and organised unloading |
| Before installation | Complete parts check, suitable tools and robust work plan |
| During installation | Controlled sequence, ongoing measurements and safe interim states |
| Before use | Checked connections, working openings and services cleared for use |
Further information on choosing, ordering and delivery is available in Useful Information and Shopping & Delivery .
1. Confirm the product before planning installation
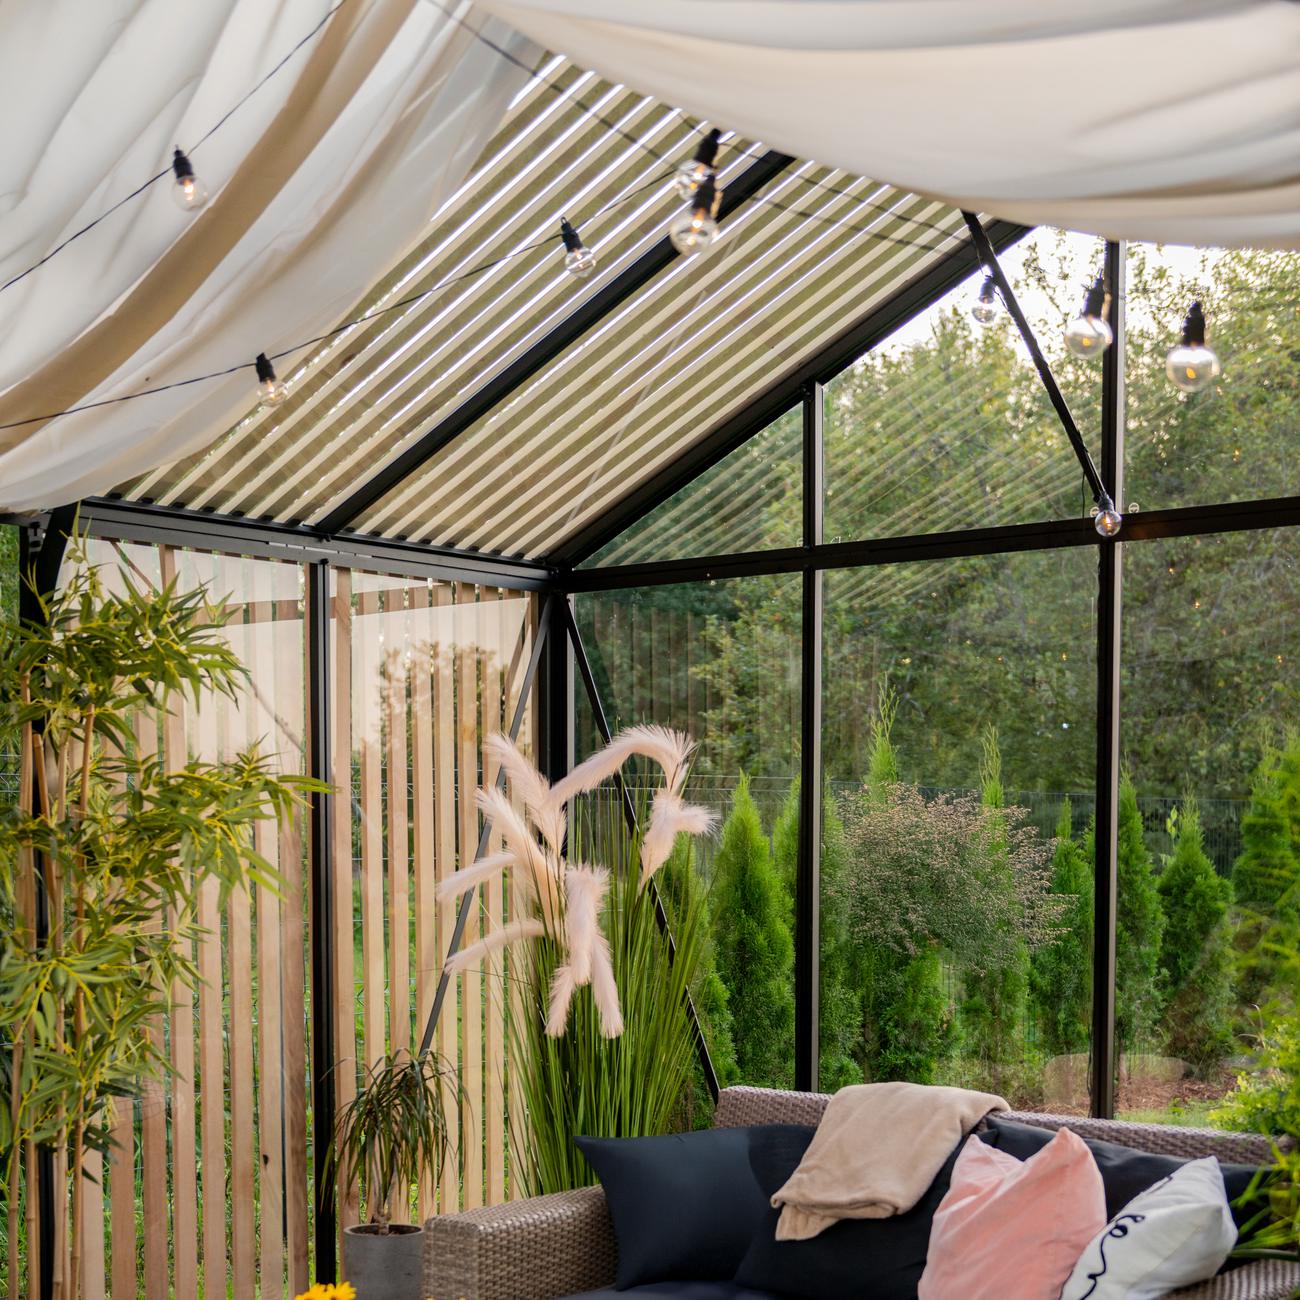
Record the exact model name, version and configuration ordered. Do not rely solely on a reference photo. Doors, roof vents, roof shapes, wall connections or extra modules can alter the required space and installation sequence.
Before building the foundation or ordering materials, check the approved documents for the selected product. External dimensions, fixing points, door swing space, intended drainage and maintenance access are particularly important. For pergolas, the pergola size guide, comparison of wall-mounted and freestanding pergolas and guide to bioclimatic and classic pergolas can help with selection.
For a sauna, preparation must match the actual construction type. An Elma S outdoor sauna and a HC150 barrel sauna must not be treated as structurally identical simply because they have a similar use.
2. Check documents, responsibilities and local requirements
Prepare a complete document set before work begins. It should include the order confirmation, packing lists, installation manual, foundation details and available connection documents. Guidance on How to Order helps you compare order and product details early. Keep warranty information with invoices and photos.
Assign clear responsibilities: who receives the delivery, checks packages, and coordinates the foundation, installation and any technical connections? For outdoor power supplies, pergola motors and sauna heaters, ask a licensed electrical professional to assess installation, protection, equipment suitability and certification.
Building-consent exemptions do not settle whether resource consent is needed; the structure's actual design and use, site, and local district-plan controls all matter. Ask the relevant council before irreversible work begins. The article Building consent for a greenhouse or pergola offers an initial overview. For wall-mounted structures, also check whether the wall, insulation and weatherproofing can safely accept the fixing.
3. Assess the installation site technically
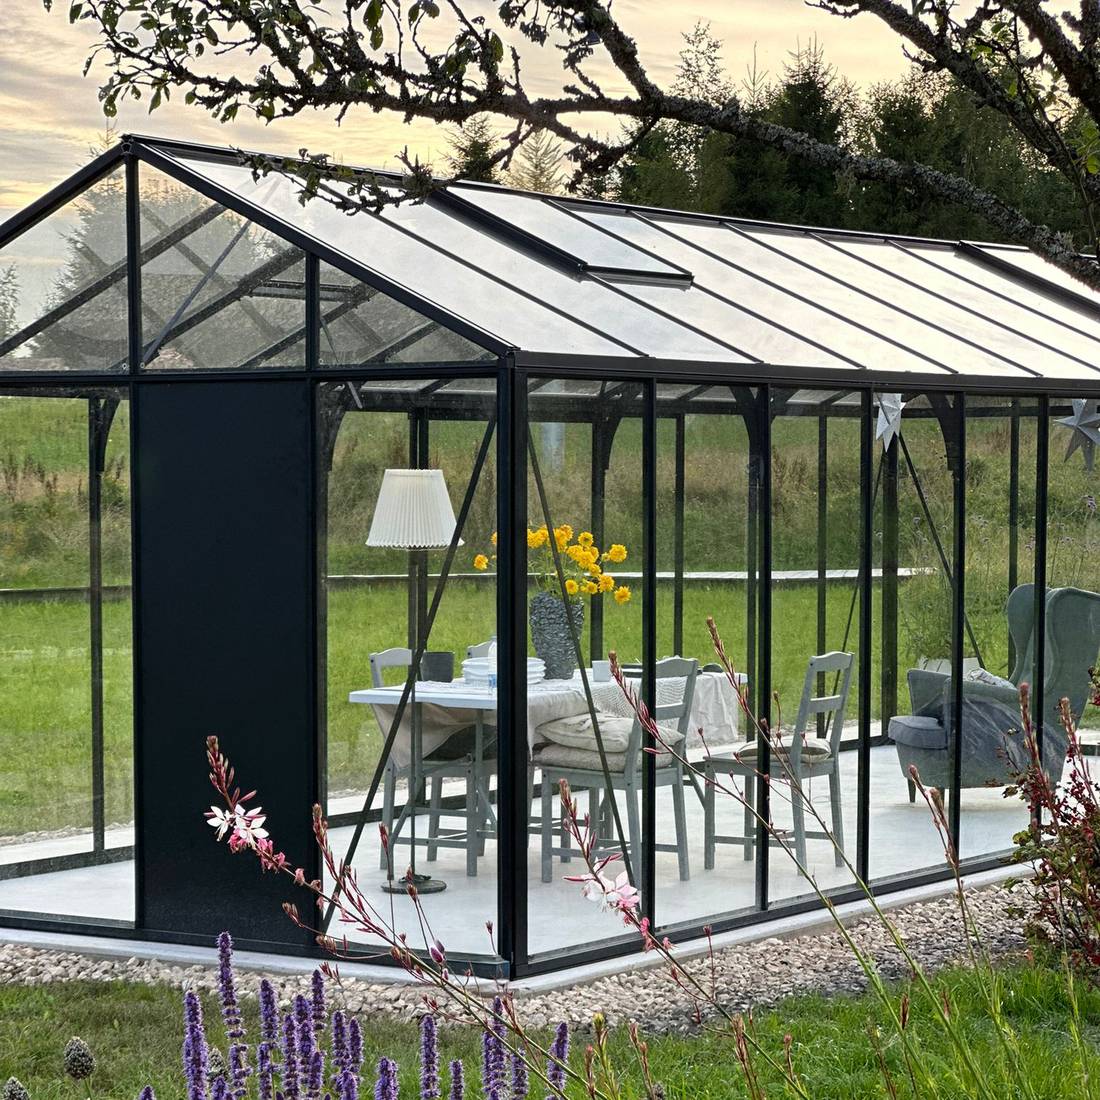
The site must do more than look suitable. Check area, access, slope, ground conditions, water flow, clearance from obstacles and future maintenance routes. Doors, windows, louvres and other moving elements need their full operating space. Allow for roof overhangs, gutters and nearby planting.
For greenhouses, light levels and shade are important, while safe ventilation must remain possible. See the guide to greenhouse temperature and humidity for future indoor climate advice. When choosing materials, information about polycarbonate, multiwall sheets and insulation may be useful.
Site checklist
- Has the available area been checked against current product documents?
- Is there room for installation, cleaning, drainage and maintenance?
- Can all long and delicate components be moved to the site?
- Is the ground load-bearing and suitable for the planned foundation?
- Will pooling water or runoff from elsewhere on the property be avoided?
- Will doors, paths, property access and escape routes remain clear?
- Have underground or adjacent-wall services been excluded or located?
- Have possible effects from trees, snow or ice falling from roofs, runoff or loose objects been assessed?
4. Prepare the foundation correctly
The foundation transfers loads into the ground and sets the geometry of the complete structure. Plan it to the product-specific requirements. There is no one foundation solution for every project. Soil type, frost, drainage, construction and local conditions all affect the work.
After completion, check more than length and width. Measure both diagonals, levels and flatness at the intended bearing points. Equal diagonals are an important indication of squareness, but do not replace a complete check. Do not disguise deviations by forcing profiles into place while fastening.
For pergolas, the pergola foundation guide includes further planning points. An existing patio is not automatically a suitable foundation. Paving, screed or thin surface layers do not establish that there is a load-bearing structure beneath for the intended fixings.
Hold point: Start installation only when the foundation is complete, sufficiently load-bearing, dimensionally checked and free of standing water. Required waiting or curing periods depend on the foundation construction actually used.
5. Assemble tools, installation team and protective equipment
Create the tool list from the model-specific installation manual. Typical requirements include measuring tools, suitable drivers, a spirit level, marking tools and aids for safe positioning. Do not use unsuitable bits or spanners: damaged screw heads make controlled installation and later maintenance harder.
Plan enough helpers for the size, weight and handling of components. Long profiles, roof frames and glazing elements often cannot be aligned safely by one person. Requirements vary by model and installation step. Even where one person can lift a part, another may be needed for stabilisation and measurement checks.
Basic equipment includes suitable gloves, sturdy footwear and, where appropriate, eye and head protection. Ladders or work platforms must suit the working height and surface. Improvised steps, loose garden furniture or ladders supported on packaging are not safe work equipment.
- Check tools in advance for function and adequate charge.
- Place small fasteners in labelled containers.
- Provide clean, soft resting surfaces for coated or transparent parts.
- Route extension leads safely and protect them from moisture.
- Use only suitable handling equipment for glass or panels.
- Secure the work area from children, pets and bystanders.
6. Plan delivery, unloading and protected storage
Before delivery, establish where the vehicle can stop and how packages will move from the unloading point to the installation site. Consider narrow driveways, steps, slopes, low gates and delicate surfaces in advance. General processes are available under Shopping & Delivery; questions about a specific order should be clarified through Contact in good time.
Prepare a level, dry and protected storage area. Packages must not be placed where they can sag, topple or stand in water. Transparent elements, coated profiles and timber components must be handled according to their packaging and storage instructions. Do not stack heavy parts on delicate components.
Delivery inspection checklist
- Match the delivery to the correct order and recipient address.
- Compare package count and labels with available documents.
- Inspect packaging all round for impacts, tears, moisture or distortion.
- Photograph any issues before moving the packages.
- Report transport damage or shortages through the specified process.
- Store packages systematically and protected against tipping.
- Do not discard packaging too early; labels may be needed to identify parts.
7. Inventory and organise every component
Open packages carefully and in an order that retains part numbers. Compare contents with the packing list and installation documents. Lay profiles out by assembly group, not only by length. Nearly identical parts can have different drilling, end finishing or fitting directions.
Sort screws, nuts, seals and brackets in labelled containers. Do not mix similar fasteners. An improvised substitute may perform a different function despite looking similar. If unsure, stop the allocation and have the part number confirmed.
Photograph the organised layout and unusual components. A full inventory before installation prevents a missing part being discovered only after the structure is in a vulnerable interim state. Experiences from other buyers may assist general preparation, but do not replace the manual. Find them in greenhouse reviews.
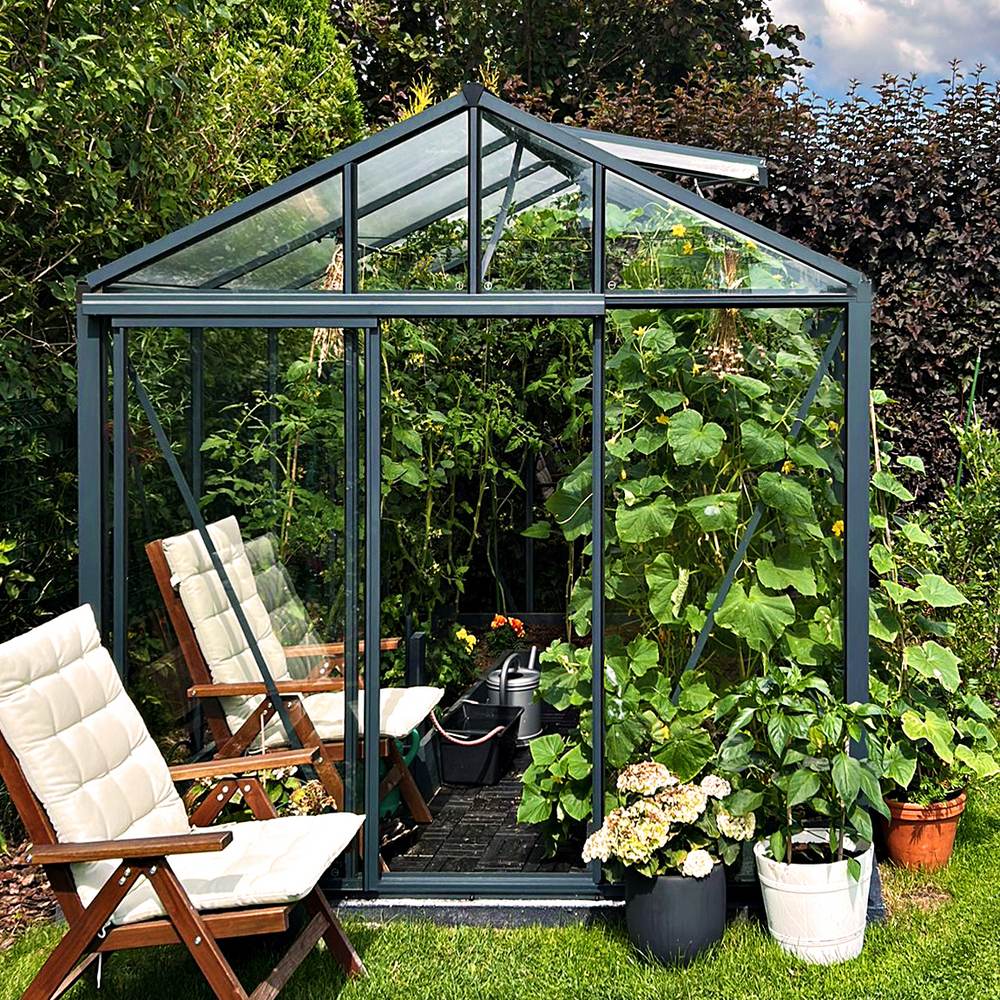
8. Install the greenhouse in a controlled sequence
Work only from the manual for the delivered model. A typical technical sequence is to establish the load-bearing base geometry first, then connect frames and roof in a controlled manner, followed by glazing, doors, windows and accessories. The actual sequence may differ.
During assembly, regularly check dimensions, squareness, plumb and level. Do not wait until the end. A small error in the base frame can continue through several assembly groups. Initially tighten fasteners only as far as the manual requires for that step. Final tightening happens at the specified stage.
Recommended approach
- Read each step fully: check illustrations, orientation and required parts before lifting.
- Dry-fit components: hold profiles in their intended position without force first.
- Make loose connections: retain adjustment where the manual specifies it.
- Measure geometry: check diagonals, plumb, alignment and opening dimensions.
- Secure interim states: do not leave the structure unsupported.
- Confirm the stage: continue only after a successful check.
- Complete final tightening: tighten fasteners at the prescribed stage without overtightening.
Do not tension glazing or panels with unsuitable tools or force them into openings that are too small. Follow protection instructions and fitting direction. Inspiration for later use, such as growing lettuce in a greenhouse, becomes relevant only after installation is technically complete. For long-term checks, see the guide to caring for an aluminium greenhouse.
9. Choose suitable installation conditions
Do not install in strong wind, thunderstorms, icy conditions or whenever components cannot be held safely and ladders cannot be used securely. Large panels and frame elements have substantial wind exposure. Even light gusts can move a component that has not yet been braced.
Rain can make markings unreadable, soften packaging, create slippery surfaces and wet exposed components. Extreme heat makes hot metal parts harder to handle. Allow sufficient daylight and avoid time pressure close to dark.
If installation must stop, leave the assembly in a safe, supported state. Store loose panels and packaging out of the wind. A partly assembled structure must not be assumed to be permanently stable.
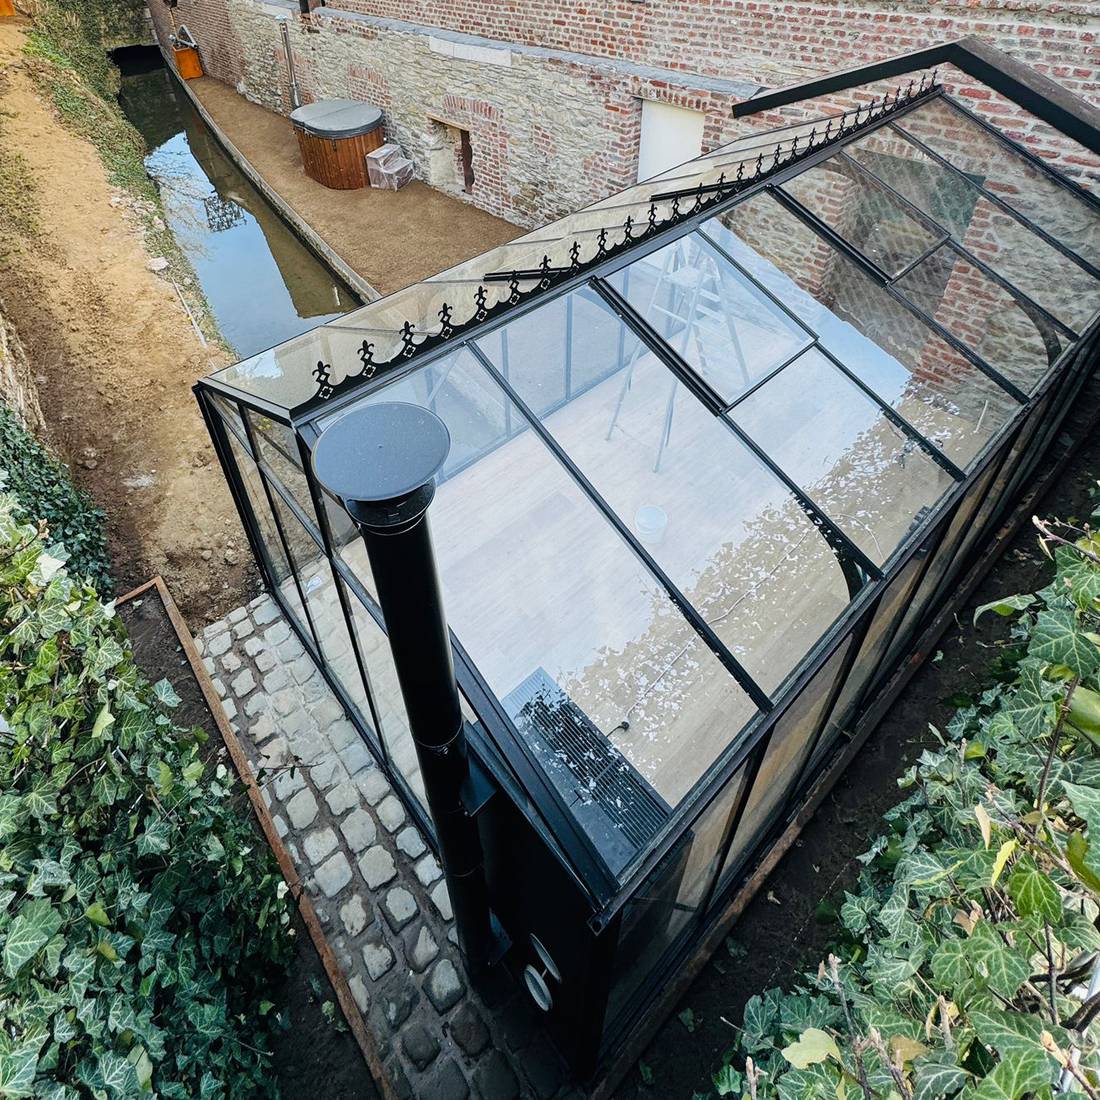
10. Carry out final checks before use
After the final installation step, carry out a systematic final inspection. Review the manual again and confirm that no connection, seal or cover has been missed. Check doors, windows, locks and moving roof components throughout their full travel.
- Visual check of all connections and fixing points
- Check plumb, alignment and visible distortion
- Check that seals are continuous and correctly positioned
- Remove loose drill swarf, packaging and tools
- Test doors, windows, locks and drainage
- Check the intended floor or wall connections
- Document the finished state with overview and detail photos
Technical equipment in an outdoor sauna must not be used until all required connections have been professionally completed and checked in accordance with applicable requirements. Further model information is available in Sauna. For greenhouse concepts, the Greenhouses and Conservatories overview provides guidance; larger project concepts are also covered in the Orangery guide .
Common reasons to pause installation
A pause is not a delay when it prevents damage or incorrect installation. Stop work especially in these situations:
- The model, component or part number cannot be confirmed clearly.
- Foundation dimensions, diagonals or levels are clearly outside specifications.
- A profile must be forced significantly for the holes to align.
- A safety-relevant component is missing or damaged.
- Wind, rain, ice or poor visibility prevents controlled work.
- The structure cannot be adequately supported in its interim state.
- There is uncertainty about wall construction, services or fixing substrate.
- The manual and the actual component situation appear to conflict.
Document the condition, secure all loose parts and seek clarification. Unauthorised drilling, cutting or bending can turn an identification error into permanent damage.
DIY installation preparation FAQ
Can I build the foundation before ordering?
Only when the final product version and applicable foundation information are clearly available. Product images or approximate catalogue dimensions are not enough. Changes to size, door position or configuration can affect fixing points. It is safer to plan the foundation from confirmed documentation.
Can I install a Bloomcabin structure on my own?
That depends on the model, component and installation step. Even light profiles can require several people because of their length, wind exposure and required alignment. Plan the team from the manual, not only from an individual component's weight.
Should I fully tighten every screw immediately?
No, where the manual first specifies an adjustable connection. Tightening too early can prevent alignment and create stress. Screws must still be secured so the interim state cannot loosen unexpectedly. Follow the stated sequence.
What if two profiles look almost identical?
Check the part number, drilling pattern, ends, channels and fitting direction. Compare the component with the detailed drawing. Do not permanently mark or alter it while identification is uncertain. Photograph both profiles beside each other and clarify the difference.
Can an existing concrete patio serve as a pergola foundation?
Possibly, but the visible surface alone does not demonstrate load capacity. Construction, thickness, reinforcement, edge clearances, substrate and overall condition must suit the intended fixing. Have the specific situation professionally assessed and follow the product-specific foundation information.
When should protective film or packaging be removed?
As late as practical, but as early as needed for identification and correct fitting. Some films show fitting direction or protect delicate surfaces. Remove them as instructed. Keep packaging carrying part numbers until the inventory is complete.
What should I do if it rains during installation?
Pause work if stability, visibility, tool operation or safe handling are affected. Secure and support the interim state. Store loose panels, fittings and moisture-sensitive parts under cover. Continue only when the ground and conditions are safe again.
May I alter a component if it does not fit?
Not without confirmed guidance. A part that seems too long or incorrectly drilled may be swapped, reversed or fitted incorrectly at an earlier stage. First check part numbers, orientation, foundation geometry and previous installation steps. Unauthorised changes can affect function and safety.
When can I furnish or plant the greenhouse?
Only after installation and final inspection are complete, and all loose tools and packaging have been removed. Doors, windows, glazing and anchoring must be checked. Then plan paths, planters and irrigation so ventilation and maintenance access remain clear. Further growing advice is in the guide to basil in a greenhouse.
Which documents should I keep?
Keep the invoice, order confirmation, installation manual, packing lists, product labels and relevant correspondence. Add photos of the delivery, foundation, concealed fixings and finished structure. Also record the date and results of later inspections. This documentation supports maintenance, spare-part identification and well-documented enquiries.
