



How pergola rainwater drainage works
A pergola with integrated drainage carries rainwater from the roof through gutters and defined outlet routes. This guide covers the complete water path, key planning and installation points, maintenance, cold-weather use and troubleshooting.

Pergola drainage is not a single outlet but a connected functional chain. Rain lands on the roof, moves into collection areas, flows through gutters or frame profiles, and leaves through designed outlets. For dependable performance, the roof system, location, foundations, installation and onward drainage must work together.
This guide outlines how modern aluminium pergolas generally manage water. Details can vary by model, so always follow the technical documentation and installation instructions for the chosen product. Explore different systems on the pages for Bloomcabin pergolas, bioclimatic pergolas and wall-mounted pergolas.
The path rainwater takes through a pergola
With a closed louvred roof, water first lands on the louvre surfaces. Their shape and position guide it towards the roof edges, where integrated gutters or gutter-shaped frame profiles collect it. It then reaches one or more drainage points and travels down through the designated posts.
The usual water route has five stages:
- Roof surface: It receives rainfall and sets the flow direction.
- Louvre edges or roof junctions: They pass water to the collection profiles.
- Gutter or frame channel: It gathers water and carries it to the outlet.
- Drainage opening: It links the gutter to the vertical drainage route.
- Post or outlet: Water is discharged at patio level or into a planned connection.
A drainage system is only as effective as its narrowest or most unsuitable section. Leaves in an outlet, a wrongly aligned profile or a blocked discharge can disrupt the entire water route, even where all other components have been installed correctly.
What each drainage component does
| Component | Function | What to check |
|---|---|---|
| Louvres or roof modules | Guide rain to the intended roof side | Full closure, free movement and correct orientation |
| Side gutters | Collect water coming from the roof surface | No debris, undamaged joints and clear outlet areas |
| Frame profiles | Combine roof function, structure and sometimes water routing | Installation sequence and alignment as instructed |
| Drainage openings | Transfer water to the vertical outlet | Do not block with sealant, fixings or dirt |
| Drainage posts | Carry water down inside the structure | Unkinked, clear routes and correct post allocation |
| Ground outlet | Discharges water onto the patio, gutter or connection pipe | Permanently accessible and protected against backflow |
Aluminium pergola profiles often perform several functions at once. A visible opening should therefore not automatically be treated as an installation fault or sealed. Likewise, use sealant only where the installation instructions specify it. Read more about materials and construction in the comparison of aluminium and timber pergolas.

How adjustable louvres manage rain
A bioclimatic pergola uses rotating louvres to adjust light, shade and ventilation. When closed, the louvres overlap or connect so rain is directed into the intended collection areas. This is controlled drainage, not a hermetically sealed roof like that of a fully enclosed building.
After a shower, residual water often remains on louvres, edges and sealing areas. Rotation can make this water drip down. That does not necessarily indicate a defect. To protect furniture or textiles, open the roof gradually after rain and avoid standing beneath the drip side.
Wind changes the angle at which rain reaches the roof. In strong side winds, water may be pushed over profile edges or beneath the roof surface. Learn more in the bioclimatic pergola guide. For choosing a system, the comparison of bioclimatic and classic pergolas is also useful.
Drainage for freestanding and wall-mounted pergolas
A freestanding pergola can distribute roof loads and water routes across several posts. That does not mean every post automatically acts as a drain. Depending on its construction, only certain posts may carry water; identify and keep them clear when planning the location.
A wall-mounted pergola adds the building interface. The wall connection must suit the substrate, while surface water should be directed away from the façade and vulnerable plinth areas. Include existing doors, light wells, basement access, façade insulation and downpipes in the planning.
Do not choose between these designs on appearance alone. The guide to wall-mounted or freestanding pergolas explains the key differences. Find specific designs under Bloomcabin wall-mounted pergolas and Bloomcabin pergolas .
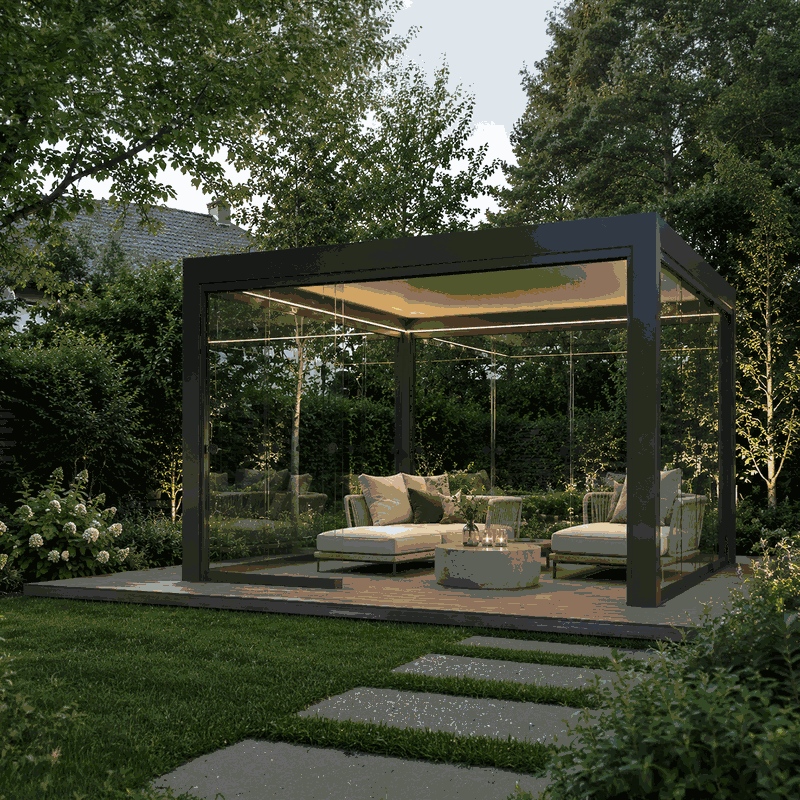
Planning drainage before buying
Resolve water drainage before choosing the size, orientation and accessories. The question is not only where water could flow in theory, but whether the outlet remains accessible and the surrounding area can absorb the expected volume.
- Where are the drainage posts on the selected model?
- Are there doors, paths, seating areas or electrical components there?
- Does the patio slope towards the building or away from it?
- Are there existing gutters, floor drains or soakaway areas?
- Could leaves, needles or roof debris fall onto the pergola?
- Will inspection and cleaning points remain accessible after walls are fitted?
- Do local rules apply to discharging or infiltrating rainwater?
Pergola size affects the volume of rain collected. Find area-planning guidance in the pergola size guide. For a broader overview, see the practical guide to choosing an aluminium pergola and the greenhouses and conservatories category.
Foundations and patio preparation
A load-bearing foundation secures more than the structure. It also affects where drainage posts sit and how water exits in a controlled way. Prepare the installation surface as required by the product documentation. A patio that looks level does not automatically provide suitable foundations or sound fixing areas.
Before work begins, check levels, surface falls and the positions of existing services. Do not improvise drainage pipes through foundations if this could compromise load-bearing capacity, fixings or frost resistance. Seek professional planning when uncertain. The pergola foundation guide summarises the main points to consider.
Water must not collect permanently around base plates or fixings. Paving, slabs and joints should leave the outlet clear. If the patio is finished after the pergola is installed, allow for final surface levels during installation.
Delivery checks before installation
Before installation, check all packages and components against the supplied documentation. Frame profiles, gutter parts, drainage components, posts and connectors are particularly important. Transport protection, packaging remnants or film must not later block a drainage opening.
- Check the delivery contents and component labels.
- Inspect profiles for visible distortion or damaged connection areas.
- Identify drainage posts and any different post versions.
- Read the complete installation sequence before applying sealant or fixings.
- Match foundation dimensions and alignment with the actual structure again.
- Keep small drainage and sealing parts separate and clean.
If parts are unclear or missing, do not improvise by drilling, cutting or using universal replacements. Send model details and photos through the contact page for assessment. Learn more about the company on the About us page.

Installation points that directly affect drainage
A small deviation at a profile joint can affect the water route more than the pergola’s visible overall position. The structure must therefore be aligned, connected and sealed in the prescribed order.
- Squareness: A distorted frame can affect louvre movement and gutter connections.
- Profile orientation: Do not swap inner and outer sides or drainage sides.
- Post allocation: Drainage posts must sit at the intended frame connections.
- Sealing points: Seal only the specified joints; keep functional openings clear.
- Screws and connectors: Use the specified parts and install them in the stated sequence.
- Final check: Operate louvres, inspect gutters and carry out a controlled water test.
For a water test, apply a limited amount of water to different roof areas. Observe transfers between louvres, gutters, outlets and posts. A garden hose with a powerful jet can create unusual pressure conditions and is not a realistic substitute for rainfall.
Where should the drained water go?
The internal system ends at the post outlet, but the drainage task does not. Water should not run towards the house wall, across slippery paths or directly onto a neighbouring property. Permanently waterlogged beds, sensitive patio substructures and undrained voids are also unsuitable destinations.
Possible solutions include surface drainage with adequate fall, an open drainage channel, a suitable soakaway area or a professionally planned connection pipe. Before connecting to an existing line, confirm the proposed arrangement and any site-specific requirements with the relevant municipality and a drainage professional. Soil conditions and property drainage vary.
An underground connection should remain accessible, flushable and designed with backflow in mind. The pergola post must not become the lowest point of an overloaded pipe system. Find general planning ideas in the helpful information and other posts on the Bloomcabin blog .
Glass walls, wind-driven rain and condensation
Side glazing changes weather protection but not the basic roof drainage system. It can reduce rain entering from the side, but does not turn a pergola into a fully sealed indoor room. Construction-related gaps may remain between moving glass elements, guide rails and junctions.
Wind-driven rain can be forced beneath the roof or against openings. High humidity can also create condensation on glass, aluminium and louvres. Condensation comes from ambient air and is not the same as a leaking gutter. Good ventilation and controlled air movement limit moisture build-up.
When planning side walls, do not cover drainage points or maintenance access. The article Pergola with glass walls: sliding or fixed glazing explains the options. The article on bioclimatic pergolas, roofs and glass also clarifies system boundaries.

Regular cleaning and maintenance
Inspect at sensible intervals and after heavy leaf fall, pollen periods or unusual weather. Follow the maintenance guidance for the specific product. As a general rule, carefully remove loose leaves, twigs and dirt from the roof and gutters.
- Move louvres to a safe cleaning position only as instructed.
- Clean gutters and visible drainage openings without sharp tools.
- Do not push hard objects deep into concealed water routes.
- Check post outlets for soil, leaves or later-added paving.
- Visually inspect seals, profile joints and fixing areas.
- After cleaning, test flow with a small amount of water.
Pressure washers can force water into joints or stress surfaces and seals. Cleaning products must suit the materials present. Find general guidance on the care of aluminium structures page.
Cold weather, ice and seasonal use
Freezing water can block gutters, outlets and moving parts. Do not move louvres against ice or frozen snow. Before operation, check that all moving areas are clear. Use the winter positions and operating limits stated in the instructions for the relevant model.
Water leaving onto a patio can create a slip hazard in frost. The area outside the post is therefore part of seasonal planning. Underground pipes and open gutters must suit local conditions. Before colder weather, remove leaves and deposits so residual water can drain as freely as possible.
Snow and wind conditions vary considerably by region. The article Pergolas in winter: snow, ice and wind covers seasonal considerations. Do not derive specific load limits from it; only the documentation for the selected model applies.
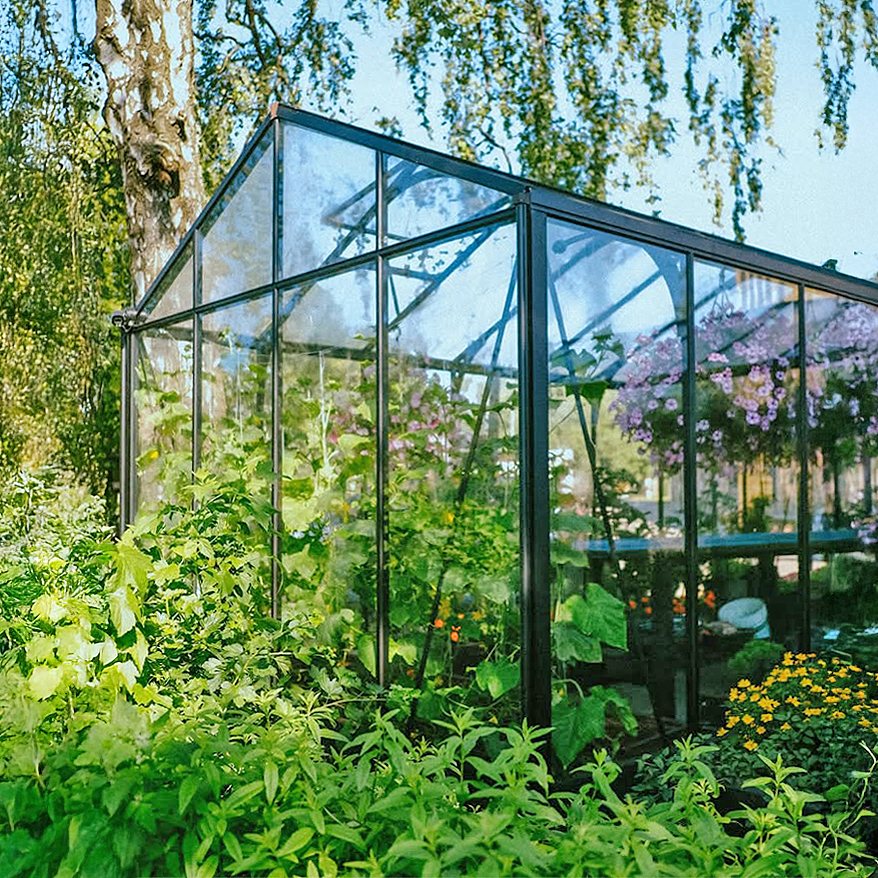
Checking common drainage symptoms systematically
| Symptom | Possible cause | First check |
|---|---|---|
| Gutter overflows | Blocked outlet, unusually intense rain or faulty transfer | Clean the gutter and visible outlet opening |
| Water exits at a joint | Check profile joint, seal or installation alignment | Photograph the area and compare installation documents |
| Only one post carries water | May be normal for the design | Check the drainage layout for the specific model |
| Water pools at the post base | Outlet covered or patio fall unsuitable | Expose the outlet and surrounding surface |
| Dripping when opening | Residual water on the louvres | Open slowly and observe the drip pattern |
| Moisture on glass surfaces | Condensation or wind-driven rain | Check weather, ventilation and direction of entry |
When troubleshooting, always work from where water enters towards the outlet. Uncontrolled additional sealing makes diagnosis harder and may close intended relief openings. Photos taken when dry and during a moderate water test help reveal the actual flow route.
Questions to answer before ordering
- Which pergola design suits the intended use?
- Where are the drainage posts in this configuration?
- Is a wall-mounted design compatible with the façade and roof drainage?
- Is the foundation fully prepared before installation begins?
- How will water be carried onward after leaving the post?
- Will gutters, outlets and inspection points remain accessible?
- Are glass walls or other side elements planned?
- Which local approval and drainage requirements need checking?
Approval requirements depend on the project and location in South Africa. For an initial overview, read our guide to greenhouse and pergola approvals. Confirm project-specific requirements with the relevant municipality; in Cape Town, contact the District Planning Office. Commercial enquiries can also find information for trade customers .
Frequently asked questions
Is a closed louvred pergola completely waterproof?
No. It should not be equated with a hermetically sealed building roof. Closed louvres direct rain in a controlled way into gutters and outlets, but wind, very heavy rain, profile transitions and opening wet louvres can still cause occasional drips.
Does every pergola post contain a drain?
Not necessarily. Depending on the model, only certain posts may be designed as water routes. Check their allocation in the product-specific documentation before planning foundations and installation.
Can pergola water connect to an underground pipe?
A planned onward connection may be possible. However, the connection type, access, backflow protection, freezing behaviour and applicable local requirements must be professionally clarified. A concealed direct connection without a cleaning option is problematic.
Why does water drip when the louvres open?
After rain, water remains on surfaces and edges. Rotating the louvres changes their position, allowing residual water to drip. Slow, staged opening can make this behaviour easier to manage.
Can leaves block an internal drain?
Yes. Small leaves, needles, flower debris and dirt can collect in gutters or drainage openings. Regular visual checks and gentle cleaning reduce this risk.
What should I do if water collects at a post?
First check whether paving, soil, jointing material or objects cover the ground outlet. Then inspect the patio fall and onward drainage. If the problem continues, document it with photos, model information and the installation condition.
Should I seal every joint to stop occasional drips?
No. Some openings may form part of the intended drainage or ventilation. Add sealant only in line with the product-specific instructions. Otherwise, water may be trapped or a drainage route blocked.
Should louvres stay closed in frost?
The correct winter position depends on the model. Do not move louvres when ice or snow blocks them. Follow the operating and seasonal instructions for the relevant product.
Do glass walls improve roof drainage?
Glass walls can reduce rain from the side but normally do not change the roof’s internal water route. They may also affect air movement and condensation. Drainage points must remain accessible despite glazing.
What should I provide in a support enquiry?
Useful details include the product model, configuration, order reference, installation location, when the issue occurs, weather conditions, overview photos and close-ups. A short video of the water route may assist diagnosis. Also mention modifications, extra sealant and connected pipes.
A final planning principle
Effective pergola drainage depends on continuous planning, from the first rain contact on the roof to final discharge on the property. The roof system, gutters, drainage posts, foundations and external drainage must not be considered separately.
Before buying, confirm not only shape and colour but also outlet positions, ground levels, cleaning access and local requirements. Understanding the full water route before installation and following product-specific instructions consistently reduces later intervention and supports reliable long-term use.
