



PROCESS
Approving bespoke configurations before production
A bespoke configuration should enter production only after a complete, unambiguous review. This guide covers the process from defining requirements and checking drawings to written approval, highlighting key points for greenhouses, orangeries, lean-to structures, T-shapes and pergolas.
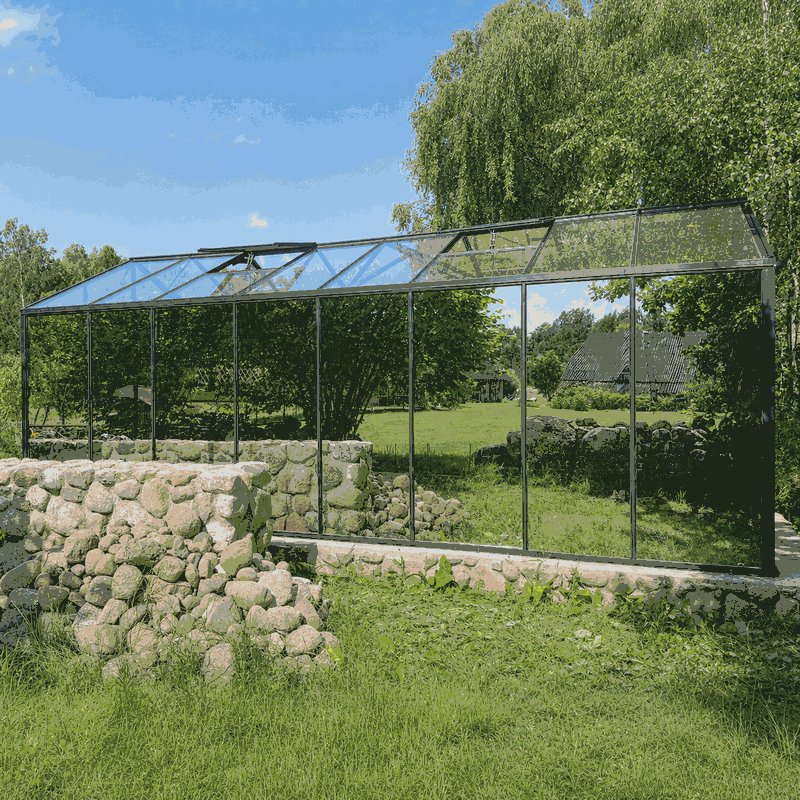
For a bespoke configuration, approval determines what will actually be manufactured. A design that looks correct at first glance is not enough. Dimensions, openings, connections, colours, materials, accessories and site conditions must align and be clearly recorded.
The following steps help homeowners, designers and installers review a configuration systematically. Find general ordering information under How to order. For project-specific uncertainties, please consult us through the contact page before approval.
What approval before production means
By approving, the customer confirms that the configuration shown in the controlling documents meets their requirements. This covers more than the external form and approximate size. Every identified detail matters: dimensions, door and window positions, roof form, opening directions, glazing or infill types, finishes, add-on components and, where applicable, connection points.
Approval is therefore a technical decision, not a non-binding design preference. It should be given only for clearly identified documents with a visible revision status. Earlier emails, sketches and images remain important project records, but must not be confused with the final approval drawing.
It is equally important to distinguish this from building-control review. Manufacturer approval does not confirm that the project may proceed at the intended site without municipal approval or further evidence. Check the requirements for the specific property and project with the relevant municipality. An initial overview is available in our guide to municipal approval for a greenhouse or pergola in South Africa.
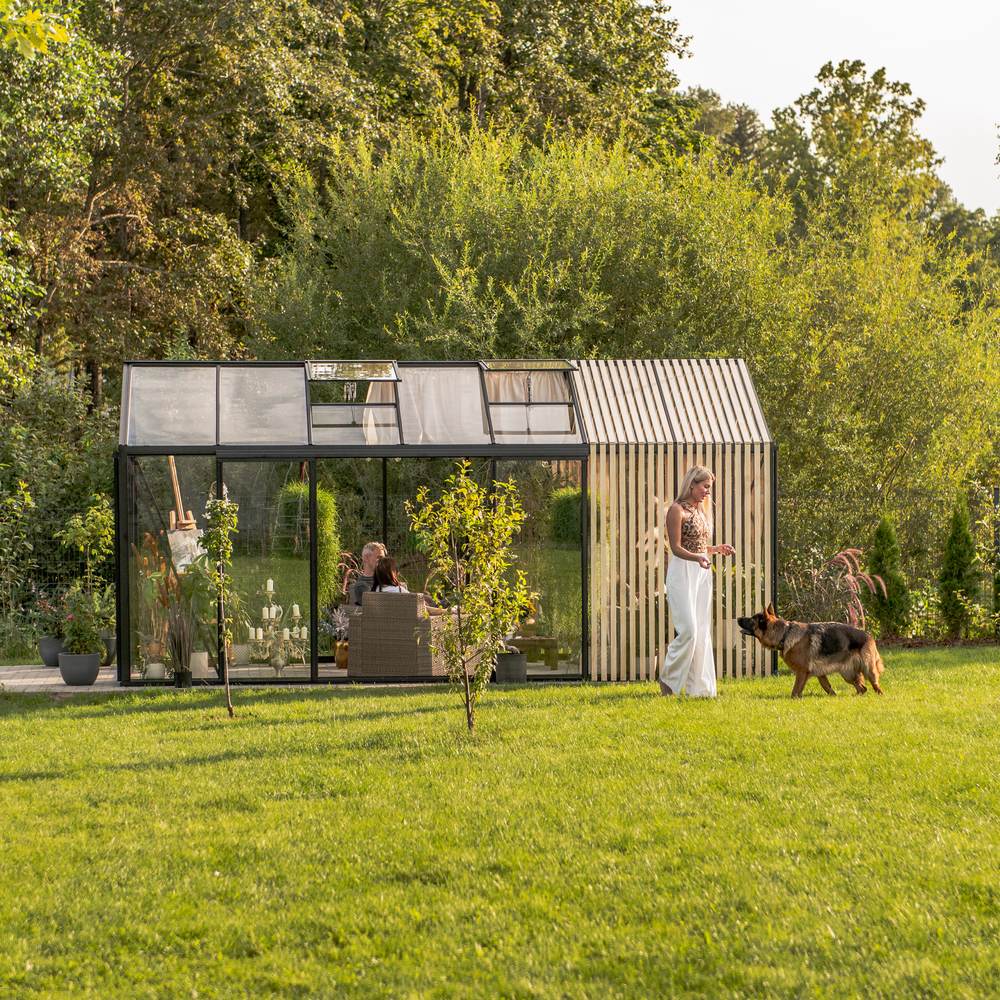
Approval process at a glance
- Set the product basis: define the construction type, basic form and intended use.
- Provide full requirements: bring together dimensions, openings, materials, colour, accessories and site conditions.
- Review approval documents: check drawings, quotation and supplementary notes for consistency.
- Carry out customer review: check every view and specification methodically.
- Coordinate changes: submit corrections together and clearly.
- Approve final documents: state the document number or revision explicitly.
- Await production handover: customer approval is not automatically the same as every internal production release.
The more complete the information is at the outset, the lower the risk of repeated correction rounds. Time pressure should never lead to unspoken acceptance of unresolved points.
Step 1: Set the right product basis
Bespoke planning starts with a suitable base configuration. A freestanding greenhouse, orangery, wall-mounted structure and pergola each place different demands on foundations, drainage, access and connection details. First establish which construction type best supports the intended use.
For greenhouse projects, the overviews of greenhouses and conservatories and the guide to choosing an orangery provide a first point of reference. Historical design features and their modern interpretation are explained in our article on Victorian greenhouses .
For pergolas, first decide the roof principle and installation type. The decision guides bioclimatic or classic pergola and wall-mounted or freestanding pergola help define the starting point. Only then should bespoke alterations be specified.
Step 2: Provide a complete requirements profile
A good requirements profile describes not only the desired result, but also the conditions in which the structure will be installed and used. Every measurement must include its unit and a clear reference edge. Wording such as “door slightly further left” or “about three metres” is insufficient for production documentation.
Depending on the project, a robust requirements profile includes:
- desired construction type, basic form and use;
- overall width, overall length, relevant heights and existing restrictions;
- position, number and opening direction of doors, windows or moving elements;
- required finishes, colours, glazing or infills;
- accessories and their intended position;
- details of wall connections, roof overhangs, downpipes or other obstructions;
- known site slopes and the planned finished foundation level;
- access, unloading and installation conditions;
- responsible contacts for approval, site and installation.
Site photographs can support the description but do not replace verified measurements. For a wall-mounted structure, record exterior lights, window sills, shutter boxes, services and uneven façade surfaces. For pergolas, consult the pergola size guide.
Step 3: Interpret approval documents correctly
A project may consist of several documents. Typical examples include a quotation, technical drawing, elevations, plan view, detail notes and a list of selected options. These documents serve different purposes and must be read together.
The drawing mainly describes geometry and arrangement. The quotation may include items, quantities and commercial details not fully shown in an elevation. Supplementary notes may identify exclusions, customer-supplied work or decisions still outstanding. Do not approve one page in isolation where other controlling documents contain conflicting information.
Pay particular attention to:
- document title, date and revision reference;
- scale and whether a representation is schematic only;
- viewing direction and orientation of each elevation;
- reference points for width, length and height;
- notes such as “by others”, “to be confirmed” or “not shown”;
- differences between the drawing, quotation and previous correspondence.
Technical uncertainties must not be estimated from the screen view. Dimension figures and written notes take precedence. Clarify illegible information, unknown symbols or apparent contradictions before giving approval.
Step 4: Carry out a disciplined customer review
Review in a fixed order. Start with the overall form, then move to dimensions, openings, materials and details. This reduces the risk that eye-catching design features distract from fundamental dimensional errors.
- Check project identity: do the customer name, project designation and configuration match?
- Check the plan: verify external dimensions, layout, orientation and access.
- Check elevations: compare every side with the actual site.
- Check heights: consider eaves, ridge, roof pitch and connection heights where stated.
- Check openings: are the number, position and opening direction correct?
- Check materials: do finish, colour, glazing or infill match the selection?
- Check interfaces: do foundation, wall, drainage and customer-supplied connections work together?
- Cross-check documents: are drawing, quotation and written selections free of contradictions?
Where possible, review on a large screen or as a clearly legible printout. A second person can independently check opening directions and site orientation in particular. For projects involving a designer or installer, clearly establish who is responsible for each interface.
Configuration approval checklist
| Review area | Check question |
|---|---|
| Revision | Am I demonstrably checking the latest document version? |
| External dimensions | Do length, width and relevant heights suit the available space? |
| Orientation | Are front, rear, left and right assigned unambiguously? |
| Doors and windows | Are position, number and opening direction correct? |
| Material and colour | Are all visible and functional options named clearly? |
| Foundation | Is the planned bearing surface aligned with the configuration? |
| Connections | Have wall, drainage and existing components been considered? |
| Open points | Have all question marks, reservations and placeholders been resolved? |
| Quotation | Do items and quantities match the version to be approved? |
| Local requirements | Have necessary checks for the site and project been arranged? |
Step 5: Submit a coordinated change request
If errors or requested changes are identified, submit them together in one structured response. Multiple parallel emails from different parties increase the risk of contradictory instructions. Appoint one person to consolidate comments.
Each point should identify the affected document, elevation and component. Describe the current state and required change, for example: “In the south elevation, move the door from bay two to bay three; retain outward opening.” Mark-ups on a drawing are helpful, but also require a clear written description.
Once revised, the review begins again. Do not inspect only the expressly altered area. Adjustments can affect adjacent dimensions, bay divisions or other components.
Step 6: Give clear written approval
The final approval must make clear which documents are approved. State at least the project designation, document title and revision status. A phrase such as “looks good” is unsuitable where several versions are in circulation.
Example: “We hereby approve the configuration in accordance with approval drawing [document designation], revision [reference] dated [date], together with the options stated therein, for further processing.”
If approval contains conditions such as “approved provided the door is still moved”, it is not unambiguous approval of the current drawing. First obtain a corrected version, then review it without hidden reservations. Colour or material decisions may remain open only where it has been expressly confirmed that they can be set later.
What happens after approval
After customer approval is received, the documents are used internally for the next steps. Depending on the project, administrative or technical checks may still be required before actual manufacture. Customer approval therefore does not always mean production starts immediately.
Report change requests after approval without delay. Whether they can still be implemented and what consequences follow depend on the processing stage. Do not assume that a later message can automatically be accommodated.
Information on ordering, transport and handover is summarised under Purchasing and delivery . For general terms relating to promised services, see Warranty .
Special review points by configuration type
Freestanding greenhouses and orangeries
For freestanding structures, overall geometry, door allocation, ventilation openings and the relationship to the foundation are central. Check whether the side labelled as the front on the drawing really suits the planned access route. Left and right are particularly easy to confuse on apparently symmetrical buildings.
Later use also affects the layout. Work surfaces, planting beds and paths should not obstruct doors or windows. Find glazing-selection guidance in the article about polycarbonate in a greenhouse. For later operational planning, greenhouse temperature and humidity also matter.
Project images and greenhouse reviews can provide design ideas. They do not define either the delivery scope or the approved version.
Lean-to and wall-mounted structures
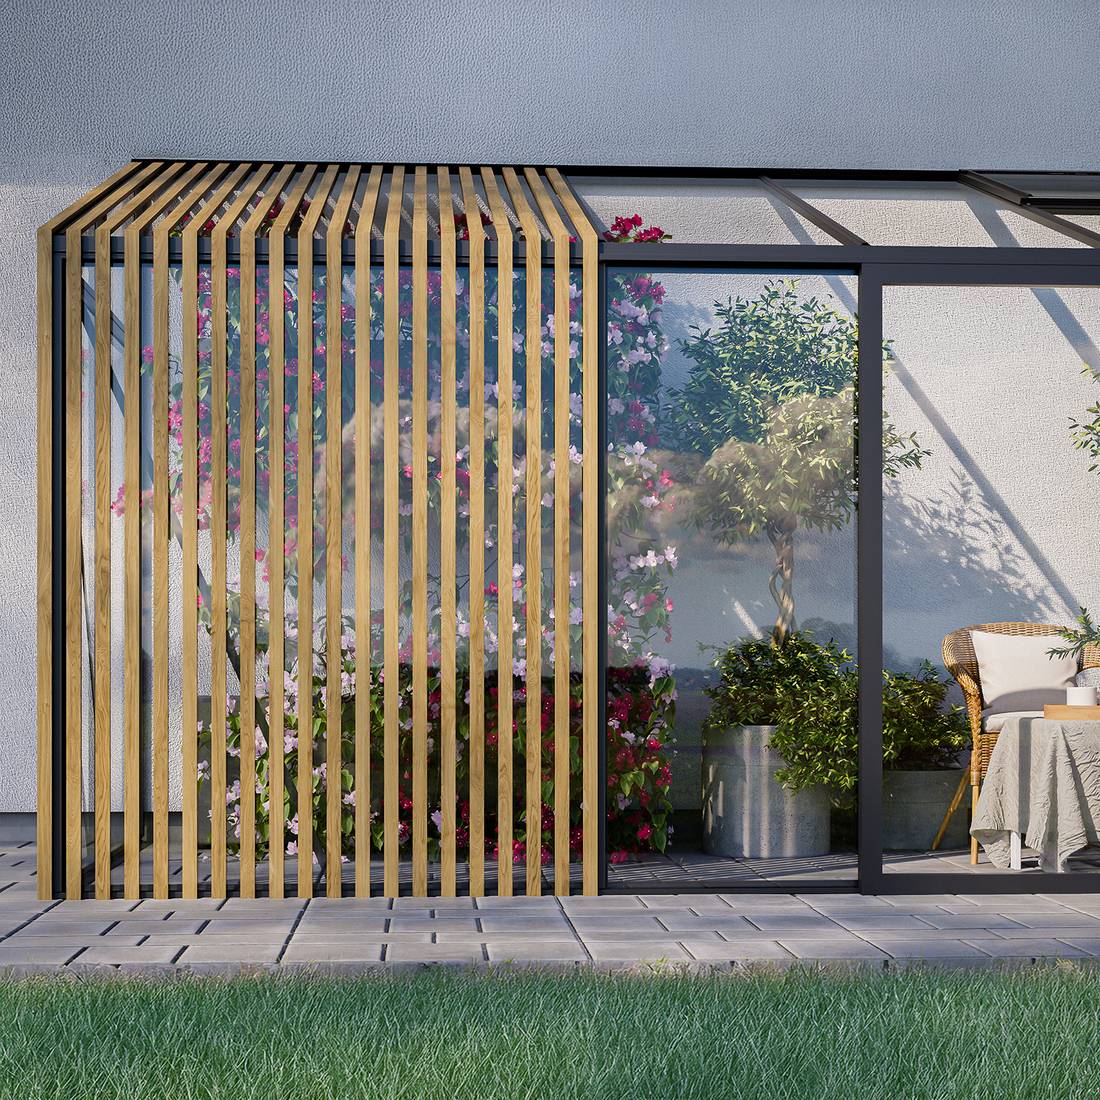
With a lean-to structure, the existing building becomes part of the planning interface. Measure not only the unobstructed wall width, but also the usable height. Roof overhangs, windows, doors, plinth projections, services, vents and uneven façades can affect the intended connection.
The load-bearing capacity and suitability of an existing wall must not be inferred from a photograph alone. Necessary assessments must be carried out by the responsible professionals. The approval drawing should clearly show which side meets the wall and the viewing direction of each elevation.
T-shaped configurations
A T-shape combines several building volumes or axes. This creates additional junctions, roof connections and changes of direction. Review the main wing and cross wing separately first, then as one complete system. The junction position, each external dimension and the allocation of entrances are especially important.
Compare the plan with every elevation. A change to the cross wing can affect symmetry, bay divisions or circulation routes. For complex forms, describe orientation additionally using fixed property points, such as the house, driveway or property boundary.
Pergola configurations
For pergolas, check post positions, roof orientation, drainage route and adjacent components together. A visually attractive location is not automatically structurally or functionally suitable. The pergola foundation guide explains key planning relationships.
For wall-connected solutions, clarify connection height and façade build-up. For freestanding versions, check the position of every post against terrace edges, doors and circulation routes. For roof comparisons, see the article bioclimatic pergola or glass roof.
Using project images responsibly
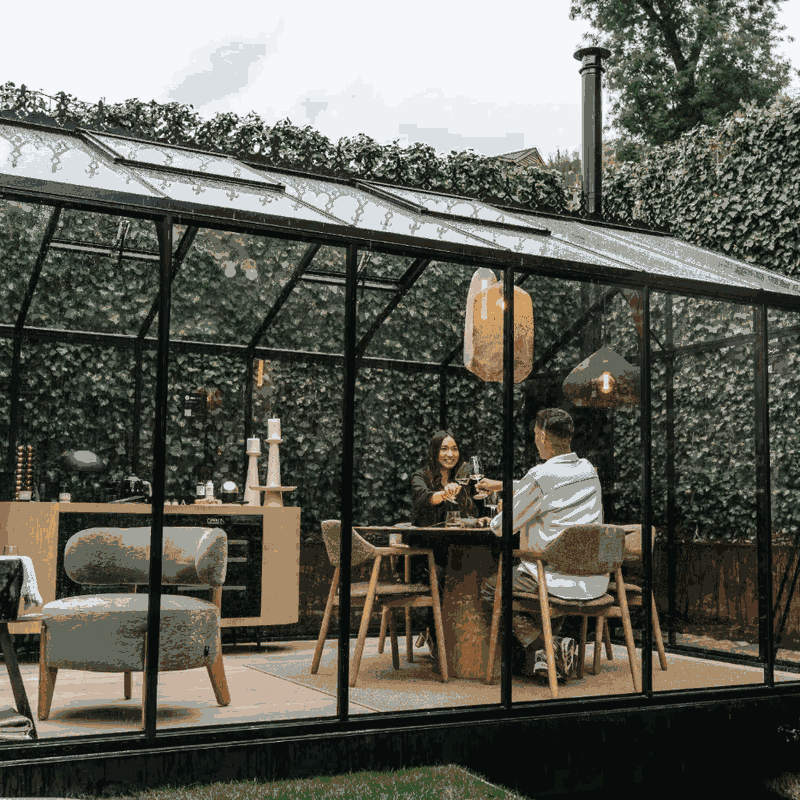
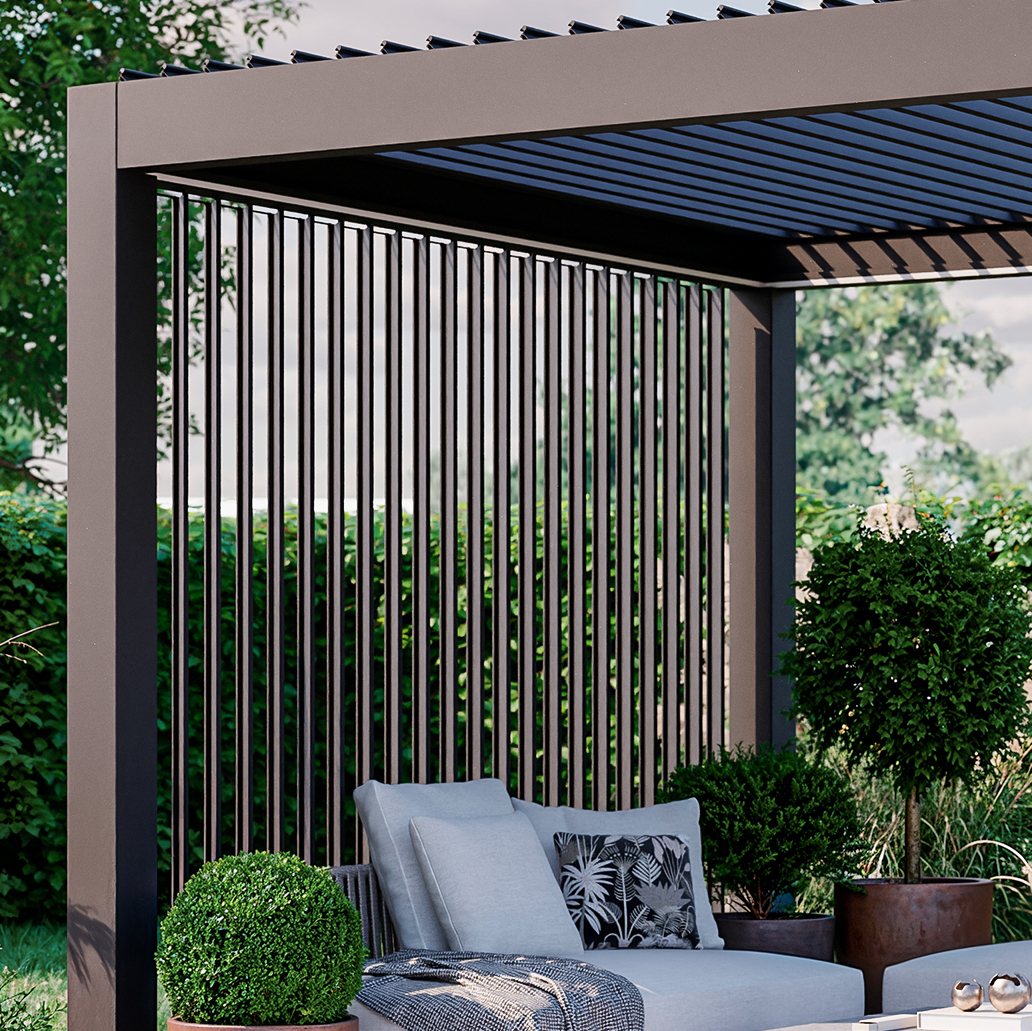
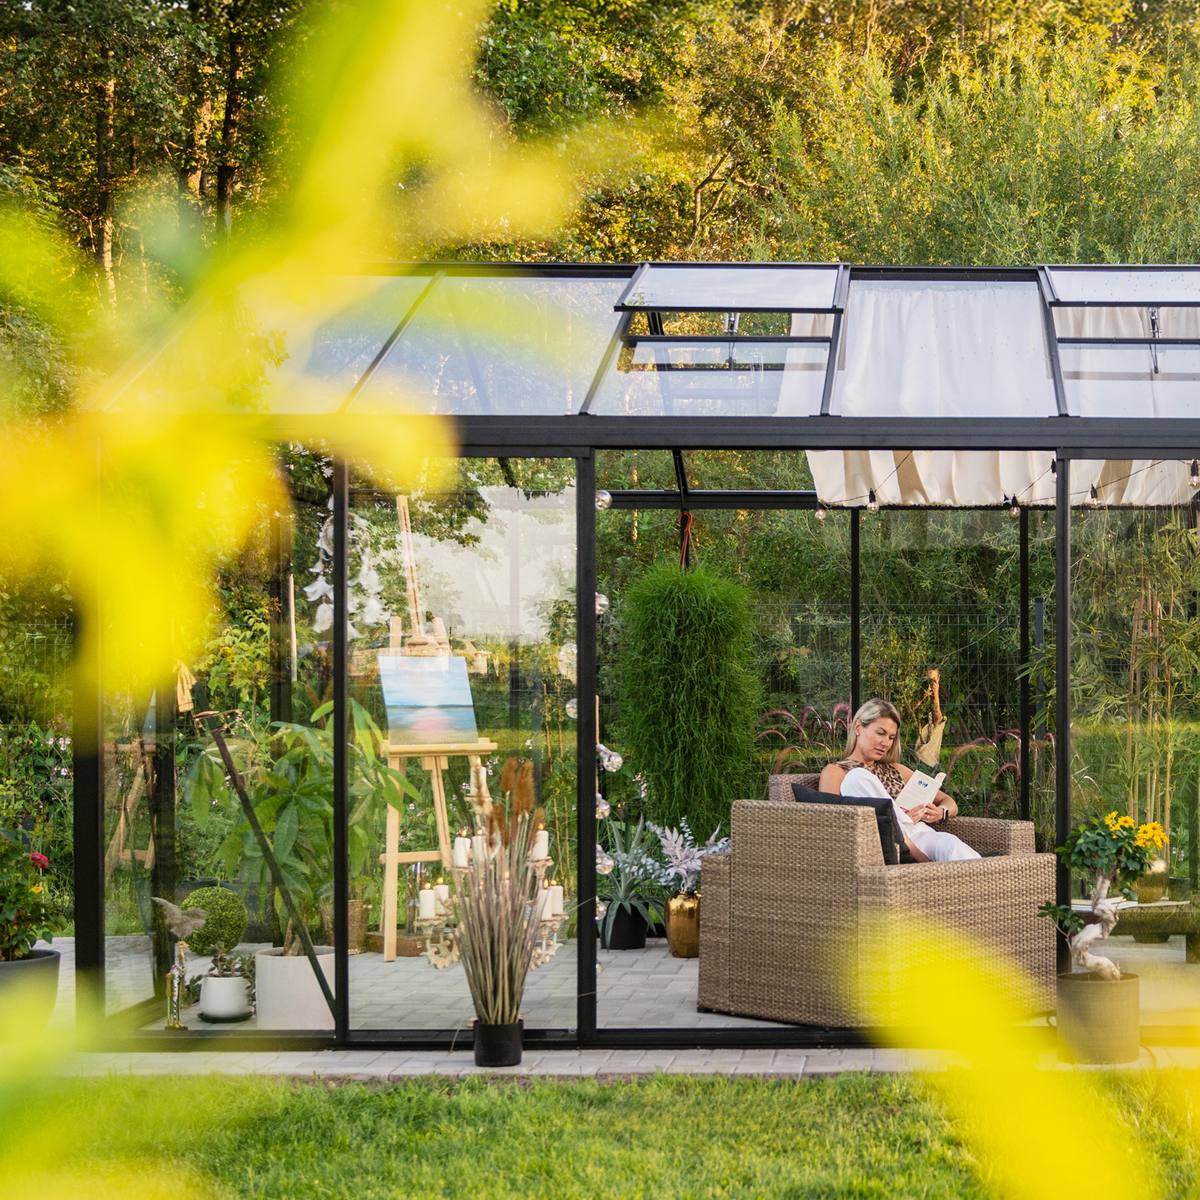
Photographs show a real installation at a particular time. They can illustrate proportions, colour mood and design combinations, but are not a technical specification. Perspective, light and surroundings can make measurements and colours appear different. Furniture, foundations, plants or ancillary works shown may also have been provided by others.
When requesting a detail, do not refer only to “the image on the website”. Name the precise feature and ask for confirmation that it forms part of your configuration. The approved project documents remain controlling.
Preparing for delivery and installation
Plan site preparation alongside approval, but complete it only from confirmed information. In particular, foundations must not be built from a non-binding draft. Check which dimensions govern construction and who will transfer them to the site.
Before delivery, organise access, the unloading area, temporary storage and protection from damage. The responsible person should know the delivery documents and how to proceed if visible discrepancies or damage are found. General guidance is available under Useful information.
Keep the current drawing and relevant installation documents available on site. Later care is also part of project planning; see the guide to caring for an aluminium greenhouse.
Approval documents and long-term records
Keep the final drawing, written approval, associated quotation and relevant correspondence together. Record which revision was actually approved. These documents assist with delivery acceptance, installation, maintenance and future spare-parts enquiries.
Do not delete outdated drawings without control. Mark them clearly as superseded and separate them from current installation documents. This keeps the change history traceable without anyone accidentally working from an old version on site.
Further planning support
Depending on the project, these additional information areas may be helpful:
- The central Bloomcabin South Africa page leads to available product and information areas.
- For sauna projects, the sauna overview and base configurations such as Elma S, Elma L, HC150 and HC 180 are available for orientation.
- For deliveries to South Africa, please consult the guidance on buying a greenhouse with delivery to South Africa .
- Further application and planning topics appear in the Bloomcabin blog.
These pages support initial selection. For production approval, however, only documents specifically identified for the individual project are controlling.
Frequently asked questions
Can production begin from an email description alone?
An email can document requirements, but will usually not capture a complex configuration completely. Before manufacture, it must be clear which drawing, options and revision apply. Resolve open or contradictory descriptions first.
Does approving the drawing also approve the quotation?
Not automatically. Drawings and quotations serve different functions. Check both for matching configuration, quantities and options. Technical drawing approval does not replace a separately required commercial confirmation.
What should I do if I do not understand a symbol or note?
Do not approve on the basis of an assumption. Mark the exact point and request a written explanation. This is particularly important for reference lines, opening directions, section details and notes on customer-supplied work.
Can I approve now and choose the colour later?
Only if it has been expressly confirmed that the colour can be chosen later and that doing so will not affect the remaining work. Otherwise, colour is one of the features that must be finalised before approval.
Who must verify dimensions and site conditions?
The customer or professionals appointed by the customer must ensure that supplied site measurements and information are correct. Responsibilities between owner, designer, foundation contractor and installer should be agreed in writing beforehand.
Does Bloomcabin approval replace local approvals?
No. Approval of a configuration does not replace any municipal approval required for the project or the site’s structural and other location-specific assessments. Confirm the requirements for the property and project with the relevant municipality and responsible professionals.
Can my contractor approve on my behalf?
This is appropriate only where the contractor is clearly authorised and knows the entire agreed scope. Record in writing whether their approval binds the customer and who decides if instructions conflict.
What should I do if I discover an error after approval?
Report the error immediately, identifying the project, revision and affected detail precisely. Wait for written confirmation of whether a change remains possible. Do not send several differing correction instructions.
Are website photographs part of my approved configuration?
No. Photographs are illustrative and may show options or items provided by others. Only elements clearly identified in the controlling project and order documents form part of the approved configuration.
How can unnecessary revision rounds be avoided?
Submit complete, verified information from the start. Gather comments from all parties in one coordinated list and fully check every new revision. Do not unnecessarily postpone decisions on colour, openings and accessories.
Should I retain superseded drawings?
Yes, as a traceable project history. Mark every old version clearly as invalid and keep it separate from current site documents. Only the valid revision may be used for installation and acceptance.
Is customer approval the same as production approval?
Not necessarily. Customer approval confirms the selected configuration. Internal production approval may involve additional checks or administrative requirements. The decisive point is the explicit update on the processing status of the individual order.
