



SUPPORT
Assembly instructions, technical drawings and product documentation
A technical guide to using assembly instructions, drawings, parts lists and supporting product documents correctly, from planning and delivery checks to documented handover.
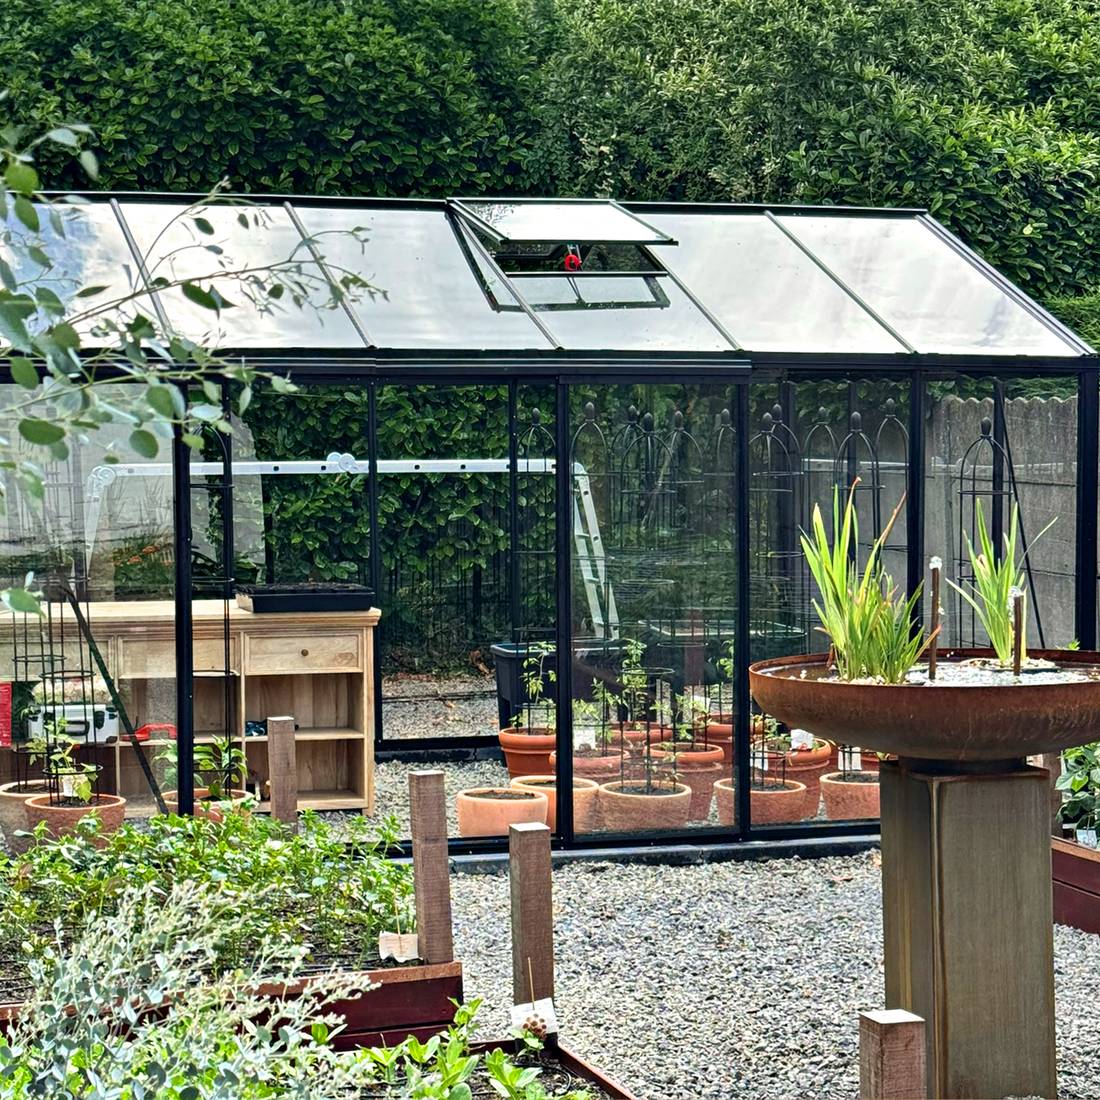
Assembly instructions and technical documents
Select documents using the full product name, version and size. Before work starts, check that the main instruction, drawings and optional supplements apply to the specific order.
Assembly instructions, technical drawings and parts lists together provide the basis for a controlled installation. They support site planning, delivery checks, the correct assembly sequence and later maintenance. Crucially, every document must match the exact product, ordered version and current delivery scope.
The document library at the top of this page is the central starting point for available instructions. This guide explains how to compile a reliable document set and avoid common misunderstandings. For product-specific questions or conflicting information, request clarification through the Bloomcabin Contact page before work begins.
Available Bloomcabin product documents
The documentation provided depends on the product type, model, version and accessories. Not every document is necessarily supplied as a separate file. Information may also be combined in one complete manual or in order-specific documents.
A complete document set may include:
- assembly instructions with steps and illustrations,
- technical drawings with views, dimensions and part names,
- foundation or installation guidance,
- item, pack or parts lists,
- documents for doors, windows, roof systems or other accessories,
- guidance on accepting, storing and checking the delivery,
- care, operating and maintenance guidance,
- order-specific supplements or revision sheets.
A product page does not replace these documents. It helps with selection, whereas assembly documents address the actual build. This matters especially when comparing different designs, such as a wall-mounted or freestanding pergola or comparing a bioclimatic and classic pergola.
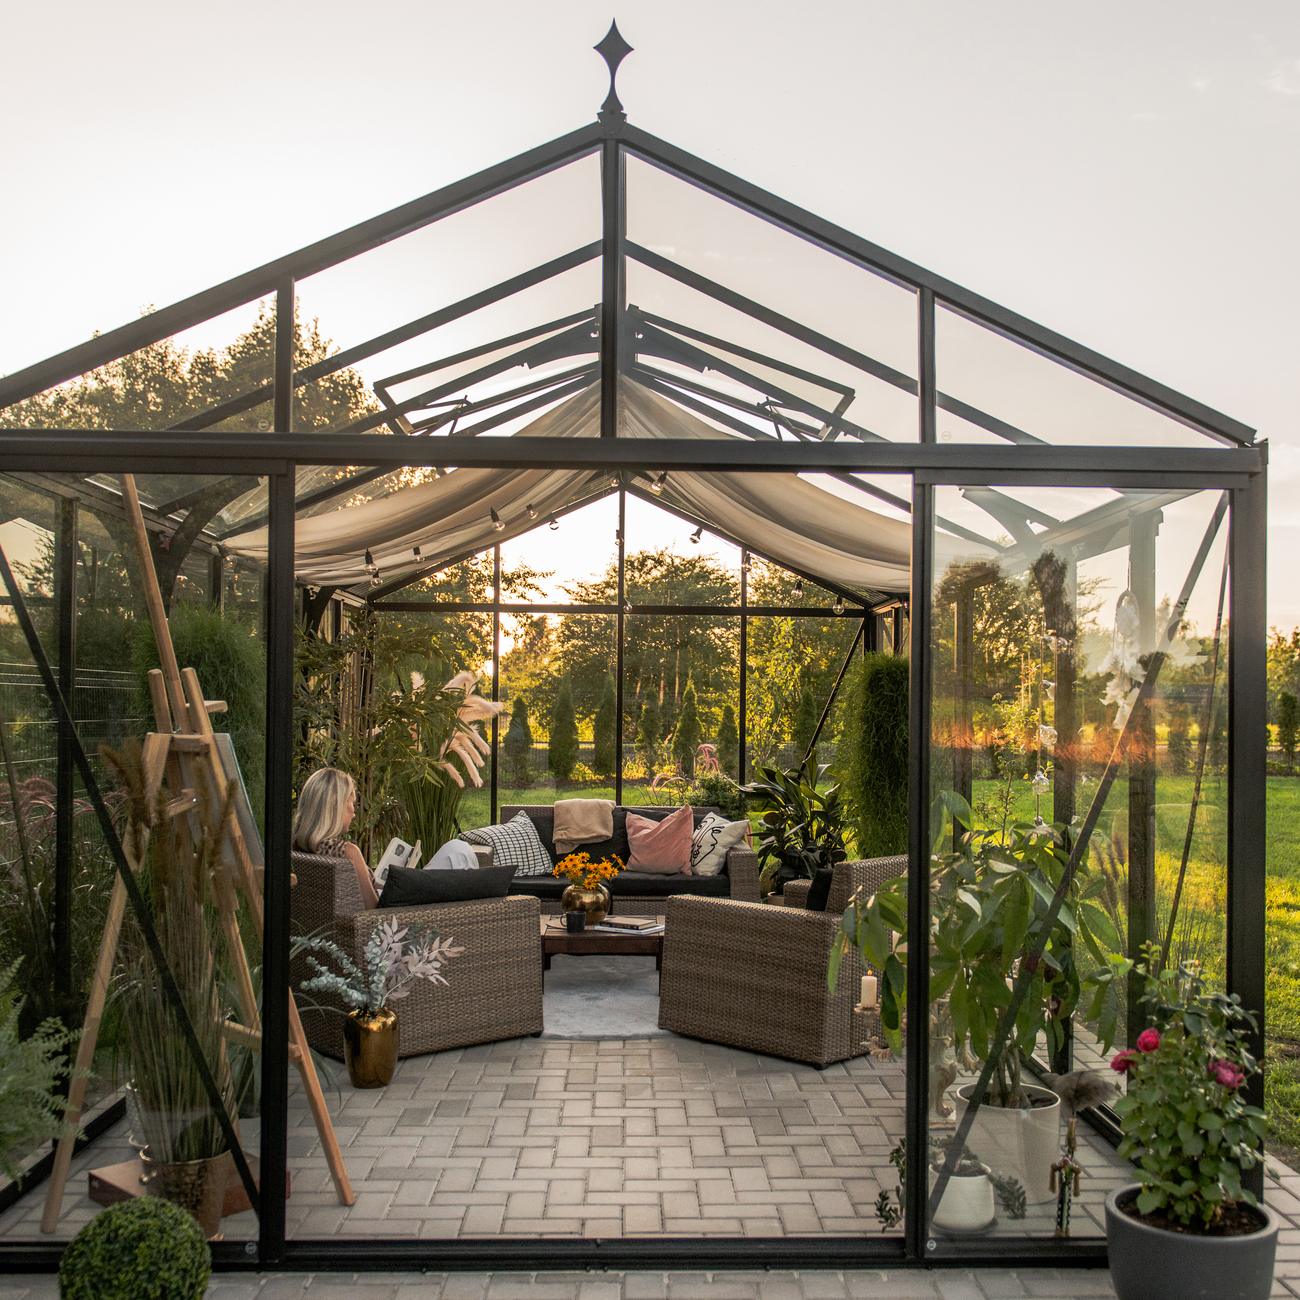
Documents to check before purchase
Document checks should not begin only on assembly day. Before ordering, clarify the key external dimensions, construction type, access to the site and general suitability of the intended area. For pergolas, the Pergola size guide helps with this initial assessment. For greenhouses and conservatories, the Greenhouses and conservatories overview provides product-focused guidance.
Also check with the relevant municipality whether the specific project needs building-plan approval, planning review or technical assessment, and check title conditions or private property restrictions. Requirements vary by municipality, site, use, size and construction. The article on whether a greenhouse or pergola needs building approval offers an initial overview, but does not replace checking locally applicable requirements.
Delivery access, the unloading area and interim storage are also part of planning. Find information under Ordering and delivery and in the guidance on buying a greenhouse with cross-border delivery, where relevant to the intended delivery location.
Match every instruction to the exact product
A similar appearance does not mean an identical construction. Two models can differ in profiles, connection points, roof construction, door systems, glazing or accessories. Size variants in the same product family may also have different quantities of parts or assembly sequences.
Never use an instruction simply because its illustrations resemble the delivered product. Match it at least by model designation, version, size and, where applicable, document revision. This also applies to standalone sauna versions such as the Elma S outdoor sauna, the HC150 barrel sauna or the HC 180 barrel sauna. Documents for another model are not a reliable substitute.
How to identify the correct document set
Start with the order confirmation and compare its product details with package markings, parts lists and document titles. Then compile a document set covering the main product, size variant and every ordered option.
- Check order details: record the model name, version and ordered options.
- Compare document titles: use only files with an unambiguous match.
- Establish revision status: record the revision date, version number or other identifier where available.
- Include supplements: add separate instructions for accessories or alternative components.
- Hold conflicting information: do not choose independently between differing dimensions or assembly instructions; have the discrepancy clarified.
Keep the original files unchanged. Working copies may contain notes, but should remain clearly identifiable as copies. Guidance on the ordering process is available under How to order.
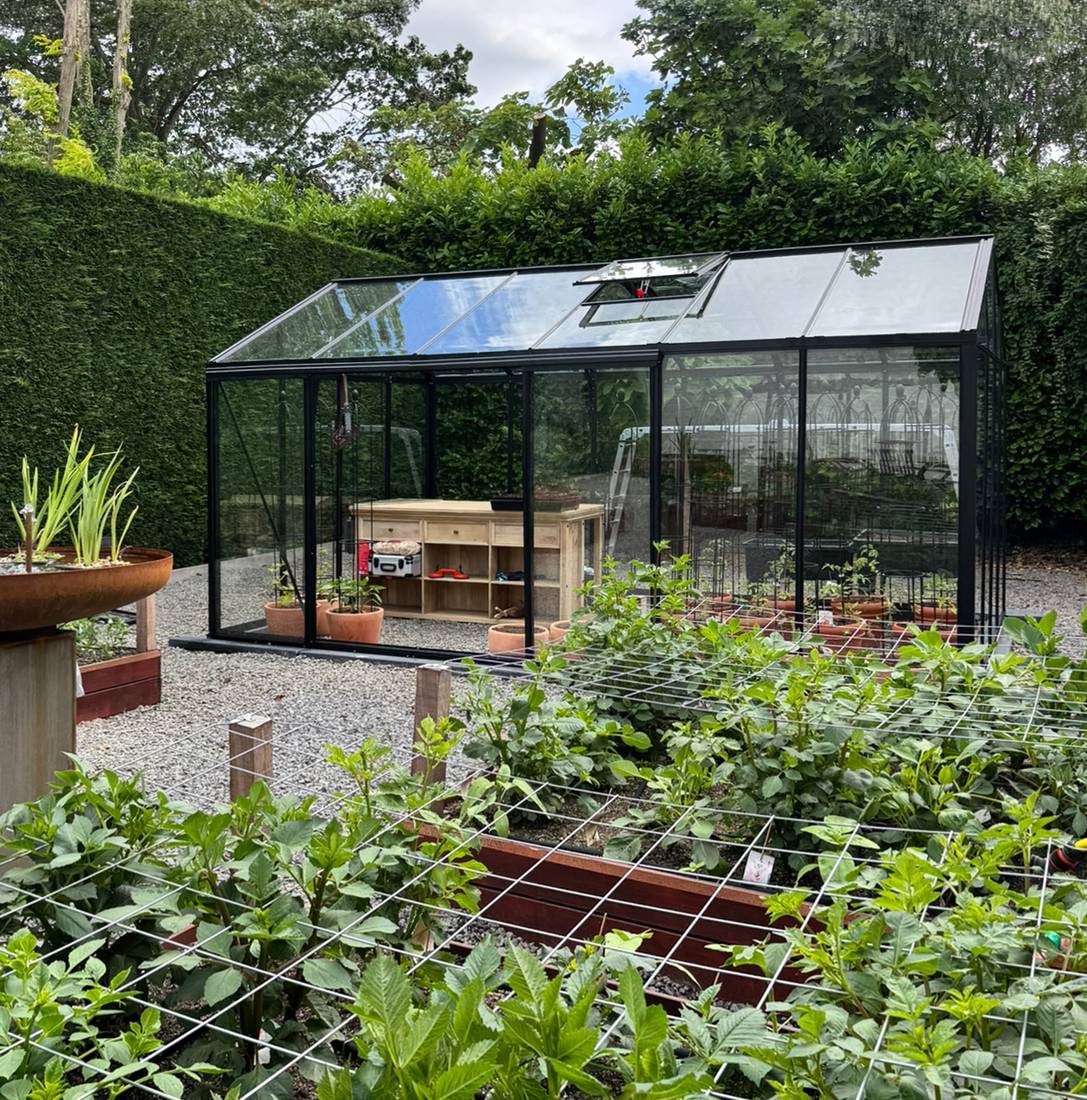
How to read technical drawings correctly
Start with the drawing identity
First read the title block, title or document header. It may state the model, drawing designation, revision, date, unit and sheet number. Transfer dimensions only after this identity check. If a drawing has several sheets, all sheets must belong to the same set.
Look for revision notes. A newer revision may replace individual dimensions or details. That does not automatically mean every older drawing is wrong for every product already delivered. The decisive point is its match to the specific order.
Understand the individual views
Plans, side elevations, front elevations, sections and detail views show different information. A plan normally describes the horizontal arrangement. Elevations show heights and external outlines. Sections reveal concealed components or layered construction. Enlarged details explain connections that may not be clear in an overall view.
Dashed lines may show hidden edges. Dimension extension lines, axes and reference points are not components. Also read notes on symmetry, repeated elements and mirrored assembly. Always interpret a drawing as a complete system, not as a collection of isolated figures.
Separate product dimensions from site dimensions
The external product dimension, centre-line dimension, foundation dimension and required working space may differ. Do not automatically transfer an outside dimension to the foundation. Opening sizes, overhangs, drainage zones and assembly access must also be considered separately.
Rely only on stated numerical dimensions. A PDF on screen or a printout may be scaled. Measuring from it with a ruler or screen tool is permitted only where the document expressly states it is to scale, the scale has been checked and no overriding dimension is given. If in doubt, use the stated dimension, not the visual proportion.
Foundation and site documents
The foundation is the geometric interface between the ground and the product. Errors in level, position or squareness often cannot be corrected during assembly by moving individual profiles. Read the assembly and foundation documents together before excavation, formwork or fixing begins.
The Pergola foundation guide explains key planning questions. Product-specific foundation information and local conditions remain decisive. Check, among other things:
- position and orientation on the property,
- access for assembly and future maintenance,
- level, height reference and diagonals,
- bearing capacity and ground condition,
- drainage and prevention of unwanted water accumulation,
- locations of services, connections and fixing points,
- locally applicable building and technical requirements.
For saunas, also check requirements applying to the specific site and chosen equipment for connections, operation and safety. The general Sauna overview is a product-selection resource, not a substitute for order-specific planning documents.

Accepting delivery and checking parts
Plan goods inspection as a separate work stage. Compare the number and identification of packages with the available delivery documents. Record visible damage, missing packages or unusual packaging immediately and clearly. Open packaging carefully so that components, surfaces and markings are not damaged.
Sort components by assembly group and part number. Store long profiles so that unsuitable support points cannot distort them. Glass, panels, timber components, fittings and fasteners each need safe, appropriate interim storage. Follow the supplied guidance.
Check against the parts or pack list, not product photographs alone. Record quantity discrepancies with the precise item number and take useful photographs. General information on cover and conditions is available in the Warranty section; keep the relevant order and delivery details ready for a specific case.
Using the assembly instruction effectively
Prepare before making the first connection
Read the complete instruction at least once. Identify the tools, aids, people and safe work areas required for each step. Check the foundation, components and document set before making the first permanent connection.
Place screws and fittings in labelled containers. Similar-looking fasteners must not be mixed. Protect coated surfaces from hard or dirty supports. Remove protective materials only at the specified stage.
Follow the sequence
Assembly sequences often account for access, alignment and the later fitting of further components. A frame tightened too soon can prevent later adjustments. Skipping an apparently minor bracket can mean that larger assemblies must be dismantled again.
Mark completed steps on a working copy. Stop if an illustration does not match the actual assembly group. Then check the part designation, orientation, previous steps and document version. Product photographs, for example in articles about Victorian greenhouses or orangeries, show design and use, but not a binding assembly sequence.
Check fasteners and adjustments
Use only the fasteners specified for the relevant step. Length, head geometry, washers and position can be structurally important. Do not automatically tighten connections fully at once where the instruction first requires loose assembly or later alignment.
During assembly, repeatedly check plumb, level, alignment, diagonals and even gaps. If deviations are identified early, their cause is usually easier to isolate. Do not use extra drilling, packing or force as an improvised correction before checking product identification, foundation geometry and installation direction.
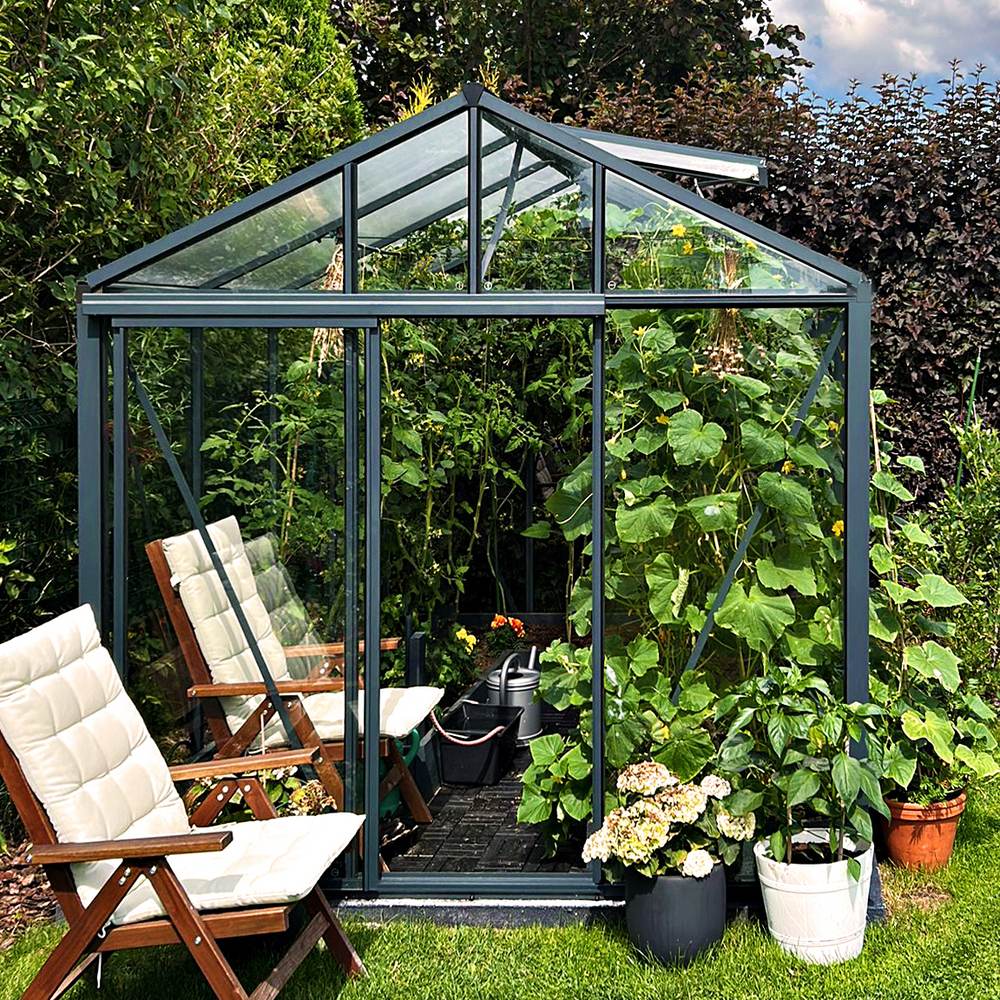
Anna Koku Skola as a continuous installation sequence
The Anna Koku Skola image sequence should be read as documentation of one installation. The photographs show successive stages of the same build, not separate independent projects. Changes in visible frames, glazing or the work environment result from assembly progress.
Such a sequence supports spatial understanding, from the prepared site and supporting structure to later completion stages. It remains a visual supplement. Do not infer concealed fixings, exact dimensions, tightening values or the order of unshown intermediate steps from a photograph. The matched technical documents take priority.
Document control during assembly
Where several people are working, it must be clear which document version applies. One person should manage the document set and record changes or open points. Remove outdated printouts from the work area or mark them clearly.
| Control point | Practical action |
|---|---|
| Document status | Compare filename, revision and date before work begins |
| Distribution | Use identical approved copies for all assembly teams |
| Deviation | Stop work on the affected section and document the cause |
| Change | File the new document centrally and block old copies |
| Evidence | Store photographs, measurements and open points systematically |
This simple document control prevents one team working from an older drawing while another already uses updated information.
Handover and maintenance documents
Do not discard the document set after assembly is complete. It is needed for maintenance, spare-part identification, later adjustments and safe handover to new owners or operators. Store digital originals in addition to working copies.
A handover file can include order evidence, final drawings, assembly instructions, accessory documents, care guidance, recorded deviations and photographs of concealed connections. Add the assembly date and the designation of the version actually installed.
For a greenhouse, the page on caring for an aluminium greenhouse is a useful addition. The guides on greenhouse temperature and humidity and polycarbonate and multiwall sheets also provide operational knowledge about climate and use.
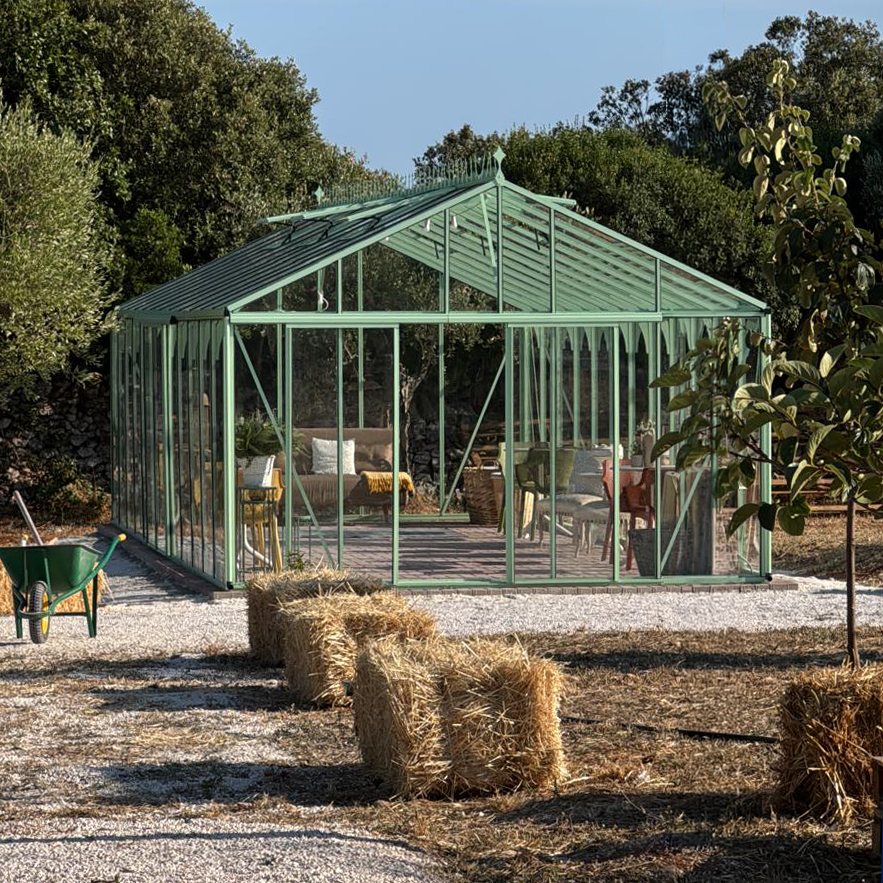
Additional information for planning and use
Technical documentation answers how a specific construction is prepared, assembled and maintained. It does not automatically address every selection or usage question. Additional articles should therefore be read separately from binding assembly documents.
For greenhouse use planning, the guides on growing lettuce in a greenhouse and growing peppers and chillies provide practical direction. Anyone planning a pergola can explore whether a bioclimatic pergola with roof system is suitable. Further topics are collected in useful information .
Frequently asked questions
Where can I find Bloomcabin assembly instructions for South Africa?
Use the document library at the beginning of this page. Search by the full model designation and version. If the match is unclear or an ordered option is missing, request the appropriate document before assembly begins.
Can I use instructions for a similar Bloomcabin model?
No, not as a replacement for the correct instruction. Similar products may have different profiles, drilling patterns, fasteners or assembly sequences. Another instruction may help you formulate a question, but must not replace order-specific documentation.
What if ordered options are missing from the main instruction?
Check whether a separate accessory instruction or supplementary sheet is available. Assign every supplement to the relevant assembly step. If information is missing or documents conflict, stop work on the affected section and have the document match clarified.
Should the foundation be complete before I read the assembly instruction?
No. Read the instruction and every foundation note first. Only then can fixing points, outside dimensions, height references, access and possible service routes be included in site planning. A completed but unsuitable foundation may require substantial corrections.
May I measure dimensions from a screen display?
Not without a clear scale check. Browsers, PDF programs, printer drivers and displays can enlarge or reduce drawings. Use stated numerical dimensions. Only drawings expressly issued to scale and checked accordingly may be evaluated using their stated scale.
What should I do if a component does not fit?
Do not apply excessive force or alter the component on the spot. Check the part number, orientation, assembly side, previous steps, foundation geometry and document revision used. Record the situation with overview and detail photographs and the relevant item numbers.
How do I report a missing or damaged part?
Keep the order number, product designation, package marking, part number and required quantity ready. For damage, add clear photographs of the packaging and component. A precise report allows better identification than a general description such as “a profile is missing”.
Are product photographs suitable as assembly instructions?
No. Photographs can show design or an assembly stage, but cannot reliably reveal concealed connections, exact dimensions or intermediate steps. The product shown may also have a different size, option or version.
Can several installers work from different printouts?
Only if all printouts demonstrably have the same approved revision. Otherwise, conflicting work steps may result. Appoint a document controller and replace outdated copies completely.
Which documents should remain with the product after installation?
Keep at least clear product identification, final assembly and maintenance documents, accessory documentation, relevant order evidence and records of special construction details. Store documents somewhere dry, accessible and backed up digitally.
Does the assembly instruction replace site-specific professional planning?
No. A product instruction does not automatically account for ground conditions, local wind and snow conditions, property boundaries, existing buildings, services or municipal requirements. Where professional, municipal or technical assessment is required, it must be undertaken for the specific site.
Final documentation checklist
- Product, size, version and options match the order.
- The current assembly instruction has been read in full.
- Drawings and supplementary sheets demonstrably belong to the delivered product.
- Foundation and site requirements were checked before work began.
- Packages and individual parts were checked and discrepancies recorded.
- All assembly teams use the same document revision.
- Dimensions are taken from stated measurements, not unchecked screen displays.
- Unclear fits are checked, not solved with force or improvised changes.
- Care, maintenance and accessory documents are included in the handover file.
- Digital originals, work records and useful photographs remain permanently accessible.
Well-managed documentation reduces misunderstandings, makes decisions traceable and supports the product throughout its lifecycle, from ordering and assembly to maintenance.
