



Electrical preparation for a motorised pergola: louvres, controls and lighting
Plan a motorised pergola’s electrics as part of the whole site. This guide covers the details needed before cabling, coordination of supply and control lines, and considerations for lighting, commissioning and later additions.

A motorised pergola’s structure, foundations, drainage and electrical equipment form one planning system. Deciding cable routes after installation often leaves visible cables, needless holes or inaccessible connection points. Early coordination between the owner, pergola installer and electrician reduces these risks.
This guide outlines planning steps but does not replace model-specific technical documents or work and inspection by a qualified electrician. Connection data, protective measures and local requirements need project-specific confirmation.
Which parts of a motorised pergola need electricity?
The louvred-roof drive is the main load. A controller, receiver, power supply, wall switch, integrated lights or optional sensors may also need power, depending on the system. Remote controls usually operate separately from fixed wiring but require a compatible receiver at the pergola.
Not every bioclimatic pergola uses the same electrical design. Its motor may run from mains power, a separate power supply or a manufacturer-specific control unit. Appearance alone therefore cannot establish the voltage, cable type or connection method.
- Louvre drive: moves the roof louvres and needs a clearly assigned power supply.
- Controls: process signals from switches, remote controls or compatible sensors.
- Lighting: may be integrated, surface-mounted or installed independently of the pergola.
- Optional equipment: for example sensors or later side solutions with electrical components.
Information that must be settled before electrical first-fix work
Before chasing walls, drilling or laying underground cables, the exact pergola model must be chosen. Guides to choosing between a bioclimatic and classic pergola, to wall-mounted or freestanding installation and to pergola sizing help establish the construction parameters first.
| Required information | Why it matters |
|---|---|
| Exact model and configuration | Determines the motor, controls, possible lights and intended connection positions. |
| Orientation and post positions | Establish where cables can emerge without obstructing foundations or drainage. |
| Motor and control side | Prevents the supply cable being prepared at the wrong end. |
| Manufacturer electrical documents | Contain the binding connection and compatibility details. |
| Preferred control locations | Affects cable routes for switches, controls and any additional switching points. |
| Lighting and extension plans | Allows sensible provision without fitting unused equipment. |
The planned pergola range and its current installation instructions must also be identified without ambiguity. Product images or general sketches are not enough for first-fix work.

Plan the pergola and electrical work as one site system
The cable plan should share the dimensioned site drawing used for foundations and installation, showing together the building connection, pergola axes, posts, foundation blocks, terrace build-up, drainage, cable routes and exits. The guide to pergola foundations explains why the substructure must be clarified before installation.
Cables must neither obstruct fixing zones nor emerge uncontrolled where water drains from the roof system. A conduit should not end where it can be crushed while setting a post or struck by fixings. For existing terraces, include build-up height, waterproofing and any movement joints.
Before building work, check which local requirements apply. In Malta, ask a perit to assess Planning Authority classification, site designation, footprint, height, enclosure and existing permit conditions. Planning requirements for pergolas in Malta need a site-specific check; a domestic garden or removable kit alone does not establish permission.
Electrical cable routes for freestanding and wall-mounted pergolas
Freestanding pergola
For a freestanding structure, the supply often runs underground to a preselected post. An electrical professional should specify its route, depth, mechanical protection, cable type and entry for the site. Conduit helps only if its size, bends, sealing and endpoint suit the cable.
The cable exit must match the installation drawing exactly. A generously estimated point within the foundation area may later sit directly beneath a base plate or outside the post profile. The page for the freestanding Bloomcabin pergola offers guidance on this construction type.
Wall-mounted pergola
For a wall-mounted pergola the supply can come from the building. Even so, the shortest cable route is not automatically the best. Insulation, façade build-up, waterproofing, load-bearing elements and wall-fixing positions all need consideration. Wall penetrations must be professionally sealed against moisture.
Before routing cables, establish which side contains the motor or controls. The specific wall-mounted pergola version is decisive. Do not place a cable solely from a perspective product image.
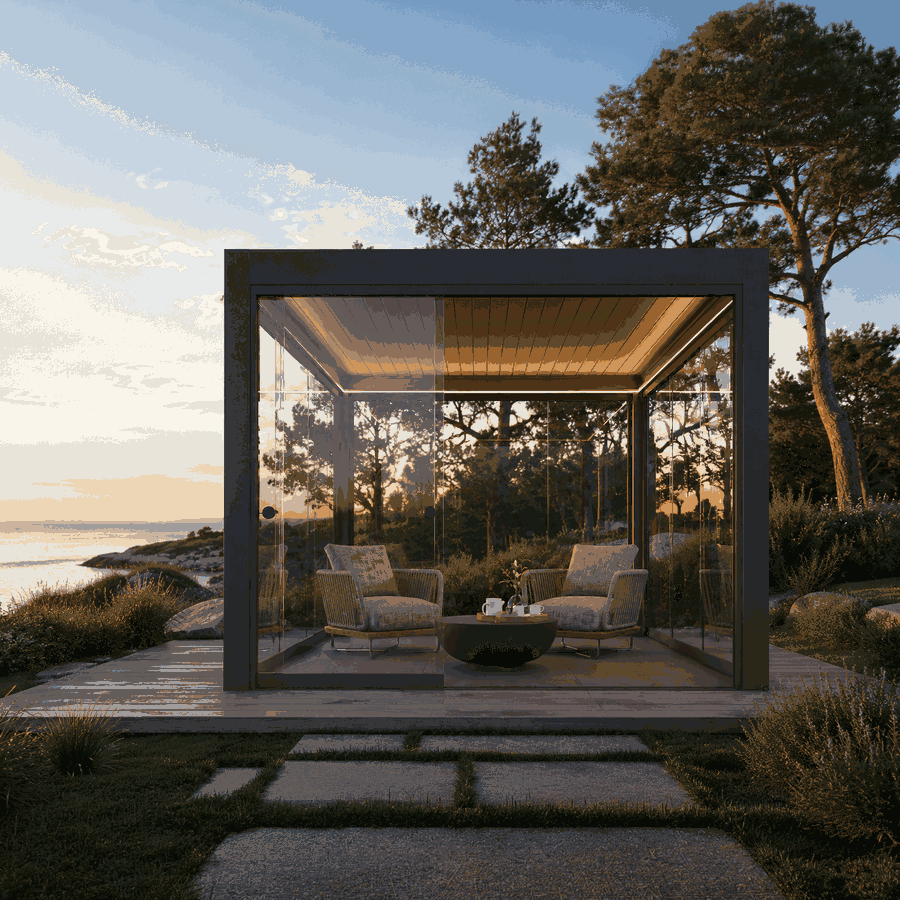
Plan the power supply and circuit
The electrician assesses connected load, cable length, installation method, environment, protection and the distribution board. These determine cable cross-section, protective devices, residual-current protection and whether a dedicated circuit is advisable or required. Generic values cannot account for variations in models, accessories and building installations.
Motor and lighting may technically share a supply or be supplied separately where product documentation and professional design permit it. Separate circuits or independently switched feeds can simplify fault-finding: a lighting fault need not put the roof drive out of service. However, do not create an unnecessarily complex installation without a clear benefit.
An outdoor socket does not prove the supply is suitable. Check its condition, protective measures, load and circuit assignment. Temporary extension leads cannot replace a properly planned permanent outdoor installation.
Keep mains and control cables properly separate
Cables carrying different voltages or signals must not be routed or joined indiscriminately. The system and applicable rules determine separation, spacing, enclosures and cable types. Improvised joins between proprietary motor cables and building wiring are especially risky.
Label each cable clearly and permanently at both ends. Also photograph open runs and record reference points on a plan. Do not leave several conduits ending at posts without labels. A draw wire helps later work but does not prove a route is usable.
Positioning the louvre motor and controls
Keep the motor, junction box and control unit accessible but not exposed or permanently visible. Maintenance access means a professional can reach them without needlessly dismantling structural parts, roof louvres or fixed cladding; it does not require tool-free exposure.
Controls should be installed only in a position and environment approved by the manufacturer. Consider water paths, condensation, direct weather exposure and heat build-up. For a motorised Bloomcabin pergola the model-specific documents take precedence over general installation habits.
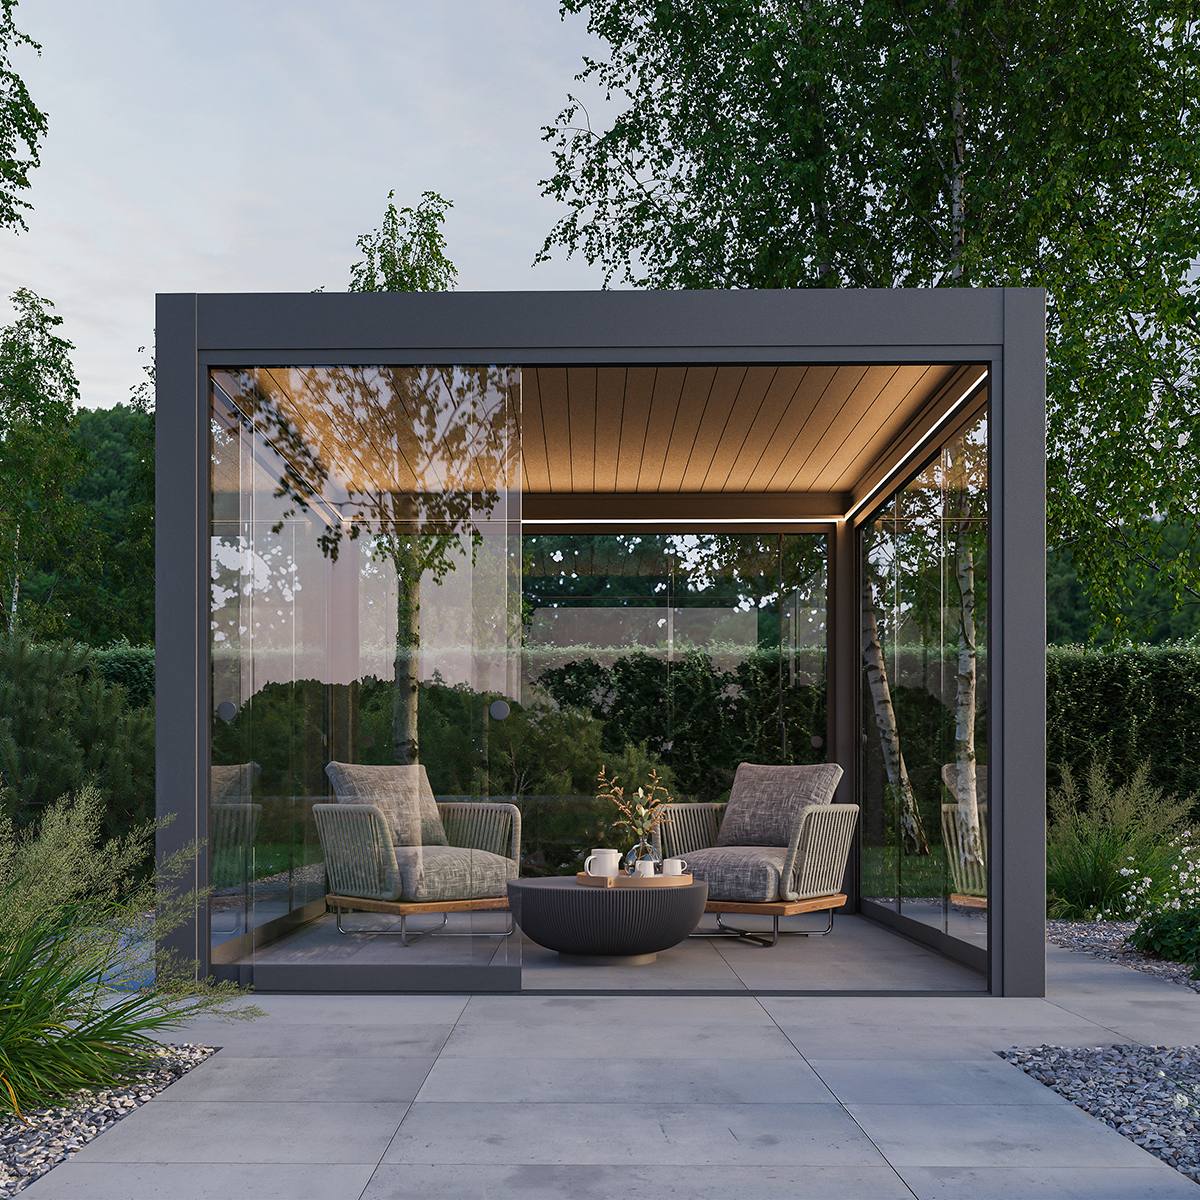
Plan pergola lighting
Lighting belongs in both the electrical and visual design. It should serve seats and walkways without glare or distracting reflections on glazing. Different use concepts appear in ideas for pergolas on terraces and in gardens.
Integrated lights must be designed for, or expressly compatible with, the pergola system. Drilling profiles can disrupt drainage, finishes and cable channels. Added surface lights also need suitable fixings and an outdoor-rated supply.
Questions before choosing a lighting layout
- Should the lighting primarily illuminate a table, walkways or the whole roof area?
- Is one common switch needed, or several lighting zones?
- Where might reflections occur on windows or future glass walls?
- Where can power supplies or control components remain accessible?
- Should operation use wall switches, compatible remote control or existing building controls?
- Can the lighting still be controlled independently when the louvre drive is switched off?
Anyone weighing a fixed roof against a moving one should also consider the guidance on bioclimatic louvred roofs and glass roofs ; roof type and lighting design influence one another.
Prepare for later equipment without oversizing
Useful provision may be an accessible conduit, a recorded cable route or space in a suitable connection area. Do not pre-connect unknown future loads: accessories may require different voltages, control protocols or connection points.
Planned glass walls need particular attention. The guide to sliding and fixed glazing for pergolas shows the construction differences. Cable exits, switches and maintenance openings must not lie in future running tracks or fixing zones.
Recommended installation sequence
- Define use and pergola type: determine size, installation type, roof function, lighting and possible later side walls.
- Survey the site: record the building, levels, terrace build-up, foundations, drainage and existing services.
- Check product documentation: confirm motor side, connection data, control components and intended cable entries.
- Prepare a trades plan: the pergola installer, foundation contractor and electrical professional use the same dimensions and reference points.
- Prepare cable routes: form routes and penetrations professionally, mark them and photograph them before closing.
- Complete foundations and surfaces: protect cable ends and compare their positions again with the installation drawing.
- Install the pergola: route cables only through intended areas; do not drill profiles spontaneously.
- Make electrical connections: the electrical professional performs testing, connection and documentation for the specific system.
- Commission the functions: check motor movement, operation, lighting and isolation options.
For general product selection, consult the practical guide to aluminium pergolas and the overview of Bloomcabin pergolas .

Checklist for delivery day and installation preparation
- Delivered model, configuration and documentation match the plan.
- Components are stored dry, securely and without blocking the work area.
- Post side and motor side are marked on the site plan.
- Foundations and fixing surfaces are ready and checked for installation.
- Cable exits lie within the intended connection area.
- Cable ends are protected, isolated and clearly labelled.
- Connection and control components are completely identified.
- The electrical professional knows the planned date for testing and final connection.
- Drilling, installation and maintenance areas remain freely accessible.
If there is uncertainty, use the Bloomcabin page to get in touch before installation. Resolving a discrepancy early costs less than relocating work later.
Commission motor, controls and lighting
Before the first motor run, remove tools, packaging and fixings from the louvres’ movement area. Complete electrical testing first, then move the roof gradually while checking for smooth travel, correct end positions and unusual noise.
Pair remote and wall controls according to their instructions, then test each command. Test lighting zones, dimming and switch-off behaviour only if provided. Activate sensors only after confirming their position, assignment and response.
If the drive jerks, sounds unusual or runs in an unexpected direction, do not continue operating it repeatedly. Isolate the supply and have the installation, wiring and settings checked professionally.
Maintenance and troubleshooting
Visually inspect electrical parts after building work, severe weather or terrace alterations. Look for damage, loose covers, moisture and crushed cables. Keep aluminium profiles and drainage routes clean; general guidance appears on the page about caring for aluminium structures.
For a fault, first identify whether it affects the motor, lights or whole system. Then check the control, visible isolation state and obvious obstructions. Unqualified people must not open electrical enclosures. Seasonal and weather guidance appears in the article using a pergola in winter.
Coordinate the pergola with other Bloomcabin structures
Where several garden structures stand on the same property, prepare one shared layout and service plan. This can include a pergola, greenhouse or conservatory, garden shed and outdoor sauna. Shared cable routes can make planning sense, but do not mean all consumers may use the same circuit.
A sauna, for example the Elma S outdoor sauna, has different use and electrical requirements from a louvre drive. Plan each structure according to its own documentation. Information about the company and product range is available under About Bloomcabin and in the Useful information section.
Frequently asked questions
Can an electrician prepare the supply before the pergola is delivered?
Yes, with approved documents for the exact model and confirmed motor side, connection point and electrical data. Otherwise, bring the cable only to an accessible handover point.
Can an existing outdoor socket be used?
Only after professional assessment of the socket, supply cable, protection, existing load and suitability for permanent use. Proximity to the pergola is insufficient.
Does every louvred pergola use the same motor voltage?
No. Motor, power-supply and control concepts differ. Only the documentation and markings for the delivered system are authoritative.
Should the motor and lighting be on one circuit?
It depends on connection data, controls and the local installation. Separation may aid operation and fault-finding, but an electrical professional must decide for the project.
Can a cable be concealed in a pergola post?
Only where the specific system provides a suitable cable route. Drainage, fixings, sharp edges and maintenance access must not be affected. Avoid unplanned drilling of profiles.
Can lighting be added later?
Retrofitting may be possible and is easier with an accessible prepared cable route. Lights and fixings must suit the pergola, outdoor conditions and electrical installation.
Where should a wall switch be fitted?
At an accessible, suitable location from which roof movement can be observed where possible. Consider weather exposure, building use, child access and later glazing when selecting the position.
Can the pergola be operated when it is out of sight?
Unobserved movement can mean that people or obstacles are missed. Follow the intended operating method and all manufacturer safety information. Remote operation does not automatically make every operating position suitable.
What changes if glass walls are added later?
Tracks, fixing zones, switch access and reflections may change. Cables and junction boxes must not obstruct the glazing, so include the extension in the site plan from the outset.
Who may make the final electrical connection?
A suitably qualified professional must handle fixed connection and testing. In Malta, use a REWS-authorised provider with the proper scope for fixed outdoor wiring, and confirm required testing and certification.
Which documents should be retained?
Keep installation and electrical instructions, model designation, circuit or cable plan, test records, photos of concealed routes, labels and later-change records, all clearly assigned to the installation.
What should happen if documentation and first-fix work do not match?
Stop installation or connection at that point. Clarify discrepancies with the supplier, installer and electrical professional. Do not make a cable fit using improvised extensions or untested adapters.
Final planning checklist
- Exact pergola model and orientation are fixed.
- Motor, control and lighting data are available in writing.
- Foundations, drainage and cable routes are coordinated in one plan.
- The supply cable ends at the confirmed connection point.
- Mains, control and signal cables are correctly assigned.
- Maintenance access remains available after installation.
- Later glass walls or electrical extensions have been considered.
- All cables and switching points are documented and labelled.
- Final connection, testing and commissioning are arranged with an electrical professional.
Good electrical preparation is largely invisible after installation. Its value lies in reliable operation, clear maintenance routes and systematic fault tracing. More technical and design topics are available in the Bloomcabin blog and the useful information section.
