



Useful information · PREPARATION
DIY Assembly Preparation Checklist
A practical pre-assembly checklist for Bloomcabin greenhouses, pergolas and other outdoor structures. Learn what to confirm before ordering, how to prepare the site, receive and inventory components, organize the installation sequence and complete final checks.
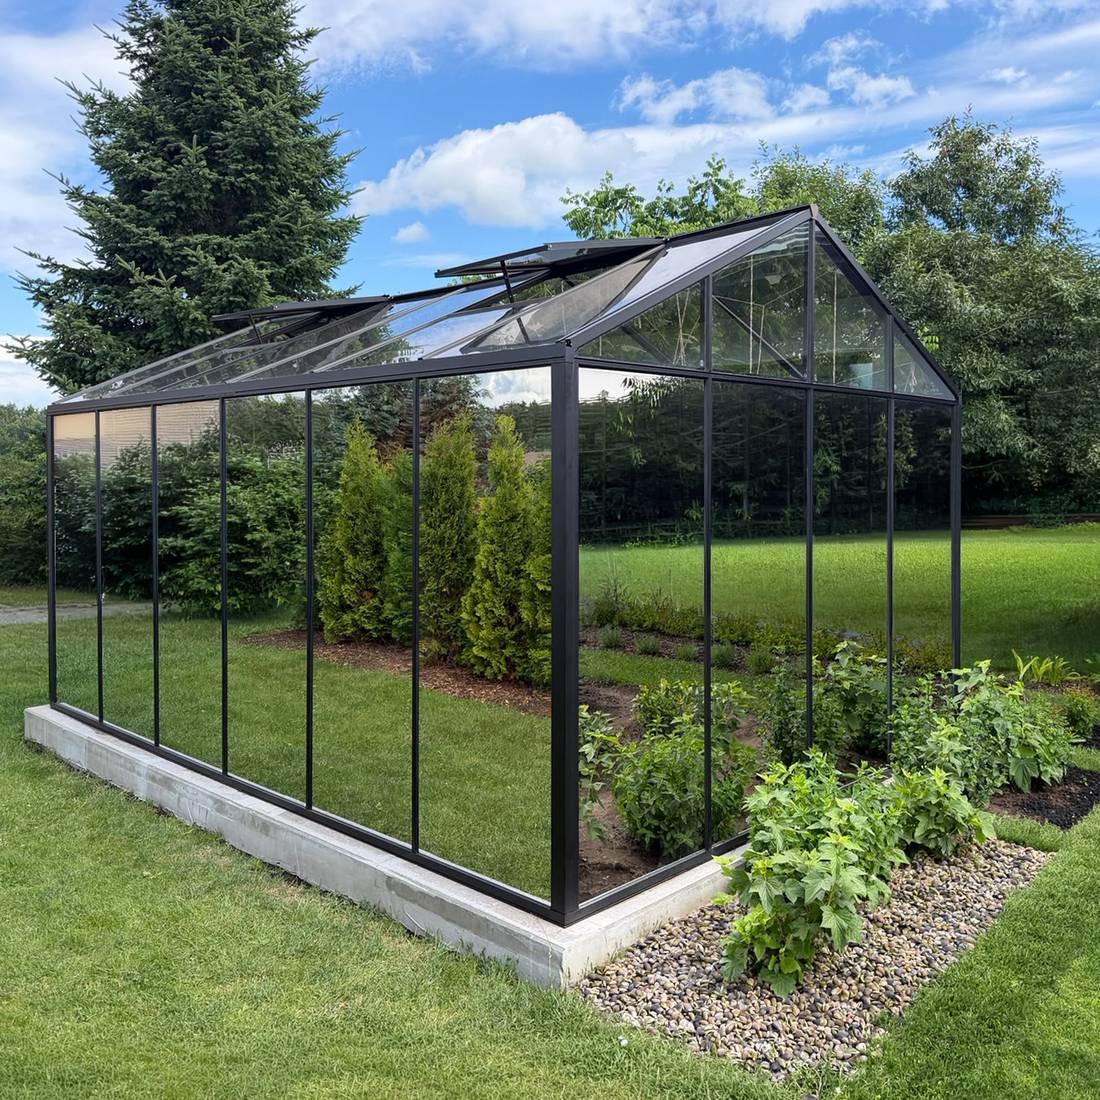
Successful DIY assembly begins well before the first frame component is lifted into position. Product selection, site access, foundation readiness, delivery planning, parts organization and weather conditions can all affect how smoothly an installation proceeds. This checklist helps you prepare for a Bloomcabin greenhouse, pergola or comparable outdoor structure without replacing the product-specific assembly instructions.
Always treat the documentation supplied with your exact product as the controlling assembly guide. Product families may look similar while using different components, attachment details or installation sequences. Do not substitute measurements, hardware or instructions from another model.
DIY assembly preparation at a glance
| Stage | What to confirm | Ready when |
|---|---|---|
| Product selection | The model, configuration and intended location are compatible | You have reviewed the exact product information and order details |
| Site planning | Available space, access, orientation and nearby obstacles | The footprint and working area are clear |
| Foundation | Required foundation type, dimensions, level and anchoring approach | The completed base matches the product documentation |
| Delivery | Vehicle access, unloading plan and protected storage area | People and equipment are available to receive the shipment |
| Inventory | Packages, profiles, panels, fasteners and accessories | Components have been checked against the supplied documents |
| Tools and team | Required tools, protective equipment and sufficient helpers | Everything is on-site before assembly starts |
| Weather | Wind, rain, heat, cold and available daylight | Conditions are suitable for safely handling the components |
| Assembly | Manual sequence, component identification and temporary support | The team understands the next stage before beginning it |
| Final inspection | Fasteners, doors, vents, panels, seals, anchoring and drainage | All checks required by the product instructions are complete |
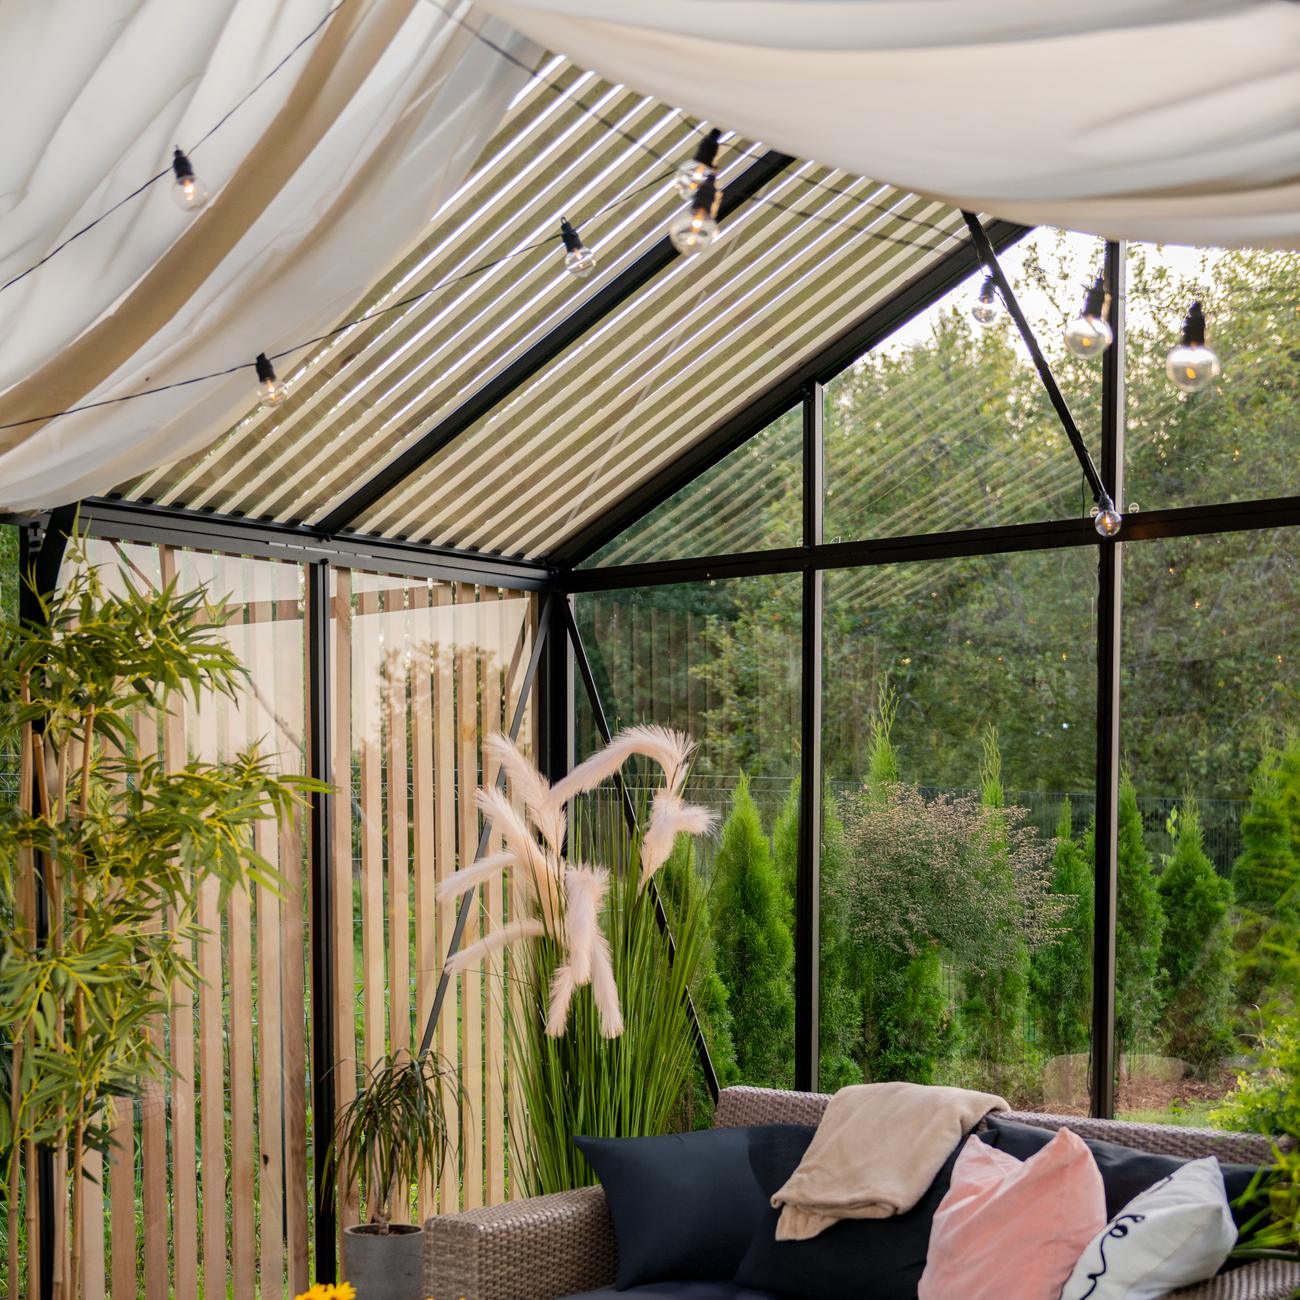
1. Confirm the product before planning the installation
Start with the exact model and configuration on your order. A freestanding greenhouse, wall-mounted greenhouse and pergola do not have identical site requirements. Even products in the same category can differ in shape, entrance position, foundation interface and assembly sequence.
Examples include the Classic aluminum greenhouse, Classic Plus 385, Bloomcabin Orangerie, Garden View T greenhouse and Bloomcabin Classic Premium greenhouse. Compare the actual product information rather than assuming that one greenhouse checklist supplies model-specific dimensions.
Wall-connected structures require another layer of planning. Review the intended supporting wall, connection area, roofline, openings and drainage path before choosing a lean-to aluminum greenhouse or mini wall greenhouse. The wall must be evaluated for the proposed attachment method. Do not assume that siding, trim or another surface layer is an appropriate structural attachment point.
Pergola planning also depends on the selected format. Compare the standard Bloomcabin pergola with the bioclimatic aluminum pergola. The practical guides to choosing an aluminum pergola and understanding a bioclimatic pergola can help clarify the planning questions before assembly.
2. Review documents, responsibilities and local requirements
- Read the complete assembly documentation. Review it once for the overall sequence and again while identifying components, tools and decision points.
- Confirm what is included. Separate included parts from foundation materials, tools, access equipment and other items that may need to be obtained locally.
- Check your order. Verify the model, finish, configuration and ordered accessories. The how to order information explains the ordering process.
- Understand delivery terms. Review the applicable purchase and delivery information before arranging labor or equipment.
- Review policies in advance. Keep the Return and Cancellation Policy and warranty information available.
- Investigate local requirements. The property owner is responsible for determining whether approvals, permits, setbacks, utility clearances, inspections or association rules apply.
Do not schedule foundation work from a website photograph or a footprint estimated from a product name. Use the current documents for the exact ordered structure. If information appears inconsistent, pause and ask Bloomcabin customer service for clarification before altering components or pouring a permanent base.
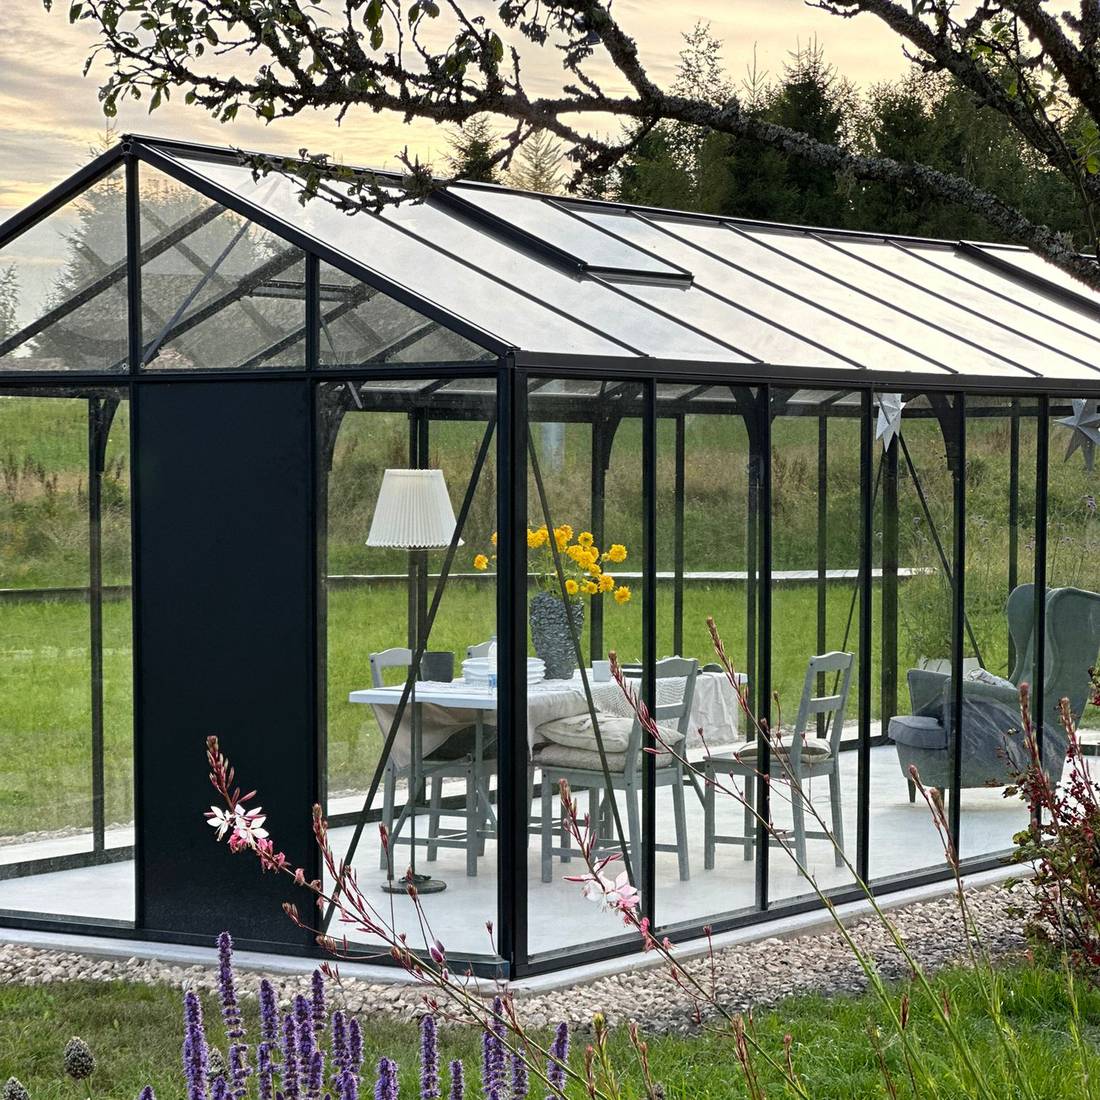
3. Evaluate the installation site
Mark the proposed footprint and a separate working zone around it. Walk through the route from the unloading point to the foundation. Look for gates, steps, slopes, low branches, roof overhangs, narrow turns and soft ground. Long profiles and large panels need more maneuvering space than their final installed footprint suggests.
Site checklist
- The footprint fits entirely within the planned area.
- Doors, vents and other moving elements will have room to operate.
- The site can be reached without dragging components across damaging surfaces.
- Nearby trees, fences, walls and roof edges will not obstruct assembly.
- Surface water can move away without being trapped against the structure.
- Buried and overhead services have been considered before excavation or anchoring.
- There is a clean, protected area for unpacking and sorting parts.
- Ladders or access equipment can stand on stable ground where needed.
- The structure will not block a required path, doorway, window or service access point.
For a growing structure, consider sunlight, shade, prevailing exposure, access to water and the practical route for soil, containers and plants. The greenhouse setup, layout and care guide helps with interior planning after construction, but thinking about that layout before assembly can prevent an inconvenient entrance or pathway arrangement.
If glass walls or enclosure elements are planned for a pergola, include them in the original site evaluation. Read the sliding and fixed glass wall guide before finalizing circulation and ventilation plans.
4. Prepare the foundation correctly
The foundation is not merely a place to set the product. It establishes the level, alignment and support on which later assembly depends. A base that is out of level, out of square or inconsistent with the product requirements can create problems with frame alignment, panel fit and door operation.
- Obtain the foundation requirements for the exact model and configuration.
- Mark the footprint using verified dimensions.
- Check the diagonals or other specified layout controls before construction.
- Prepare the ground and foundation using an appropriate method for the site and product.
- Allow required materials to become ready for loading before placing the structure on them.
- Recheck level, square, overall dimensions and elevation.
- Keep the completed base protected and unobstructed until assembly.
Pergola owners should use the dedicated pergola foundation and patio preparation guide. An existing patio should not automatically be assumed suitable for attachment. Its condition, construction and relationship to the specified anchoring arrangement must be assessed.
Adjacent projects can affect access and drainage. For example, if you are also considering a platform such as the Terrava wooden backyard deck, plan the order of work so the deck does not conceal required foundation areas or prevent installers from reaching connection points.
5. Assemble the tools, team and safety equipment
Create the tool list directly from the supplied instructions. Do not rely on a generic online list alone. Typical preparation may include measuring and marking tools, compatible hand tools, approved drilling or fastening tools where instructed, stable access equipment, protective gloves and eye protection. The exact requirements are controlled by the product documentation and site conditions.
Assign roles before work starts. One person can read the instructions and identify parts while others position and secure components. Agree on simple commands for lifting, stopping and lowering. Nobody should continue tightening or moving a component when another team member calls for a stop.
Do not attempt to save time by handling large, long or fragile components without enough assistance. If the team cannot control a part safely, stop and arrange additional help or appropriate handling equipment.
Prepare several containers for fasteners and small fittings. Label them by package or assembly stage rather than combining everything. Keep protective blankets or clean supports available so finished profiles and panels are not placed directly on rough ground.
6. Plan delivery, unloading and protected storage
Before delivery, confirm the delivery address, site contact and practical vehicle access. Decide where packages can be unloaded without blocking traffic or leaving them in standing water. The unloading area should also allow packages to be moved to protected storage without unnecessary handling.
Receiving checklist
- Have the order information and package documentation available.
- Inspect the shipment externally before moving or opening packages.
- Record visible package damage according to the applicable delivery procedure.
- Count packages and compare identifying information with the documents provided.
- Move components using methods suitable for their weight, length and fragility.
- Store packages on stable supports in a dry, protected and secure location.
- Prevent profiles from bending and panels from being scratched or struck.
- Keep labels attached until the inventory and assembly stages are complete.
Do not discard packaging immediately. It can help protect components during sorting and may contain labels needed to identify a part. It may also be needed if an issue must be documented. Consult Bloomcabin before disposing of packaging related to a questionable or damaged item.
7. Inventory and organize every component
Inventory the shipment while there is still time to resolve questions before installation day. Open packages carefully and in a controlled order. Compare component identifiers and quantities with the supplied list. Photograph labels and the organized contents for your own installation record, but do not use photographs as a substitute for the official part descriptions.
Create separate zones for base parts, wall framing, roof framing, doors, vents, panels, trim, seals, fasteners and accessories. Not every product will use all these categories. Keep similar-looking profiles separate until their identifiers are confirmed. Avoid removing protective material earlier than directed, because exposed surfaces can be damaged while other work continues.
If something appears missing, damaged or different from the documentation, stop and contact Bloomcabin customer service. Do not drill new holes, cut profiles, force panels or substitute hardware unless Bloomcabin has confirmed the appropriate resolution.
8. Use a controlled greenhouse installation sequence
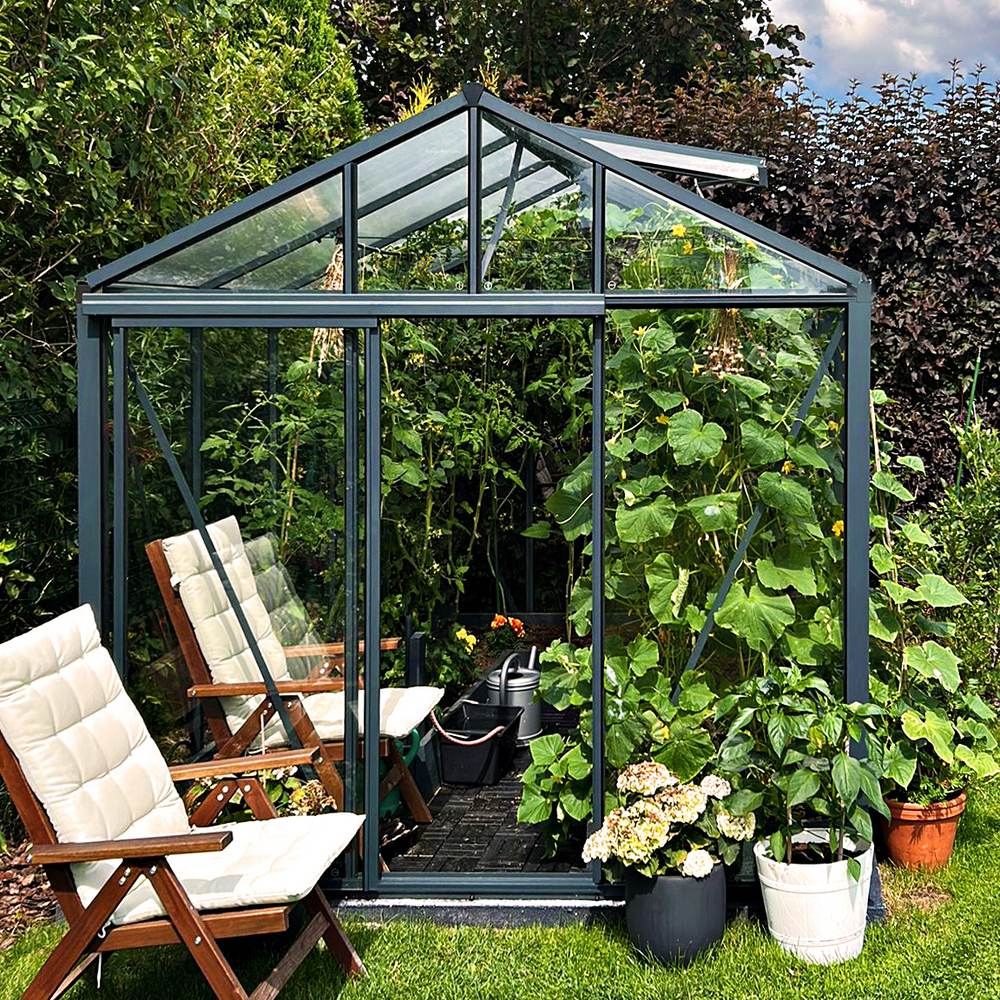
The Anna Koku Skola project should be understood as one real greenhouse installation sequence rather than a collection of unrelated demonstrations. Its practical lesson is the importance of completing work in a controlled order: prepare the site, establish the base, organize components, assemble the main frame, add the remaining structural elements, install panels and openings, and perform final alignment and operating checks.
That sequence is useful for understanding workflow, but it is not a replacement manual for every Bloomcabin model. Your greenhouse may divide stages differently or require certain fasteners to remain adjustable until later alignment. Follow the sequence specified for your exact product.
Recommended working method
- Brief the team. Review the day’s stages, lifting plan and stopping points.
- Check the foundation again. Confirm it has not been obstructed, damaged or altered.
- Lay out only the current stage. Keep later components protected and out of the work path.
- Build in the documented order. Do not skip braces, supports or alignment checks.
- Confirm orientation. Check inside, outside, left, right, top and bottom before fastening.
- Control tightening. Tighten components at the stage and to the extent directed by the instructions.
- Recheck geometry. Verify level, square, alignment and opening operation at specified stages.
- Stop in a stable condition. If work pauses, leave the assembly secured as directed and protect loose components.
9. Choose suitable assembly conditions
Wind can make long profiles and panels difficult to control, while rain can create slippery work areas and wet packaging. Excessive heat or cold can also affect workers, tools and handling conditions. Check the forecast for the entire planned work period, not only the start time.
Reschedule if the team cannot safely control the components or maintain a stable work area. Do not install large panels in unsuitable wind simply because the frame is ready. Plan enough daylight for the current stage and cleanup. Beginning a critical roof or glazing stage late in the day may leave the structure incomplete and difficult to protect.
10. Complete final checks before use
- Confirm all installation stages in the product instructions are marked complete.
- Inspect fasteners and connection points without assuming that another person checked them.
- Verify doors, vents and other moving parts open, close and align correctly.
- Check that panels, seals, caps and trim are positioned as instructed.
- Remove temporary supports only when the instructions permit.
- Clear packaging, metal fragments, offcuts and unused hardware from the site.
- Confirm drainage paths and surrounding ground remain unobstructed.
- Retain the instructions, order documents and a record of the completed installation.
After assembly, plan the interior without overloading frames or obstructing ventilation and movement. For inspiration, compare Bloomcabin’s greenhouse design choices, approach to premium quality and customer reviews. If a separate backyard room is also part of the property plan, the Verdana 1 garden house overview illustrates why each structure needs its own access, foundation and construction plan.
Common reasons to pause assembly
| Observation | Correct response |
|---|---|
| The base dimensions or diagonals do not match the documentation | Stop and correct or clarify the foundation before framing |
| A component identifier cannot be confirmed | Set it aside and compare it with the parts list |
| Holes do not align without force | Recheck orientation, sequence, level and frame alignment |
| A package or part is visibly damaged | Document it and contact Bloomcabin before installation |
| The wind increases during panel handling | Stop, secure the work area and resume in suitable conditions |
| A wall or patio attachment point appears unsuitable | Obtain an appropriate site assessment before proceeding |
| The instructions and delivered configuration appear inconsistent | Pause and request clarification instead of modifying parts |
DIY assembly preparation FAQ
Can I prepare the foundation before placing my order?
A permanent foundation should be based on the confirmed requirements for the exact ordered model and configuration. Product photographs and general category descriptions are not foundation drawings. Early site clearing may be practical, but avoid irreversible work until you have verified the applicable information.
Can I assemble a Bloomcabin structure alone?
Do not assume so. The required team depends on the product, installation stage, components and site. Large or long parts may need multiple people to control them safely. Use the product instructions to plan labor and obtain additional help whenever the team cannot safely lift, align or support a component.
Should I tighten every fastener immediately?
Follow the specified sequence. Some assemblies require alignment before final tightening, while other connections may need to be secured at once. Premature tightening can make later alignment harder, but leaving required connections loose can also be unsafe. The exact instructions control.
What should I do if two profiles look almost identical?
Check identifiers, hole patterns, orientation and the parts list. Keep the profiles separate until identification is certain. Never test a suspected part by forcing it into place or drilling it to match.
Can I use an existing concrete patio for a pergola?
Possibly, but suitability cannot be determined from the finished surface alone. The patio’s construction, condition, dimensions and compatibility with the required attachment method must be evaluated. Use the product documentation and pergola foundation guide before proceeding.
When should protective film or packaging be removed?
Remove it at the stage directed by the instructions. Removing protection too early can expose surfaces to scratches, while leaving material trapped in completed connections can also cause problems. Preserve identifying labels until parts have been inventoried and confirmed.
What if rain begins during installation?
Stop if conditions make handling, access equipment, electrical tools or the work surface unsafe. Secure the partially completed assembly and loose components according to the product instructions. Protect unopened materials and resume only when the work area is suitable.
Can I modify a component if it does not fit?
Not before checking the assembly sequence, orientation, foundation and frame alignment. A fit problem often indicates an earlier issue. Contact Bloomcabin before cutting, drilling, bending or substituting components, because an unauthorized change may create additional installation or product problems.
When can I begin furnishing or planting the greenhouse?
Wait until assembly, anchoring, operating checks and cleanup are complete. Then plan pathways, benches, containers and plants so they do not obstruct doors, vents, drainage or inspection access. Keep the product documentation available when attaching or positioning anything near the frame.
What records should I keep?
Retain the order confirmation, product documentation, package and part information, relevant correspondence and photographs of the completed installation. These records make future maintenance, accessory planning and customer service discussions more efficient.
