



Useful information · PREPARATION
How to Store Your Product Safely Before Installation
Protect greenhouse, pergola and outdoor structure components between delivery and installation with a controlled storage area, complete receiving records, careful package handling and an organized handoff to the installation team.
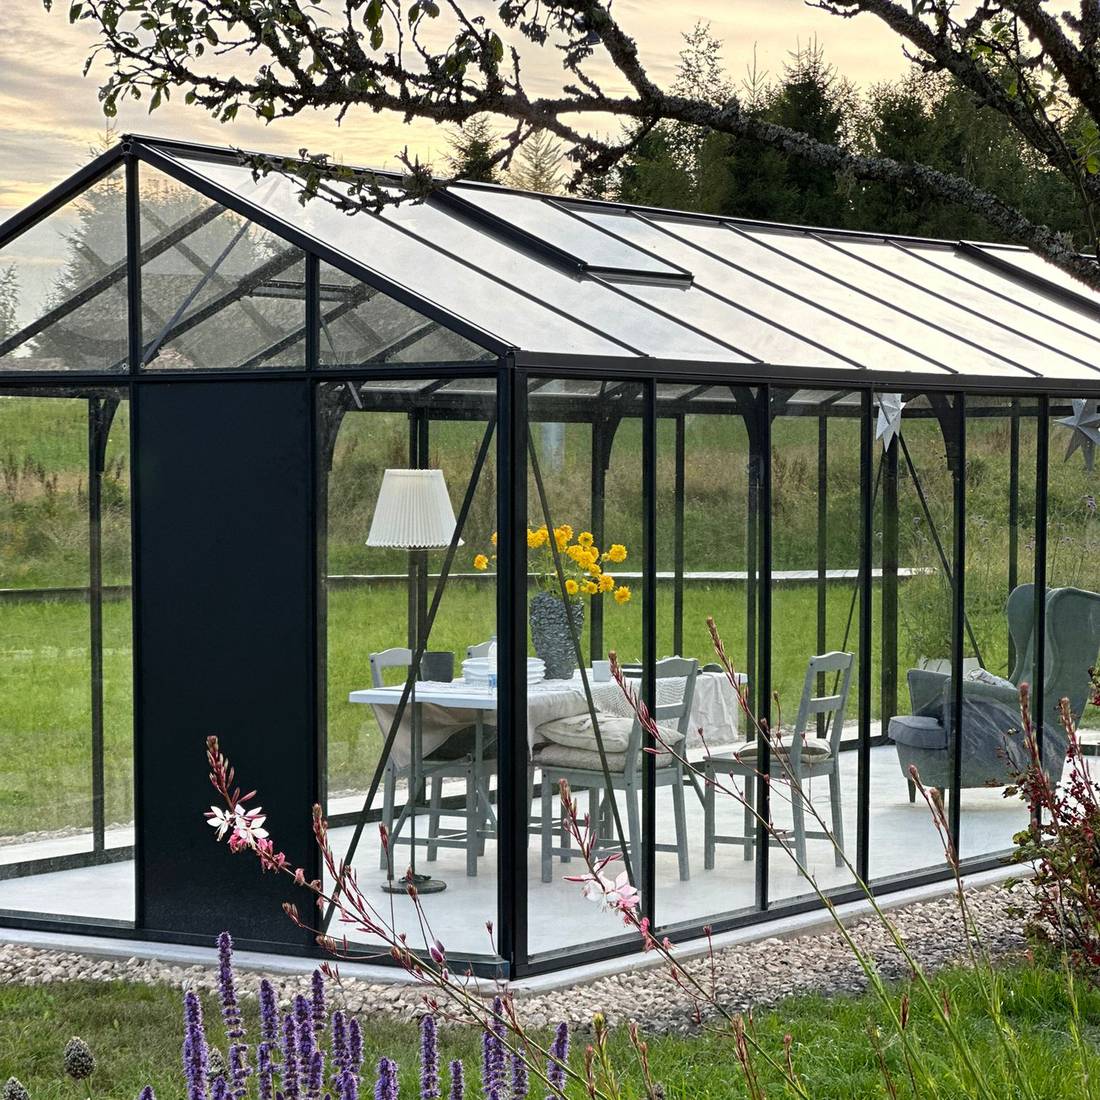
Safe storage before installation is part of a successful greenhouse, pergola or outdoor structure project. Components may arrive before the foundation is ready, before the installation crew is available or before weather conditions allow work to begin. During that interval, the goal is to keep every package dry, supported, secure, identifiable and available for inspection without creating unnecessary handling.
This guide provides a practical receiving and storage process for Bloomcabin products. It does not replace the instructions, package labels or project-specific documents supplied with your order. Always follow those materials when they specify lifting points, package orientation, environmental limits, opening procedures or other product-specific requirements.
Pre-installation storage checklist
Use this condensed checklist when planning delivery. The detailed sections below explain each task.
- Confirm the delivery area: Provide a stable, accessible location where packages can be unloaded without blocking traffic, emergency access or installation work.
- Prepare protected storage: Select a dry, secure and reasonably ventilated area before the delivery vehicle arrives.
- Keep packages supported: Do not place packages directly on soil, grass, standing water or an uneven surface.
- Follow package markings: Preserve the marked orientation and obey handling, stacking and fragile-item labels.
- Inspect promptly: Check the shipment and visible package condition as soon as it is received.
- Photograph and record: Document package labels, quantities and visible concerns before moving or opening anything unnecessarily.
- Organize by installation stage: Keep related parts together while preserving their labels and package references.
- Restrict access: Protect components from children, pets, vehicles, yard equipment and unauthorized handling.
- Monitor conditions: Recheck the storage area after storms, temperature changes or any building leak.
- Plan the handoff: Give the installation team an inventory, storage map and record of any reported concern.
1. Prepare the storage area before delivery
Do not wait until packages are being unloaded to decide where they will go. A rushed decision can result in packages being left on wet ground, moved several times or placed where they interfere with foundation work. Walk the proposed route from the delivery point to the storage location and remove obstacles in advance.
A suitable area should be stable, dry, secure and large enough to hold the shipment without forcing packages into unsafe positions. It should also allow people to read labels and retrieve packages without climbing over other components. If indoor storage is available, verify that entrances, floors and access routes are appropriate for the delivered packages. Do not assume that every package can be turned through a doorway or carried up steps.
For outdoor storage, use a firm elevated support arrangement and weather protection appropriate to the actual shipment. A cover should protect against precipitation without trapping water against packages or creating uncontrolled condensation. It must be secured so wind cannot lift it, rub it repeatedly against finished surfaces or pull packages over. Never use a package as an anchor point unless the supplied instructions explicitly permit it.
Storage-area requirements
| Condition | What to arrange | What to avoid |
|---|---|---|
| Ground and floor | A clean, firm, level and well-drained location | Soil, grass, mud, puddles and unstable supports |
| Weather protection | A dry area with secure overhead and side protection where needed | Loose covers, direct runoff and enclosed wet packages |
| Access | A clear route for appropriate handling equipment and personnel | Narrow turns, blocked doors and repeated relocation |
| Security | Controlled access and protection from accidental impact | Driveways, play areas and active construction routes |
| Organization | Visible labels and space between package groups | Unmarked piles or unrelated materials placed on top |
2. Receive and inspect the shipment promptly
Receiving is the first opportunity to establish an accurate condition record. Have the order information available and designate one person to coordinate the check. That person should compare the delivered package references with the available paperwork, photograph the shipment and note any visible irregularity according to the receiving process for the order.
Inspect packaging from all accessible sides before relocating it. Look for punctures, crushed areas, severe bending, open seams, water saturation, broken restraints or signs that a package has changed orientation. A damaged outer package does not automatically establish the condition of every component inside, but it should be documented promptly rather than ignored.
Take overview photographs showing the shipment as received, then closer photographs of labels and any visible concern. Do not remove labels or discard packaging needed to identify the shipment. Consult the applicable purchase and delivery terms and contact Bloomcabin through the appropriate order channel if something needs to be reported.
Good receiving records answer four questions: What arrived? When did it arrive? Where was it stored? What was its visible condition before additional handling?
Information to record
- Order or project reference
- Delivery date and receiving contact
- Package labels or identifying numbers
- Package count shown by the available documentation
- Visible packaging condition
- Photograph filenames or storage location
- The location assigned to each package group
- Any concern reported and the date it was reported
3. Preserve labels, orientation and package integrity
Original packaging helps organize and protect components until they are needed. Avoid opening every package merely to see what is inside. Unnecessary opening can separate hardware from its package reference, expose finished parts to dust or moisture and make it harder for installers to verify the sequence.
If a receiving check or instruction requires opening a package, use tools cautiously so blades and sharp edges do not contact the product. Photograph the arrangement before removing items. Keep small parts in their labeled bags or containers, and place any removed protective material back as directed. Do not write directly on finished components.
Never assume packages may be stacked. Follow the markings on each package and the documents supplied with the shipment. Do not place tools, masonry, lumber, landscaping supplies or other deliveries on top of Bloomcabin packages. Even lightweight objects can damage wrapping, obscure labels or create an unstable arrangement.
Do not drag packages. Use suitable handling methods and enough people for the task, based on the actual package and the instructions provided. If the available team or equipment cannot move a package safely, leave it in a protected position and arrange proper assistance rather than improvising.
4. Protect glass, aluminum, wood, seals and hardware
A shipment can contain several material types, and each benefits from careful storage. The package instructions remain controlling because the precise contents and approved orientation vary by product.
Glass and glazing packages
Glass must be treated as fragile even when no damage is visible. Keep the package in its marked orientation on a stable support, away from vehicle routes and areas where tools could fall against it. Do not change the orientation, remove restraints or lean individual panels against a wall unless the supplied handling instructions specifically direct that method. Never stand or place materials on glazing packages.
Before installation, the crew should inspect glazing in a controlled manner consistent with the installation documents. Cracked or suspect glass should not be installed or handled casually. Isolate the area and obtain appropriate guidance.
Aluminum profiles and finished components
Keep long profiles fully supported and protected from twisting, impact and abrasive contamination. Dirt trapped between finished components can mark surfaces when packages are moved. Do not set profiles directly on concrete, masonry, soil or damp vegetation. Avoid adhesive tape, markers, solvents or cleaners that have not been approved for the finish.
After installation, cleaning and routine care become part of ownership. The aluminum greenhouse maintenance guide explains the broader care approach, while the spring greenhouse guide offers seasonal planning information.
Wood components
Wood packages should remain dry, supported and protected from direct ground contact. Do not wrap damp wood into an airtight bundle or expose packages to repeated wetting and drying. Preserve spacers and packaging arrangements unless the supplied instructions call for a change. For background on a wood type used in parts of the Bloomcabin range, read What is Accoya Wood?
Wooden garden buildings may have different package and storage considerations from aluminum structures. Examples of the broader product context include the Modano 7 overview, Modano 6 overview, Modano 2 overview and Durano garden house overview. Use the documents for the product actually ordered rather than transferring assumptions from one structure to another.
Seals, fasteners and small components
Keep seals, gaskets, fasteners, brackets and other small parts in their original labeled packaging. Store them away from standing water, contaminants and uncontrolled heat sources. Do not combine similar-looking fasteners from different bags. Their appearance alone does not confirm that they serve the same purpose.
Create a dedicated small-parts box or shelf for each project, but keep every internal bag labeled. If a bag is opened for inspection, reseal it and record the package reference. This simple discipline prevents avoidable searching during installation.
5. Control moisture without trapping condensation
Weather protection is not simply a matter of wrapping everything tightly. Rain can enter through an unsecured cover, while condensation can form inside an enclosure with poor airflow. Water may also travel across a floor from a door, drain, sprinkler or plumbing leak.
Keep packages elevated from surfaces where water might collect. Arrange covers so water sheds away from the stored product rather than pooling overhead or flowing underneath. Check the area after rain, snowmelt, irrigation or a major temperature change. If packaging becomes wet, document the condition and seek product-specific guidance before opening, drying or repacking components in a way that could affect them.
Do not place packages next to fertilizers, pool chemicals, deicing products, fuel, paint, wet concrete work or other potentially corrosive or staining materials. Storage in a garage or construction area is only suitable when contamination, impact and access risks are controlled.
6. Adapt the plan to the product and project
The basic rules are consistent, but package groups and installation sequences vary. A greenhouse with an integrated storage area is not organized in exactly the same way as a wall-mounted structure or a pergola. Review the ordered configuration before allocating floor space.
Greenhouse projects may include the Classic aluminum greenhouse, Classic Plus 385, Bloomcabin Orangerie, Garden View T greenhouse or an aluminum greenhouse with built-in storage. For general product background, see the aluminum greenhouses and conservatories guide and Aluminum Greenhouse FAQ.
Wall-connected designs require coordination with the adjacent building and work area. Examples include the aluminum lean-to greenhouse, wall-mounted T-model orangery and mini wall greenhouse. Do not store packages against the wall where preparation, measurement or installation work must occur.
Pergola packages also need a planned staging area. Product options include the Bloomcabin pergola, bioclimatic aluminum pergola and lean-to pergola. Before delivery, compare the bioclimatic and standard pergola guide, wall-mounted and freestanding pergola guide and pergola foundation guide.
Additional planning information is available in How to Choose the Right Aluminum Pergola, What Is a Bioclimatic Pergola? and the winter pergola care guide. These resources help define the project, but the package labels and order documents govern storage and handling.
7. Keep foundation work separate from stored components
Packages should not occupy the exact area where excavation, concrete work, anchoring preparation or final measurements must take place. Construction activity produces dust, debris, sparks, splashes and vehicle movement. It also creates pressure to shift packages repeatedly as each trade arrives.
Complete site planning early and maintain a protected buffer between product storage and active work. Do not use packaged components as templates, workbenches, supports or temporary barriers. Foundation dimensions, attachment details and site requirements must come from the project documentation and qualified site planning, not from measurements taken from outer packaging.
If the installation date changes, reassess storage rather than simply extending the original arrangement. A location suitable for a short controlled interval may not remain suitable through a season change, a remodeling phase or repeated severe weather.

8. Organize packages by installation sequence
The best storage map supports installation without dismantling the entire stack to reach the first required components. Ask the installer which package groups are likely to be needed early, but do not break manufacturer packaging or change orientation solely for convenience.
Anna Koku Skola should be managed as one real greenhouse installation sequence rather than as unrelated deliveries. Keep its project records, frame packages, glazing packages, hardware and accessories associated with that single sequence. Record any package temporarily relocated, and return it to the sequence map. This reduces the risk of mixing its components with another greenhouse project at the same site.
- Receive: Record all delivered package references assigned to the Anna Koku Skola greenhouse installation.
- Zone: Establish separate labeled areas for structural packages, fragile packages and small-component containers without changing required orientations.
- Monitor: Check the complete sequence after weather events or other construction activity.
- Release: Provide packages to the installation team in the planned order and note each movement.
- Reconcile: Confirm that opened packages, unused parts and packaging remain linked to the same installation record.
9. Handoff checklist for the installation team
Before installation starts, walk through the storage area with the person responsible for assembly. This is the point to communicate what was received, what was opened and whether any issue has already been reported.
- Provide the order documents and current installation instructions.
- Share the package inventory and storage map.
- Identify fragile packages and required handling orientations.
- Point out any packaging concern, photograph or prior communication.
- Confirm that the foundation or prepared site is ready for the next stage.
- Clear the route between storage and the installation area.
- Remove unrelated tools, vehicles and materials from the route.
- Confirm that unopened hardware remains associated with its labeled package.
- Agree where reusable or required packaging will be placed during assembly.
- Keep children, pets and visitors outside the work and staging areas.

Common pre-installation storage mistakes
- Leaving packages on grass: Ground moisture, poor support and irrigation can affect packaging even when the weather appears dry.
- Wrapping packages while wet: A tight cover may hold moisture instead of solving the problem.
- Opening everything immediately: This can separate components from labels and expose finishes unnecessarily.
- Assuming all long packages are identical: Similar package shapes may contain parts for different installation stages.
- Moving glass repeatedly: Every unnecessary movement adds handling risk.
- Using packages as work surfaces: Tools and construction materials can puncture packaging or damage components.
- Ignoring a small roof or plumbing leak: Intermittent moisture can become a serious storage problem over time.
- Mixing projects: Hardware and profiles from separate structures should remain clearly segregated.
- Discarding labels and packaging too early: Identification and condition records may still be needed.
- Relying on memory: A written storage map is more dependable when several people access the site.
Frequently asked questions
Can I store my Bloomcabin product outdoors before installation?
Outdoor storage may be possible when the shipment is supported, protected from weather, ventilated appropriately, secured and handled according to its package labels and supplied documents. It should not be placed directly on soil, grass or an area where water collects. When suitable indoor storage is available, it may provide better control, but access and package handling must still be planned.
Should I open every package when it arrives?
No. Inspect and document the shipment as required, but avoid unnecessary opening. Preserve labels and original organization. If a package must be opened, photograph it first, keep small items identified and follow the supplied opening instructions.
How long can packages remain in storage?
There is no universal period that can be applied to every product, package or climate. Plan installation as part of the purchase and delivery process. If a delay develops, review the actual packaging, storage environment and product documents, then contact Bloomcabin when product-specific direction is needed.
Can I stack greenhouse or pergola packages?
Only if the markings and supplied handling information explicitly permit the proposed arrangement. Do not infer stacking ability from package shape. Never place unrelated construction materials on product packages.
What should I do if packaging gets wet?
Move the shipment away from the source only when that can be done safely and without violating handling instructions. Photograph the condition, prevent further exposure and obtain guidance before opening, drying or repacking the contents. Do not seal visible moisture under an airtight cover.
Can glass packages be laid flat to save space?
Do not change a glass package's marked orientation to save space. Follow its labels and handling documents. Keep it stable, protected from impacts and isolated from busy routes.
May I remove protective film before installation?
Do not remove protective materials early unless the product instructions direct you to do so. Premature removal can expose a finished surface, while leaving certain materials in place beyond the instructed stage may also be inappropriate. Follow the installation sequence for the specific component.
Where should hardware be stored?
Keep hardware dry and secure in its original labeled bags or containers. Group it by project and package reference, not merely by appearance. Avoid mixing spare-looking items from different packages.
What if the foundation is not ready when delivery arrives?
Use the prepared storage location and keep the installation area clear. Do not place packages where excavation, measuring, concrete or attachment work will occur. Consult the pergola size guide and foundation information where relevant, and use the project-specific documents for final planning.
Who should have access to the stored shipment?
Limit access to people responsible for receiving, inspection, storage or installation. Children, pets, visitors and unrelated trades should remain outside the storage zone. If multiple contractors are present, identify one person responsible for the package log.
What documents should I keep with the shipment?
Keep the order reference, delivery paperwork, package inventory, photographs, installation instructions and any correspondence about reported concerns. Store documents where they remain clean and accessible, or maintain an organized digital copy. The general Bloomcabin FAQ and Pergola FAQ can answer broader planning questions.
Final readiness check
A properly stored shipment should be dry, stable, identifiable and protected from uncontrolled access. Its labels should remain visible, its package groups should match the project inventory and its route to the installation area should be clear. Any visible concern should already be documented and communicated rather than discovered after assembly begins.
Safe storage does not require complicated systems. It requires preparation, disciplined handling and regular checks. By arranging the location before delivery, preserving package information and coordinating the handoff, you reduce avoidable damage and give the installation team a more organized starting point. Customers comparing possible structures can also review Bloomcabin's extensive product range before selecting the project for which delivery and storage must be planned.
