



Useful information · MATERIALS
How to Read Greenhouse Dimensions and Technical Drawings
A practical guide to reading greenhouse dimensions and technical drawings, checking site fit, planning the foundation and identifying questions before ordering or installation.
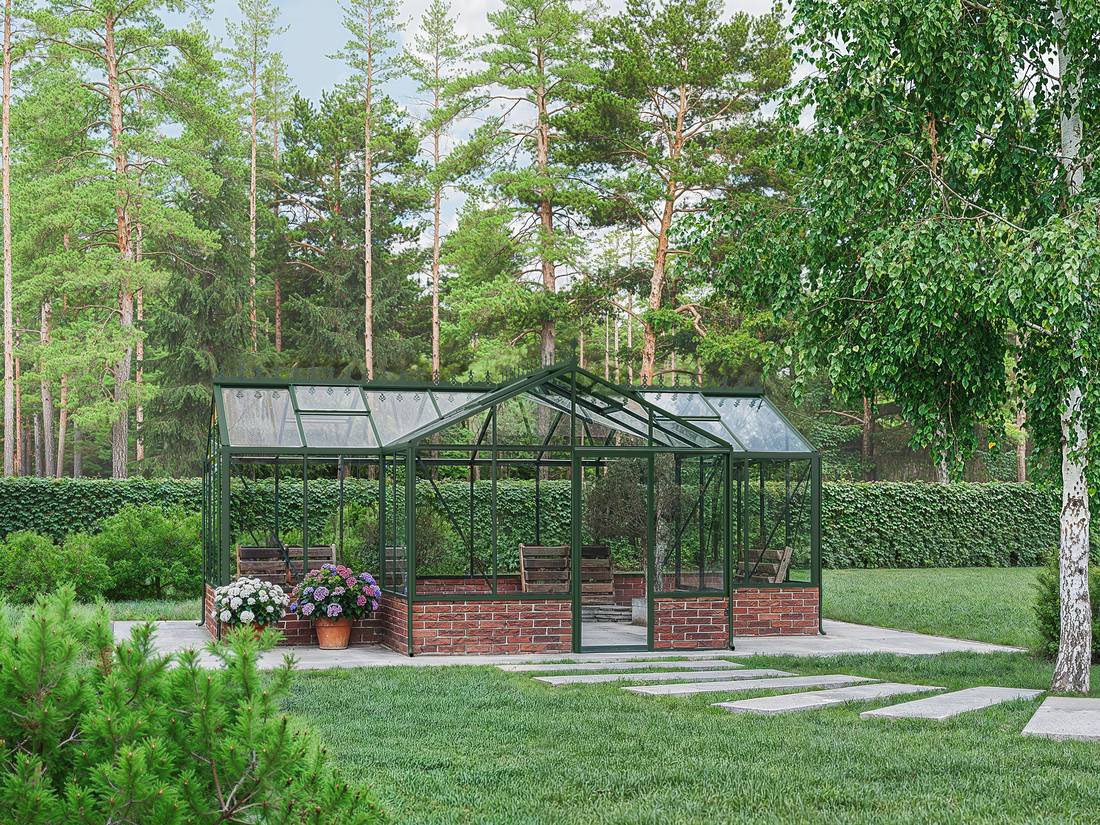
Greenhouse drawings turn a product concept into measurable information. They help you determine whether a model fits the site, how people will move through it, where the doors are located, and how the greenhouse relates to a foundation, wall, path or nearby structure. Reading those drawings correctly is therefore an important part of selecting, ordering and installing a greenhouse.
This guide explains the drawing conventions and dimensions customers most often encounter. It is intended to help with product comparison and early site planning. It does not replace the product-specific technical drawing, order confirmation, foundation information or installation manual supplied for your greenhouse. Whenever dimensions differ between a general page and the documents for your exact configuration, use the approved product-specific documents and ask Bloomcabin to clarify any uncertainty before construction begins.
Start by identifying what kind of drawing you are reading
A greenhouse document may include several views. Each view answers a different planning question, and no single view should be expected to show every measurement.
| Drawing type | What it shows | What to check |
|---|---|---|
| Floor plan | The greenhouse as viewed from above | Overall width and length, footprint shape, door position, internal circulation and relationship to a wall |
| Elevation | One exterior face viewed straight on | Eave height, ridge height, roof form, doors, vents and visible bay arrangement |
| Section | A vertical cut through the structure | Interior headroom, roof slope, height transitions and the relationship between frame and base |
| Foundation or base plan | The required support geometry below the greenhouse | Outside dimensions, diagonals, level requirements, openings and anchoring locations if specified |
| Detail drawing | An enlarged connection or limited area | Orientation, component sequence and dimensions that cannot be shown clearly on the main views |
| Assembly illustration | Parts being joined in installation order | Part references, fastener sequence, left-versus-right orientation and temporary versus final tightening |
A floor plan may show the footprint but not the maximum roof projection. An elevation may show overall height but not usable floor area. A foundation plan may refer to the support surface rather than the outside edge of the glazing. Read related views together before drawing conclusions.
Understand the basic greenhouse dimensions
Overall width and length
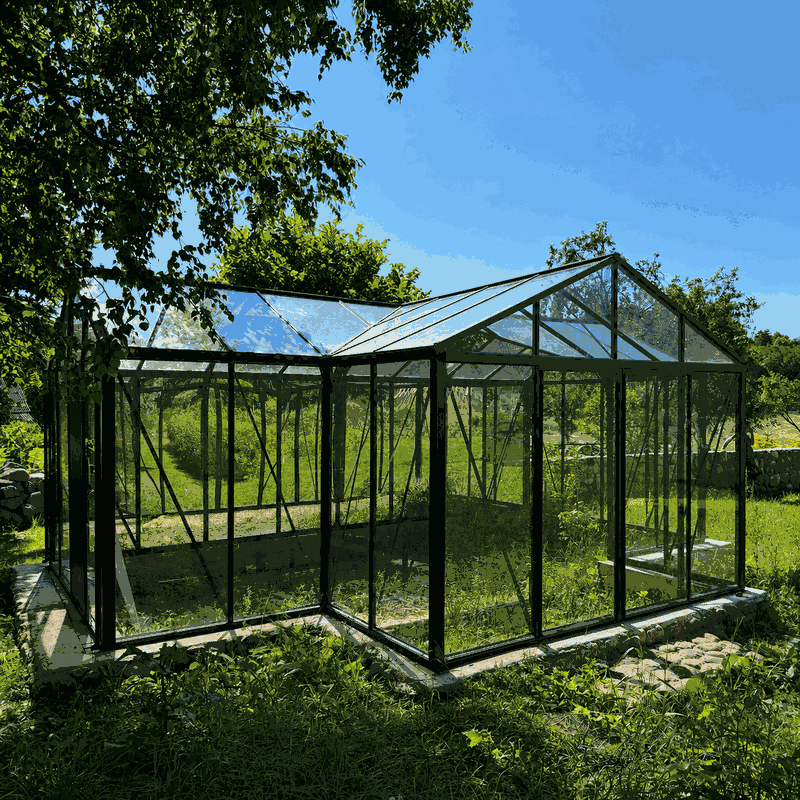
Overall width and length generally describe the principal exterior size, but the exact reference points matter. A dimension might be taken between the outside faces of the base, the frame centerlines or the furthest finished surfaces. Do not assume that a nominal model size is identical to its construction footprint.
On a rectangular freestanding greenhouse, width usually runs across the gable end and length runs along the ridge. On a lean-to greenhouse, width and projection may be used instead: width runs along the supporting wall, while projection measures outward from it. A wall-mounted T-shaped model, such as the wall-mounted T-model orangery, requires extra attention because its main body and projecting section create more than one width or depth.
Eave, ridge and overall height
The eave is the lower edge where a sloping roof meets a side wall. The ridge is the highest longitudinal line on a conventional pitched roof. Overall height normally identifies the highest point of the completed greenhouse relative to a stated datum.
Confirm where the vertical measurement begins. It may start at the top of a prepared foundation, at the bottom of the greenhouse base or at another marked reference line. A greenhouse placed on a raised wall or curb will have a different finished height above surrounding grade than the frame height alone suggests.
Height affects more than visual scale. It can influence door clearance, nearby views, roof access, tree clearance and the greenhouse’s relationship to a house. Local review may also consider finished height rather than catalog terminology. The greenhouse and pergola permit guide outlines the types of local questions owners should investigate without substituting for confirmation from the relevant authority.
Door dimensions
A drawing may distinguish among the door leaf, the frame opening and the clear passage available when the door is open. These are not automatically the same measurement. If access must accommodate a cart, planter, mobility aid or piece of equipment, request or verify the clear opening rather than relying on the apparent panel width.
Also check the opening direction and operating area. Sliding and hinged doors use space differently. A plan symbol may indicate movement, but installation and operating instructions govern the actual configuration. Keep adjacent paths level and clear, and account for handles, thresholds and nearby walls.
Bay spacing and panel divisions
Regular vertical divisions on an elevation commonly represent structural bays, glazing divisions or both. They are useful for understanding proportions, but they should not be treated as exact measurements unless dimension lines identify them. Counting visible panels and multiplying by an assumed panel width is not a reliable way to determine total size.
Learn the language of dimension lines
Technical drawings use extension lines, dimension lines, arrows and numbers to identify measured distances. The extension lines indicate the points being measured. The dimension line spans those points, while its number states the actual value.
- Overall dimensions describe the full span between the outer reference points.
- Chain dimensions divide an overall span into smaller segments.
- Centerline dimensions locate an item by its center rather than its edge.
- Reference dimensions provide information but may not control fabrication or site work.
- Levels or elevations identify vertical positions relative to a defined datum.
- Radius or diameter marks apply to curved or circular elements.
Do not add a chain of rounded or reference dimensions and expect it to equal the overall controlling dimension. If a conflict appears, stop and request clarification. Never resolve a drawing discrepancy by changing the foundation or greenhouse components without approval.
Do not measure the screen or printed page
A drawing may have been resized for a web page, email, printer or mobile display. Even when a scale is stated, reproduction can change its physical size. Use the written dimensions, not a ruler placed against the image. A scale is most useful for orientation and proportion unless you have verified that the document was printed at its intended size.
Check the units every time
Confirm whether a drawing uses inches, feet and inches, millimeters or another stated unit. Do not infer units from the size of the numbers. If you convert dimensions, retain the original value and label the converted value clearly. Avoid repeated back-and-forth conversions, which can introduce rounding differences.
Practical rule: Use one unit system consistently for site layout, foundation work and final verification. Keep the source drawing available so contractors can see the original units and reference points.
Nominal size, actual footprint and usable interior space
Three different ideas are often grouped under the word “size.” A nominal size is a convenient model description. The actual footprint is the measured area occupied at the stated base or foundation reference. Usable interior space is the area available after accounting for framing, walls, thresholds, storage, benches and circulation.
Compare products by the dimensions that matter for your site and intended use, not by name alone. A conventional Classic aluminum greenhouse has a different planning logic from a Bloomcabin Orangerie. The orangery greenhouse guide explains how shape and intended use affect selection.
More specialized footprints need additional checks. A Garden View T greenhouse includes intersecting volumes. The greenhouse with built-in storage divides the enclosure into functional areas. The Bloomcabin Oasis pyramid greenhouse should be reviewed through the dimensions appropriate to its roof and footprint rather than compared only by a conventional ridge length.
Read complex floor plans in separate zones
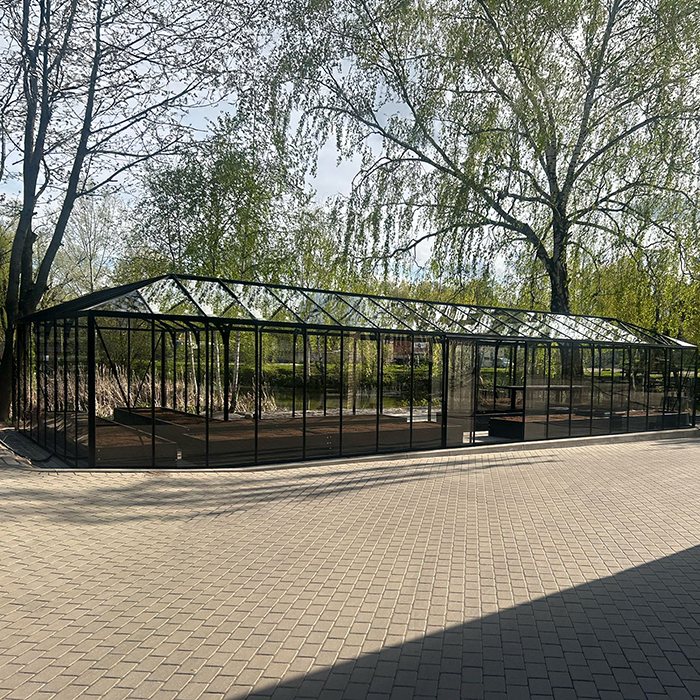
For a T-shaped, cross-gabled or storage-integrated greenhouse, break the plan into simple rectangles before reviewing the total layout. Mark the main section, projecting section, intersection and each doorway. Identify which dimensions are overall and which apply only to one wing.
- Find the principal reference edge or centerline.
- Trace the complete outside footprint without skipping recesses.
- Mark every change in direction.
- Locate doors and determine which side they serve.
- Check whether dimensions run to outside faces, centerlines or another reference.
- Compare the plan with each elevation to understand roof intersections and height changes.
- Confirm the foundation geometry from the dedicated base or foundation information.
Do not calculate a complex foundation solely from the apparent shape in a marketing image. The Bloomcabin Prestige Premium greenhouse and Classic Premium greenhouse also demonstrate why customers should compare the technical information for the selected model rather than assuming that similarly styled structures share dimensions.
Translate the drawing into a site layout
Once the controlling dimensions are understood, transfer them to the site using stakes, string or removable marking. Mark the greenhouse footprint and the surrounding working area separately. The footprint tells you where the structure sits; the working area shows whether installation, cleaning and normal use remain practical.
Check more than the four corners
- Measure the full footprint at the stated reference level.
- Check both diagonals for a rectangular layout rather than trusting individual side lengths alone.
- Confirm that the support area is level as required by the product documents.
- Mark door openings and walk the intended access route.
- Look upward for branches, roof edges and overhead obstructions.
- Review drainage direction and avoid treating the greenhouse as a solution for an unsuitable wet area.
- Allow practical access for exterior cleaning and maintenance.
- For attached models, assess the supporting wall, projections and interfaces before work begins.
The greenhouse foundation guide compares common foundation concepts. Your selected system still needs to match the product-specific requirements and site conditions. A foundation contractor should receive the relevant approved dimensions rather than a screenshot or nominal product name.
Use a full-size mock-up when space is tight
A taped or staked footprint helps reveal issues that are difficult to see on paper. Place temporary markers at eave and ridge reference points if nearby windows, fences or rooflines are a concern. Open a temporary door-sized gap and move typical equipment through it. This is especially valuable when considering a mini wall greenhouse or another compact model. The small greenhouse guide offers additional help with placement and layout decisions.
Attached and wall-mounted greenhouse drawings
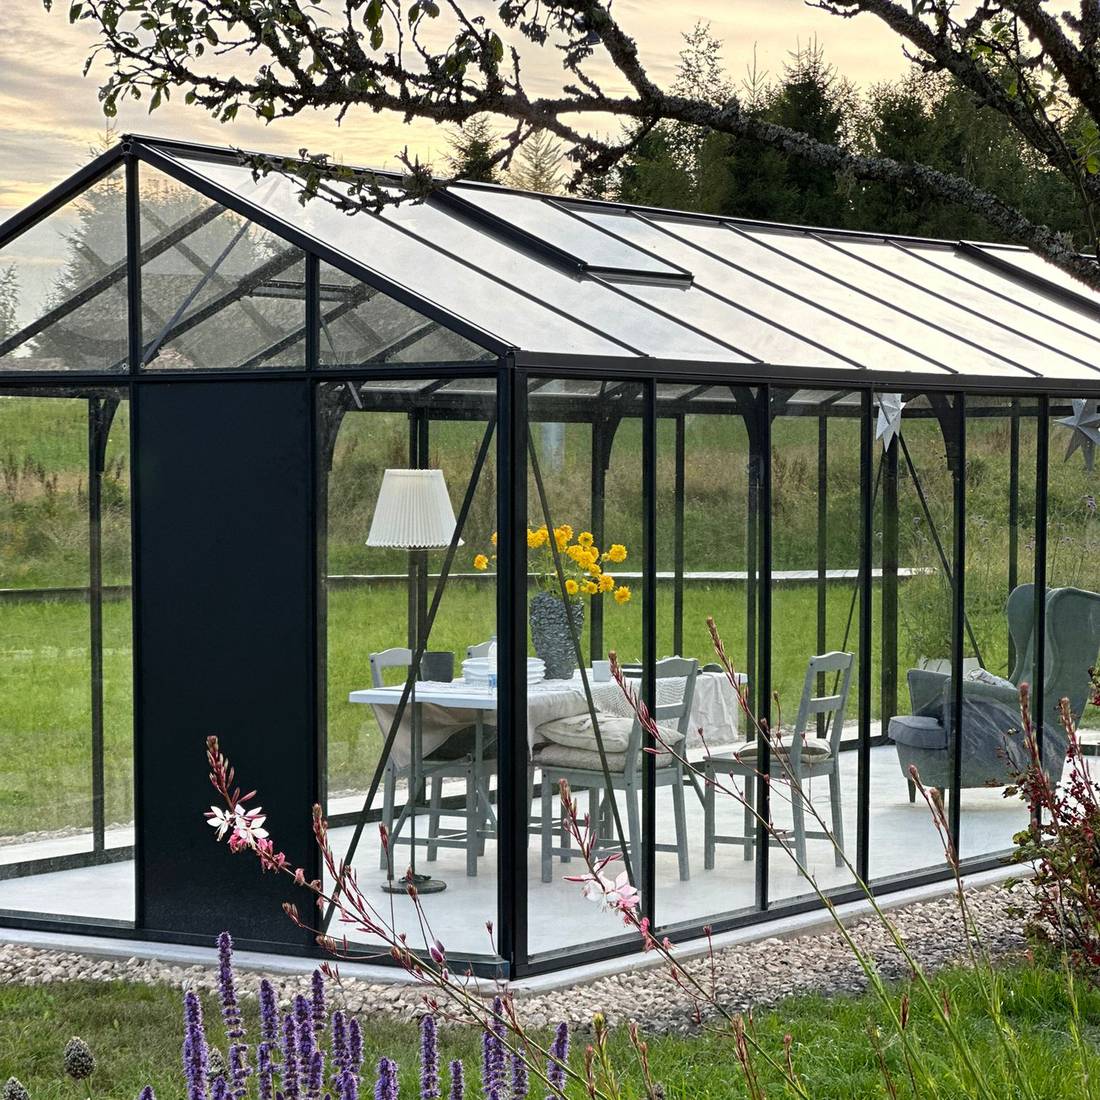
An attached greenhouse requires information about both the greenhouse and the existing building. The wall elevation may identify attachment height, roof intersection and overall width along the wall. The floor plan shows outward projection and door placement. A section helps explain the vertical relationship.
Before ordering or construction, review the wall for flatness, condition, openings, trim, eaves, downspouts and other obstructions. Do not assume an apparently vertical or level building surface is exact. Field measurements should be taken at relevant heights and locations. Any work involving the existing building, water management or utilities must be planned for the actual site and applicable requirements.
Compare the standard aluminum lean-to greenhouse with the limited-edition lean-to greenhouse by using each model’s own documentation. Similar categories do not guarantee interchangeable footprints, heights or attachment details.
Plan the interior from clear dimensions
Exterior dimensions do not automatically tell you how much room remains for beds, benches and walking. Sketch the interior at the same stated scale or use written dimensions to create a simple grid. Add doors first, then circulation, growing zones and storage. Preserve access to anything that must open, be cleaned or be adjusted.
Plant plans can affect dimensional needs. Tall crops may need appropriate headroom and placement, while wide containers reduce aisle space. See the guides to growing cucumbers in a greenhouse and growing peppers and chili peppers for examples of crop-related planning. Climate management also needs room for airflow and access; review the temperature and humidity guide and the practical advice on controlling greenhouse humidity.
Use manuals in the correct sequence
Technical sales drawings help you choose and plan. Foundation information helps prepare the support. The installation manual explains assembly sequence, component orientation and checkpoints. These documents have related but distinct purposes.
Before installation, confirm that the manual corresponds to the exact model and configuration received. Read the complete manual before starting, inventory components as instructed, and keep part labels organized. Review later steps before permanently tightening or enclosing an earlier connection. Local USA manual links may be presented separately on this page; use the applicable product documentation rather than a manual chosen only because its cover image looks similar.
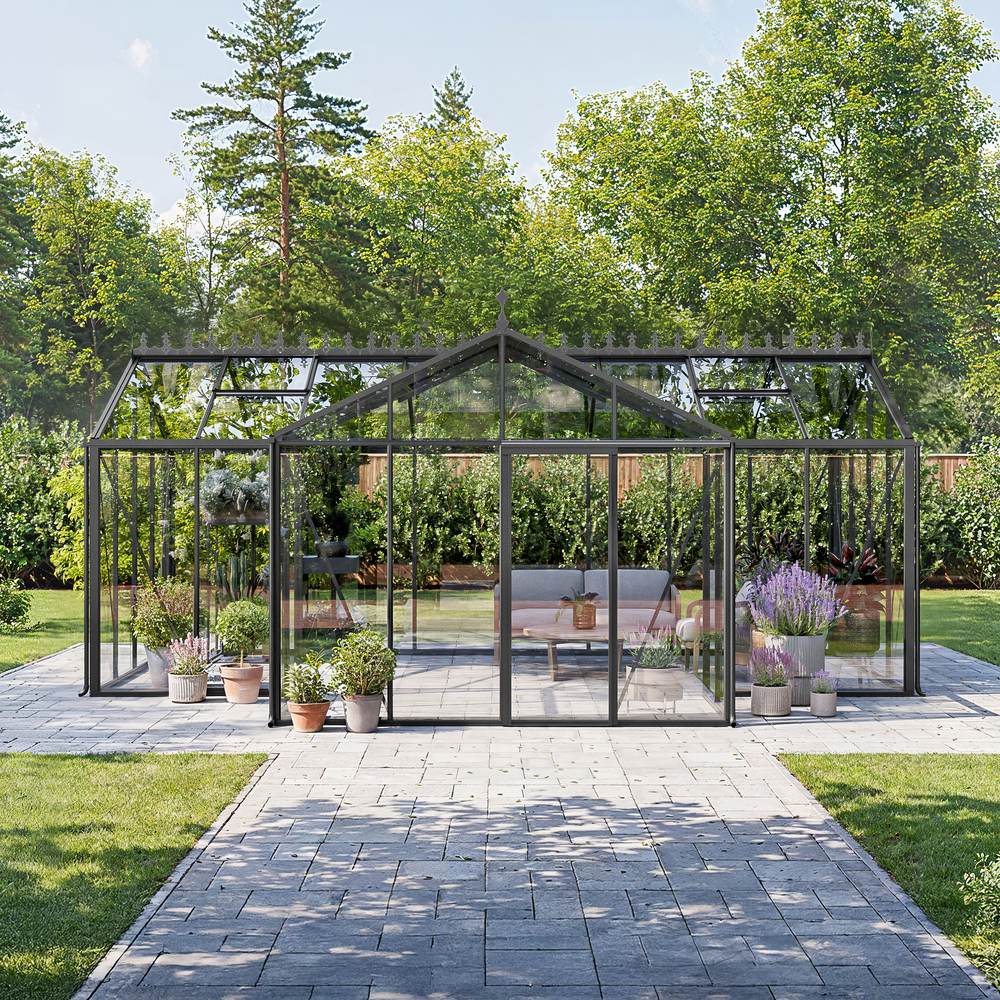
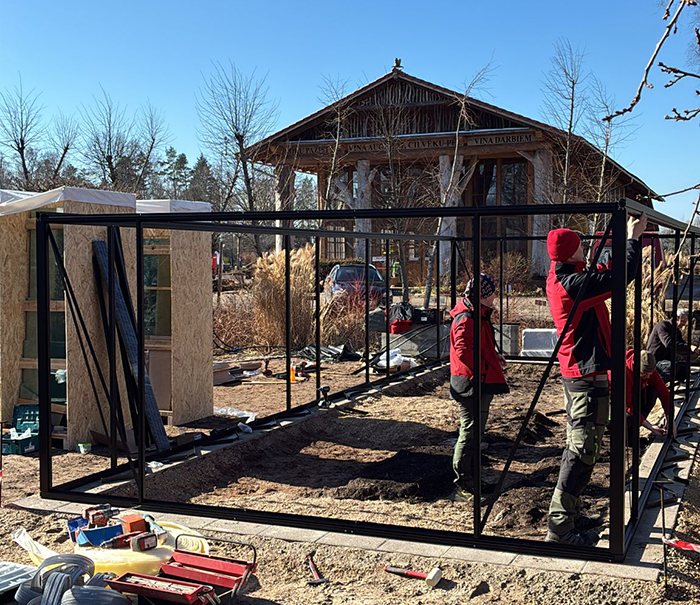
Anna Koku Skola is one real greenhouse installation sequence that can help customers understand the progression from site preparation through frame assembly and completion. Images from that sequence provide visual context for the stages of an installation, but they do not reveal hidden connection requirements or replace the manual for another greenhouse.
Receiving and pre-installation drawing checks
Keep the order documents, technical drawings and installation information together. Before modifying the site or opening every package, compare the product identity and configuration on the paperwork with what was ordered. Follow the applicable delivery and inspection procedure described in the purchase and delivery terms.
- Confirm the model, configuration and documented options.
- Verify that the drawing revision or document identification applies to the order.
- Compare foundation dimensions with the final approved product information.
- Check door location and orientation.
- Review wall interfaces for attached products.
- Keep packaged parts organized by labels or manual stages.
- Report documentation conflicts before attempting to compensate in the field.
If you are still selecting a configuration, review Bloomcabin’s information about greenhouse design choices, the overview of aluminum greenhouses and conservatories, and the instructions on how to order.
Common drawing mistakes to avoid
| Mistake | Better approach |
|---|---|
| Treating the model name as the exact footprint | Use written dimensions from the applicable technical document. |
| Measuring a drawing displayed on screen | Read dimension labels and confirm units. |
| Using exterior width as usable interior width | Plan from confirmed clear dimensions and allow for frames and contents. |
| Ignoring the dimension datum | Identify whether height begins at the foundation, base or another reference. |
| Preparing a foundation from a marketing image | Use the product-specific foundation information. |
| Assuming attached walls are straight and square | Measure the existing building at multiple relevant points. |
| Changing parts to resolve a conflict | Pause and request clarification before alteration. |
| Checking only side lengths | Check diagonals, level and the complete footprint geometry. |
Questions to resolve before approving a greenhouse layout
- Are the dimensions nominal, overall, foundation or clear dimensions?
- What exact surfaces or centerlines do the arrows reference?
- Which drawing applies to the selected model and options?
- Where is the height datum?
- What is the clear door opening and how does the door operate?
- Does any roof, gutter or trim extend beyond the stated base footprint?
- What working clearance is needed around the structure?
- For an attached model, what must be verified on the existing wall?
- Has the foundation plan been checked against the final order documents?
- Do local reviews depend on finished height, setbacks, area or use?
The Aluminum Greenhouse FAQ addresses broader product questions. After installation, follow the guidance for maintaining an aluminum greenhouse. Keep the drawings and manual available because they can remain useful when identifying parts, planning access or discussing future maintenance.
Frequently asked questions
Are listed greenhouse dimensions inside or outside dimensions?
Do not assume either. Product dimensions may describe an exterior frame, base, foundation reference or another stated condition. Look at the dimension arrows and notes. Ask for clarification if the reference points are not explicit, especially where site space is limited.
Can I build the foundation from the product page dimensions?
General product-page dimensions are useful for selection and initial site planning. Foundation construction should use the applicable product-specific foundation information and final order documents. Confirm the model and configuration before work begins.
Why does the nominal size differ from the technical drawing?
A nominal size is often a convenient category or model description. Technical drawings communicate actual reference dimensions more precisely. Use the controlling written dimension for site and foundation planning.
What does “not to scale” mean?
It means the drawing’s displayed or printed geometry must not be measured to determine actual size. Written dimensions control. The image can still communicate arrangement, orientation and relationships among components.
How do I know which side the door is on?
Use the floor plan, elevations and orientation notes together. Establish the viewpoint before interpreting left and right. If the order allows a choice or the symbol is unclear, confirm the door position in writing before preparing paths or foundations.
What dimensions matter for a lean-to greenhouse?
Check width along the wall, projection from the wall, attachment and overall heights, door location, base or foundation references, and the relationship to eaves, windows and drainage elements. Verify the existing wall separately.
How much extra space should I leave around the greenhouse?
There is no universal allowance suitable for every product and site. Leave enough practical space for installation, safe access, cleaning, door operation and maintenance, while also respecting site-specific boundaries and requirements. Review nearby roofs, fences, vegetation and grade changes.
Can I rely on equal diagonals to prove the foundation is correct?
Equal diagonals are a useful squareness check for a rectangle, but they do not confirm correct side lengths, level, elevation or support conditions. Complex footprints require additional reference measurements. Follow the complete foundation information.
Which document controls if two measurements appear inconsistent?
Do not choose based on guesswork. Record the document names, revisions and conflicting values, then ask Bloomcabin to clarify which information applies to your order. Avoid foundation changes or part modification until the discrepancy is resolved.
Where can I check warranty and maintenance information?
Read the applicable warranty information and the greenhouse maintenance guidance. Technical drawings should be retained with these records and the installation manual for future reference.
Final drawing review
A successful review connects three things: the selected greenhouse, the actual site and the documents for the exact configuration. Identify every view, confirm units and datums, distinguish nominal dimensions from construction dimensions, and verify access as well as footprint. For complex or attached models, break the drawing into zones and compare plan, elevation and section views.
Most importantly, do not turn an assumption into concrete, masonry or modified greenhouse parts. Resolve questions while the design can still be checked on paper. Accurate interpretation at the planning stage supports a smoother delivery, foundation process, installation and long-term use.
