



Useful information · SUPPORT
Assembly Manuals, Technical Drawings and Product Documentation
Use Bloomcabin product documentation confidently from pre-purchase planning and site preparation through delivery checks, assembly, maintenance and future service.
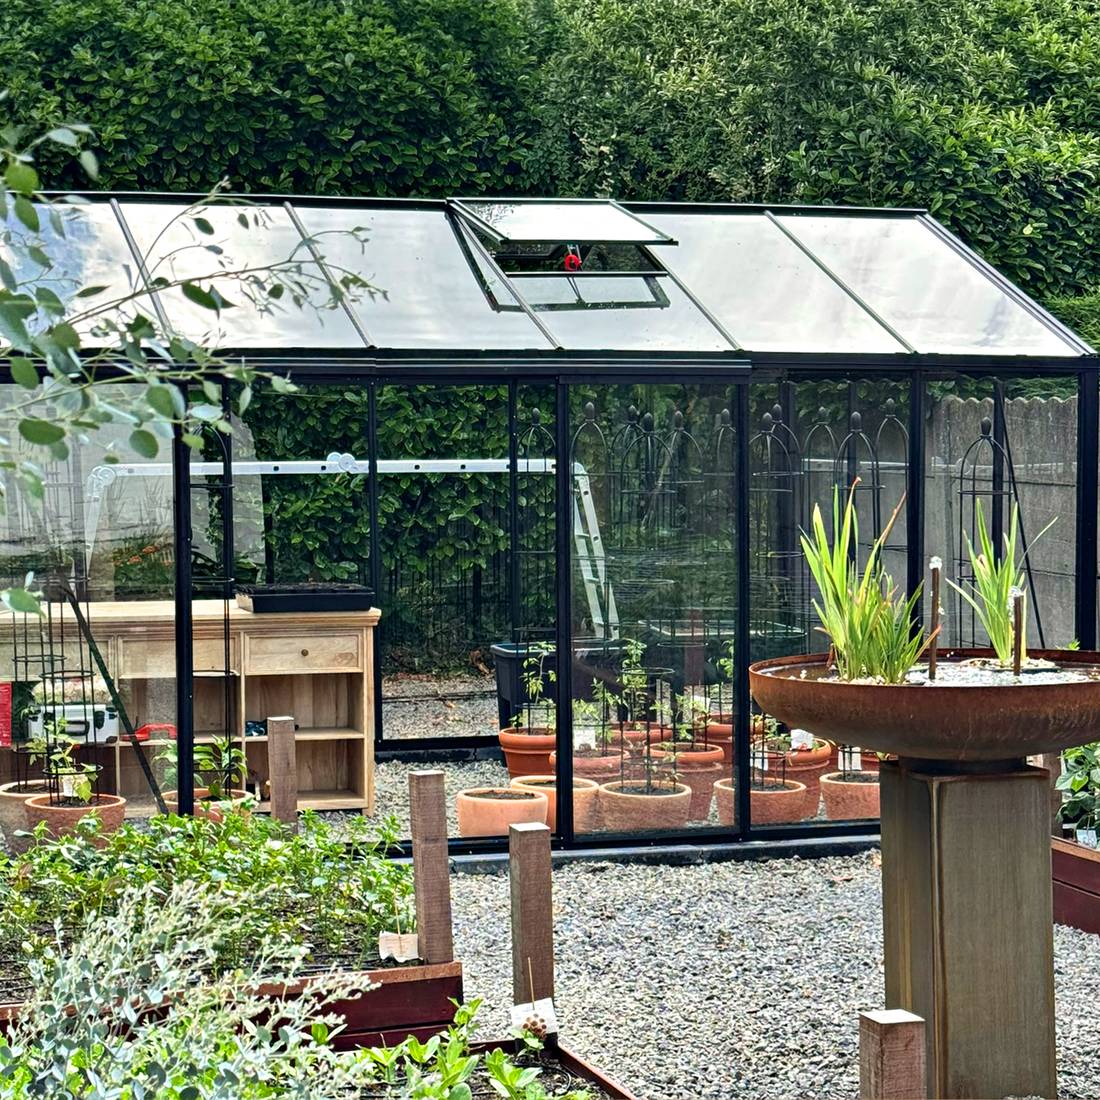
Browse USA assembly manuals
Choose the manual that matches your product and read it in full before assembly.
Good product documentation connects the structure you selected with the site where it will be installed. Assembly manuals explain the construction sequence, while technical drawings communicate configuration, orientation and critical project information. Parts lists, order documents and maintenance guidance complete the record.
This page explains how to identify, organize and use Bloomcabin documentation before buying, before delivery, during installation and throughout the product’s service life. The USA manual links are provided in the manual library on this page. Always select documents for your exact product and configuration rather than treating a drawing for a similar-looking model as interchangeable.
What Bloomcabin product documentation may include
The document set depends on the product, its configuration and the stage of the project. Not every document serves the same purpose, and not every page is an assembly instruction.
| Document | Main purpose | When to use it |
|---|---|---|
| Assembly manual | Presents an ordered installation sequence, component identification and connection details. | Review before work begins and keep available throughout assembly. |
| Technical drawing | Shows the selected structure, major geometry, orientation and relevant project dimensions. | Use during product selection, site planning and foundation coordination. |
| Parts list | Identifies supplied profiles, panels, fittings, fasteners and other components. | Use while checking the delivery and preparing parts for assembly. |
| Order confirmation | Records the product and options ordered. | Compare it with labels, drawings and delivered packages. |
| Foundation information | Communicates the footprint or support conditions needed for the structure. | Use before foundation or patio work is finalized. |
| Maintenance guidance | Explains routine inspection, cleaning and care topics. | Retain after installation for seasonal and long-term upkeep. |
Important: A product image, general sales page or drawing for another size is not a substitute for the assembly manual and project information associated with the ordered configuration.
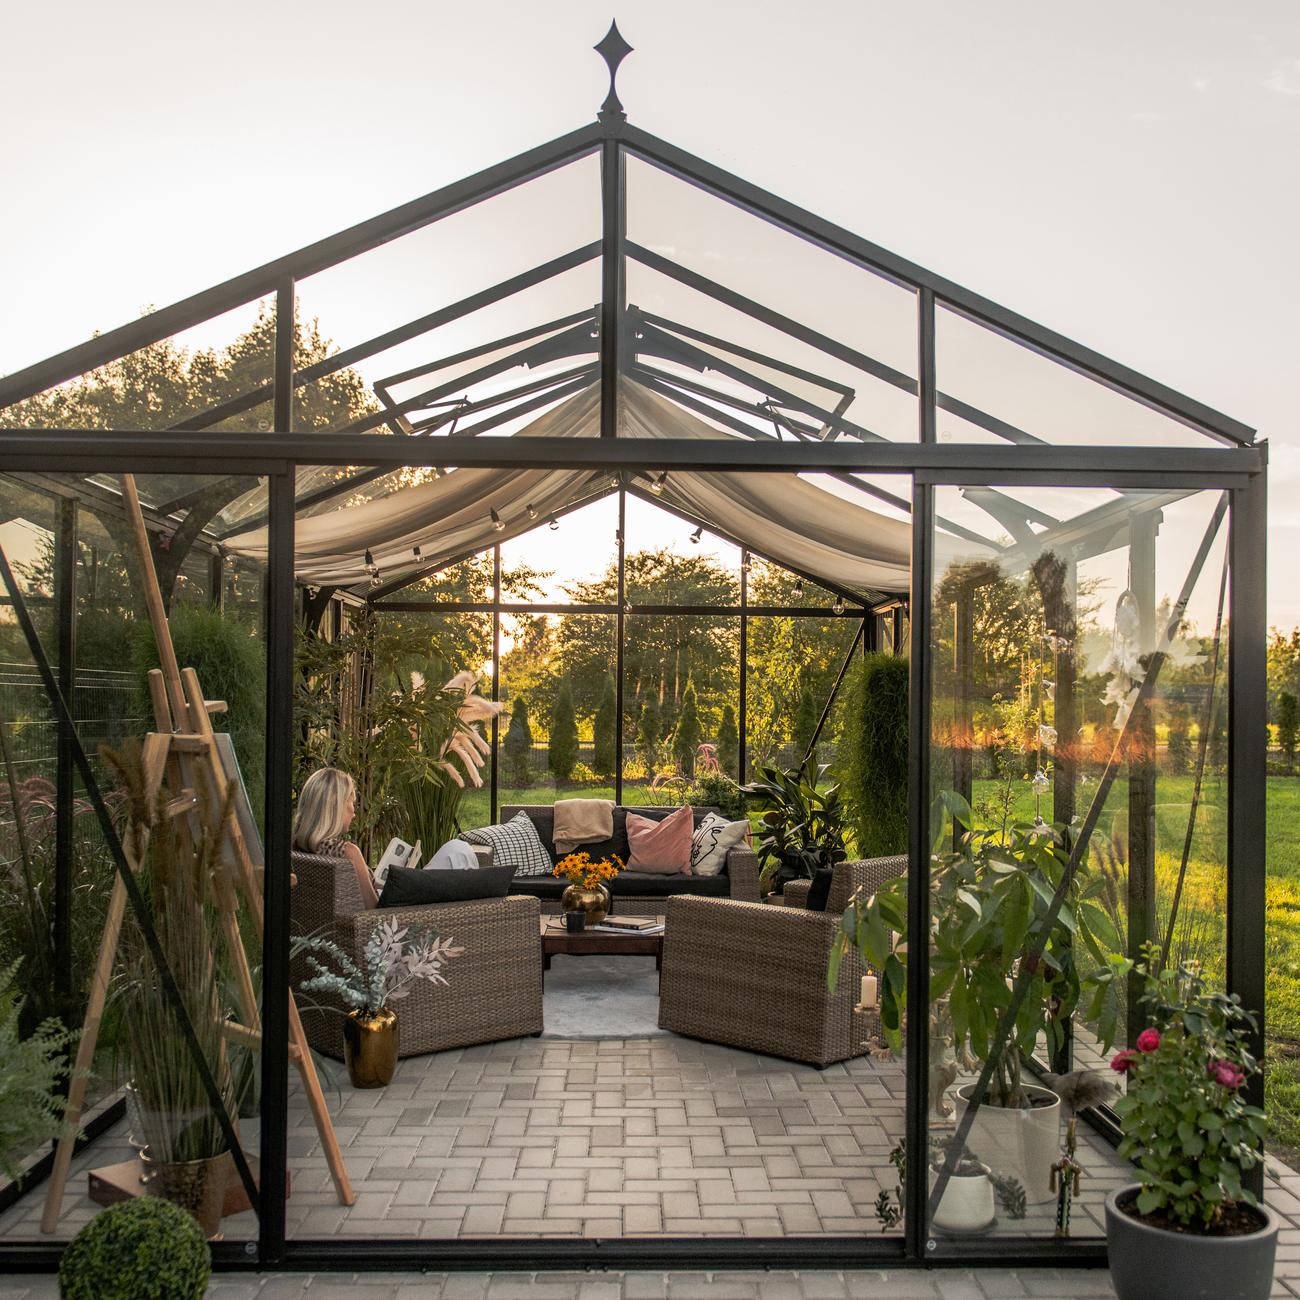
Documentation to review before buying
Start by defining how the structure will be used, where it will stand and how people will approach it. Review the product page, available drawings and planning information together. A picture can explain appearance, but it may not communicate every site interface or assembly condition.
- Confirm the product family. Distinguish among freestanding greenhouses, wall-mounted greenhouses, T-shaped structures, orangeries and pergolas.
- Confirm the exact configuration. Check the selected size, doors, vents, finishes and other options against the quotation or order record.
- Establish orientation. Identify the front, rear and sides from the drawing. For an attached structure, confirm which side interfaces with the building.
- Evaluate access. Plan how packages will reach the assembly area and where they can be stored without obstructing the work.
- Review the site. Consider boundaries, drainage, surrounding vegetation, doors, paths and other nearby features.
- Check local project obligations. The owner should determine which approvals or professional input may apply at the installation address before work begins.
For broader selection help, see the extensive product range, the general FAQ and the overview of aluminum greenhouses and conservatories.
Match every manual to the exact product
Bloomcabin structures can share design principles without sharing an identical installation sequence. Roof form, wall connection, door location and optional equipment can change the relevant documents. The following product pages illustrate why the product name must be checked before a manual is used.
| Product family or format | Product page to verify |
|---|---|
| Classic freestanding greenhouse | Classic aluminum greenhouse |
| Classic Plus greenhouse | Classic Plus 385 |
| Large orangery | Bloomcabin Orangerie |
| Attached greenhouse | aluminum lean-to greenhouse |
| Freestanding T-shaped structure | Garden View T greenhouse |
| Wall-mounted T-shaped structure | wall-mounted T-model orangery |
| Premium greenhouse | Bloomcabin Prestige Premium greenhouse |
| Compact attached greenhouse | aluminum mini wall greenhouse |
| Pyramid form | Bloomcabin Oasis pyramid greenhouse |
| Freestanding outdoor cover | Bloomcabin pergola |
| Bioclimatic pergola | Bloomcabin bioclimatic aluminum pergola |
| Attached outdoor cover | Bloomcabin lean-to pergola |
Do not choose a manual only because its cover image resembles your structure. Compare the full product name and configuration with your order documentation. If the information does not agree, pause and resolve the discrepancy before preparing the foundation or assembling components.
How to identify the correct document set
- Locate the order record. Use the order confirmation or other supplied project record as the starting point.
- Write down the complete product name. Include the model, selected size and relevant configuration details shown in the order.
- Check document titles and revisions. A filename alone can be ambiguous after several files have been downloaded. Open each document and review its title information.
- Compare the illustrated form. Check roof shape, wall attachment, entrances and the general plan against the ordered structure.
- Keep related documents together. Store the manual, technical drawing, parts information and order record in one digital folder and one accessible project file.
- Ask before substituting. If the exact match is unclear, do not assume that a neighboring model, earlier file or different size follows the same sequence.
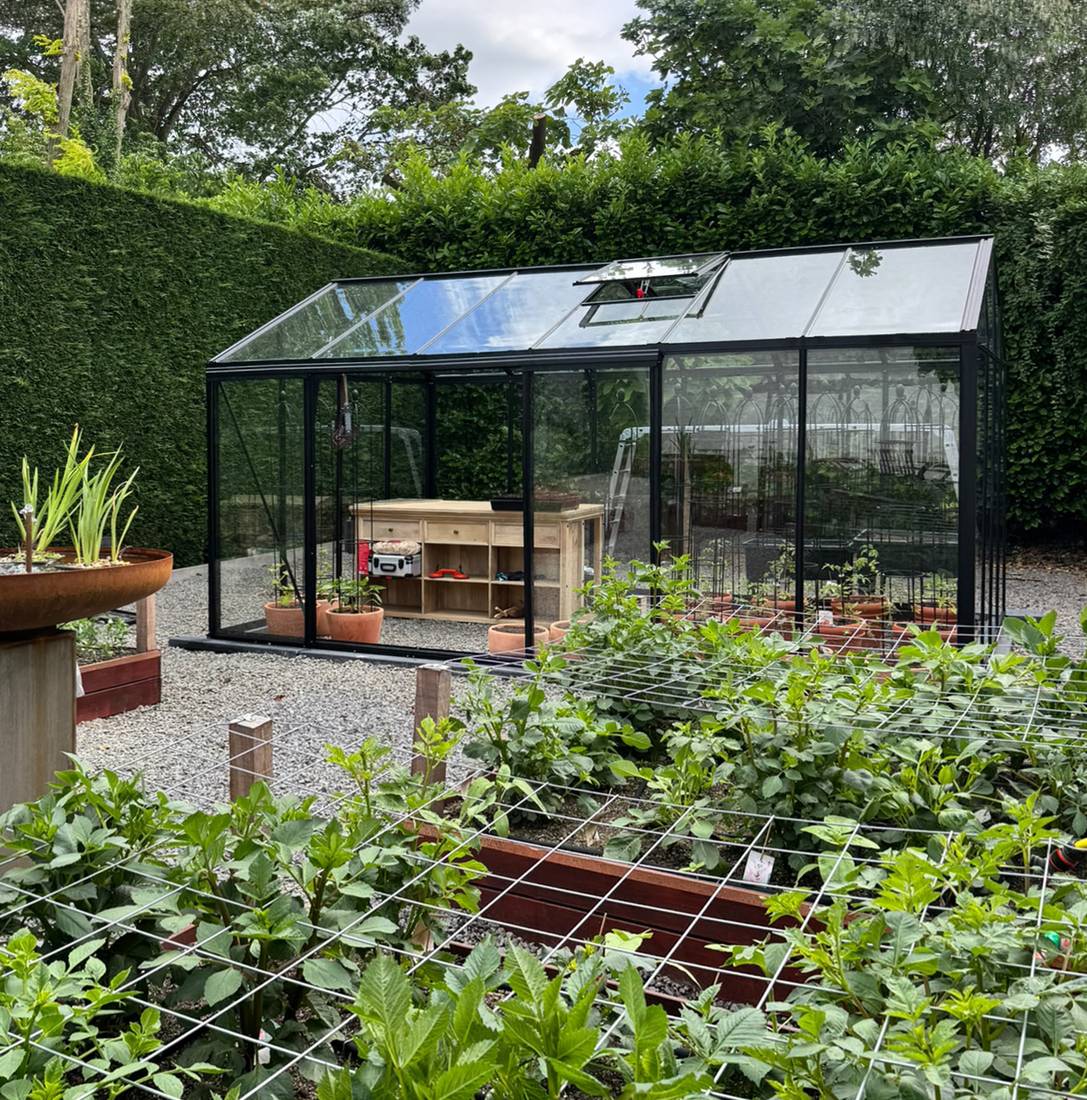
How to read a technical drawing
A technical drawing should be read as a coordinated set of views, not as a single picture. Begin with the title information, then compare the plan, elevations and detail references. Look for notes that define which configuration is represented.
Start with the drawing identity
Verify the product name, drawing title and any configuration or revision information displayed. If a drawing was supplied specifically for the order, keep it associated with that order. Avoid renaming files so broadly that the model identity is lost.
Understand each view
- Plan view: A view from above that helps establish the footprint, corners, wall positions and openings.
- Elevation: A straight-on view of a side, front or rear. It communicates overall form and the relative positions of doors, roof lines and wall elements.
- Section: A cut-through view used to explain relationships that may not be clear from the exterior.
- Detail: An enlarged view of a particular joint or interface. Read it together with its callout and related assembly step.
- Symbols and notes: These may clarify orientation, repeated components or instructions that apply to more than one location.
Never estimate an installation dimension by scaling a screen image or printed page. Printing settings, browser display and file conversion can change the apparent scale. Use only the written values on the applicable drawing. If a required value is absent or unclear, request clarification rather than deriving it from the illustration.
Separate product dimensions from site measurements
A product drawing describes the structure represented. A site survey records real conditions at the property. Compare the two, but do not confuse them. Existing walls may be uneven, patios may slope and boundaries or landscaping may constrain access. Attached products need especially careful coordination because the host wall and surrounding surfaces are part of the installation context.
Foundation and site preparation documents
The site should not be prepared from memory, a marketing photograph or a drawing for another configuration. Establish the ordered footprint and support arrangement first. The base must also be coordinated with drainage, access and the finished position of doors.
For pergola planning, use the pergola size guide and pergola foundation and patio preparation guide. The comparison of wall-mounted and freestanding pergolas helps explain why attached and independent structures require different planning. Product-specific documentation remains controlling for the selected configuration.
- Confirm the product orientation before marking the site.
- Check that door positions agree with paths and intended circulation.
- Verify that the assembly team can work around the footprint.
- Keep prepared components and glazing away from traffic routes.
- Resolve visible site conflicts before installation day.
- Do not finalize work based on an unverified or superseded drawing.

Receiving the delivery and checking parts
Organized receiving reduces avoidable confusion during installation. Before opening packages, identify a clean, secure staging area. Keep labels with their packages and avoid mixing similar components from different bundles.
- Compare the shipment with the order record. Confirm that the delivered product identification agrees with the purchase documents.
- Inspect packages externally. Record visible package condition before materials are moved or unpacked.
- Open methodically. Do not empty every package into one pile. Work by package or assembly group.
- Use the parts list. Identify components by the manual’s references rather than appearance alone.
- Protect surfaces. Place parts on a clean, suitable surface and keep glazing or finish-sensitive pieces separated.
- Create a discrepancy record. Photograph the label, package and relevant part, then note the part reference and quantity in question.
- Retain packaging information. Do not discard useful labels until the inventory and initial assembly stages are complete.
The applicable purchase and delivery information is available in the terms of purchase and delivery. Keep order communications and receiving records together instead of relying on memory after assembly has started.
Using the assembly manual effectively
Read the complete manual before beginning. This makes later steps easier to anticipate and reveals where additional people, workspace or preparation may be needed. The manual should remain clean, legible and available to the person coordinating the work.
Prepare before the first connection
- Confirm that the foundation or supporting surface corresponds to the approved project information.
- Sort components according to the parts list and assembly stages.
- Check that the document belongs to the delivered model.
- Identify left-hand, right-hand, interior and exterior orientation before connecting profiles.
- Set aside accessories until the manual calls for them.
- Plan safe storage for panels and other easily damaged parts.
Follow the sequence
Assembly order is part of the instruction. A component that appears easy to install early may block access or prevent a later connection. Complete and verify each stage before moving forward. When the manual calls for repeated work, complete it consistently and keep component orientation unchanged.
Do not force a part that does not align. Stop and review the preceding steps, component reference and orientation. A mismatch can result from a reversed member, an incorrect part, an incomplete earlier connection or use of the wrong document. Rechecking is more effective than modifying a component to make it fit.
Manage fasteners and adjustments
Keep fasteners grouped and identify them from the documentation. Similar-looking items may serve different locations. Follow the stated sequence for initial placement, alignment and final securing. Do not substitute hardware or alter structural components unless written project guidance specifically authorizes it.
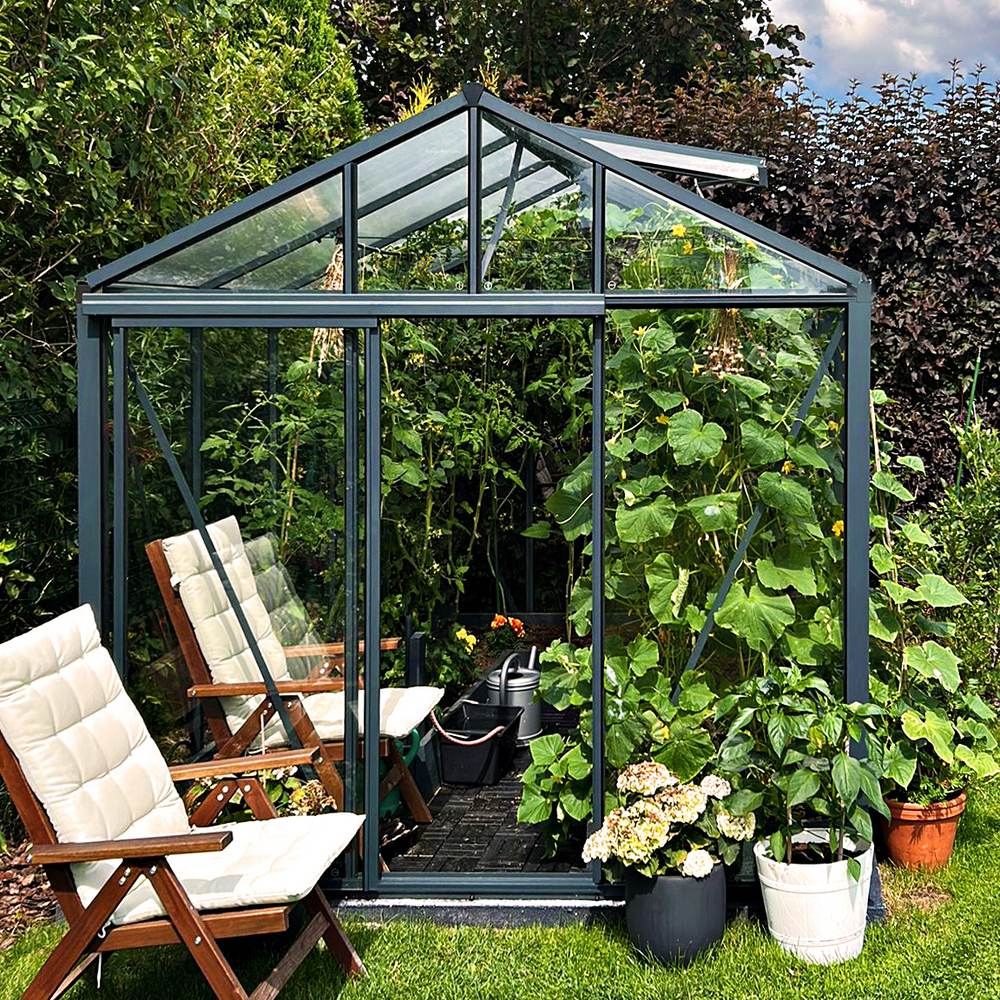
Anna Koku Skola as one installation sequence
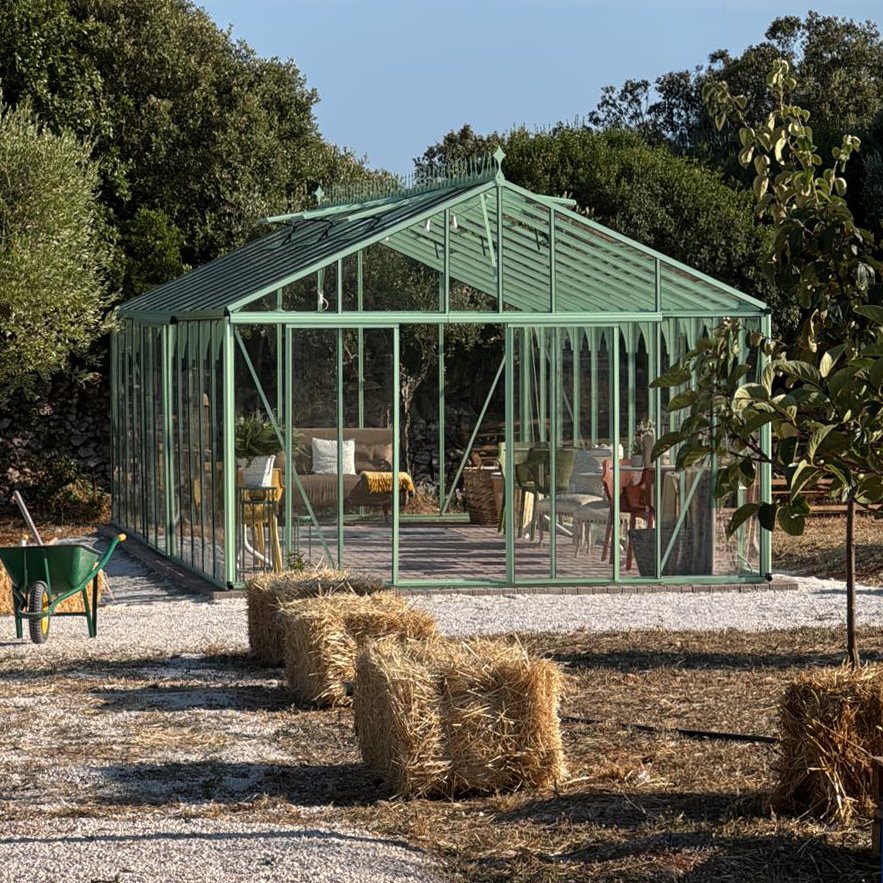
Anna Koku Skola should be understood as one real greenhouse installation sequence, from site readiness and delivery staging through frame assembly, glazing, doors, vents and final checks. Its photographs can help users understand the progression of visible work and the importance of an orderly site.
It is not a collection of unrelated installations, and it should not be used to infer concealed connections, fasteners or measurements. The applicable manual and technical drawing remain the source for component identification and assembly details. A photograph records a moment in the project; the manual defines the required sequence.
Document control during installation
A simple record prevents teams from working from different files. Designate one current manual and drawing set, and remove obsolete printouts from the work area. If clarification is received, save it with the project documents and communicate it to everyone involved.
| Record | What to capture |
|---|---|
| Document register | Filename, title, revision information and date received. |
| Receiving log | Package labels, visible condition and discrepancies. |
| Question log | Manual step, part reference, photograph and clear description. |
| Change record | Written clarification and the affected drawing or assembly stage. |
| Completion file | Final documents, maintenance guidance and useful installation photographs. |
When asking a documentation question, include the order reference, full product name, relevant manual page or drawing reference, and clear photographs of the overall area and the component. Do not rely on a close-up alone when orientation matters.
Handover and maintenance documentation
After installation, keep the final manual, drawing, parts information and order documents. Record the location of keys, removable accessories and maintenance items. Give the owner or property manager access to the same document set.
Use the dedicated guide for maintenance of an aluminum greenhouse and the Aluminum Greenhouse FAQ. Pergola owners can consult the Pergola FAQ. Where a product configuration incorporates Accoya, the overview of Accoya wood provides material context.
Related planning and ownership reading
Assembly documentation ends with a completed structure, but practical ownership continues. The Bloomcabin greenhouse setup guide covers layout, planting and care after assembly, while the guide to storing potted plants in winter addresses seasonal use.
Documentation principles also apply to other outdoor structures: verify the model, retain the product-specific instructions and coordinate the site before assembly. Examples across the broader range include the Terrava wooden backyard deck, Verdana 1 garden house, Modano 7 garden house and Modano 6 garden house. These articles are supplementary product reading, not substitutes for the relevant manuals.
Frequently asked questions
Where can I find USA assembly manuals?
The USA manual links are inserted in the manual library on this page. Select the entry that matches the exact product and configuration shown in your order records. This guide explains how to use the documents but does not replace that library.
Can I use a manual for a similar Bloomcabin model?
No assumption should be made based on appearance. Similar product families may use different layouts, connections, doors or assembly stages. Verify the full product identity before using any manual.
What if my order includes options that are not shown in the main manual?
Check whether separate option instructions or project drawings were supplied. Keep them with the primary manual and establish where their steps belong in the main sequence. If the relationship is unclear, request clarification before installing the option.
Should the foundation be completed before I read the assembly manual?
No. Review the applicable product documents before finalizing site work. Orientation, footprint, openings and support conditions need to be coordinated with the selected structure and its location.
Can I measure dimensions from a drawing displayed on my screen?
Use written dimensions only. Display size, printing and file conversion can alter apparent scale. Do not calculate a missing measurement from the visual size of the drawing.
What should I do if a component does not fit?
Stop rather than forcing or altering it. Check the part reference, orientation, preceding steps and document identity. Photograph the overall assembly and the specific area, then obtain clarification if the cause remains uncertain.
How should I report a missing or damaged item?
Record the order reference, product name, package label, part reference and quantity involved. Include clear photographs showing the package condition and item. Keep the parts and packaging organized while the question is reviewed.
Are product photographs assembly instructions?
No. Photographs are useful for understanding appearance and visible installation progress, but they do not reliably show concealed connections or every required step. Use the manual and technical drawings for technical direction.
Can several installers use different printed versions?
They should use one verified current document set. Remove outdated copies from the work area and record any written clarification so the entire team follows the same information.
What documents should remain with the product after installation?
Retain the final manual, technical drawings, parts information, order record, written clarifications, maintenance guidance and useful installation records. Transfer these documents if responsibility for the property or structure changes.
Does the manual replace site-specific professional planning?
No. A product manual explains product assembly. It cannot document every existing wall, surface, boundary, drainage condition or local project consideration. The owner remains responsible for coordinating the product information with actual site conditions and any applicable approvals.
Final documentation checklist
- Exact product and configuration confirmed against the order.
- Current assembly manual and technical drawings identified.
- Site orientation and access reviewed before preparation.
- Foundation information checked for the selected configuration.
- Packages and parts inventoried systematically.
- Assembly sequence reviewed before work begins.
- Questions recorded with part and document references.
- Obsolete or unmatched drawings removed from use.
- Final documents saved for maintenance and future service.
Careful document control is a practical part of installation quality. Use the exact manual, preserve the project record and resolve inconsistencies before they become assembly problems.
