



Useful information · SYSTEM
Outdoor Sauna Ventilation, Drainage and Moisture Management
A practical systems guide to outdoor sauna ventilation, drainage and moisture management. Learn what to confirm before purchase, how to prepare the site, what to inspect during installation and how to dry and maintain the sauna after use.

An outdoor sauna is a high-heat, high-moisture environment placed inside a structure exposed to rain, snow, wind and changing temperatures. Good moisture management therefore depends on more than a single vent or floor drain. The sauna, foundation, roof, openings, interior surfaces and surrounding grade must work as one system.
This guide explains what owners should consider before purchasing, receiving and installing an outdoor sauna. It also covers everyday ventilation, drying, drainage inspection and practical troubleshooting. Product-specific construction always takes priority, so use the manual supplied for your sauna when deciding vent locations, foundation details, drain connections and component clearances.
How the complete moisture-management system works
During a sauna session, the heater warms the room, bathers release moisture and water may be applied in accordance with the heater instructions. Warm air can hold substantial moisture. When that air contacts a cooler window, wall, ceiling, door or metal component, some moisture may condense.
Condensation is not automatically evidence of a defect. The more important questions are where the water goes, whether surfaces can dry and whether moisture is repeatedly trapped in concealed or poorly ventilated areas.
A dependable outdoor sauna moisture strategy has four connected parts:
- Controlled airflow: Fresh air enters, air circulates through the occupied space and humid air leaves through the intended opening or ventilation arrangement.
- Managed liquid water: Water on the floor is directed toward the intended collection or drainage point instead of standing against walls and benches.
- Weather separation: Roof runoff, wind-driven rain, snowmelt and groundwater are kept away from the building base.
- Drying time: After use, heat and ventilation are managed so benches, floor surfaces and interior wall areas can dry.
Changing one part can affect the others. For example, adding a powerful fan without checking heater guidance can disturb intended airflow. Sealing every opening may reduce drafts but also slow drying. Installing a drain does not help if the floor directs water away from it or the discharge route is blocked.

Questions to resolve before buying
Ventilation and drainage should be discussed while selecting the sauna, not after the structure is assembled. Ask for product-specific information and avoid assuming that every barrel, cabin or modern glazed sauna uses the same arrangement.
- Is ventilation passive, mechanical or a combination of both?
- Are vent openings supplied, pre-positioned or installed during assembly?
- Does vent positioning change with the selected heater type?
- Does the sauna include an intended floor outlet or drainage detail?
- Must drainage connect to a prepared site route, or is another approved method specified?
- What foundation characteristics are required to support drainage and keep the base dry?
- Which roof, flashing or exterior treatment steps are completed on site?
- What access will be needed below, behind or beside the sauna for future inspection?
- Are gutters or other roof-water controls included, optional or site-provided?
- Which surfaces need treatment, and which interior surfaces should remain untreated?
Do not select a drain, fan, vapor-control material or wood coating solely because it worked in a different outdoor building. Sauna temperatures and moisture cycles create a specialized environment. Compatibility with the sauna and heater instructions matters more than a generic description such as “outdoor rated.”
Site planning: keep outside water outside
Interior ventilation cannot compensate for a wet site. Before delivery, observe the proposed location during or shortly after rain. Look for ponding, runoff from higher ground, downspout discharge and areas where snow is normally piled. The finished site should direct surrounding water away rather than allowing it to collect under or beside the sauna.
The foundation must satisfy the sauna’s model-specific instructions and maintain stable, continuous support where required. It must also allow the intended drainage arrangement to function. Do not introduce an improvised slope to the entire foundation unless the manual calls for it; an out-of-level base can interfere with assembly, doors and structural alignment.
Maintain practical inspection access around the building. Dense planting, stored firewood, mulch or soil placed against the exterior can retain moisture and conceal deterioration. Consider the path users will take in wet weather, where dripping towels will be handled and whether water from an outdoor shower could reach the sauna base.
Planning principle: The sauna floor manages water produced inside. Site grading and roof-water control manage water arriving from outside. These are separate jobs, and both must be addressed.

Outdoor sauna ventilation
Air supply, circulation and exhaust
Effective ventilation is a flow path, not simply a hole in the wall. An inlet provides replacement air. Air then moves through the heated room before leaving through an outlet or post-use drying opening. Exact locations depend on the sauna design, heater and whether airflow is passive or assisted.
The goal is comfortable breathing air, reasonably even circulation and reliable removal of humid air after bathing. Poorly placed openings can short-circuit the path, allowing incoming air to leave before it circulates through the room. Obstructed vents can also contribute to slow drying, persistent odor or heavy condensation on cooler surfaces.
Never relocate, close or enlarge a specified vent merely to change how the room feels. First confirm that the vent is clear, the sauna is being heated and operated correctly, and the door and other components are properly adjusted. Any permanent ventilation modification should be reviewed against both sauna and heater documentation.
Passive and mechanical ventilation
Passive ventilation uses temperature and pressure differences to move air through intended openings. Mechanical ventilation uses a fan to assist airflow. Neither approach is universally correct for every sauna. A fan must be suitable for its location and must not interfere with heater operation or place inappropriate components in a hot zone.
If mechanical ventilation is specified, confirm which opening is powered, when the fan should run and how controls are intended to be used. Increasing fan capacity without a system plan can create excessive drafts or pull air along an unintended route.
Ventilation after use
Post-use ventilation is essential because moisture remains after bathers leave. Follow the supplied operating instructions for heater shutdown, residual drying heat, vent positions and door use. Remove wet towels and other moisture-holding items. Position removable wood accessories so that their undersides can dry rather than remaining flat against a damp floor.
Floor drainage and water disposal
A floor drain can help manage wash water and drips, but its presence does not make the sauna waterproof or eliminate drying. Water should be used in the quantities and locations permitted by the operating instructions. The room should not be treated like a wash-down enclosure unless it was specifically designed for that use.
What a drainage plan must answer
| Question | Why it matters |
|---|---|
| Where is the intended low point? | The floor and outlet must work together so water does not remain in corners or against wood components. |
| Where does discharged water go? | The route must not release water under the sauna, against its foundation or onto a neighboring structure. |
| Can the route freeze or clog? | Leaves, sediment, ice and debris can stop an otherwise suitable drainage path. |
| Can it be inspected? | Accessible components are easier to clean and diagnose when drainage slows. |
| Who prepares the connection? | Site work may need to be coordinated before the sauna arrives or before the floor is completed. |
Requirements for handling wastewater vary by location and intended use. Confirm the permitted discharge method with the appropriate local authority or qualified site professional before construction. Do not direct sauna water into a stormwater route, onto the ground or into another system without confirming that the arrangement is acceptable for the site.
Preventing standing water
After a normal session and drying period, inspect the floor under benches, near the door and around the outlet. Small isolated wet areas may indicate debris, an uneven removable surface or a localized obstruction. Broad ponding can indicate a preparation, leveling or floor-assembly issue.
Do not cut channels, drill a new outlet or force the structure out of level as a quick correction. Record the location, confirm the assembly against the manual and contact customer service before making irreversible changes.
Condensation and wood moisture
Outdoor temperature, indoor humidity, glazing and warm-up time all affect condensation. Glass and door hardware may remain cooler than nearby wood, so moisture can appear there first. Wipe concentrated condensation when necessary and keep the lower door area and adjacent floor clean so water can reach the intended drainage path.
Wood naturally responds to changing moisture conditions. Regular wetting combined with slow drying is more concerning than brief surface dampness during use. Watch for areas that stay dark or damp, recurring musty odor, coatings that fail prematurely or water trapped where components meet.
Avoid covering damp benches or floors with impermeable mats. Do not store wet towels, buckets or cleaning equipment inside between sessions. If removable bench sections are designed to be lifted, follow the manual and lift them safely for cleaning and drying.
Exterior wood protection and interior sauna-surface care are not interchangeable. Use only treatments approved for the specific location and material. Applying an unsuitable coating can change drying behavior, create odor when heated or make seating surfaces uncomfortable.
Installation sequence and inspection points
Moisture performance is established in stages. Use the product manual throughout assembly rather than waiting until the building is complete. Bloomcabin’s USA manual links are provided in the dedicated manuals area, where local page functionality can direct owners to the relevant documents.
- Confirm the model and package contents. Identify ventilation, floor and roof-water components before assembly. Similar-looking parts should not be substituted without confirmation.
- Verify the prepared base. Check dimensions, support positions, level and the planned water-disposal route against the model documentation.
- Protect components during staging. Keep packages and untreated wood off wet ground and covered in a way that does not trap condensation.
- Assemble in the stated order. Correct alignment affects door operation, roof weather resistance and the fit of intended ventilation components.
- Complete drainage details before access closes. Test accessible routes with an appropriate small quantity of water if the instructions permit it.
- Complete the roof and exterior weather details. Do not leave an incomplete shell exposed longer than necessary.
- Install the heater and controls as specified. Use the relevant qualified professional where the equipment, installation method or local rules require one.
- Perform a pre-use inspection. Confirm that vents are open and unobstructed, the floor is clean, doors operate properly and no packaging remains near heated components.
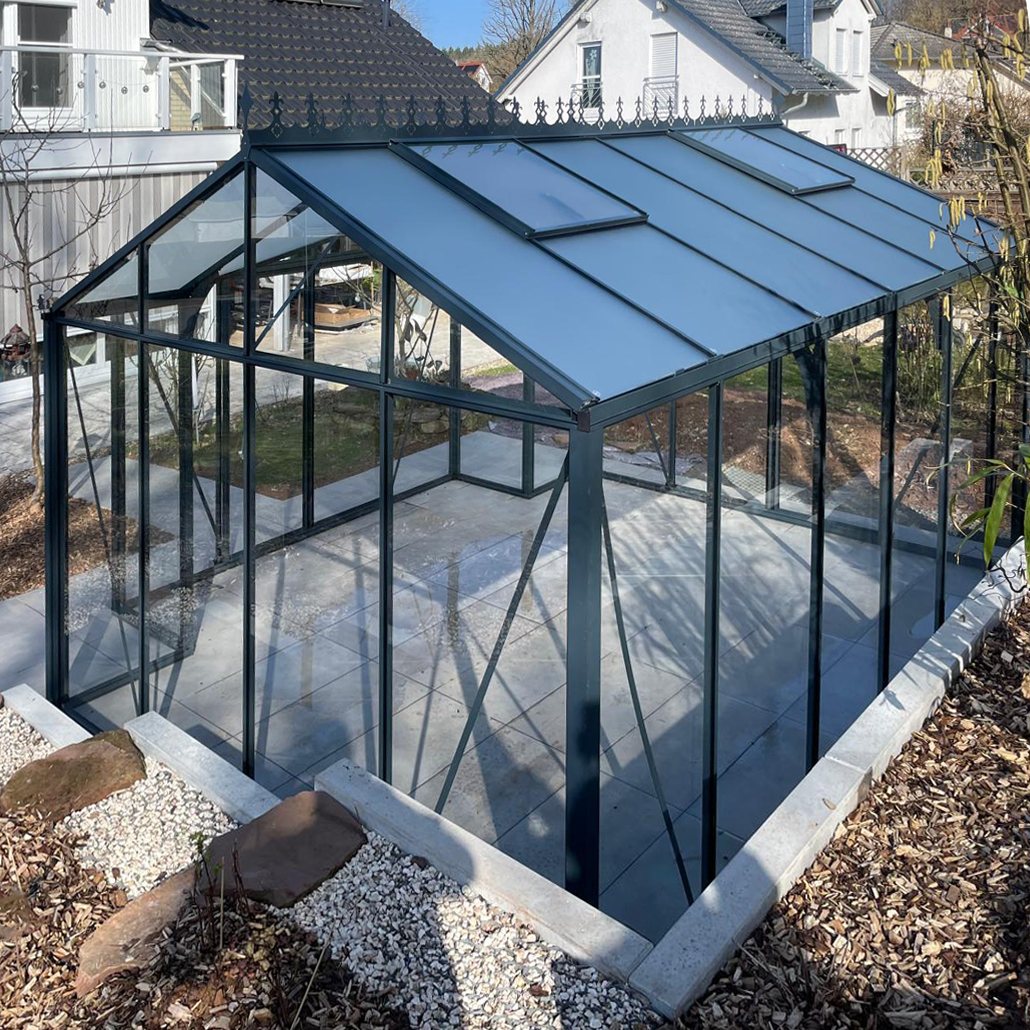
A useful comparison comes from the Anna Koku Skola greenhouse installation sequence. It is one real greenhouse installation progression, not a collection of unrelated projects. Although a greenhouse is not a sauna, the transferable lesson is that base preparation, staged component checks, enclosure completion and final inspection should be treated as one connected process.
Receiving and storing the sauna before assembly
Before delivery, review the applicable purchase and delivery information and the guidance on how to order. Prepare a dry, stable staging area with enough access to identify and move packages safely.
Inspect the shipment as directed and document visible packaging concerns. If assembly will not begin immediately, follow the storage instructions supplied with the product. Waterproof wrapping can shed rain but may also trap condensation if incorrectly arranged. Keep ventilation around stored materials without exposing them to precipitation or ground moisture.
It is also helpful to understand the warranty information and Return and Cancellation Policy before altering, treating or installing components.
Routine operating checklist
Before heating
- Check that intended ventilation openings are clear.
- Look for leaves, snow, insect nesting or stored objects blocking exterior openings.
- Confirm that the floor outlet or drainage area is unobstructed.
- Remove combustible storage and items not intended for sauna use.
- Investigate unusual odor or persistent dampness before heating.
After the session
- Remove towels, clothing and other wet items.
- Empty and store water containers as directed.
- Wipe unusually heavy standing water or concentrated window condensation.
- Arrange removable accessories to promote airflow around them.
- Use the specified post-session vent, door and heater procedure.
- Check that discharged water is not collecting at the exterior base.
Seasonal maintenance
Inspect ventilation grilles, screens and accessible ducts periodically. Clean them without reducing their free opening. Paint, sealant, dust and insect debris can restrict airflow even when the vent appears open from a distance.
Check the roof after severe weather and remove debris using a safe method appropriate to the roof. Observe where rainwater and snowmelt land. Soil settlement can gradually redirect runoff toward a foundation that originally drained well.
Clean interior wood with methods and products approved for sauna use. Aggressive pressure washing or saturating wood can drive water into joints and lengthen drying time. Allow the room to dry fully after cleaning.
Record recurring concerns with dated photographs. A simple history makes it easier to distinguish a one-time weather event from a developing drainage or enclosure problem. Bloomcabin resources on top-tier quality, excellent customer service and Customer Reviews provide additional background when evaluating an outdoor-building supplier.
Troubleshooting common moisture symptoms
| Symptom | First checks | Avoid |
|---|---|---|
| Stale or musty smell | Remove wet textiles, inspect hidden floor areas, clear vents and extend the instructed drying routine. | Masking the odor or heating repeatedly without finding the damp area. |
| Heavy window condensation | Check vent positions, warm-up procedure, occupancy conditions and post-use airflow. | Assuming the window itself is defective without evaluating room moisture. |
| Water remains near a wall | Clear debris and compare base, floor and drain assembly with the manual. | Drilling a new drain or tilting the structure. |
| Water appears beneath the sauna | Determine whether it is interior discharge, roof runoff, groundwater or a site-drainage issue. | Sealing the visible edge before identifying the source. |
| Ventilation feels excessively drafty | Confirm that openings and heater operation match the specified arrangement. | Permanently blocking a vent. |
| Dark areas do not dry | Stop repeated wetting, improve access for drying and request guidance if the condition persists. | Coating over damp or deteriorated material. |
Related outdoor-building planning resources
Saunas have specialized heat and moisture requirements, but other outdoor structures demonstrate why enclosure design, water control and site preparation must be considered together. For ventilation concepts, read how to control humidity in a greenhouse. For glass enclosures and weather exposure, see the pergola glass-wall guide and the discussion of louvered roofs, rain and glass walls.
Wooden-building examples can also help buyers think about siting and ongoing exterior care. Related reading includes the Orello 2 wooden garden house, Verdana 2 wooden garden house, Premium Wooden Garage and Durano wooden garden house. These are related planning resources, not substitutes for sauna instructions.
Customers comparing a broader backyard plan can explore the Classic greenhouse, Classic Plus 385, Bloomcabin Orangerie, aluminum lean-to greenhouse, Garden View T greenhouse, Classic Premium greenhouse, Bloomcabin pergola and Prestige Premium greenhouse. The Extensive product range and information about freedom of choice can assist with overall garden planning.
Frequently asked questions
Does every outdoor sauna need a floor drain?
Not necessarily. Drainage arrangements depend on the sauna design, floor construction, intended water use and site. Follow the model documentation rather than assuming that a drain must be added. Even when a drain is present, the interior still requires ventilation and drying after use.
Should I leave the sauna door open after use?
Use the post-session procedure provided for the model and heater. Some systems rely on specific vent positions, residual heat or a period of increased airflow. Leaving a door fully open is not a universal substitute for the intended ventilation path and may expose the interior to rain or wind-blown debris.
Can I close the vents while bathing to make the sauna hotter?
Do not block specified ventilation openings. Ventilation supports air quality, circulation and heater operation. If the sauna does not heat as expected, check operating instructions, door closure, vent condition and heater setup rather than sealing airflow paths.
Is condensation on sauna glass normal?
Some condensation can occur when humid air reaches cooler glass. The amount varies with weather, warm-up, occupancy and ventilation. Persistent excessive moisture, water entering joints or condensation that does not clear during the normal drying cycle should be investigated.
Can the sauna drain empty directly beneath the building?
Do not assume that it can. Discharge beneath the structure may keep the foundation area wet and may not be acceptable for the site. Confirm the product arrangement and locally appropriate disposal route before preparing the base.
Should the foundation be sloped toward the drain?
Only if the model-specific instructions require that preparation. Many structures depend on an accurately level support system even when an interior floor incorporates drainage. Improvising a sloped foundation can create assembly and door-alignment problems.
Can I add a bathroom exhaust fan?
Not without confirming suitability and placement. A generic fan may be unsuitable for sauna temperatures or humidity, and its airflow may interfere with the intended heater and vent arrangement. Use only a specified or professionally approved solution.
What should I do if the sauna smells musty?
Stop storing wet items inside, inspect beneath removable components, clear vents and check for standing water or exterior leakage. Dry the room according to the operating instructions. If the odor returns, document the affected areas and seek model-specific support rather than covering the odor with fragrance or coating.
When should I contact Bloomcabin?
Request assistance when moisture repeatedly appears in the same construction joint, drainage does not work after accessible obstructions are removed, parts do not match the manual, or an assembly correction may require cutting or permanent alteration. Keep the order information, model identification and clear photographs available. Purchases can be reviewed through Bloomcabin’s secure shopping information and current customer-service resources.
