



Useful information · PREPARATION
Outdoor Sauna Site Preparation: Base, Drainage, Clearance and Location
A practical checklist for choosing and preparing an outdoor sauna site, including base options, water management, clearances, utility planning, delivery access and long-term maintenance considerations.
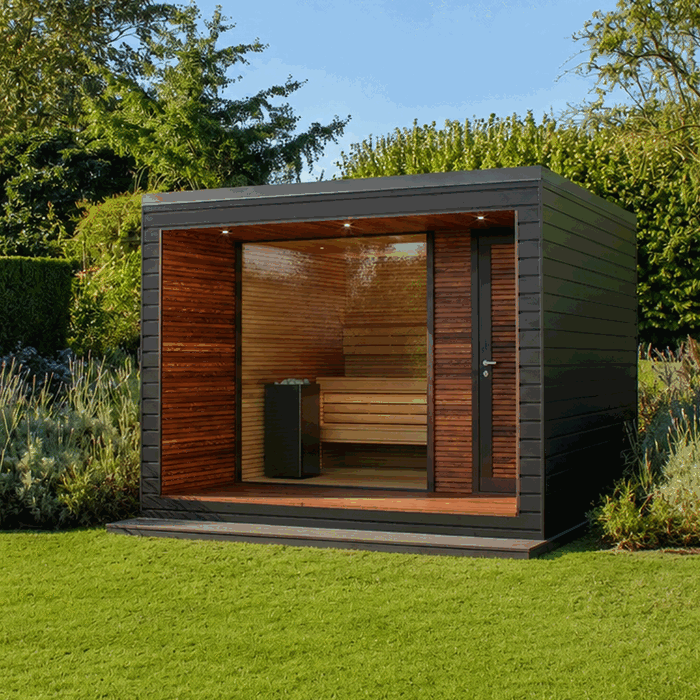
Good outdoor sauna site preparation begins before excavation, concrete work or delivery. The correct location must support the sauna, manage rain and snowmelt, allow safe access, accommodate the planned heater and remain practical to maintain. A base that looks level at first can still create problems if water collects beneath the structure, the supporting surface settles unevenly or service access is blocked.
This guide explains the decisions to make before buying or installing an outdoor sauna. Because sauna designs, heaters, properties and local requirements vary, use the final product drawings and installation instructions as the controlling documents. Confirm site-specific construction, utility and permitting questions with qualified local professionals before work begins.
Outdoor sauna site preparation checklist
Use this checklist during early planning. Do not approve permanent foundation work from a catalog photo or an estimated sauna size.
- Choose a location that is convenient to reach throughout the year.
- Confirm the sauna’s final footprint, support points, door position and roof projection.
- Check the ground for slope, soft soil, roots, fill material and signs of standing water.
- Select a stable, level base appropriate for the sauna and local ground conditions.
- Plan where roof runoff, snowmelt and wash water will go.
- Preserve the manufacturer-required clearances around the heater, chimney, walls and roof.
- Leave working space for assembly, inspection, cleaning and future exterior treatment.
- Plan electrical, drainage or other service routes before closing the base.
- Verify delivery access from the street to the installation area.
- Keep the prepared base clear, clean and protected until installation.
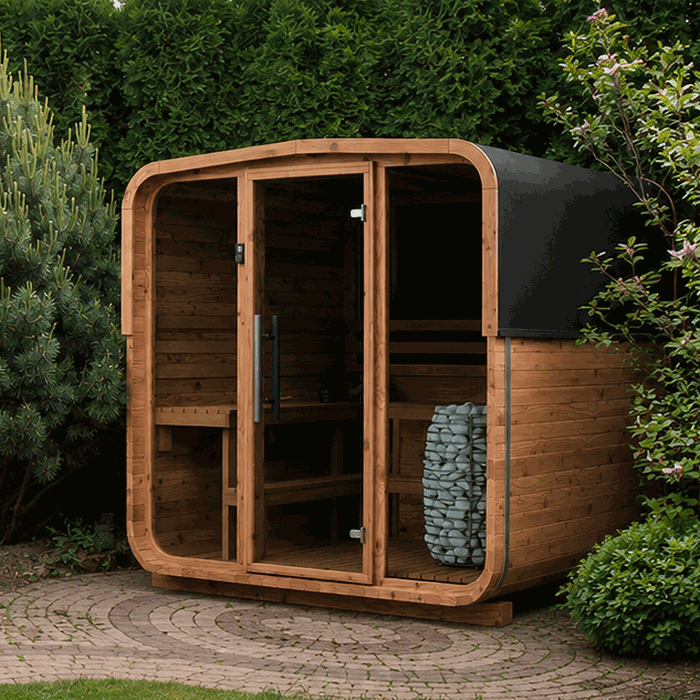
1. Choosing the best outdoor sauna location
The best location balances privacy, access, drainage, utility routing and maintenance. A distant corner may offer seclusion but become inconvenient in rain, snow or darkness. A position directly beside the house may simplify access but create conflicts with roof runoff, windows, doors, utility equipment or required separation distances.
Start with everyday use
Walk the route from the house to the proposed sauna. Consider how it will feel when the ground is wet, icy or dark. Plan a stable walking surface and suitable outdoor lighting without assuming that light from the sauna or house will cover the entire route. The door should open onto a secure, unobstructed landing rather than loose soil, a steep step or a drainage channel.
Privacy can come from orientation as well as distance. Before using fences or dense planting, determine whether those additions would block maintenance access, restrict airflow or place combustible material too close to the sauna or heater system. Preserve the required clearances even when landscaping changes later.
Evaluate the surrounding property
Inspect the site after rain if possible. Look for puddles, erosion, water flowing from neighboring grades and discharge from downspouts. A dry appearance during summer does not prove that the location remains dry during seasonal storms or snowmelt.
Avoid placing the sauna where it could interfere with existing utility lines, septic components, drainage infrastructure, easements or access routes. Before digging, identify underground services through the appropriate local process. Also check whether tree roots, future tree growth or falling branches could affect the installation.
Consider sun, wind and exposure
Sun and prevailing weather affect comfort and exterior maintenance. An exposed location may receive more wind-driven rain and drifting snow, while a heavily shaded location may dry slowly. Neither exposure is automatically wrong, but it should influence drainage, access and maintenance planning.
Do not rely on a nearby wall, fence or hedge as weather protection unless the required clearance remains available. Structures can redirect wind, rain and snow rather than simply blocking them.
2. Confirm the sauna footprint before building the base
The prepared area must be based on the selected sauna’s current technical documents. Confirm the external footprint, structural support layout, floor arrangement, entrance orientation, roof overhang and any heater-related components. A barrel sauna, cabin-style sauna and modular sauna may transfer loads differently even when their overall occupied areas appear similar.
Mark the proposed footprint with stakes or removable paint. Then mark the door swing, approach path and a working perimeter. Stand at the marked entrance and test how people will move around it. This simple layout exercise often identifies conflicts with fences, retaining walls, branches and patio furniture before construction begins.
Important: Do not size or position a foundation from nominal model names, promotional images or assumptions. Use the approved drawings for the exact sauna configuration being installed.
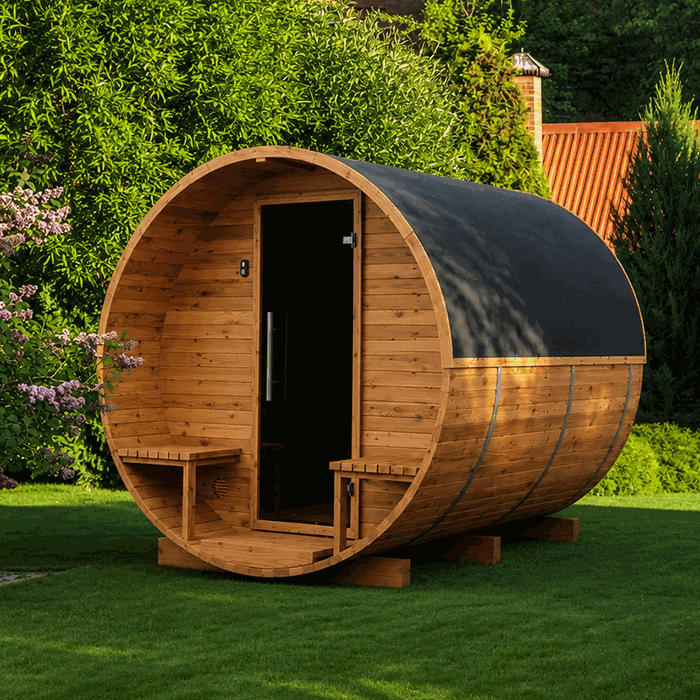
3. Selecting an outdoor sauna base
An outdoor sauna needs a firm, level and durable support system. The base must resist settlement and keep the structure correctly supported over time. The appropriate solution depends on the sauna design, soil, drainage, climate and local construction practices.
| Base approach | Potential advantages | Planning considerations |
|---|---|---|
| Concrete slab | Continuous, durable surface with straightforward cleaning around the structure | Requires correct grading, curing, dimensions and utility coordination; a flat slab must not become a water basin |
| Concrete piers or engineered footings | Can provide defined structural support while leaving open space below parts of the sauna | Support locations must match the sauna design; soil, frost movement and lateral stability require local assessment |
| Compacted aggregate base with suitable supports | Can promote drainage and suit some manufacturer-approved installations | Excavation, edge restraint, compaction and support placement are critical; loose decorative gravel alone is not a structural base |
| Existing patio or paved surface | May offer a convenient prepared location | Must be checked for capacity, level, drainage, condition and compatibility; visual appearance is not proof of suitability |
| Raised deck or platform | May integrate the sauna with an outdoor living area | Requires structural verification, moisture planning, safe access and confirmation that the sauna may be installed this way |
Level does not mean poorly drained
The sauna’s structural supports generally need to sit level according to its instructions. The surrounding site, however, should move water away. These are separate objectives. Do not create an unintended depression around a level foundation. A qualified installer can establish the correct relationship between the support surface and adjacent grading.
Prepare the ground, not just the visible surface
Removing grass and placing pavers on top of soft soil rarely provides dependable long-term support. Organic soil, roots and loose fill can compress or decay. Proper preparation may involve excavation, suitable compacted material, formed concrete or engineered supports. The required method depends on the site and cannot be determined from appearance alone.
If an existing patio is being considered, inspect it for cracks, settlement and standing water. Confirm what lies beneath it and whether it was designed for the proposed use. Do not assume that a patio suitable for chairs is automatically suitable for a permanent sauna.
4. Drainage and moisture management
Drainage planning protects the base, the surrounding ground and convenient access. It should address water from above, water moving across the property and water associated with normal sauna use.
Manage roof runoff
Determine where water leaves the sauna roof. Do not direct concentrated runoff toward the doorway, foundation edge, neighboring property or an area where it can refreeze on the walkway. If the sauna design includes or accepts a gutter arrangement, coordinate outlets with the site drainage plan rather than allowing them to discharge against the base.
Nearby buildings matter too. A house downspout or pergola roof can send substantial water toward an otherwise suitable sauna location. Trace all visible runoff paths before finalizing the layout.
Grade the surrounding area
The ground around the sauna should not funnel surface water beneath it. Preserve positive drainage when adding paths, planting beds or edging. Raised edging can accidentally trap water, while impermeable paving may redirect it toward the structure.
If the property naturally collects water, surface grading alone may not solve the problem. Seek site-specific advice before introducing drains, trenches or buried discharge lines. Drainage work must have an appropriate outlet and should not transfer a problem elsewhere.
Plan for internal water
Saunas differ in floor and drain design. Some configurations may include a planned drain or water-resistant floor arrangement, while others require different cleaning practices. Follow the selected model’s instructions. Never drill the floor or add an improvised drain without confirming that doing so is compatible with the structure.
Where a drain is part of the approved plan, determine its route and destination before constructing the foundation. Access for cleaning and protection from seasonal conditions should be considered. Plumbing and discharge questions must be resolved according to local requirements.
Preserve ventilation below the structure
If the sauna is designed with an air space beneath its floor, do not fill that space with soil, mulch, foam or tightly packed landscaping. Avoid creating pockets where wet leaves and debris accumulate against wood. The exact underfloor arrangement must follow the installation documents.
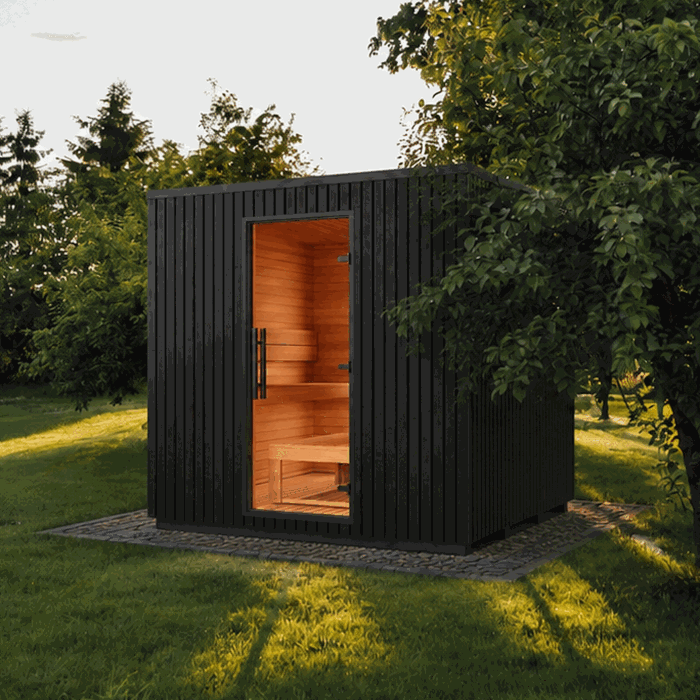
5. Clearances around the sauna
Clearance is not merely leftover space. It supports installation, ventilation, fire safety, cleaning and future maintenance. Different clearances may apply to the sauna body, heater, chimney or flue, electrical equipment, property features and nearby combustible materials.
Manufacturer and heater clearances
Use the instructions supplied with the sauna and the exact heater. Heater and chimney requirements cannot be inferred from the room size or copied from another installation. Do not reduce a stated clearance because a nearby surface appears heat resistant. Any heat shield or protective assembly must be approved for the intended arrangement and installed as directed.
Assembly and maintenance space
Installers may need access to wall faces, roof edges, fasteners and utility connections. After installation, the owner may need to wash the exterior, inspect seals, treat wood or remove leaves. A narrow gap beside a fence can make routine work difficult or impossible.
Ask these practical questions:
- Can a person safely reach every exterior side that needs maintenance?
- Can doors and windows open fully without striking landscaping or furniture?
- Can roof debris and snow be addressed without entering a neighbor’s property?
- Can heater, electrical and drainage components be inspected?
- Will future shrubs or vines grow into the required clearance?
- Is there room to replace a component without dismantling a fence?
Overhead clearance
Look above the site for branches, eaves, overhead services and other obstructions. Account for the sauna’s full installed height and roof components using the product drawings. Tree branches can move in wind and drop leaves, sap, snow or limbs, so a branch that does not touch the roof today may still be unsuitable.
6. Heater and utility planning
Choose the heater configuration early because it can affect placement, service routing and clearance planning. Do not pour a foundation or conceal a conduit route until the exact equipment and installation approach are confirmed.
Electric sauna heaters
An electric heater installation requires planning by an appropriately qualified professional. The final route, equipment, controls, disconnecting method and protection must be determined for the selected heater and site. Avoid temporary cords or improvised outdoor connections. Preserve access to equipment that must remain serviceable.
Wood-burning sauna heaters
A wood-burning arrangement adds chimney, combustion clearance, fuel handling, ash management and spark-related considerations. The heater and chimney system must be planned together. Confirm whether the chosen location can accommodate the complete approved system before committing to the foundation.
Store firewood and dispose of cooled ash in a manner appropriate to the equipment and property. Do not use stored wood, fences or decorative screens to encroach on required clearances.
Water, lighting and other services
If outdoor lighting, water or drainage is planned, coordinate all routes before the base is completed. Keep utility penetrations limited to approved locations. Any later addition should be reviewed rather than drilled through the sauna or foundation without a plan.
7. Delivery and installation access
A prepared base is only useful if the sauna and installation materials can reach it. Review access from the delivery point to the final location. Check gates, turns, slopes, steps, soft lawns, overhead branches and parked vehicles. The required access depends on whether the sauna arrives as components, large sections or an assembled unit, so confirm the delivery format for the exact order.
Do not assume delivery includes moving materials across the property or lifting them over a building. Read the applicable purchase and delivery information and discuss site restrictions before ordering. The ordering guide, Return and Cancellation Policy and warranty information are also useful to review before permanent site work begins.
Keep the route stable and free of debris on installation day. Protect finished patios and landscaping where necessary. If lifting equipment may be required, the operator must evaluate access, ground conditions and overhead obstacles.
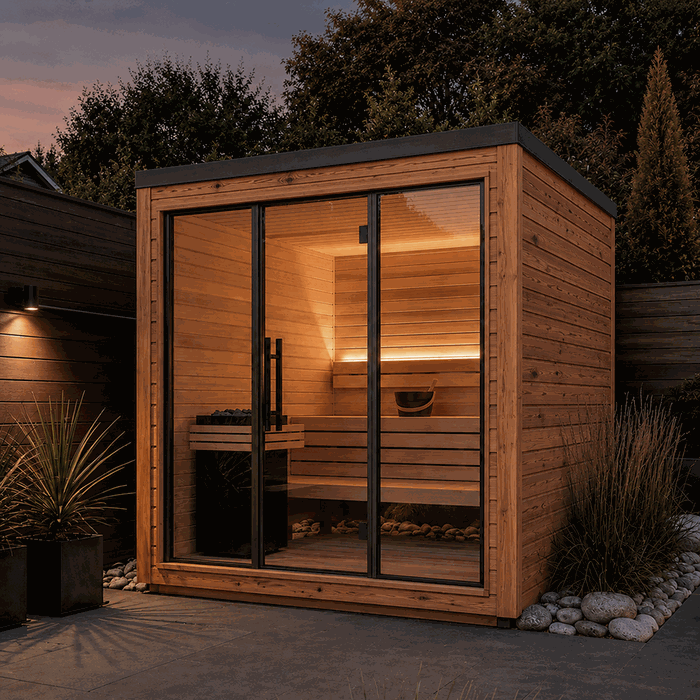
8. Recommended preparation sequence
- Select the exact sauna and heater. Obtain the current drawings and installation instructions.
- Survey the intended area. Review slope, soil, runoff, vegetation, utilities and year-round access.
- Mark the complete layout. Include the footprint, roof projection, entrance, clearances and maintenance zone.
- Confirm local requirements. Resolve property, construction, heater, chimney, electrical and drainage questions before work.
- Choose the base design. Match it to the sauna support arrangement and site conditions.
- Coordinate services. Plan approved electrical, water, lighting or drainage routes before concrete or paving closes access.
- Prepare drainage. Establish surrounding grades and suitable runoff destinations.
- Construct and verify the base. Check dimensions, position, level, condition and support locations against the final drawings.
- Confirm delivery access. Remove temporary obstacles and ensure the installation area can be reached safely.
- Document the finished site. Take measurements and photographs before delivery, especially where utility routes will later be concealed.
This sequence applies broadly to outdoor structures. Anna Koku Skola, for example, should be understood as one real greenhouse installation sequence: selection, site review, foundation preparation, delivery coordination and assembly are connected stages, not interchangeable projects. The same disciplined handoff between drawings, ground preparation and installation is valuable when planning a sauna.
9. Common site preparation mistakes
- Building before selecting the model: This can produce incorrect support positions, dimensions or service penetrations.
- Focusing only on level: A level pad surrounded by poor grading may collect water.
- Using loose blocks on soft soil: Individual supports can settle differently and distort the structure.
- Ignoring roof runoff: Water may erode the base edge or freeze at the entrance.
- Placing the sauna tightly against a fence: This can obstruct assembly, ventilation and exterior care.
- Adding utilities later: Retrofitted routes may require disruptive cutting or exposed temporary solutions.
- Forgetting delivery access: A gate or turn that is too restricted can prevent materials from reaching the site.
- Landscaping too early: New beds, edging and shrubs can be damaged during installation or block required clearance.
- Assuming another project’s foundation will work: A pergola, greenhouse, shed and sauna can have different support and moisture requirements.
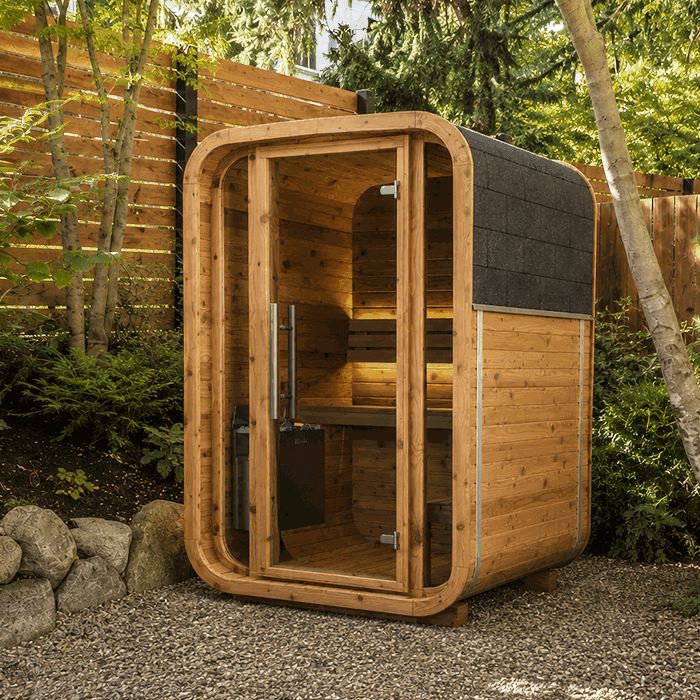
10. Lessons from planning other outdoor structures
Customers coordinating several backyard projects can use related Bloomcabin resources to compare site-planning questions without treating the structures as technically identical. The pergola foundation and patio preparation guide explains another approach to base planning. Weather considerations are discussed in winter pergola care, louvered pergola planning and the bioclimatic pergola guide.
For broader backyard layout inspiration, review the project presentations for the Orello 2 garden house, Verdana 2 garden house and Durano garden house. These are planning references, not substitutes for sauna-specific instructions.
Customers developing a coordinated garden may also compare the setting and orientation of the Aluminum Classic Greenhouse, Classic Plus 385, Bloomcabin Orangerie, Aluminum Lean-to Greenhouse, Garden View T Greenhouse and Bloomcabin Classic Premium Greenhouse. Outdoor living layouts may additionally include the Bloomcabin Pergola or Bloomcabin Prestige Greenhouse. Each structure needs its own approved foundation and clearance plan.
For purchasing support, learn about Bloomcabin’s freedom of choice and customer service. These resources can help organize questions before an order is finalized.
Outdoor sauna site preparation FAQ
Can I put an outdoor sauna directly on grass?
Grass and untreated topsoil generally do not provide a dependable permanent support surface. Organic material retains moisture and can compress or decay. The sauna should use a prepared base compatible with its structural design and the site’s ground conditions.
Does an outdoor sauna base have to be perfectly level?
The structural support surface should meet the level and tolerance requirements in the sauna’s installation documents. At the same time, adjacent ground must drain away. Do not slope structural supports unless the manufacturer’s design specifically calls for it.
Can I install a sauna on an existing concrete patio?
Possibly, but the patio must be evaluated for dimensions, condition, support, drainage and compatibility with the sauna. Check for cracking, settlement and water collection. Confirmation from a qualified professional may be appropriate because the original purpose and construction of an existing slab are not always known.
How much clearance should I leave around an outdoor sauna?
There is no single universal clearance. Use the sauna, heater and chimney instructions, along with applicable local requirements. Also leave enough practical space for assembly, ventilation, inspection, cleaning and exterior maintenance.
Should the base be larger than the sauna?
The answer depends on the approved foundation design. A surrounding apron can improve access, but an oversized flat surface may collect or direct water incorrectly. Determine the finished dimensions from the exact drawings and drainage plan rather than applying a generic extension.
Does every outdoor sauna need a floor drain?
No universal answer applies. Drain requirements and floor construction vary by model and intended use. Follow the sauna instructions and resolve the approved discharge route before foundation work if a drain is included.
Can I place a sauna under trees?
Trees can provide shade, but branches, roots, falling debris and retained moisture may create problems. Confirm overhead and side clearances, inspect tree condition and consider future growth. Do not place the foundation where important roots could make construction or long-term stability impractical.
When should electrical planning begin?
Begin after selecting the exact heater and before constructing the base. Early coordination helps avoid incorrect conduit locations, inaccessible equipment or disruptive cutting later. Final electrical work should be planned and performed by appropriately qualified professionals.
Can the sauna sit beside a fence or house wall?
Only if all product-specific, heater-related and local clearances are satisfied and maintenance access remains practical. Consider roof runoff, windows, vents, doors, eaves and future fence maintenance. A visually convenient gap may not be adequate.
What should be checked immediately before delivery?
Recheck base dimensions, level, drainage, cleanliness and location against the current drawings. Confirm the delivery route, remove obstacles, protect vulnerable surfaces and make sure required site work has been completed. Do not store materials on wet ground if installation cannot begin as planned.
Final readiness check
Before authorizing delivery or installation, confirm that the selected sauna—not a similar model—matches the prepared site. The foundation should be stable and correctly positioned, surface water should have a planned route away, required clearances should remain open, and utility work should be coordinated. The approach path and delivery route must also be usable.
A well-prepared site makes installation more predictable and supports easier ownership. Taking time to resolve drainage, access and maintenance space before construction is usually more effective than trying to correct them after the sauna is in place.
