



Useful information · PREPARATION
Measurement Checklist Before Ordering a Greenhouse, Pergola or Sauna
A practical pre-order measurement checklist for greenhouses, pergolas and saunas, covering site boundaries, foundations, wall conditions, clearances, access, utilities and delivery planning.
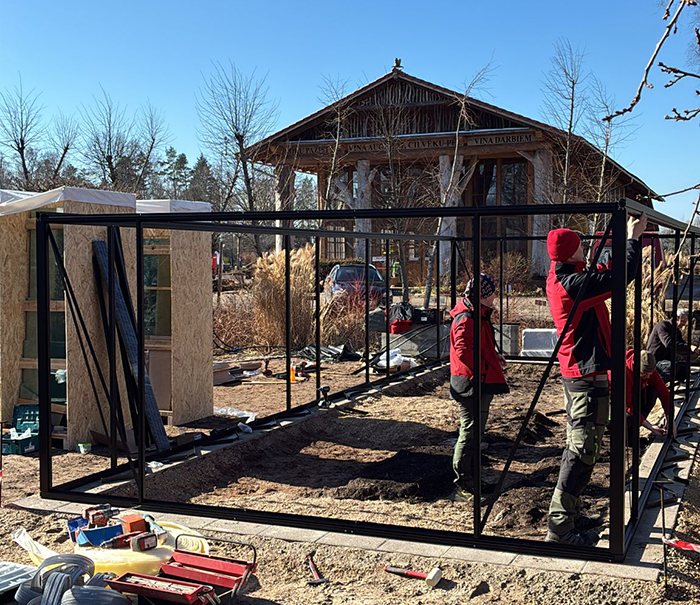
Measure the site before choosing the final model
Accurate site measurements help prevent conflicts between the structure, its foundation, nearby buildings, paths, fences, utilities and normal use of the yard. The goal is not simply to find an open rectangle. You need to confirm that the complete structure can be installed, accessed, operated and maintained in the proposed location.
Use this checklist before requesting a final quotation or approving an order. Product drawings, installation documents and local requirements should always take priority over general planning guidance. If a contractor will prepare the foundation or assemble the structure, involve that contractor before foundation work begins.
Four measurement rules to follow
- Measure the actual site. Do not rely only on real estate plans, landscape drawings or an earlier contractor's dimensions.
- Record dimensions rather than estimates. Write down each measurement immediately and identify where it was taken.
- Check more than one point. Walls, patios and property lines may not be parallel, square or level.
- Do not order from the nominal footprint alone. Confirm the current product drawing, foundation interface, door movement, roof projection and required working space.
Keep one dated site sketch as the master record. Add photographs that show the proposed location and surrounding obstacles, but use measured dimensions rather than photographs to establish scale.
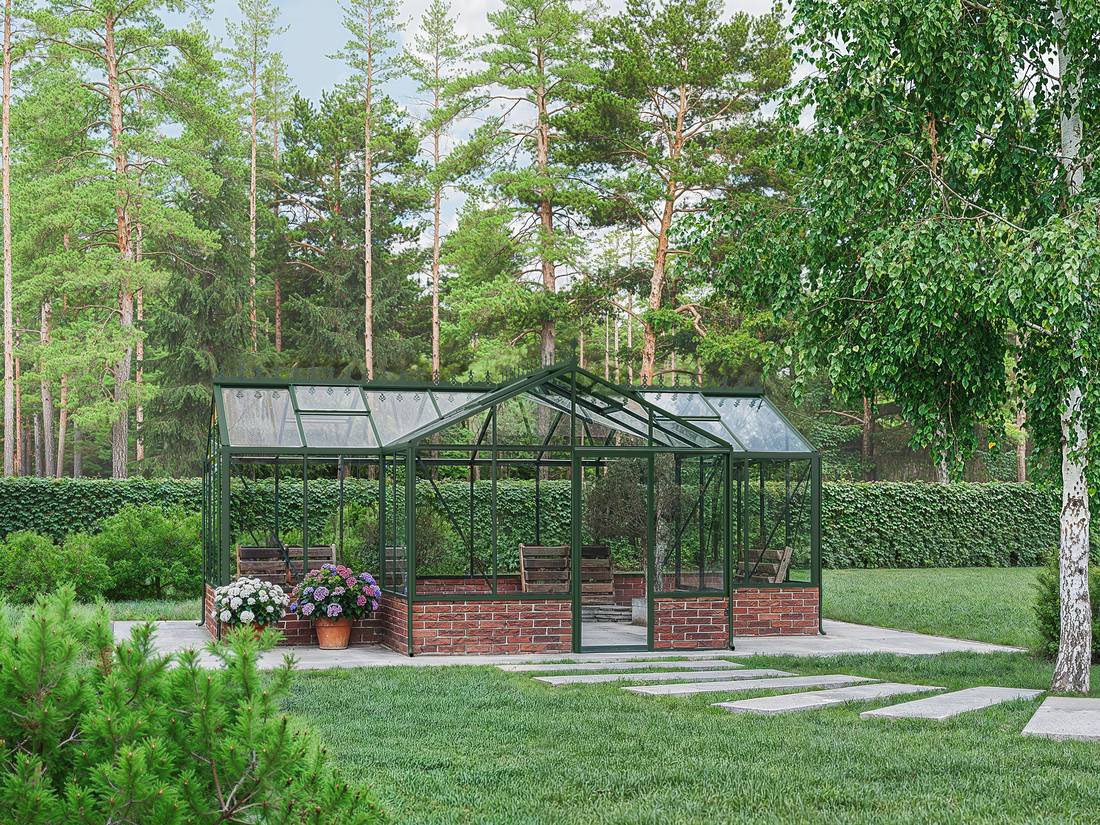
Tools and information to prepare
- A tape measure suitable for the distances involved
- A laser distance meter, if available
- A long level or appropriate leveling equipment
- Stakes, string or removable marking tape
- A square or a method for comparing diagonals
- Graph paper or a digital site plan
- A camera for recording visible site conditions
- The latest product plan, installation drawing and foundation information
- Available utility and property records
- Contact details for the foundation contractor, installer and local approval authorities
Mark the proposed footprint at full size whenever practical. Walking around a marked outline often reveals circulation, door and maintenance issues that are easy to miss on a small drawing.
Create a complete site plan
Start with a plan showing the house, garage, property boundaries and proposed structure. Add fences, retaining walls, trees, planting beds, roof overhangs, steps, drains, utility equipment and overhead obstructions. Record the shortest distance between the proposed footprint and each nearby feature.
Before committing to the location, investigate zoning, setbacks, easements, homeowner association rules and approval procedures. Requirements vary by jurisdiction and project. The greenhouse and pergola permit planning guide explains the questions to raise, but only the relevant authorities can confirm what applies to a particular property.
Observe drainage after rain if possible. Note where water collects, where roof runoff travels and whether soil has recently been filled or disturbed. A convenient open space is not automatically a suitable foundation location.
Measurements required for every structure
| Measurement | What to record | Why it matters |
|---|---|---|
| Usable width and length | The clear space at ground level and at projecting roof level | Nearby walls, eaves and vegetation can reduce usable space above the footprint. |
| Diagonal distances | Both diagonals of the marked rectangle | Unequal diagonals indicate that the layout is not square. |
| Level variation | High and low points across the proposed base | Visible flatness does not establish that a site is level. |
| Vertical clearance | Distance to eaves, branches, cables and other overhead features | The full structure and installation process need unobstructed space. |
| Perimeter clearance | Space on every side, not just the entrance | Assembly, cleaning, drainage and future repairs may require access. |
| Door route | Door location, opening direction and clear approach | Doors must operate without hitting steps, walls, furniture or planting. |
| Delivery route | Widths, heights, turns, slopes, gates and surface changes | The structure's location may be reachable by people but not by delivered components. |
Choose the product type before finalizing the footprint
Different configurations interact with a site in different ways. A freestanding greenhouse needs perimeter planning, while a wall-attached model also depends on the host wall. A pergola may need to coordinate with a patio, house openings and outdoor furniture. A sauna requires a planned entrance, service route and appropriate utility assessment.
For greenhouse comparison, review Bloomcabin's general aluminum greenhouse information and design choice overview. Relevant configurations include the Classic greenhouse, Classic Premium greenhouse, Bloomcabin Orangerie, Garden View T greenhouse and Bloomcabin Oasis pyramid greenhouse.
Where space is constrained, compare a lean-to aluminum greenhouse with a mini wall greenhouse. The small greenhouse planning guide provides additional layout considerations.
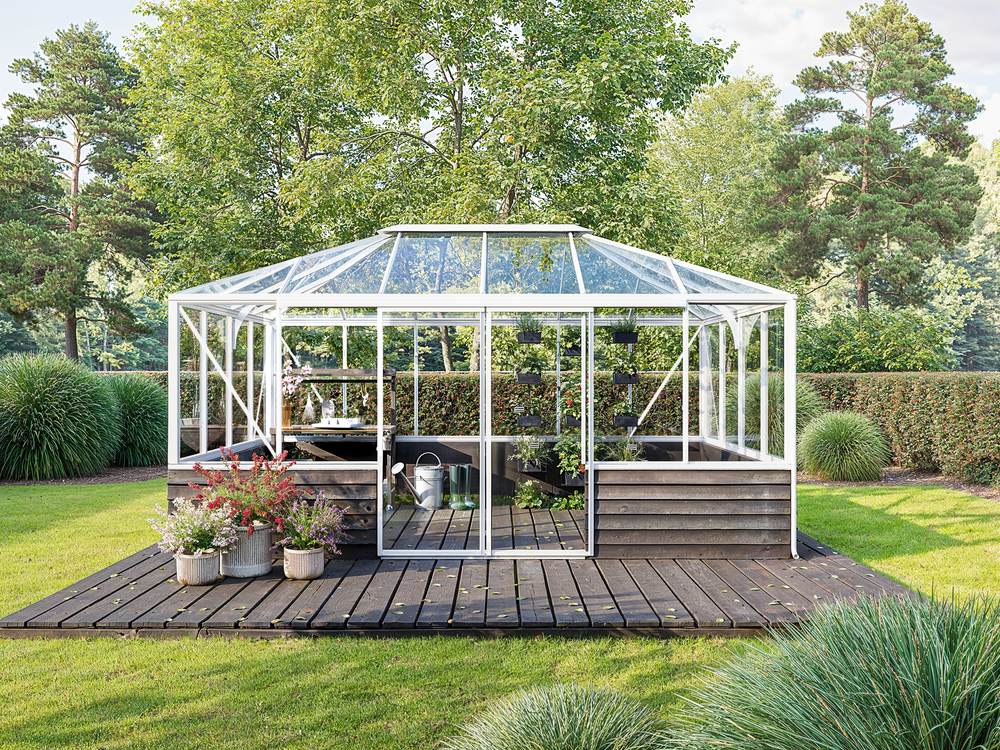
Greenhouse measurement checklist
- Define whether beds, containers, shelving or a central seating area must fit inside.
- Map the intended entrance and the path used to move soil, plants and equipment.
- Confirm that doors and ventilation components have unobstructed operating space.
- Allow exterior access for glass cleaning, gutter care and inspection.
- Record nearby shade sources and seasonal changes in sunlight.
- Plan where roof and site water will go without assuming the existing grade is adequate.
- Confirm the foundation interface from the selected model's current documents.
An orangery or T-shaped plan requires more than one simple width and length. Mark every projection and corner. The orangery greenhouse guide can help clarify layout choices. For general ordering questions, consult the Aluminum Greenhouse FAQ.
Pergola measurement checklist
- Measure the intended roof area and the positions where supports can meet the prepared base.
- Check clearances from doors, windows, shutters, lights, cameras, vents and roof edges.
- Lay out dining tables, grills, lounge furniture and circulation space inside the outline.
- Consider whether glass walls or other side elements are planned now or may be added later.
- Identify the path for water leaving the pergola area and surrounding patio.
- Record exposure to wind, drifting snow, falling leaves and nearby roof runoff.
- Verify access for installation and later cleaning.
Compare a freestanding Bloomcabin pergola, a lean-to pergola and a bioclimatic aluminum pergola. The pergola size guide, wall-mounted versus freestanding comparison and bioclimatic versus standard pergola guide help narrow the configuration before final measurement.
Sauna measurement checklist
For a sauna, record the available floor area, ceiling and overhead conditions, door approach, surrounding clearances and the complete route from unloading point to final position. Identify corners, narrow halls, gates, stairs and surface transitions along that route.
Document the proposed foundation or floor and the nearby wall, window and roof conditions. Heating, ventilation, drainage and electrical arrangements depend on the selected sauna and site. Do not infer these requirements from a generic checklist. Have the appropriate qualified professionals review the current manufacturer documentation and applicable local requirements before construction or utility work begins.
Also plan for routine cleaning, heater access where applicable, and the removal or replacement of serviceable items. A sauna that fits physically may still be poorly positioned if its entrance conflicts with a fence, snow storage, furniture or a frequently used walkway.
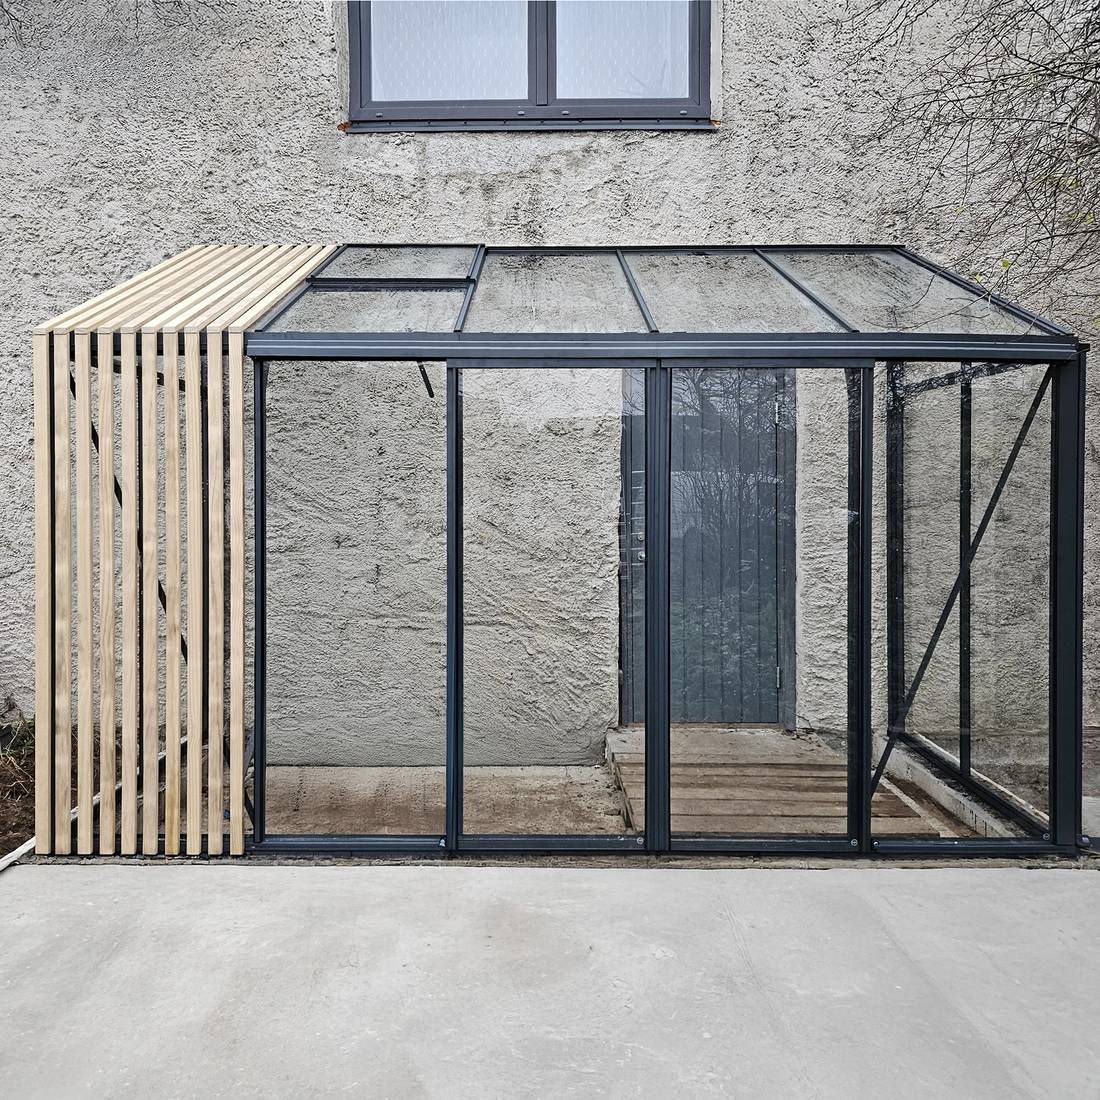
Foundation and patio measurements
The supporting surface must be planned for the selected structure rather than treated as a separate landscaping decision. Measure the full prepared area, diagonals, elevations and surrounding grade. Record cracks, joints, paver edges, drains and changes in material. Never assume an existing patio is suitable solely because it looks level or supports furniture.
For greenhouses, compare foundation approaches in the greenhouse foundation guide. Pergola planning is covered in the pergola foundation and patio preparation guide. Final preparation should follow the current project drawings and professional assessment of the site.
How to check the layout
- Mark each outside corner using the current plan.
- Measure every side independently.
- Compare both diagonals.
- Check elevations across the footprint and around its perimeter.
- Mark support or attachment locations only from approved project information.
- Recheck the layout after excavation, forming or other foundation preparation.
Additional checks for wall-mounted structures
A wall-mounted product depends on the condition and geometry of the building as well as the ground. Measure the wall at the bottom, middle and top of the planned installation zone. Check whether it leans, bows or changes material. Record cladding, trim, downspouts, vents, utility boxes, outlets, lights, windows, doors and eaves.
Do not treat cladding as confirmation of the supporting construction behind it. The attachment method and suitability of the wall require project-specific review. This applies to a lean-to greenhouse, pergola and more complex wall layouts such as the wall-mounted T-model orangery.
Plan doors, circulation and interior use
Mark the entrance at full scale and test the route approaching it. Consider wheelbarrows, carts, planters, sauna supplies and outdoor furniture, not just pedestrian access. A narrow corner immediately outside a door can make an otherwise adequate entrance inconvenient.
Inside a greenhouse, sketch planting beds, pots, benches and walking routes. Climate goals can influence the preferred arrangement, so review the greenhouse temperature and humidity guide before fixing a tightly packed layout. For a pergola, position furniture and leave practical circulation around it. If perimeter glass is being considered, read the pergola glass wall guide and account for access and operation in the plan.

Utilities, drainage and environmental conditions
Show visible and known underground utilities on the site sketch, but do not assume the sketch is a complete utility survey. Identify where professional locating or investigation is needed before excavation or anchoring.
Record available utility locations without designing the system yourself. Any power, lighting, heating, water or drainage work must be coordinated with the selected product, current documentation and qualified professionals. Also note irrigation spray, roof discharge, low spots and runoff from neighboring surfaces.
For pergola climate planning, review how adjustable systems function in the bioclimatic pergola guide. Customers in cold climates should also consider the operating and care questions described in the winter pergola guide.
Measure the delivery and installation route
Trace the route from the expected unloading area to the foundation. Measure gates, passages, doorways and overhead clearances. Record tight turns, steps, slopes, soft ground, gravel, landscaping, retaining walls and areas where components cannot be set down safely.
Check whether parked vehicles, branches, temporary fencing or construction materials could block access. Consider where packaging and components can be staged without obstructing the installer or damaging the prepared base. Delivery and purchasing conditions should be reviewed in the current terms of purchase and delivery. Do not assume a successful parcel delivery proves that large project components can reach the site.
A practical measurement sequence: Anna Koku Skola
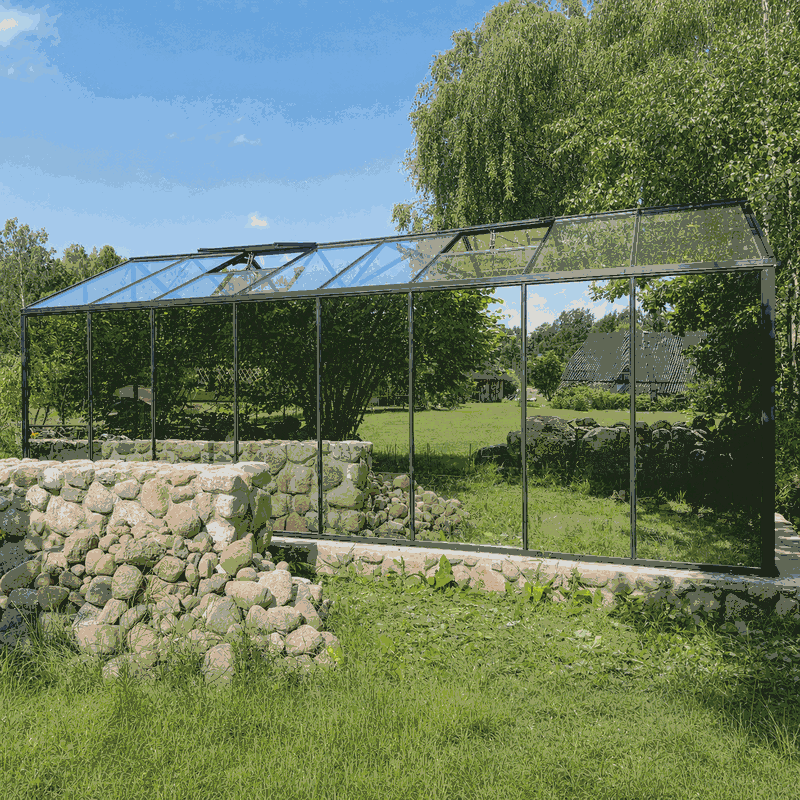
Treat the Anna Koku Skola greenhouse as one complete installation sequence rather than as unrelated views. The useful planning lesson is to document the same location throughout the project.
- Before preparation: photograph the open site, mark boundaries and record nearby objects.
- During layout: mark the exact footprint and compare sides, corners and diagonals.
- During foundation work: verify dimensions and elevations before the work becomes difficult to change.
- Before assembly: clear the delivery route and establish a safe staging area.
- After assembly: record drainage, door access and maintenance clearance for future reference.
This sequence does not reveal hidden construction details and should not be used to infer foundation or attachment specifications. Those must come from the current documentation for the ordered structure.
Pre-order measurement worksheet
| Item | Record |
|---|---|
| Site address and measurement date | Identify the property and version of the plan |
| Selected product and configuration | Record the exact model under consideration |
| Footprint sides and diagonals | Enter all measured values and locations |
| Highest and lowest elevations | Identify the measurement method |
| Nearest boundary and structure | Record the shortest measured distances |
| Overhead restrictions | List eaves, branches, cables and other obstacles |
| Door and circulation plan | Show entrance, approach and interior routes |
| Delivery route | Record minimum clearances and difficult turns |
| Utilities and drainage | Mark known locations and unresolved questions |
| Approvals and professional review | List completed and pending confirmations |
Final checklist before approving an order
- The exact product configuration has been selected.
- The latest drawing has been compared with the measured site.
- All sides, diagonals, levels and vertical clearances have been recorded.
- Doors, windows, louvers and other operating elements have clear space.
- The foundation approach has been professionally coordinated.
- Wall conditions have been assessed where attachment is planned.
- Boundaries, easements, approvals and association rules have been investigated.
- Utilities and drainage have been reviewed.
- The delivery path and staging area have been measured.
- Exterior maintenance access has been retained.
- Unresolved assumptions are listed for confirmation before ordering.
Recheck drawings and manuals after ordering
Pre-order measurements establish whether the project is feasible, but they do not replace model-specific drawings or manuals. After the order configuration is confirmed, compare the final project information with the site again. Give the relevant documents to the foundation contractor and installer before they begin work.
Do not build a foundation from a marketing image, an earlier model's plan or dimensions copied from another installation. Preserve the final drawings, manuals and dated site sketch with the property records. Local page functionality may provide the applicable USA manual links separately.
Measure for future maintenance, not just installation
Retaining reasonable access around the structure makes inspection and cleaning more practical. Avoid placing permanent landscaping, storage or fencing where it blocks doors, drainage paths or exterior surfaces. Greenhouse owners can review aluminum greenhouse maintenance guidance. Pergola owners should consult the Aluminum Pergola FAQ for broader ownership questions.
Frequently asked questions
Should I order using the footprint shown on a product page?
Use product information to compare configurations, but confirm the current drawing for the exact ordered model. The complete site review must include projections, operating space, foundation coordination and maintenance access, not only a nominal width and length.
How can I tell whether a rectangular layout is square?
Measure all four sides and both diagonals. Matching side dimensions alone do not prove that the corners are square. If the diagonals differ, recheck the corner positions and measurements before foundation work proceeds.
Can an existing concrete patio be used?
Its presence does not establish suitability. Record its dimensions, level variation, slope, joints, cracks, edges and surrounding drainage. The selected structure, attachment approach, existing construction and local conditions require project-specific assessment.
How much clearance should I leave around the structure?
There is no universal clearance for every product and property. Base the decision on current drawings, assembly needs, door operation, roof projections, cleaning, drainage and future service. Local setbacks may require additional space.
What must be measured for a lean-to greenhouse or pergola?
Measure the foundation area and the host wall. Record wall height, straightness, materials, trim, openings, eaves, downspouts and utilities. The supporting construction behind visible finishes must also be assessed by an appropriate professional.
Do I need to measure if Bloomcabin provides product drawings?
Yes. Product drawings describe the product; site measurement establishes whether that product works at your property. Both sets of information are needed, and they must be compared before the foundation and installation are finalized.
When should I involve the installer?
Preferably before foundation preparation or utility work begins. Early review allows the installer and other contractors to identify access, staging, attachment and sequencing concerns while adjustments are still practical.
What if my yard slopes?
Record the elevation difference across and around the proposed footprint. Do not compensate by estimating or by ordering a different size without review. Foundation design and site grading should be addressed for the specific conditions.
Should I include planned accessories in the measurement?
Yes. Identify accessories and enclosure options before finalizing the layout. They may affect circulation, operating space, utilities or surrounding access. Use only the current information for options compatible with the selected configuration.
What is the most common measurement mistake?
Measuring only an open ground rectangle. A complete survey also considers height, level, diagonals, walls, doors, roof edges, drainage, delivery access, utilities, approvals and the space needed to use and maintain the finished structure.
