



MATERIALS
Designed for Wind, Snow and Year-Round Outdoor Conditions
A weather-ready greenhouse depends on more than its frame and glazing. Learn how site exposure, foundations, careful assembly, ventilation, drainage and routine inspections help prepare a greenhouse for year-round UK conditions.
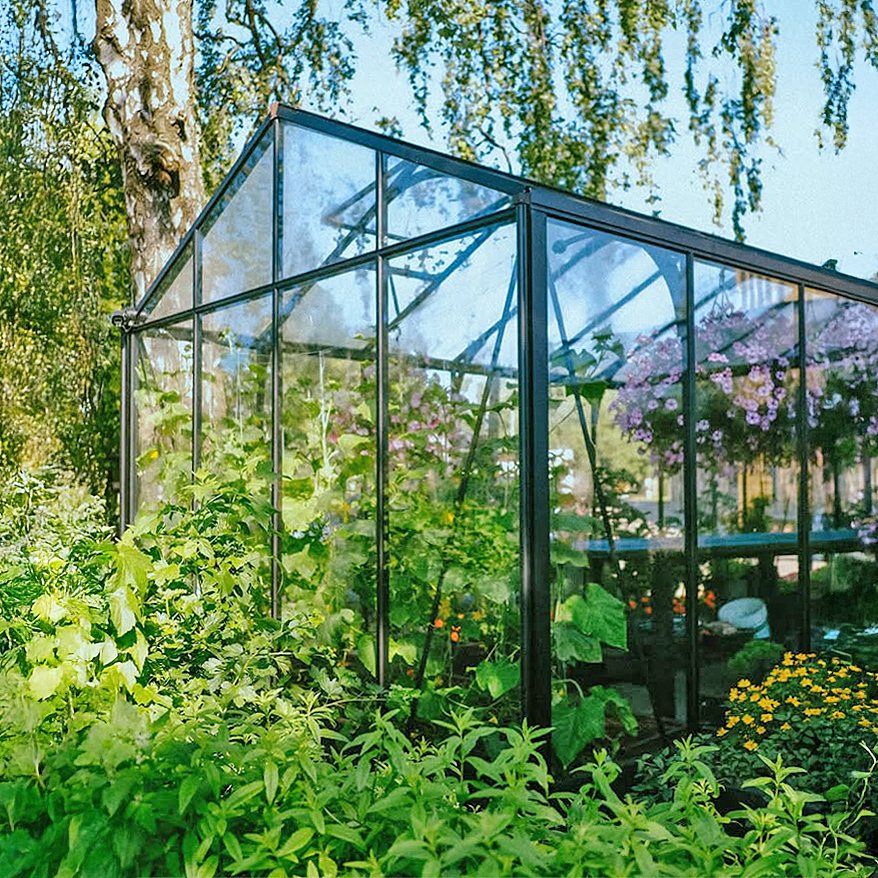
A greenhouse intended for year-round use must cope with more than one type of weather. Across the United Kingdom, the same structure may encounter strong gusts, prolonged rain, occasional snow, frost, summer heat and rapid temperature changes. Successful performance therefore depends on the relationship between the greenhouse, its site, its foundation, the quality of installation and the way it is operated.
This guide explains the practical decisions that support weather readiness. It does not replace the instructions, declared performance information or site-specific advice supplied for an individual model. Always check the documentation for the greenhouse you intend to purchase, particularly where the site is exposed or local planning and building requirements may apply.
What “designed for outdoor conditions” means
A well-designed outdoor structure uses its frame, glazing, seals, fixings and base as a connected system. Weather readiness does not mean that a greenhouse can be placed on any surface, altered freely or left unattended in every conceivable storm. It means that the complete structure is intended for outdoor use when selected, assembled, anchored and maintained correctly.
Wind pressure can act on walls and roof slopes from several directions. Snow and ice add weight, while rain tests roof drainage, seals and the level of the base. Heat causes materials to expand, and freezing conditions may affect doors, vents, gutters and accumulated water. A weakness at the foundation or a loose glazing component can undermine an otherwise sound structure.
When comparing options such as an aluminium classic greenhouse, an aluminium limited-edition greenhouse or a larger Bloomcabin orangery, assess the whole installation rather than the frame material alone.
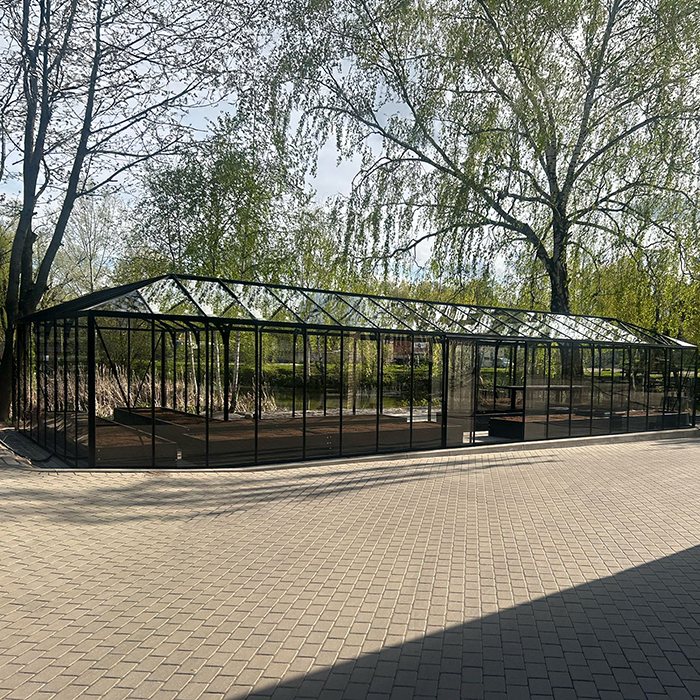
Evaluate your site before selecting a greenhouse
Site assessment should happen before choosing the size or arranging groundworks. Visit the proposed position in different weather if possible. Observe prevailing winds, surface water, shade, nearby trees and the route that installers and packaged components will need to use.
Wind exposure
A sheltered suburban garden and an open coastal or upland plot present very different conditions. Look for uninterrupted approaches over fields, valleys or water, as these can expose a greenhouse to stronger winds. Wind may also accelerate around building corners, through gateways and between closely spaced structures.
Walls and hedges can offer useful shelter, but placing a greenhouse immediately beside a turbulent windbreak may create unpredictable downdraughts. Trees can reduce exposure while also presenting risks from falling branches. Consider their mature size and condition, not only their appearance on a calm day.
If the location is particularly exposed, discuss it before ordering. Do not assume that the heaviest-looking model is automatically appropriate. The correct decision must be based on the model’s documented requirements, the proposed foundation and actual site conditions. The overview of greenhouses for demanding weather conditions provides additional questions to consider.
Snow and water movement
Examine where snow or rainwater could arrive from adjacent roofs. A greenhouse should not be positioned where a larger building can discharge concentrated water, sliding snow or ice onto its roof. Even in places where deep snow is unusual, drifting can create uneven accumulation.
Check the natural fall of the ground after sustained rain. Water should move away from the foundation rather than collect around it. Downpipes and gutters need a suitable discharge route that does not wash out soil beneath the base or create an icy access path in winter.
Access and seasonal use
Allow clear access to doors, vents, gutters and all sides that need cleaning or inspection. A narrow gap against a fence may make future maintenance impossible. Think about carrying trays and tools in wet weather, clearing snow safely and reaching the greenhouse without crossing a waterlogged lawn.
Orientation also affects light and temperature, although there is no single correct direction for every garden. Nearby buildings may provide shelter but also cast seasonal shade. If winter growing is a priority, assess the low winter sun rather than relying on summer observations. The guides to year-round greenhouse gardening and growing fresh food throughout the year can help define how you expect to use the space.
Choosing a model and configuration
Start with documented information for the exact model and configuration. Roof form, glazing type, number and position of openings, doors, base system and connection details all influence performance. Do not transfer assumptions from a different greenhouse that happens to look similar.
Possible starting points include the Premium Classic Plus 384 glass greenhouse and the Bloomcabin Prestige greenhouse with metallic base. Compare each model’s official documents with the site assessment. Independent practical experiences in greenhouse reviews may add context, but they do not replace model-specific instructions.
Attached structures need an additional assessment of the supporting wall and junction details. Freestanding structures distribute forces differently and require complete anchoring around the base. Similar principles apply when deciding between a wall-mounted or freestanding pergola, but greenhouse and pergola requirements must never be treated as interchangeable.
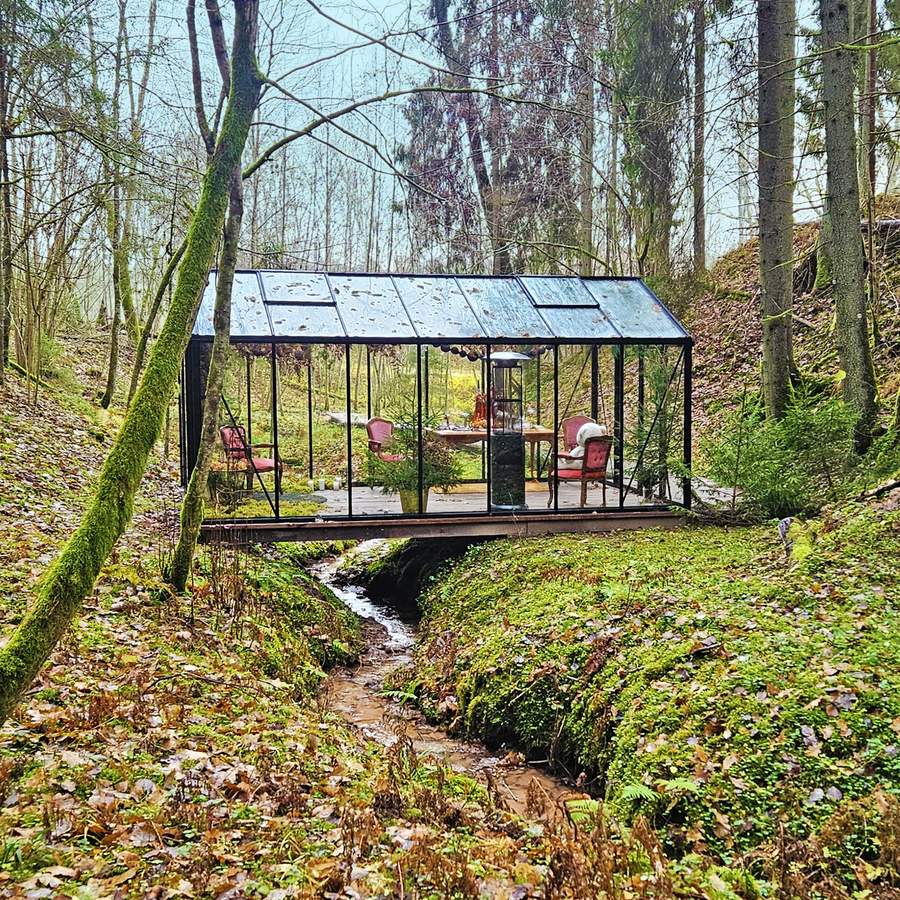
The foundation is part of weather readiness
A foundation provides a level, stable interface between the greenhouse and the ground. It must support the complete structure and give its prescribed anchors a reliable fixing. A frame forced onto an uneven or out-of-square base may be difficult to glaze, and doors or vents may not operate correctly.
Suitable foundation arrangements vary with the model, soil, slope, drainage and local conditions. An existing paved area is not automatically adequate merely because it appears solid. Check its level, construction, condition, dimensions and ability to accept the required fixings. The UK greenhouse foundation guide explains common approaches without removing the need to follow the exact installation manual.
Foundation planning checklist
- Confirm the finished base dimensions from the current instructions for the selected model.
- Check diagonals as well as length and width so the foundation is square.
- Establish a level finished surface and verify it with appropriate measuring equipment.
- Assess soil stability, slope, frost effects and drainage at the proposed position.
- Identify underground services before excavation, drilling or driving ground fixings.
- Plan how gutters and surrounding surfaces will direct water away.
- Use only the specified anchoring positions and compatible fixings.
- Allow any concrete or other foundation work to become ready before assembly begins.
Do not copy foundation details from another outdoor structure. For example, guidance on preparing a pergola foundation is relevant only to the applicable pergola system, not as a substitute for greenhouse instructions.
Receiving and storing components before installation
Plan a dry, secure and level storage area before delivery. Check the number and condition of packages against the supplied documentation, and report visible transit damage through the appropriate process. Avoid opening every package outdoors if rain or strong wind is expected.
Keep profiles supported so that they cannot bend, twist or be walked on. Store glazing and other vulnerable components in accordance with the handling instructions, away from vehicle routes, children and unsecured garden equipment. Small fixings should remain labelled and grouped by assembly stage.
Read the manual before separating parts or removing protective material. Confirm that the foundation is complete, the work area is accessible and suitable help is available. Ordering and delivery information can be checked under how to order and the terms of purchase and delivery.
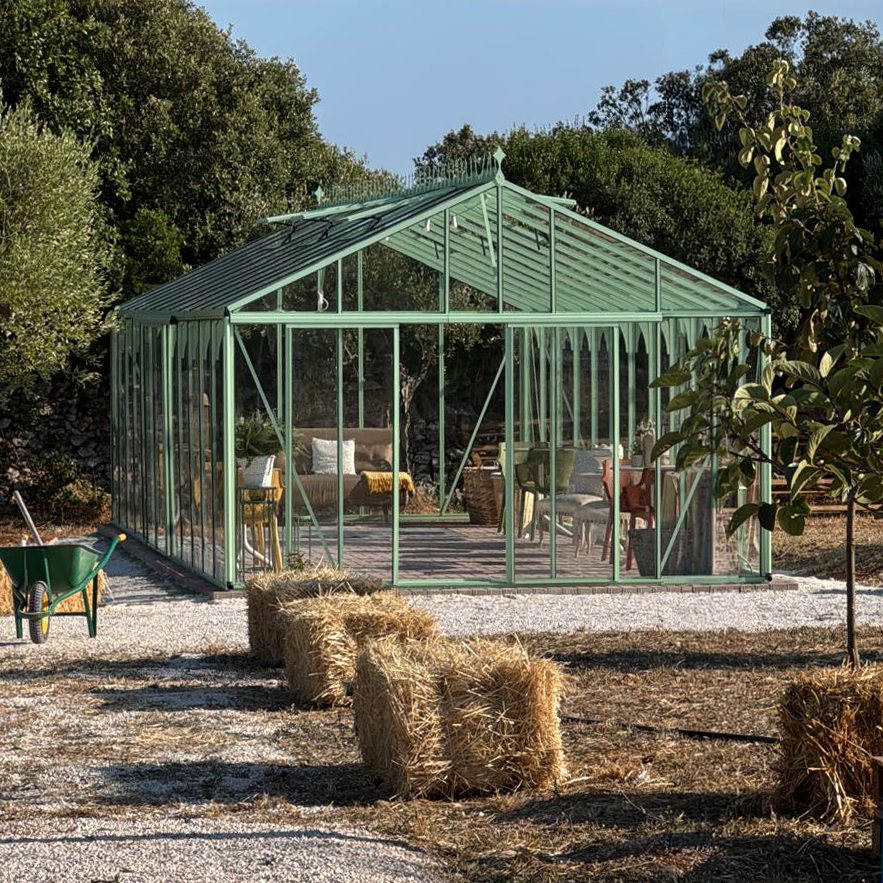
Installation quality and the Anna Koku Skola sequence
The Anna Koku Skola installation should be viewed as one continuous assembly sequence: preparation, identification of components, frame construction, alignment, glazing, fitting of moving parts, anchoring and final checks. Individual photographs or stages should not be interpreted as separate projects or alternative installation methods.
The sequence demonstrates why order matters. Parts that appear similar may have different positions, and early alignment affects later stages. Tightening everything fully before checking the geometry can lock an error into the frame. Conversely, leaving required final tightening incomplete can allow movement.
Work in calm, suitable weather. Large frame sections and glazing can become difficult to control in wind. Use the current manual for the exact model, not an older edition or instructions for a similar structure. If a step is unclear, pause and obtain clarification rather than drilling extra holes, substituting hardware or forcing parts together.
Practical assembly controls
- Inventory and identify parts without mixing labelled fixing groups.
- Protect components from scratches and keep the work area free of grit.
- Assemble in the stated order and observe all orientation marks.
- Measure the frame for level, square and plumb at the instructed stages.
- Fit bracing, seals, glazing retainers and fasteners exactly as shown.
- Test doors, vents and other moving elements before final acceptance.
- Complete all prescribed anchors and final tightening checks.
- Remove packaging and loose materials that could become wind-borne debris.
General care guidance for an installed structure is available in maintenance of an aluminium greenhouse.
Managing wind in daily use
Wind readiness includes routine operation. An open door or vent can allow wind to pressurise the interior and place unintended forces on the frame and glazing. Loose garden furniture, tools, branches and unsecured containers can also strike the greenhouse.
Before strong wind
- Close and secure doors, windows, roof vents and other openings.
- Check that automatic openers will not leave vents exposed; follow their own instructions.
- Remove or secure nearby pots, covers, furniture, tools and temporary shading.
- Check for loose glazing retainers, seals, caps, gutters or downpipes.
- Keep people away during severe conditions rather than attempting repairs mid-storm.
Automatic ventilation is useful for temperature control, but it must be operated with weather exposure in mind. See the guide to automatic greenhouse window openers for further planning considerations.
Snow, ice and freezing weather
Snow conditions vary markedly across the UK. Follow the model’s instructions and do not rely on a universal depth rule. Monitor accumulation, particularly where drifting or snow falling from nearby roofs creates an uneven load. If removal is needed, use a safe method that does not strike, scrape or point-load the glazing. Do not climb onto the greenhouse.
Avoid standing beneath overhanging ice or working during dangerous conditions. Keep doors and access routes clear, but never force a frozen door or vent. Hot water and sudden heating can damage cold materials or create more ice when water refreezes. Let components thaw gradually and investigate any obstruction before operating them.
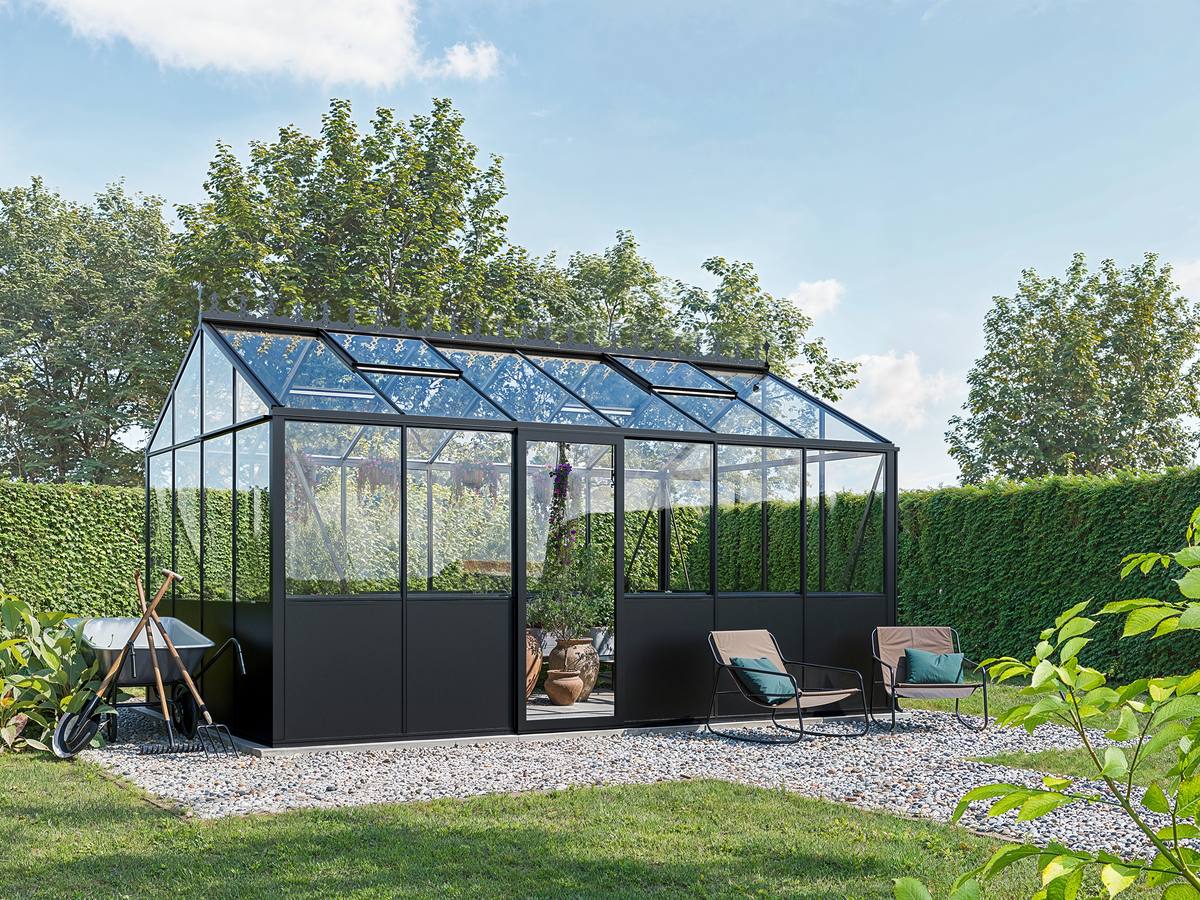
Rain, drainage and condensation
Rainwater needs a continuous route from the roof to gutters, outlets and a suitable discharge point. Clear leaves and debris before they obstruct flow. After heavy rain, check for overflowing gutters, displaced seals, blocked outlets, erosion or standing water around the foundation.
Moisture inside does not always indicate a leak. Warm, humid air condenses when it meets cooler glazing and frame surfaces, especially overnight and in winter. Wet soil, open water containers, dense planting and poor airflow increase humidity. Ventilation, sensible watering and spacing between plants can reduce persistent condensation.
A likely leak tends to correspond with rainfall and a specific joint or damaged component. Condensation is generally more widespread and may appear even without rain. Observe the timing and pattern before changing seals. Unapproved sealants can block drainage paths or make later maintenance harder.
Heat, ventilation and seasonal temperature changes
Glazing admits solar energy, so internal temperatures can rise quickly even on a mild day. Weather readiness therefore includes adequate ventilation and daily management, not only resistance to winter weather. Roof vents, side vents and doors should be used in accordance with the conditions and then secured when strong wind threatens.
Shade, plant layout, watering and ventilation work together. Avoid attaching heavy or improvised shading systems to structural members unless that use is approved. The guidance on summer greenhouse care gives practical seasonal measures, while year-round greenhouse uses can help with planning.
A greenhouse captures heat but is not automatically a frost-free heated building. If heating or electrical equipment is considered, use products suitable for the intended environment and obtain competent advice. Applicable UK and local requirements must be checked.
Routine inspection and maintenance schedule
| When | Checks and actions |
|---|---|
| Regularly during use | Check doors, vents, glazing, retainers, seals and visible fasteners. Remove leaves from drainage points and keep the interior orderly. |
| Before forecast strong wind | Secure all openings, remove loose objects and visually check anchors and external components where accessible. |
| After severe weather | Inspect from a safe distance first. Look for movement, distortion, loose glazing, damaged seals, blocked drainage and foundation changes. |
| Before winter | Clean gutters and outlets, test doors and vents, review nearby branches and prepare a safe access route. |
| Before summer | Confirm ventilation operates freely, clean glazing as instructed and prepare suitable shading or temperature-control arrangements. |
| At the interval in the manual | Carry out prescribed fastener, anchor, cleaning and component checks for the exact model. |
Use non-damaging cleaning methods and products compatible with the frame, glazing, seals and finishes. Do not use aggressive abrasives or pressure that could dislodge components. Record significant inspections and keep photographs of anything unusual, particularly after a storm.
Maintenance also includes the surrounding site. Control vegetation against the frame, remove unstable branches and prevent stored items from leaning on the greenhouse. Never assume aluminium means every fixing, seal and moving part is maintenance-free.
Purchase planning and documentation
Before committing to a greenhouse, retain the product description, configuration details, site notes, foundation plan and current manual. Confirm who will prepare the foundation, receive the packages, assemble the structure and dispose of packaging. Clarify these responsibilities before delivery.
Browse the main greenhouses and conservatories section and the wider useful information library to compare options and preparation advice. If questions remain about suitability or documentation, use the contact page before altering the installation.
Also read the applicable warranty information and return and cancellation policy. These documents define the applicable terms; assumptions based on another model or an informal installation method should not be used in their place.
Frequently asked questions
Can a greenhouse stay outdoors all year?
Yes, a greenhouse intended for permanent outdoor installation can remain outside throughout the year when it is appropriate for the site, installed on the required foundation, correctly anchored and maintained. Follow the exact model documentation and prepare it before severe weather.
Does an aluminium frame eliminate rust and maintenance concerns?
No. Aluminium itself has useful corrosion resistance, but a greenhouse also contains fixings, seals, glazing, doors, vents and drainage parts. Dirt, salt deposits, loose hardware and damaged components still require attention. Use compatible cleaning methods and complete the specified inspections.
Can I install a greenhouse on an existing patio?
Possibly, but appearance alone is not enough. The patio must be assessed for level, square, stability, drainage and compatibility with the prescribed anchors. Loose, cracked or poorly supported paving may not provide a suitable foundation. Check the model instructions and obtain competent site advice where needed.
Should vents remain open during high wind?
Normally, openings should be closed and properly secured before strong wind because an open vent or door can admit wind and increase internal pressure. Follow model-specific instructions and consider how any automatic opener will behave as conditions change.
Do I need to remove every snowfall immediately?
Not necessarily, but snow should be monitored and managed according to the model documentation and actual conditions. Uneven drifting, wet snow or additional material falling from another roof may be more concerning than a light, even covering. Never climb onto the greenhouse or use tools that could damage glazing.
Will a greenhouse remain warm during winter?
A greenhouse can become warmer than the outside air when solar gain is available, but it is not inherently frost-free. Night-time temperatures can fall substantially. Insulation, safe heating, crop choice and ventilation strategy depend on the intended use and applicable requirements.
Is condensation evidence that the greenhouse leaks?
No. Condensation commonly forms when humid internal air meets cold surfaces. Check whether moisture appears during dry weather and across broad areas. A rain-related, localised pattern may indicate a joint or component that needs inspection, but do not apply sealant before identifying the cause.
Can a lean-to greenhouse be attached to any wall?
No. The wall, substrate, fixings, junction, drainage and building condition must all be suitable. Cladding or a visually solid surface may conceal a substrate that cannot accept the required connection. Relevant planning, property and local requirements must also be checked.
Can I change hardware or add holes to make installation easier?
Do not make unapproved changes. Different hardware, extra holes or altered bracing can affect alignment, drainage, structural behaviour and warranty conditions. If components do not align, recheck the assembly sequence, part orientation, base dimensions and frame geometry before seeking technical guidance.
What should I do after a severe storm?
Keep clear until conditions are safe, then inspect from a distance before approaching. Look for displaced glazing, distortion, loose parts, fallen branches, water accumulation or foundation movement. Do not operate damaged doors or vents. Photograph concerns and obtain advice before making structural repairs.
What is the most important preparation step?
Assess the actual site before ordering. Exposure, drainage, access, foundation conditions and nearby hazards determine whether a chosen greenhouse can be installed and used as intended. A careful site assessment makes every later decision—from model selection to anchoring and maintenance—more reliable.
