



PREPARATION
Measurement Checklist Before Ordering a Greenhouse, Pergola or Sauna
A practical pre-order guide to measuring the footprint, levels, foundations, wall connections, access routes and working space required for a greenhouse, pergola or outdoor sauna.
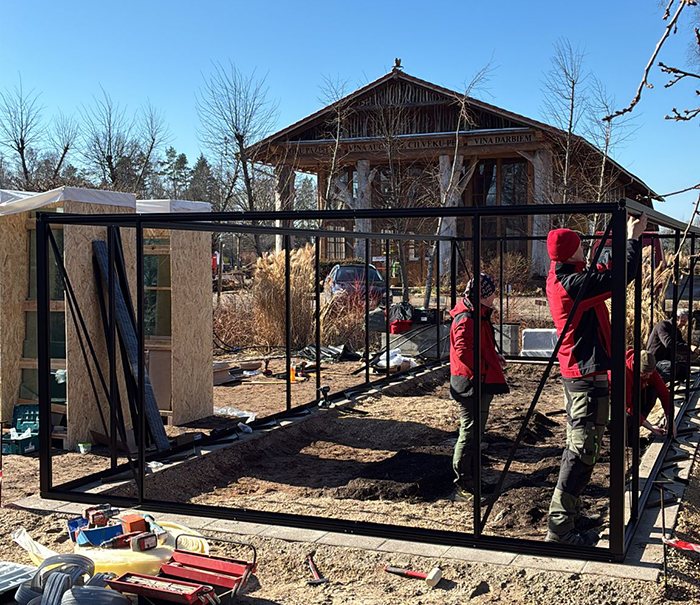
Accurate site measurements are essential when ordering a greenhouse, pergola or outdoor sauna. The structure must fit not only within the apparent garden space but also around boundaries, walls, doors, drains, changes in level and installation access. A few careful checks before ordering can prevent expensive foundation alterations, restricted doors or a delivery that cannot reach the installation area.
This checklist explains what to record and how to organise the information. It does not replace the product drawing, foundation plan or assembly manual for your chosen model. Local planning restrictions, building requirements, property covenants and utility rules can vary, so check the requirements that apply to your address before work begins.
Measure the site before choosing the final model
Begin with the available site rather than a preferred nominal product size. Measure the entire usable area, including any narrowing caused by walls, fences, planting, steps, roof overhangs or projecting window sills. Then compare that surveyed area with the complete dimensions shown for the model.
Allow for more than the structural footprint. Doors need room to operate, installers need safe working space, and glazing, gutters, roof panels and external surfaces may require future access. If you are still comparing options, start with the greenhouses and conservatories range and record the maximum space available before selecting a format.
Four measurement rules to follow
- Use one unit throughout. Millimetres are usually the clearest choice for product and foundation comparisons. Do not mix metres, centimetres and imperial measurements on one sketch.
- Measure each distance more than once. Check width and length at several positions because walls, paving and boundaries are rarely perfectly straight.
- Record actual dimensions. Do not round a measurement upwards or assume that a nominal patio size is exact.
- Verify the diagonals and levels. Equal side lengths do not prove that a rectangular base is square, while a site that looks flat may still have a meaningful fall.
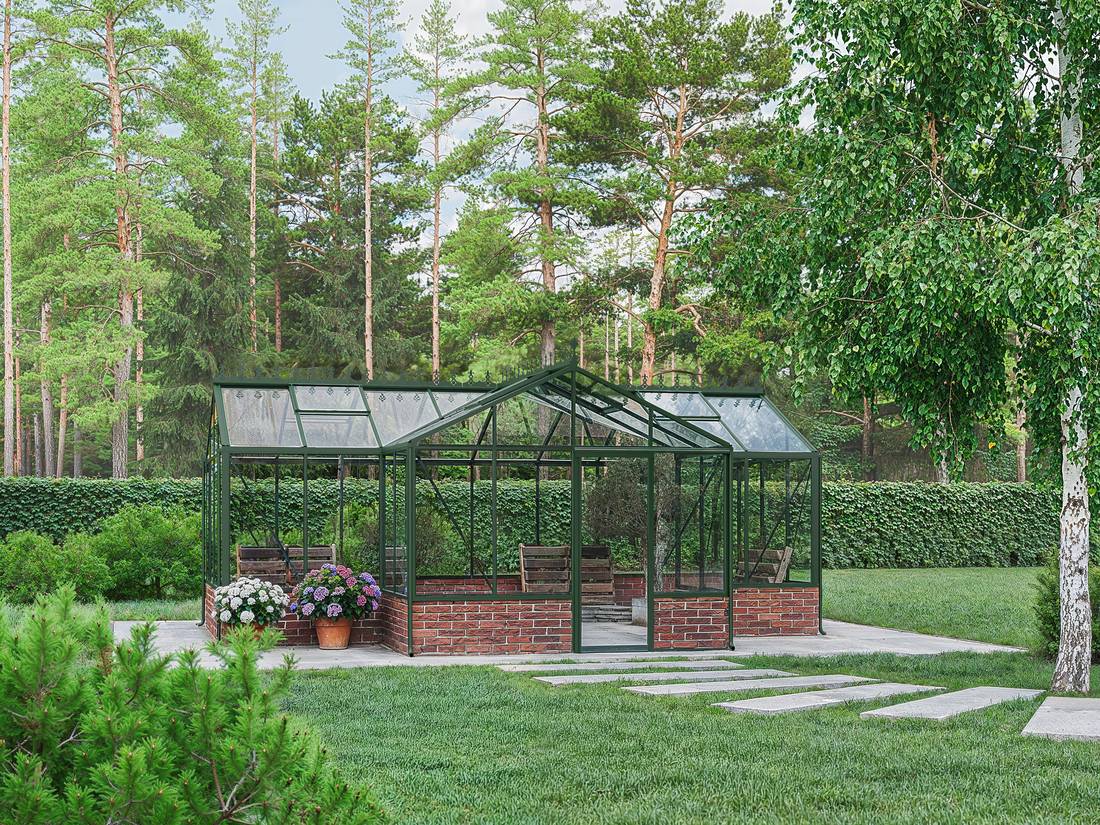
Tools and information to prepare
- A reliable tape measure or suitable laser measuring device
- Spirit level, straightedge or appropriate site-levelling equipment
- String lines, stakes and removable ground markers
- Graph paper or a digital drawing tool
- Camera or phone for recording obstacles and access points
- The current product drawing, foundation details and assembly manual
- Details of planned doors, screens, benches, heaters, lighting and other accessories
Keep dated photographs with the drawing. They are particularly useful when discussing the site with an installer who has not yet visited the property.
Create a complete site plan
Draw the garden area from above and mark the proposed structure as a rectangle or other accurate outline. Add the house, boundaries, paths, existing slabs, retaining walls, trees and nearby buildings. Show north, the direction of the slope and the intended entrance.
Mark fixed features that could be missed in a simple footprint measurement: inspection covers, gullies, downpipes, outside taps, air bricks, vents, cables and tree roots. Record the shortest distance from the structure to each obstacle. For compact plots, the planning principles in the small greenhouse guide can help you assess placement as well as size.
Measurements required for every structure
| Measurement | What to record |
|---|---|
| Overall available area | Minimum width and length across the whole proposed site |
| Proposed footprint | External outline based on the current model drawing |
| Diagonals | Corner-to-corner dimensions used to check squareness |
| Levels | Height difference between corners and along each edge |
| Clearances | Distance to walls, fences, planting, eaves and other structures |
| Vertical space | Available height below branches, cables, balconies and roof edges |
| Entrance and route | Door operation, approach path and delivery access |
Choose the product type before finalising the footprint
Different structural types place loads and connections in different positions. A freestanding greenhouse is measured differently from a lean-to model fixed against a wall. Likewise, a standard pergola and a louvred roof system may have different drainage and service considerations. Review wall-mounted and freestanding pergola considerations before setting out posts.
Useful starting points include the aluminium classic greenhouse, the wider Bloomcabin pergola selection, a lean-to pergola and a bioclimatic aluminium pergola. Use the drawing for the exact configuration being ordered rather than dimensions remembered from a similar model.
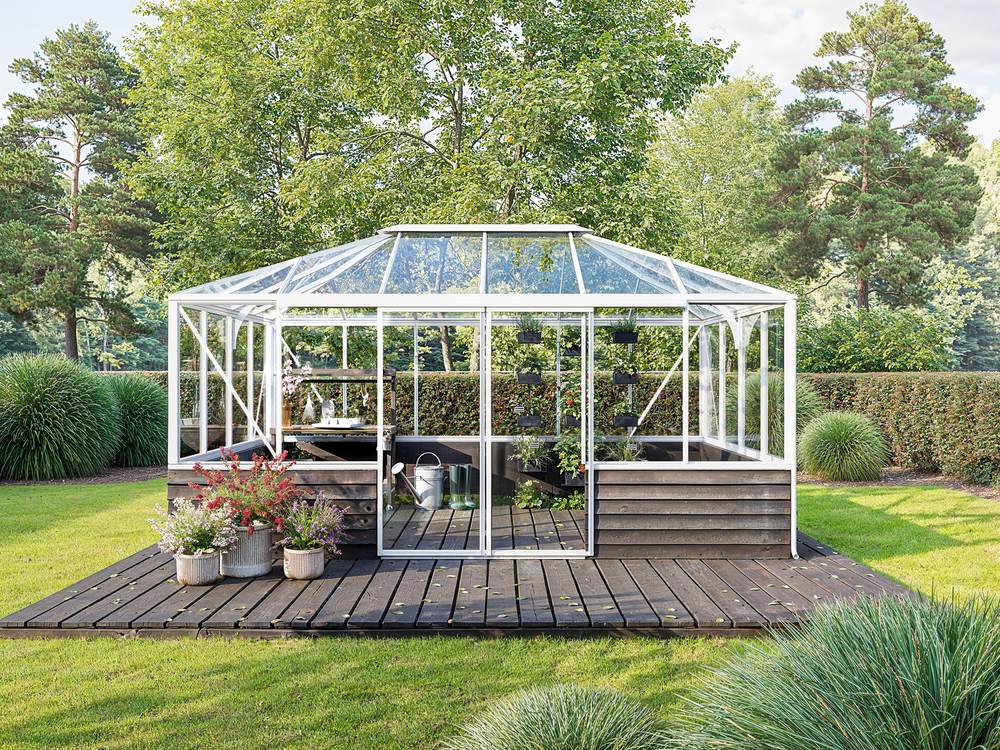
Greenhouse measurement checklist
- Confirm the external base dimensions and orientation of the ridge.
- Mark the door position and its opening area.
- Measure the usable internal width after allowing for the frame and intended staging.
- Check eaves and ridge height against branches, cables and nearby roofs.
- Record space for gutters, water collection and opening roof vents.
- Assess shadows from buildings, fences and mature planting at different times of year.
- Plan paths, beds, irrigation and electrical equipment before fixing the entrance position.
Glazing choice can affect how you intend to use the building, although dimensions must always come from the selected drawing. See the greenhouse polycarbonate guide and aluminium greenhouse FAQs while preparing the layout.
Pergola measurement checklist
- Record the complete roof projection and width, not only the distance between posts.
- Plot every post or wall-fixing position from the specific foundation drawing.
- Check whether roof edges, gutters or moving louvres extend beyond the main frame.
- Measure the height of doors, windows, lights and eaves beside the pergola.
- Confirm space for screens, glass panels or other planned side elements.
- Identify the intended drainage outlet and route for rainwater.
- Check dining furniture and circulation using full-size ground markers.
Published guidance on aluminium pergola dimensions helps with initial planning. Compare a standard pergola configuration with a bioclimatic pergola configuration. The guide to whether louvred pergolas are suitable can also clarify drainage and enclosure priorities.
Sauna measurement checklist
- Measure the complete external footprint and overall height shown on the selected drawing.
- Mark the door swing and a safe, unobstructed approach.
- Allow practical circulation around steps, terraces or changing areas.
- Identify the heater, controls, ventilation openings and service entry points specified for the model.
- Record nearby combustible or heat-sensitive materials for assessment against the applicable installation instructions.
- Plan drainage where required and prevent water from collecting around the base.
- Check that packaged components can pass through the delivery route.
Electrical supply, heater installation, ventilation and fire-safety requirements depend on the sauna and the location. Obtain the correct technical information and involve appropriately competent installers before preparing services or foundations.
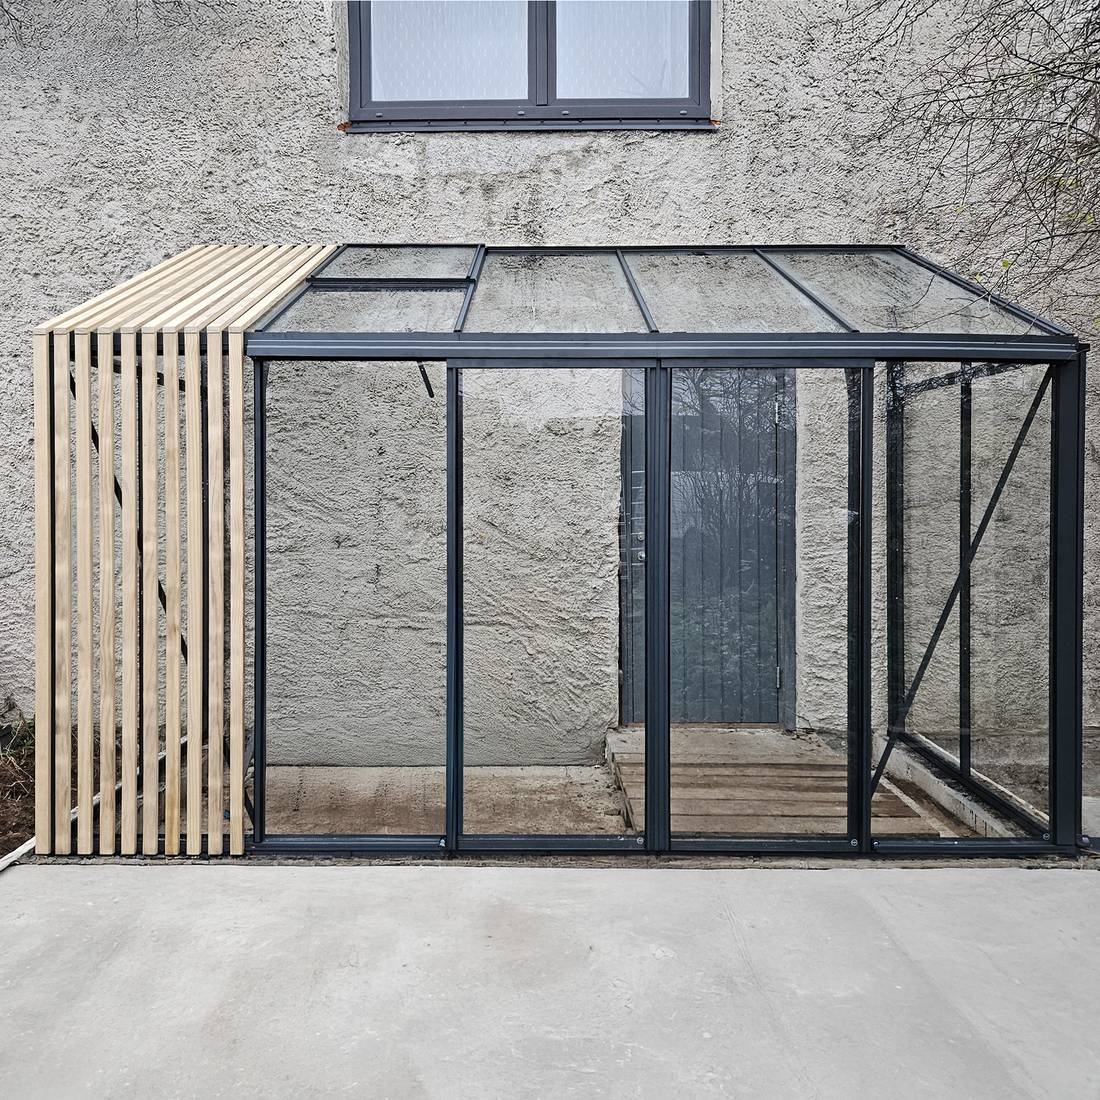
Foundation and patio measurements
The supporting base must correspond to the model’s foundation information. Record its overall dimensions, thickness where known, edge condition, levels and any cracks or movement. Never assume existing paving is suitable simply because it looks level.
For post-supported structures, identify the precise post centres and compare them with foundations below the finished surface. Decorative slabs do not reveal the depth or construction beneath them. Consult how to prepare a pergola foundation before groundworks begin.
How to check the layout
- Set out the external outline with string lines.
- Measure all sides and compare opposite dimensions.
- Measure both diagonals. For a true rectangle they should match.
- Check levels at every corner and at intermediate points.
- Mark doors and posts, then place furniture outlines inside the area.
- Compare the completed setting-out with the latest technical drawing.
Additional checks for wall-mounted structures
Measure the wall at several heights because it may lean, bow or include projecting masonry. Record the wall construction, finished surface, damp-proof course, pipes, vents, cables, windows and downpipes. Check the proposed attachment height along the full width, not only at the corners.
A wall-mounted frame must not be positioned from paving lines alone; patios and house walls may not be square to one another. Review the dedicated wall-connected pergola option and have the supporting wall’s suitability assessed before installation.
Plan doors, circulation and interior use
Mark open doors at full scale with tape, chalk or string. Then walk the route while imagining furniture, planting benches, sauna steps or pergola screens in place. Preserve access to the house, bins, taps and garden storage.
For a greenhouse, decide whether the central path will accommodate pots, tools and a wheelbarrow. Intended crops influence the layout; resources covering greenhouse lettuce and peppers and chillies illustrate how growing space, staging and access can differ.

Utilities, drainage and environmental conditions
Plot overhead and underground services as accurately as available information permits. Mark sockets, lighting points, water supplies, drains and intended cable or pipe routes. Do not place foundations or fixings until concealed services have been properly considered.
Observe how rainwater crosses the site and where roof drainage can discharge appropriately. Avoid trapping water against buildings or directing it towards neighbouring land. Also record prevailing wind exposure, falling branches, drifting leaves and shading. The UK guidance on pergolas in winter conditions explains why year-round exposure belongs in the site assessment.
For greenhouses, ventilation and shading affect internal conditions as much as floor area. The greenhouse temperature and humidity guide can help identify where vents, paths and equipment may be needed.
Measure the delivery and installation route
Measure the narrowest width and lowest height from the unloading point to the site. Include gates, passages, corners, steps, slopes, porches and low branches. Record whether doors or gates can be removed and whether parked vehicles normally restrict access.
Long packages may not turn through a route that is nominally wide enough. Measure corner-to-corner turning space as well as straight passage width. Tell the supplier or installer about restricted access, shared drives, soft ground and stairs before delivery arrangements are confirmed.
A practical measurement sequence: Anna Koku Skola
The Anna Koku Skola installation should be treated as one continuous sequence. First, the available area is surveyed and fixed obstacles are recorded. Next, the intended footprint is marked and checked against boundaries and circulation routes. Levels and diagonals are then verified before the supporting works are finalised.
After the base information is confirmed, the structure can be positioned consistently with the approved drawing. Door access, wall relationships and the surrounding working area are checked again as assembly progresses. The final stage is not a separate project: it is the verification of the same installation, including drainage, usable access and maintenance space. This sequence demonstrates why measurements should be carried forward from initial survey to completion rather than taken once and forgotten.
Pre-order measurement worksheet
| Item | Measurement or note | Checked by/date |
|---|---|---|
| Available site width and length | _____ mm × _____ mm | _____ |
| Proposed structural footprint | _____ mm × _____ mm | _____ |
| Diagonal A / diagonal B | _____ mm / _____ mm | _____ |
| Highest-to-lowest level difference | _____ mm | _____ |
| Nearest boundary or obstruction | _____ mm | _____ |
| Maximum available height | _____ mm | _____ |
| Narrowest delivery access | _____ mm | _____ |
| Drainage and utilities | Locations marked: yes/no | _____ |
Final checklist before approving an order
- The exact model and configuration have been identified.
- The current product drawing has been used.
- Footprint, diagonals, levels and vertical clearance have been checked.
- Post positions or wall connections have been confirmed.
- Doors, roof movement, screens and accessories have operating space.
- The foundation is suitable or planned to the required information.
- Delivery access has been measured.
- Applicable planning and property restrictions have been checked.
- The installer has reviewed any unusual site condition.
If you are still comparing systems, use the bioclimatic versus standard pergola guide, the overview of aluminium greenhouses and conservatories, and the main useful information library.
Recheck drawings and manuals after ordering
Specifications and configuration details must be taken from the documents supplied for the actual order. When they arrive, compare them with your site plan before foundations, drilling or utility work proceeds. Pay particular attention to base dimensions, fixing positions, handed doors, drainage outlets and accessory interfaces. Resolve any discrepancy rather than adapting the structure informally on site.
Measure for future maintenance, not just installation
Leave practical access for cleaning glazing, clearing gutters, checking seals and maintaining finishes. Consider whether ladders or tools can be positioned safely and whether planting will eventually block access. The guidance on aluminium greenhouse maintenance helps identify areas that should remain reachable. A structure that only just fits may be difficult to inspect or maintain later.
Frequently asked questions
Should I order using the footprint shown on a product page?
Use the product page for initial selection, but approve the order only after checking the current drawing for the exact model and options. Distinguish between overall roof dimensions, base dimensions and post positions. If anything is unclear, confirm which dimension governs the foundation.
How can I tell whether a rectangular layout is square?
Measure both diagonals between opposite corners. They should be equal when the four corners form a true rectangle and the opposing sides are correct. Recheck all side lengths after adjusting the layout.
Can an existing concrete patio be used?
Possibly, but appearance alone is not enough. Its dimensions, level, thickness, condition, reinforcement and supporting ground may need assessment against the structure’s requirements. Post positions must not be assumed to align with suitable support below the paving.
How much clearance should I leave around the structure?
There is no universal clearance suitable for every model or property. Allow what is required for assembly, doors, roof movement, drainage, cleaning and maintenance, then check boundaries and locally applicable rules. The installer should confirm working-space needs.
What must be measured for a lean-to greenhouse or pergola?
Measure the wall width, fixing height, verticality and surface projections. Mark windows, doors, eaves, pipes, vents and concealed services. Check that the wall and foundation relationship matches the drawing and that the wall is suitable for the proposed connection.
Do I need to measure if Bloomcabin provides product drawings?
Yes. The drawing defines the structure; your survey establishes whether the actual property can accommodate it. Both are needed. Product guidance such as the aluminium pergola FAQs can clarify planning questions but cannot measure the site.
When should I involve the installer?
Involve the installer before foundations or services are constructed, particularly for slopes, wall mounting, restricted access, existing slabs or unusual drainage. Early review is generally easier than correcting completed work.
What if my garden slopes?
Record the height difference between all corners and along each edge. Do not simply measure the visible slope in one direction. The base or foundations must be designed appropriately for the site and the selected structure; obtain competent advice where groundworks or retaining works are needed.
Should I include planned accessories in the measurement?
Yes. Screens, doors, heaters, benches, gutters, water butts, lights and electrical controls can affect clearances and service routes. Include them on the site plan even if they will be installed later.
What is the most common measurement mistake?
Measuring only the nominal footprint is the most widespread problem. It overlooks roof projections, door movement, installation access, uneven ground and maintenance space. A complete site plan, supported by repeated measurements and the current technical drawing, is much safer.
Material and design choices should also be settled before the final set-out. For pergolas, see the comparison of aluminium and timber. Before ordering any substantial garden structure, check the current position on UK planning permission for greenhouses and pergolas and verify the requirements that apply to your property.
