



PREPARATION
DIY Assembly Preparation Checklist
A practical preparation checklist for assembling a Bloomcabin greenhouse, orangery or pergola safely and methodically, from confirming the model and preparing the foundation to checking components, weather conditions and final alignment.
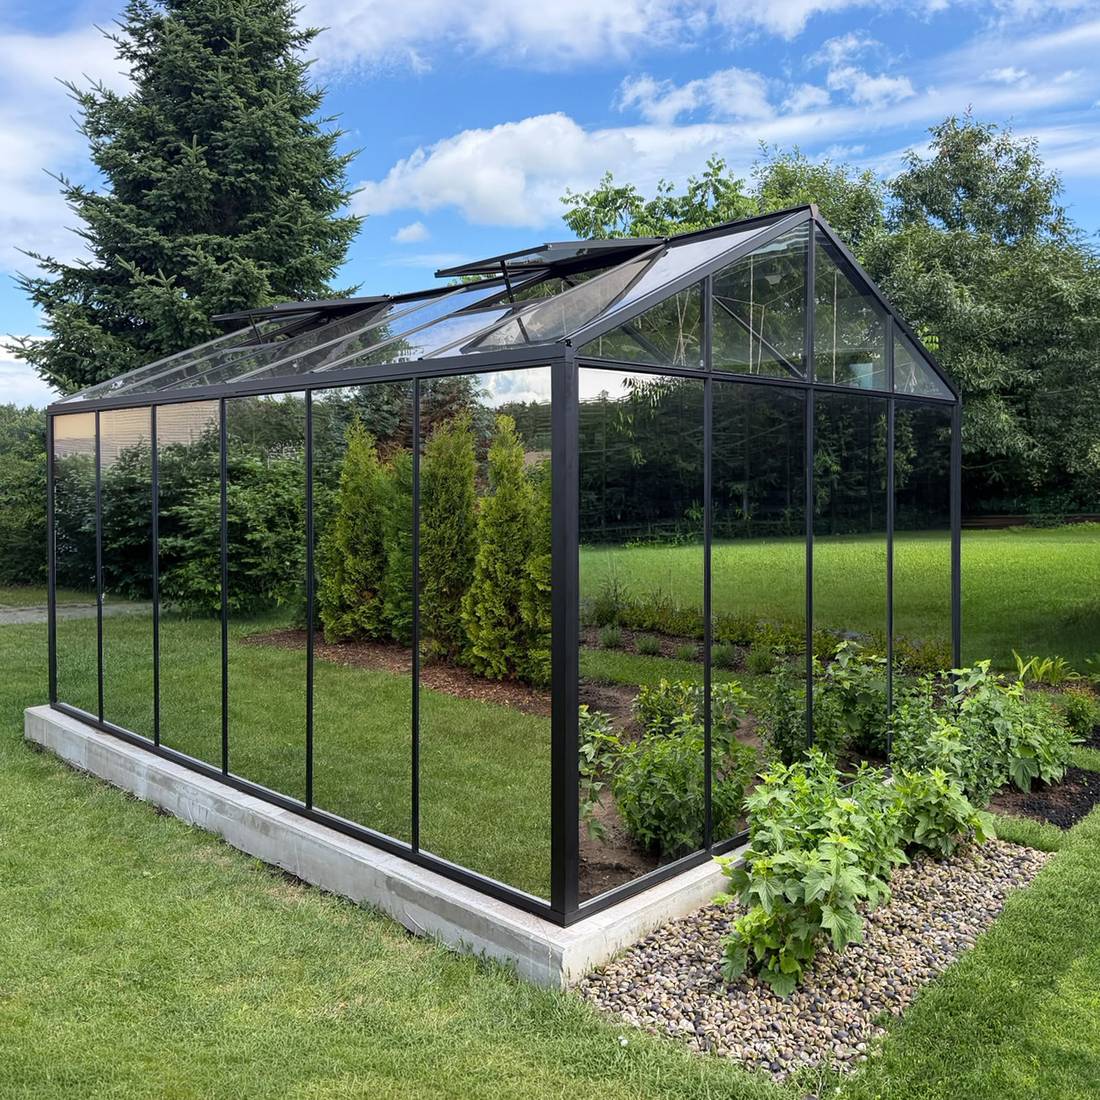
DIY assembly preparation at a glance
Successful DIY assembly begins before the first profile is lifted into position. The product must be confirmed, the installation documents understood, the site assessed and the foundation completed accurately. You also need suitable tools, enough capable helpers, a protected place for delivered components and a realistic period of calm weather.
This checklist is intended for aluminium greenhouses, orangeries and pergolas. Individual products differ, so the assembly manual supplied for your specific model always takes priority over general guidance. If you are still comparing structures, review the relevant product information before preparing the site. Options include an aluminium classic greenhouse, the Premium Classic Plus glass greenhouse, a larger Bloomcabin orangery or a Bloomcabin pergola.
- Confirm the exact model, configuration and supplied components.
- Read the complete assembly manual before starting.
- Check access, ground conditions, drainage and working space.
- Prepare a level, correctly positioned foundation.
- Arrange tools, safety equipment and sufficient assistance.
- Inspect the delivery and organise every part before assembly.
- Work in the documented sequence and monitor alignment continuously.
- Pause if weather, missing parts or site conditions create uncertainty.
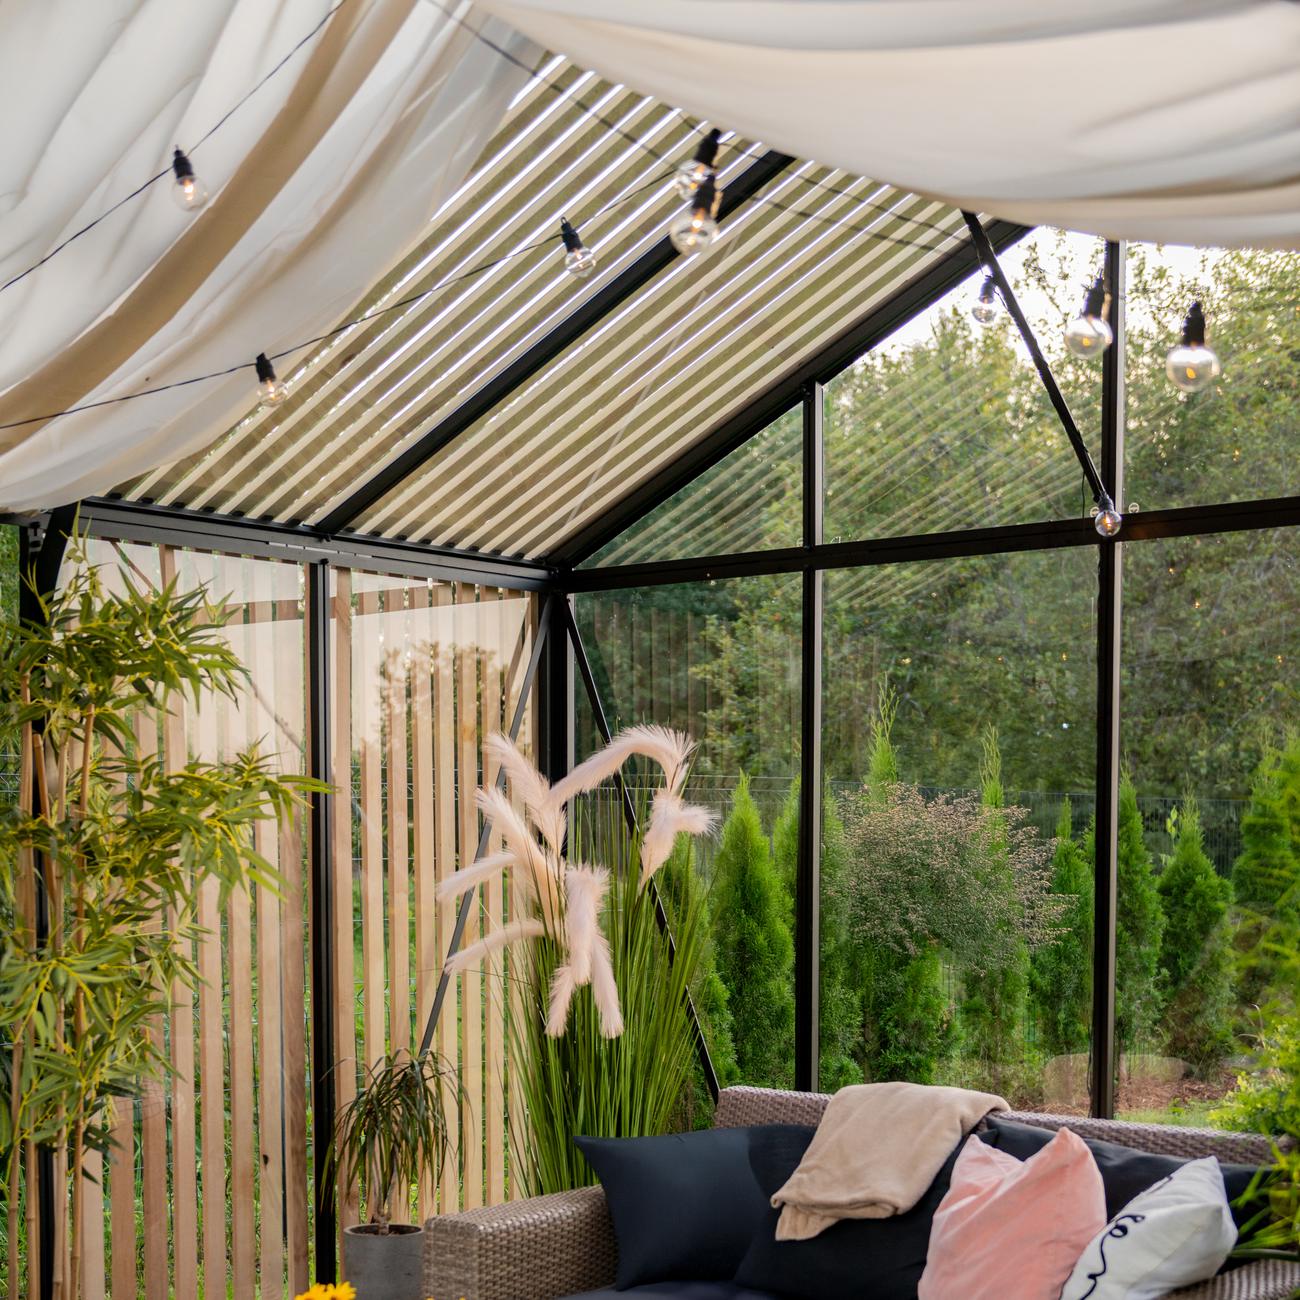
1. Confirm the product before planning the installation
Work from the order confirmation and documentation for the product actually purchased, not from photographs or instructions found for a similar model. Confirm whether the structure is freestanding or attached, its orientation, door position, roof arrangement, glazing type and any ordered accessories. Products that look similar can use different profiles, fixings or assembly stages.
For pergolas, establish whether the chosen design is wall-mounted or freestanding before setting out foundations. The guide to a wall-mounted or freestanding pergola explains why this distinction matters. You can also compare a standard model with a bioclimatic aluminium pergola. Do not assume that the same base or fixing plan applies to both.
If the order is not yet finalised, follow the published ordering process. Avoid marking permanent foundation positions until the precise model and installation information have been confirmed.
2. Review documents, responsibilities and local requirements
Read the manual from beginning to end, including diagrams, component references, warnings and any model-specific foundation information. This first reading identifies stages requiring several people, parts that must be inserted before profiles are closed, and fixings that should initially remain loose.
Review the applicable terms of purchase and delivery, warranty information and return and cancellation policy. Keep the order confirmation, packing information, manual and correspondence together.
Responsibility for planning permission, building regulations, boundary considerations, utility checks and other local requirements depends on the location and nature of the installation. Do not rely on a general assumption that a garden structure is automatically permitted. The UK overview of planning permission for a greenhouse or pergola is a useful starting point, but the requirements applicable to your property must be checked before work begins. Listed buildings, designated land, leasehold properties and shared boundaries may require particular attention.
Any electrical supply, lighting, heating, controls or drainage connection should be planned separately and completed by an appropriately competent person where required. Never conceal services beneath a new foundation without recording their route.
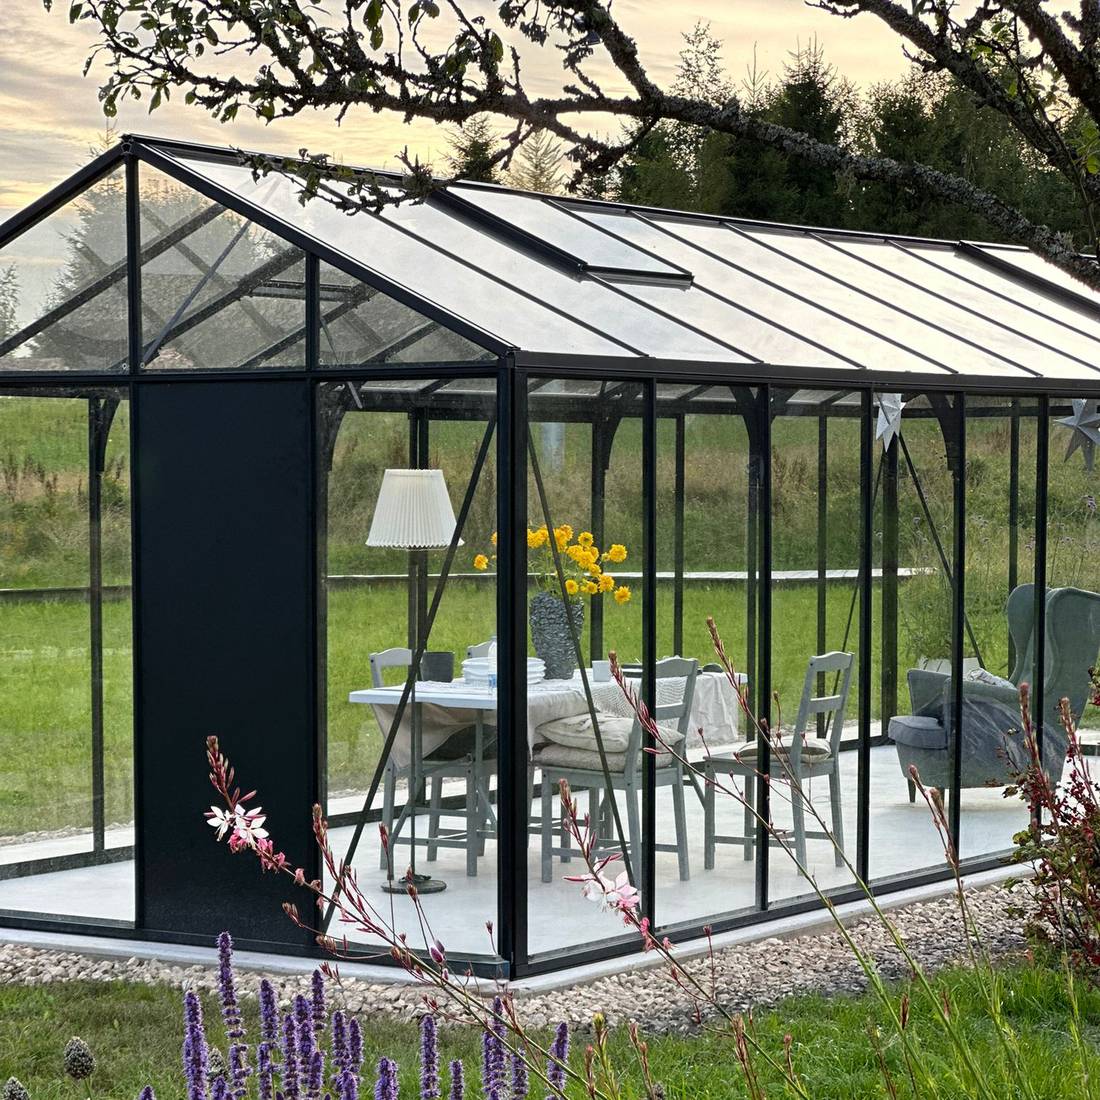
3. Evaluate the installation site
Selecting a convenient-looking patch of garden is not enough. Consider sunlight, shade, prevailing wind, nearby trees, drainage, boundaries and long-term access. Greenhouses benefit from useful natural light, while overheating and crop needs should also be considered. The guides to greenhouse temperature and humidity and growing lettuce in a greenhouse help connect siting decisions with eventual use.
Allow working room around the entire structure. Assembly becomes unnecessarily difficult if a fence, hedge or wall prevents access to external fasteners or glazing edges. Retain enough access for cleaning, maintenance and drainage after completion. For an attached pergola, assess the supporting wall and the positions of doors, windows, gutters, downpipes, vents and external services.
Site checklist
- Confirm that the structure fits without crossing a boundary or obstructing access.
- Check the ground for obvious settlement, soft areas, roots and poor drainage.
- Locate underground and overhead services before excavation or drilling.
- Consider wind exposure and falling branches.
- Check that doors and vents will open without obstruction.
- Provide practical routes for delivery, assembly and future maintenance.
- Plan where rainwater will discharge without affecting neighbouring land or the foundation.
- Measure diagonals and clearances rather than judging the position by eye.
4. Prepare the foundation correctly
The foundation determines whether the finished frame can be square, level and stable. Small inaccuracies at ground level can become significant at the roof, causing difficult glazing, uneven doors or profiles that appear not to fit. Follow the model-specific foundation drawing and do not substitute dimensions taken from a photograph, another product or the nominal outer size.
For pergolas, consult the dedicated guidance on preparing a pergola foundation and confirm the relevant aluminium pergola dimensions. Foundation design depends on the structure, ground, exposure and local conditions. If suitability is uncertain, obtain competent site-specific advice.
- Set out the footprint: establish fixed reference lines and check the intended orientation.
- Check diagonals: equal diagonals are an essential indication that a rectangular base is square.
- Check level: inspect the complete perimeter, not merely individual corners.
- Allow curing time: do not load or drill newly placed material until it is ready for the intended work.
- Keep the surface clean: remove loose debris that could distort the base or create unstable bearing points.
An existing patio should not automatically be treated as a suitable structural foundation. Paving may be level yet unsupported in the places where posts or a base must be fixed. Confirm construction, condition, dimensions, drainage and fixing suitability before proceeding.
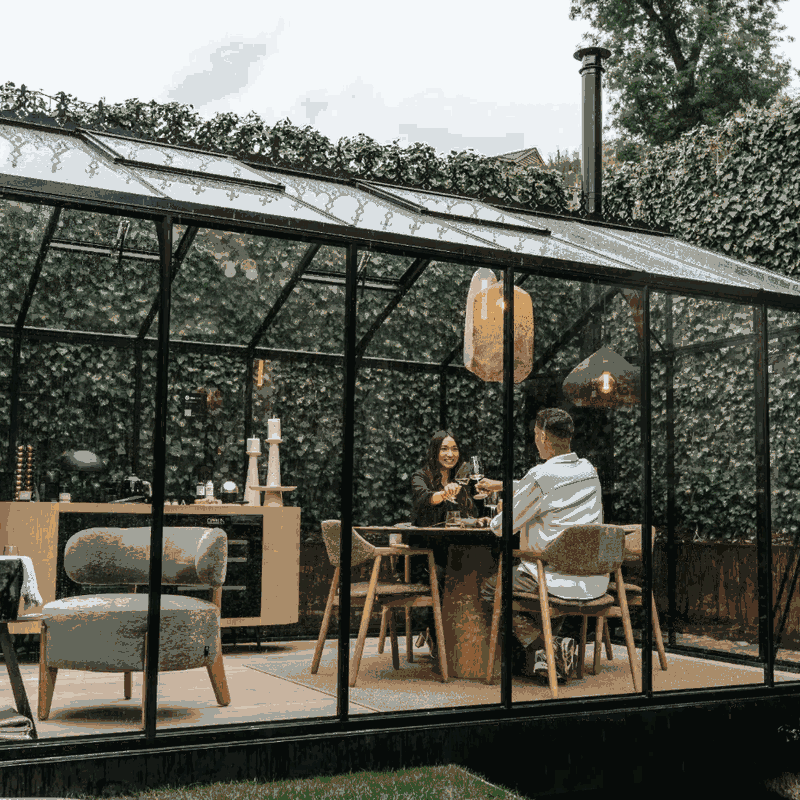
5. Assemble the tools, team and safety equipment
Use the tool list in the product manual. Typical preparation may include measuring and marking equipment, suitable spanners or sockets, screwdrivers, bits, a spirit level, steps or access equipment and soft supports for profiles or panels. Do not assume that every fixing should be installed with a powered driver; excessive torque can damage threads, coatings or components.
Prepare personal protective equipment appropriate to the work, such as gloves, safety footwear and eye protection. Glazing and long aluminium profiles require controlled handling. Use stable, suitable access equipment and avoid stretching sideways from steps.
Plan the team around the heaviest and most awkward stages, not merely the first stage. Long frames and glazing panels can be difficult to control even when their weight appears manageable. Assign one person to read the instructions and call out component references. This reduces improvisation and helps the team notice when a step has been missed.
Keep children and pets outside the working area. Establish a separate place for tools and unused components so that pathways remain clear.
6. Plan delivery, unloading and protected storage
Before delivery, check the access route from the vehicle to the storage area. Consider gates, steps, slopes, narrow passages, parked cars and fragile surfaces. Make sure enough people are available to receive and move packages safely. Do not drag long packages or place them where they can bend, become wet or be driven over.
Choose a dry, secure and level storage location close enough to the site to avoid repeated handling. Support long items adequately and store glazing or panels in accordance with the supplied handling information. Keep labels visible. Components should not be left loose in strong wind or exposed where garden work, vehicles or falling objects could damage them.
Receiving checklist
- Compare the delivery with the order and available packing information.
- Count packages before opening them.
- Inspect packaging for crushing, punctures, moisture or other visible damage.
- Photograph the packages and any apparent damage before moving or opening them.
- Record missing or damaged items clearly and retain labels.
- Open packages carefully without cutting into profiles, seals or panels.
- Contact Bloomcabin through the published contact details if the delivery requires clarification.
Do not discard pallets, wrapping, identification labels or small hardware bags until the inventory is complete and the relevant parts have been identified.
7. Inventory and organise every component
Carry out the inventory before the planned assembly day. Group profiles, glazing, connectors, seals, fasteners and accessories by the references used in the manual. Place small parts in labelled containers and keep left-handed, right-handed or mirrored components separate.
Do not identify profiles solely by length or general appearance. Compare holes, channels, end preparation, orientation marks and the manual’s drawings. Two parts may look nearly identical but serve different positions. Avoid removing labels until the component has been installed and checked.
If something appears missing or damaged, stop and document it. Record the package, part reference, quantity and condition, supported by clear photographs. Do not modify another component to make up for a shortage.
8. Use a controlled greenhouse installation sequence
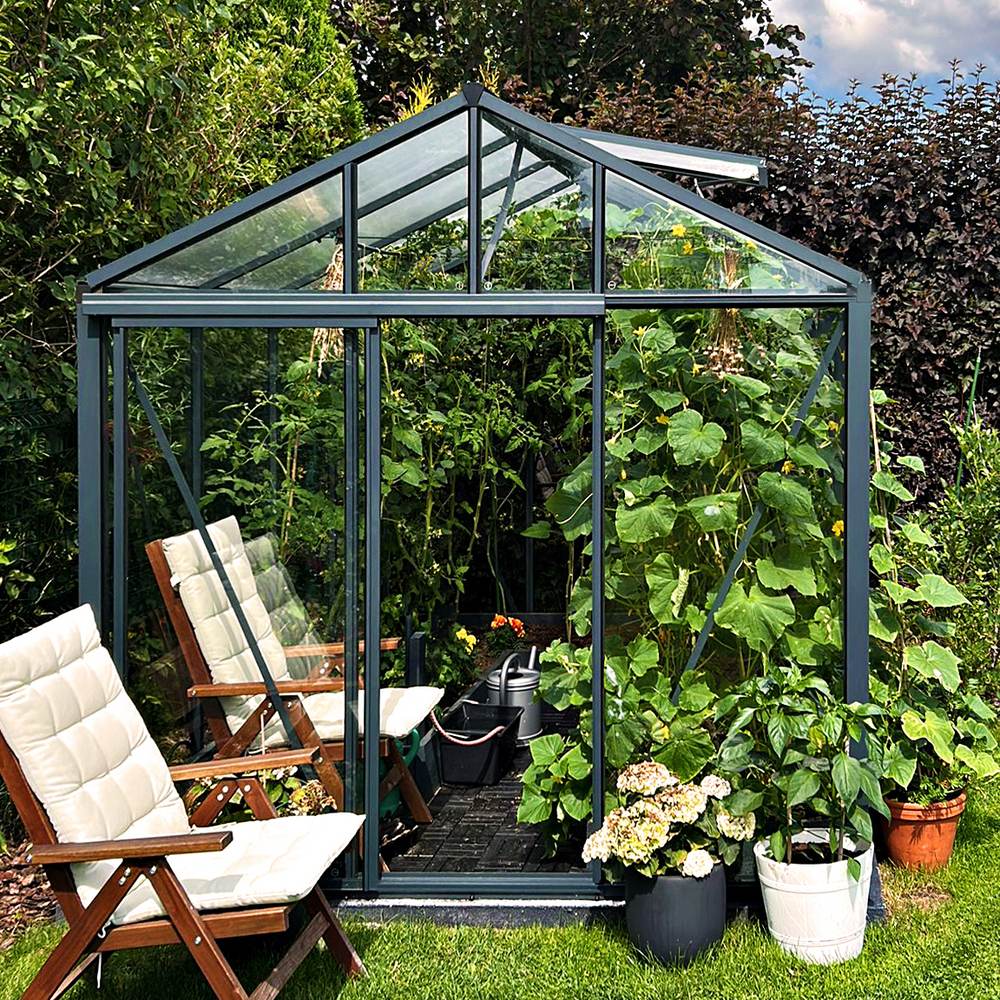
The supplied manual defines the correct sequence, but a controlled working method applies to most greenhouse installations. Begin with the prepared base and establish accurate geometry before adding height. Assemble manageable frame sections, support them securely and connect them without forcing joints. Recheck level, square and plumb as the structure develops.
Install bracing and roof members at the specified stage. Some bolts, sliders, seals or accessories must enter profile channels before the ends become inaccessible. Missing one of these steps can require substantial dismantling later. Read ahead before closing any channel or fitting glazing.
Glazing should only begin when the frame is stable, correctly aligned and ready according to the manual. Understand which face of each panel belongs outside and how each piece is retained. For background on material choices, see the UK greenhouse polycarbonate guide. Product-specific instructions still govern installation.
Recommended working method
- Lay out only the parts needed for the current stage.
- Read the complete stage and inspect its diagram before fitting anything.
- Confirm each component reference and orientation aloud.
- Fit connections loosely where the manual requires adjustment.
- Measure the frame after every major section.
- Correct misalignment at its source rather than pulling a later part into position.
- Tighten in a balanced sequence only when instructed.
- Mark the completed stage in a clean working copy of the manual.
Do not use a hammer, drill new holes or enlarge existing ones simply because a connection is difficult. Resistance often indicates a reversed profile, incorrect sequence, uneven foundation or prematurely tightened fixing.
9. Choose suitable assembly conditions
Plan for calm, dry conditions with adequate daylight. Wind can turn panels, roof sections and long profiles into difficult loads. Rain makes packaging, access equipment and components slippery, while poor light increases the chance of using the wrong fixing or orientation.
Check the whole working period rather than only the starting conditions. Do not begin a roof or glazing stage if worsening weather is expected before the structure can be made secure. Heat and direct sun can also make metal and glazing uncomfortable to handle. Store loose materials safely whenever work pauses.
Weather performance after completion is a separate consideration from safe assembly conditions. Those comparing roof systems may find the overview of whether louvred pergolas are worth it useful.
10. Complete final checks before use
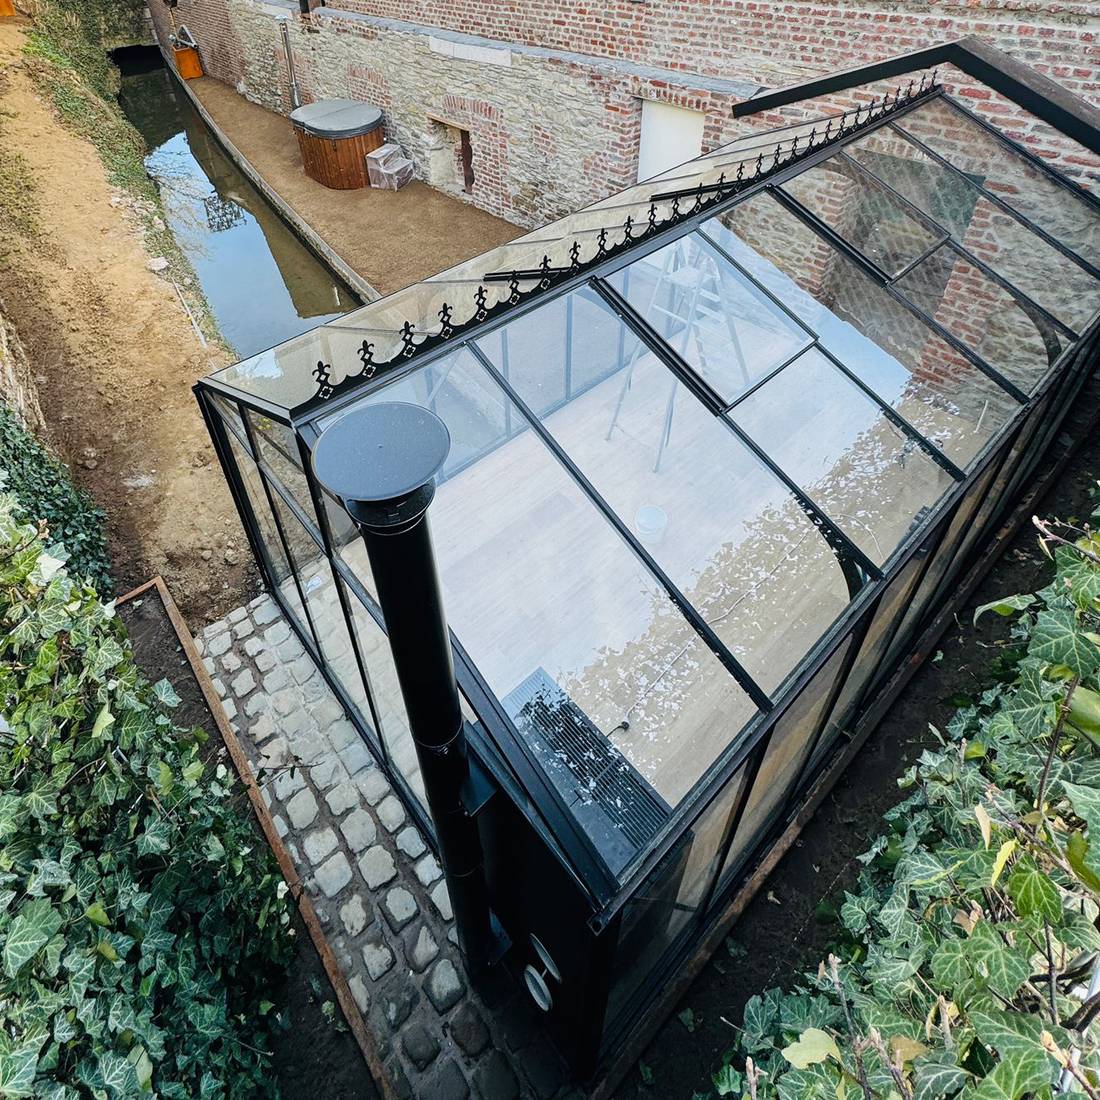
Do not treat the installation as finished when the final visible panel is fitted. Follow the manual’s completion sequence and inspect the whole structure methodically.
- Confirm that the frame remains level, square and plumb.
- Check all specified fasteners and connections without overtightening.
- Verify that glazing, seals, caps and retainers are fully seated.
- Operate doors, windows, vents, louvres and locks through their complete movement.
- Check drainage paths and remove assembly debris from channels.
- Remove tools, loose fixings, packaging and sharp offcuts.
- Record the completed structure with photographs.
- Keep the manual, order details and component records safely.
Plan routine care from the outset. The guide to maintaining an aluminium greenhouse explains the value of regular inspection and cleaning. If the structure will be used for growing, organise beds, staging and irrigation only after the installation checks are complete. The broader orangery and greenhouse guide can help with use planning.
Common reasons to pause assembly
- The foundation dimensions or diagonals do not match the required layout.
- A component cannot be identified confidently.
- Parts are missing, damaged or appear incorrectly prepared.
- Profiles require unusual force to meet.
- The frame moves, twists or falls out of square.
- Wind, rain, darkness or unsafe access conditions develop.
- The next stage conflicts with the manual or remains unclear.
- A wall, foundation or fixing surface appears unsuitable.
Pausing is not wasted time. It is usually quicker and safer than dismantling completed work or damaging components. Further ownership and ordering guidance is available in the Useful Information library, while the full range can be reviewed under Greenhouses & Conservatories. Examples such as the Limited Edition aluminium greenhouse and Prestige greenhouse with metallic base should each be assembled according to their own documentation.
DIY assembly preparation FAQ
Can I prepare the foundation before placing my order?
It is better to confirm the exact product, configuration and current foundation information first. Similar-looking structures may have different post centres, base arrangements or fixing requirements. You can investigate the ground and plan access beforehand, but delay permanent setting out and construction until the correct documentation is available.
Can I assemble a Bloomcabin structure alone?
Do not assume so. Long profiles, frame sections and glazing can require several people for controlled lifting and alignment. Follow the staffing and handling guidance for the specific model. Arrange enough capable help for the most awkward stage, even if early subassemblies can be completed by one person.
Should I tighten every fastener immediately?
No. Many assemblies require initial movement so that the frame can be squared and aligned. Tightening too early may lock in distortion. Follow the manual’s sequence, use the specified fixing in each position and complete final tightening only at the stated stage.
What should I do if two profiles look almost identical?
Compare their part references, hole patterns, channels, end details and orientation in the diagrams. Keep labels attached and examine both profiles side by side. If identification remains uncertain, pause and request clarification rather than testing parts by force.
Can I use an existing concrete patio for a pergola?
Possibly, but appearance alone does not prove suitability. Its construction, condition, thickness, support, levels, drainage and relationship to the required fixing positions must be assessed. The appropriate solution varies by product and site, so competent advice may be necessary.
When should protective film or packaging be removed?
Follow the product instructions. Packaging should remain long enough to protect components and preserve identification, but it must not obstruct joints or become trapped during assembly. Any protective film intended for removal should not be left indefinitely after installation.
What if rain begins during installation?
Stop at a safe point, secure the frame and all loose materials, cover vulnerable components appropriately and move tools and documents into dry storage. Do not continue on slippery surfaces or handle large panels in worsening wind. Recheck alignment before restarting.
Can I modify a component if it does not fit?
Not without confirmed instructions. A poor fit commonly results from incorrect orientation, the wrong part, an inaccurate foundation or premature tightening. Photograph the issue, record the component references and seek guidance before cutting, drilling, bending or filing anything.
When can I begin furnishing or planting the greenhouse?
Wait until assembly is complete, all final checks have been passed and the interior is clear of packaging, swarf and loose fixings. Confirm that doors and vents work properly before installing staging, beds or irrigation. This prevents furnishings from hiding connections that still require inspection.
What records should I keep?
Retain the order confirmation, invoice, manual, packing information, component labels, delivery photographs and records of any reported issue. Photograph the foundation before it is covered or occupied and take clear images of the completed installation. These records are useful for maintenance, accessories and future enquiries.
