



SYSTEM
Electrical Preparation for a Motorised Pergola: Louvres, Controls and Lighting
A practical UK guide to coordinating a motorised pergola with its electrical supply, cable routes, controls and lighting. Learn what to confirm before installation, how to avoid inaccessible wiring and what an electrician needs from the pergola documentation.
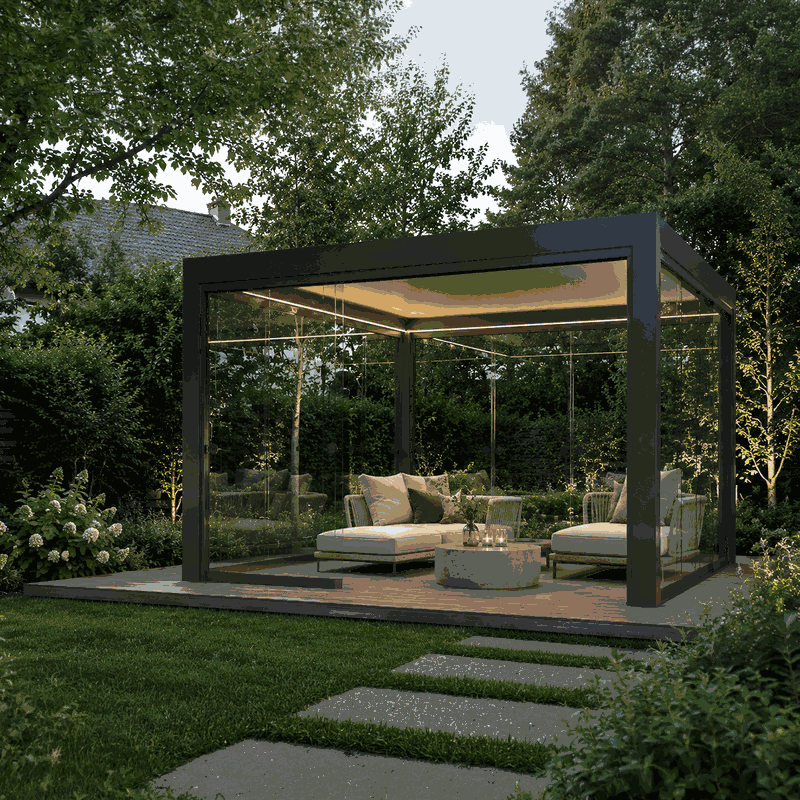
A motorised pergola should be planned as both an outdoor structure and an electrical installation. The louvre motor, control equipment, switches, receivers and optional lighting all need suitable power, protection and cable routes. Decisions made while preparing the foundations or patio can determine whether the finished wiring is discreet, accessible and straightforward to maintain.
This guide explains the information that the pergola supplier, installer, groundworker and electrician should coordinate. It does not replace the model-specific assembly and electrical documentation. Electrical work must follow the supplied instructions and applicable UK requirements, with final design, testing and connection handled by a suitably competent electrician.
What needs electrical power in a motorised pergola?
The principal electrical load is normally the equipment that opens and closes the roof louvres. Depending on the selected pergola and control system, the installation may also include receivers, control modules, transformers or drivers, switches, sensors and integrated lighting.
Possible electrically powered components include:
- Louvre motor: operates the moving roof mechanism.
- Control unit or receiver: interprets commands from a wall control, handset or compatible automation system.
- Lighting: may be integrated into roof beams, fitted below the structure or supplied as a separate outdoor lighting system.
- Sensors: where supported, these may respond to weather or environmental conditions.
- Optional accessories: screens, blinds, heaters or other equipment may require independent supplies and controls.
Do not assume that every accessory shares the motor supply. Different components can have different voltages, switching arrangements and protection requirements. Compare the intended configuration with the exact documentation supplied for the selected Bloomcabin pergola range.
Information to confirm before electrical rough-in
Electrical rough-in means installing the supply route and any concealed containment before the pergola is assembled. Before cables, ducts or junction points are positioned, confirm:
- the exact pergola model and final external dimensions;
- whether it is freestanding or attached to a building;
- the designated motor and control locations;
- the required supply stated in the model documentation;
- which components are supplied and which are to be sourced separately;
- whether lighting is included, optional or installed independently;
- the number and position of posts, foundations and rainwater outlets;
- the preferred operating points for switches and controls;
- whether glass walls, screens or other accessories may be added later.
Use the project drawings rather than estimating from photographs. Review the guidance on aluminium pergola dimensions and the selected product page, such as the Bloomcabin bioclimatic aluminium pergola. The frequently asked questions about Bloomcabin aluminium pergolas can help identify matters that should be raised before ordering.

Plan the pergola and electrical work as one site system
The pergola, foundations, paving, drainage and electrical installation occupy the same area. They should therefore be marked out together. A cable route that looks convenient on an empty patio may later clash with a footing, post fixing, drainage channel or sliding-glass track.
Create a coordinated plan showing the building wall, finished ground level, pergola posts, footing areas, rainwater paths, supply origin and proposed cable entry. Keep electrical routes away from places that will be drilled for anchors. The electrician should also consider how cables will be protected against moisture, impact and accidental damage throughout their route.
Foundation preparation must reflect the actual structure. Consult how to prepare a foundation for a pergola before excavation or concrete work begins. Separately, check whether the project requires consent or other approval; the overview of planning permission for a greenhouse or pergola in the UK provides a useful starting point, but requirements must be verified for the particular property.
Freestanding and wall-mounted electrical routes
Freestanding pergola
A freestanding structure usually needs power brought across or beneath the surrounding surface. The route may pass through prepared underground containment and emerge at an agreed post. This must be decided before paving or concrete makes the route inaccessible.
The emergence point needs careful setting out. It must not obstruct the base plate, anchors, internal post components or rainwater drainage. Leaving a cable approximately in the middle of a footing is not an adequate plan. The supplier’s drawings and the electrician’s containment requirements should identify a usable entry zone.
Compare the proposed arrangement with the advice on choosing a wall-mounted or freestanding pergola. For design context, the guide to aluminium pergola ideas for patios and gardens shows why furniture zones, paths and adjacent landscaping should also be considered.
Wall-mounted pergola
A wall-mounted pergola may allow the supply to approach from inside or along the exterior of the building. That can shorten the route, but it introduces other questions: where the wall is penetrated, how the penetration is weather-sealed, whether hidden services are present and whether the cable remains clear of structural fixings.
The pergola installer must know where electrical components may enter the frame. The electrician must know the final mounting height and exact frame position. Do not form wall penetrations from an indicative elevation alone. Review the chosen Bloomcabin lean-to pergola configuration and its project documents first.
Power supply and circuit planning
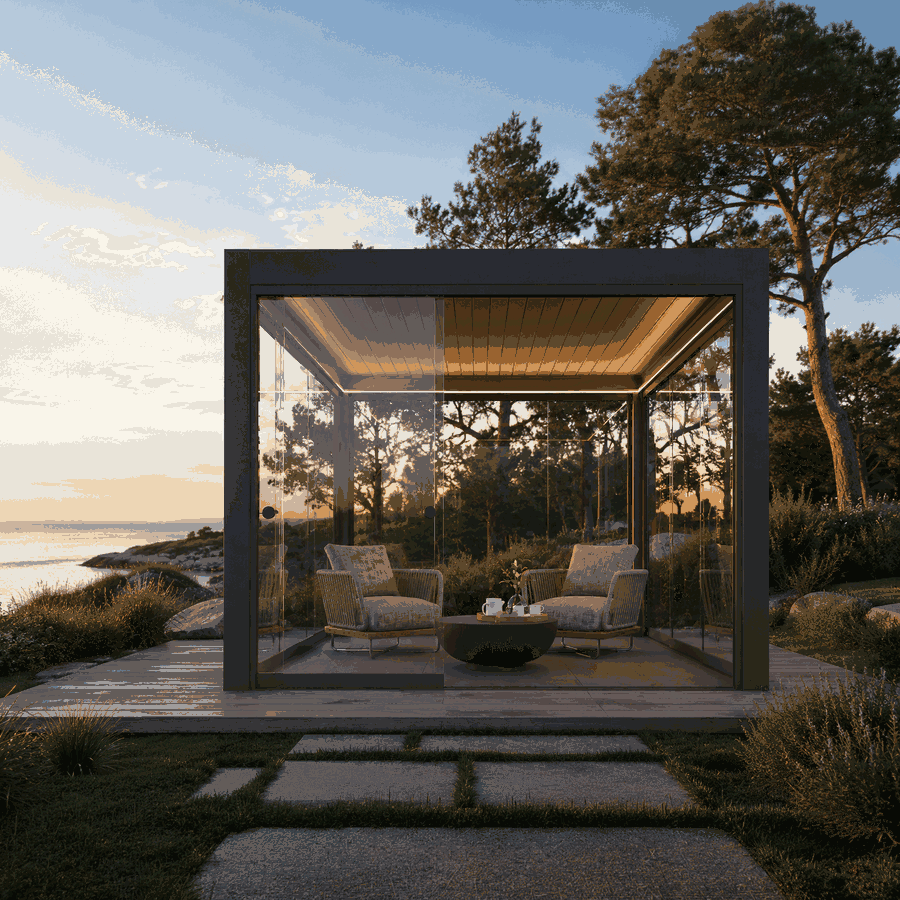
The electrician should design the supply after seeing the manufacturer’s electrical information. Important inputs include equipment voltage, load, starting characteristics where relevant, cable length, environmental exposure and the arrangement of controls and lighting.
The following should be agreed rather than assumed:
- the origin of the supply and isolation method;
- the protective device and additional protection required;
- cable type, size, route and mechanical protection;
- the enclosure and connection method suitable for the location;
- whether motor, lighting and future accessories require separate circuits or switching;
- how the equipment will be isolated for servicing;
- how testing and certification will be completed.
An outdoor socket is not automatically an appropriate permanent supply. Its circuit capacity, protection, condition and intended use must be assessed. Likewise, an indoor circuit should not be extended outdoors without checking the complete installation. Applicable electrical and building requirements can vary with the work, property and location, so the responsible electrician should verify them before installation.
Separate line-voltage and control wiring correctly
Motorised pergolas can contain both mains-voltage wiring and lower-voltage control or lighting connections. They must not be treated as interchangeable. The manufacturer’s terminal designations, cable requirements and segregation instructions determine how each conductor is routed and connected.
Where power and control cables follow similar paths, suitable separation or compartmentalisation may be needed. This helps reduce electrical interference and prevents incompatible circuits from being mixed in the same space. Metal frame sections are not general-purpose cable ducts unless the system documentation specifically identifies them for that use.
Each cable should be identifiable at both ends before it is enclosed. Clear labels such as motor, lighting, control input and spare are more useful than relying on colour or memory. Any unused cable must be safely terminated and documented rather than left loose inside the structure.
Louvre motor and control placement
Motor position is dictated by the particular roof mechanism. Do not relocate it simply to suit a preferred cable route. The motor, drive components and control unit require enough space for assembly, adjustment and future service access.
A control box or receiver should not be hidden permanently behind paving, sealed cladding or an inaccessible ceiling. It also needs environmental protection appropriate to its actual position. “Under a roof” does not necessarily mean dry: wind-driven rain, condensation and water running along cables can still reach equipment.
Before deciding how the roof will be used, compare a bioclimatic and standard pergola. The explanation of what a bioclimatic pergola is also gives useful context for adjustable louvres, ventilation and weather management.
Planning pergola lighting
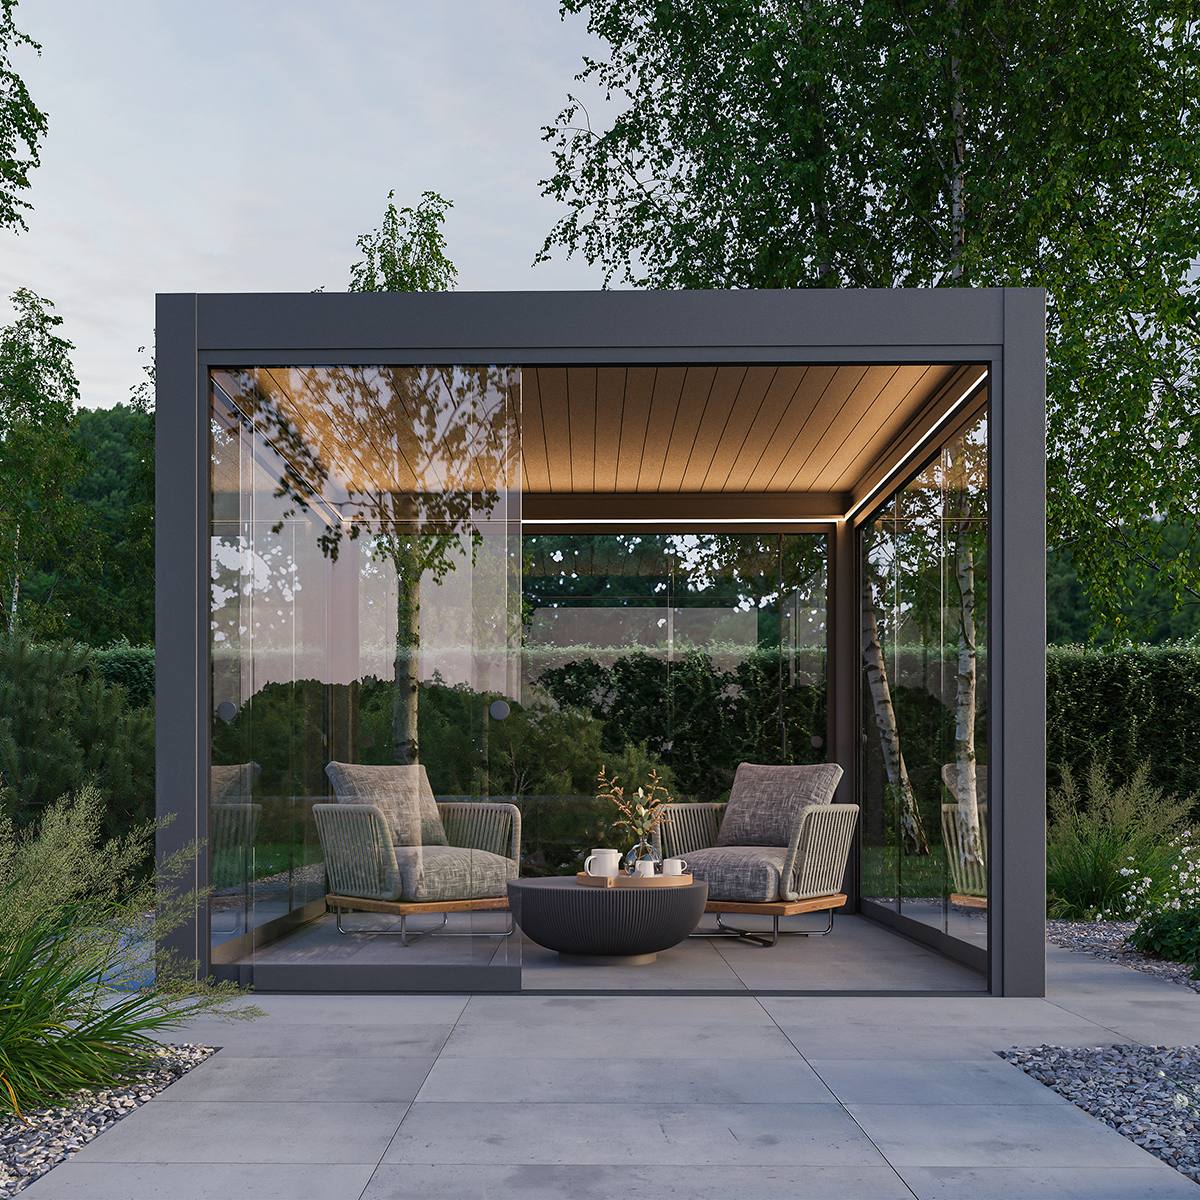
Lighting should be designed around activities rather than fitted wherever a cable happens to emerge. Dining may benefit from even downward light, while circulation routes need safe visibility without excessive glare. Softer lighting can create atmosphere, but it should not leave steps, thresholds or controls difficult to see.
Integrated lighting must be compatible with the pergola system. Independently specified fittings must be suitable for the intended outdoor position and supported securely without weakening the frame. Never drill structural sections or roof drainage paths without approval.
Questions to answer before choosing a lighting layout
- Which areas need practical task lighting and which need ambient light?
- Will glass walls alter reflections or create glare?
- Where will drivers, transformers or control equipment remain accessible?
- Will all lights operate together, or are separate zones wanted?
- Is dimming required, and are all components mutually compatible?
- Can the lights be serviced without dismantling the roof?
- Could furniture, screens or heaters obstruct the beam?
For broader design choices, see whether a louvred pergola is suitable for the intended use and compare the material considerations in the UK aluminium versus wood pergola guide.
Prepare for future accessories without overbuilding
It can be sensible to provide an accessible spare duct or draw cord while the patio is open. This is often less disruptive than lifting paving later. However, future-proofing should not mean installing unidentified live cables or guessing the electrical needs of accessories not yet selected.
Record both ends of any spare route and cap them against debris and water. Allow for physical routes to likely accessory positions, but design the actual supply only when the equipment data is available. Screens, heaters and motorised blinds can have materially different requirements.
If glass is being considered, read the guide to sliding or fixed glass walls for pergolas. Glass panels and tracks can restrict access to posts, controls and cable exits, so their future position belongs on the initial plan.
Installation sequence
- Choose the pergola configuration. Confirm dimensions, mounting type, roof operation and intended accessories.
- Obtain current documentation. Give drawings and electrical information to the pergola installer, groundworker and electrician.
- Survey the site. Identify supply routes, walls, buried services, drainage, finished levels and access constraints.
- Produce a coordinated setting-out plan. Mark foundations, posts, anchors, cable containment and connection points.
- Install foundations and concealed routes. Keep ducts and cables clear of structural fixings and drainage components.
- Verify before covering. Photograph and measure concealed routes before concrete, paving or finishes hide them.
- Assemble the pergola. Follow the model-specific manual and protect prepared cables during construction.
- Install electrical equipment. Route, identify and terminate wiring as specified.
- Test and commission. Confirm safe operation of isolation, motor direction, limits, controls and lighting.
- Hand over records. Keep drawings, photographs, manuals, test documents and control information together.
Product selection should be settled early. The configurations shown on the Bloomcabin pergola product page, bioclimatic pergola product page and lean-to pergola product page should not be treated as electrically identical without checking their documentation.
Delivery-day and pre-installation checklist
| Check | Why it matters |
|---|---|
| Product and drawing references match | Prevents rough-in based on an older or different configuration. |
| Motor, controls and lighting components are identified | Confirms what must be powered and where it will be fitted. |
| Foundations and anchor areas are clear | Avoids conflict between cables and structural fixings. |
| Cable entry is in the agreed post or wall zone | Allows concealed routing without unsafe alterations. |
| Prepared wiring is isolated and protected | Reduces risk while the frame is being assembled. |
| Control locations remain accessible | Supports commissioning and future maintenance. |
| Installer and electrician responsibilities are agreed | Prevents unassigned final connections or testing. |
If anything differs from the drawings, stop and resolve it before cutting, drilling or energising equipment. The UK pergola buying guide can help with earlier product decisions, while specific project questions can be directed through Bloomcabin contacts.
Commissioning the motor, controls and lights
Commissioning is more than checking that the louvres move. The installer should inspect the mechanism for obstructions and follow the specified procedure for direction, travel and limit settings. Repeatedly operating a mechanism that is binding or moving incorrectly may cause damage.
The electrician should test the completed electrical work and verify isolation, protective measures and correct connections. Controls should be paired or configured according to their instructions. Every wall control and handset should be tested from suitable operating positions, and lighting zones, switching and dimming should be checked where applicable.
Test the pergola through a complete operating cycle while watching cables, linkages and drainage areas. Confirm that no conductor is trapped, stretched or exposed to a moving component. Give the owner a practical demonstration, including normal stopping, isolation and the correct response to a fault.
Maintenance and troubleshooting
Keep roof channels and moving areas free of debris, and visually inspect accessible cables, seals, enclosures and controls. Do not pressure-wash electrical components or direct water into cable entries. Seasonal exposure matters; the guide to using a pergola in winter explains relevant weather considerations.
If the motor or lights stop working, first follow the user documentation. Check whether the fault affects the whole pergola or a single function and note any unusual sound, interrupted movement or recent weather event. Do not repeatedly reset protection or force the louvres by hand unless the instructions explicitly provide a procedure.
Isolate the equipment and seek qualified assistance if there are damaged cables, water inside an enclosure, burning smells, repeated tripping or inconsistent motor movement. Structural upkeep and electrical servicing are distinct tasks, although both should be recorded.
Coordinating a pergola with other Bloomcabin structures
A garden containing several powered structures benefits from an overall services plan. A pergola, greenhouse, summer house and outdoor sauna should not be supplied through improvised extensions from one another. Each structure has its own load, environmental exposure and operating pattern.
Review the broader greenhouses and conservatories range and summer houses when planning paths, foundations and service corridors. An aluminium classic greenhouse, for example, may need a different route and internal electrical design from a pergola.
Plan the garden distribution with capacity, isolation and future maintenance in mind, but avoid assuming that one structure’s specification applies to another. Further planning resources are available in Bloomcabin’s useful information library, with company background on the About Us page and trade enquiries through For Dealers.
Frequently asked questions
Can an electrician prepare the supply before the pergola arrives?
Yes, provided the electrician has the current model-specific drawings and electrical information. The cable should not be positioned from a generic photograph or nominal pergola size. Verify the final post layout, foundations, motor location and approved entry point before concealed work begins.
Can I use an existing outdoor outlet?
Possibly, but suitability cannot be judged by the presence of a socket alone. An electrician must assess the circuit, protective measures, loading, cable route and manufacturer’s connection requirements. A plug-in arrangement should not be substituted for a specified fixed supply without approval.
Does every louvred pergola use the same motor voltage?
No. Voltage and control arrangements vary between systems and accessories. Use only the electrical data supplied for the exact motor and pergola configuration.
Should the pergola motor and lights use one circuit?
There is no universal answer. The design depends on loads, controls, isolation, manufacturer instructions and the existing installation. Separate switching does not necessarily mean separate circuits, while a shared supply is not automatically suitable. The electrician must determine the arrangement.
Can wiring be hidden inside a pergola post?
Only where the pergola design and instructions permit it. A post may contain structural elements, fixings or rainwater drainage. The entry and exit points must not weaken the frame, trap water or interfere with assembly.
Can I add lighting after installation?
Often it is possible, but retrofitting may leave visible cables or require partial disassembly. Planning accessible containment and driver locations at the outset is usually cleaner. Confirm that proposed fittings and fixings are compatible before altering the structure.
Where should a wall control be installed?
Place it where the user can reach it conveniently and operate the roof safely, subject to the control manufacturer’s environmental and wiring requirements. Avoid positions vulnerable to direct water, accidental impact or later obstruction by glass panels and furniture.
Can controls be operated when the pergola is out of sight?
Remote capability does not remove the need for safe operation. Moving louvres should not be operated blindly where people, objects, ice or debris could obstruct them. Follow the supplied control instructions and assess the roof area before movement.
What happens if glass walls are added later?
Tracks and panels may cover cable exits, restrict access to controls and change lighting reflections. Mark proposed glass lines during initial planning and preserve accessible routes. Confirm compatibility before ordering either the glass or electrical accessories.
Who should make the final electrical connection?
A suitably competent electrician should undertake the final electrical work, testing and documentation in accordance with the product instructions and applicable UK requirements. Pergola assembly and electrical connection may be performed by different specialists, so their responsibilities should be agreed in writing.
What records should I keep?
Retain the order specification, model and component references, assembly and electrical manuals, test documentation, control instructions, photographs of concealed routes and a marked-up site drawing. Store handset or receiver programming details without publishing security-sensitive information.
What should I do if the supplied documentation does not match the rough-in?
Do not improvise a connection or modify the structure. Keep the supply isolated, compare product references and contact the supplier, installer and electrician. Agree a compliant correction before assembly continues. Moving a duct or cable early is preferable to creating an inaccessible or unsafe joint.
Final planning checklist
- Confirm the exact motorised pergola model, dimensions and mounting arrangement.
- Obtain current assembly and electrical documents before groundworks.
- Mark posts, foundations, anchors, drainage and electrical routes on one plan.
- Give the plan to the pergola installer, groundworker and electrician.
- Verify supply voltage and accessory requirements from actual product data.
- Keep cables clear of fixings, moving parts and rainwater paths.
- Provide accessible isolation, controls and serviceable connection points.
- Coordinate lighting with furniture, glass walls and circulation routes.
- Photograph concealed routes before paving or concrete covers them.
- Protect prepared wiring during delivery and structural assembly.
- Have the completed installation tested and commissioned.
- Keep manuals, drawings, photographs and electrical records together.
Early coordination is the simplest way to obtain discreet wiring and dependable operation. Choose the structure first, use its current documentation, and treat foundations, drainage and electrics as connected parts of the same project rather than separate jobs.
