



SYSTEM
How a Pergola Rainwater Drainage System Works
A practical guide to the complete rainwater route through a louvred pergola, from roof blades and perimeter channels to internal post drainage. Learn what to plan before ordering, how installation affects water flow and how to diagnose common drainage problems.

A modern aluminium pergola does more than provide shade. On suitable models, its roof also acts as a rainwater collection surface. When the adjustable louvres are closed, water is directed towards integrated channels and then discharged through designated posts or outlets.
Although this arrangement is visually discreet, it must be planned as a complete water route. The roof, gutters, frame, posts, foundations and surrounding ground all affect the result. A well-designed roof cannot compensate for blocked channels, an incorrectly levelled frame or a patio that directs discharged water back towards the posts.
This guide explains the general principles behind pergola drainage. Exact components and water routes differ between models, sizes and configurations, so the installation manual and project-specific drawings must always take priority.
The rainwater path in a pergola
Rain falling on closed louvres normally follows a controlled route through the structure. The precise direction depends on the roof design, but the sequence is generally as follows:
- Collection: closed louvres receive rain across the roof area.
- Transfer: the louvre profiles direct water towards a perimeter or cross-frame channel.
- Conveyance: integrated gutters carry the collected water to one or more drainage points.
- Vertical discharge: water passes into a post, an internal downpipe or another model-specific outlet.
- Site drainage: water leaves the structure and must be moved safely across or beneath the surrounding surface.
The last stage is easy to overlook. A pergola drainage system generally controls water only while it is within the structure. Once discharged, the patio, foundation and wider garden drainage arrangement determine whether it flows away or creates a puddle.
Roof area matters because a larger structure collects more water during the same shower. Before choosing a layout, compare the available aluminium pergola dimensions and consider where each possible outlet would sit in relation to paving, doors, walls and planted areas.
What each part of the drainage system does
| Component | Drainage function | What to check |
|---|---|---|
| Louvres | Collect rain and guide it towards the frame channels when closed. | Full movement, clean edges and correct closing position. |
| Perimeter or cross channels | Receive and transport water from the roof. | Leaves, grit, packaging residue and other obstructions. |
| Corner connections | Transfer water between horizontal channels and vertical routes. | Correct assembly and unobstructed openings. |
| Posts or internal pipes | Carry water downwards without requiring an exposed domestic downpipe. | Designated draining posts and clear discharge points. |
| Outlet | Releases water from the pergola. | Clearance above paving and connection to any planned site drain. |
| Foundation and patio | Support the frame and manage water after discharge. | Suitable load-bearing support, falls and freedom from ponding. |
Not every post necessarily performs the same task. Some may contain drainage routes while others primarily provide structural support or accommodate model-specific equipment. Never drill a post or create an extra outlet without confirmation that the modification is permitted. Hidden fixings, cables, internal channels or structural features may be present.

How adjustable louvres manage rain
Adjustable louvres change the roof from an open shading structure into a substantially closed rain-management surface. Their overlapping or interlocking profiles are intended to direct water into the integrated channels when they reach the specified closed position.
This does not make an outdoor pergola equivalent to a sealed room. Wind can push rain through small operational clearances, particularly around moving components and open sides. A few residual drips may also fall when wet louvres are reopened. Anyone comparing roof types should read the explanation of a bioclimatic versus standard pergola and the practical guide asking whether louvred pergolas are worth it.
The roof should be operated only in accordance with the applicable instructions. If a louvre does not close normally, do not force it. Check for twigs, leaves or other obstructions first. Continuing to operate a blocked mechanism may affect alignment as well as drainage.
Freestanding and wall-mounted drainage
A freestanding pergola is supported by posts on all sides. This often provides several potential positions for designed drainage routes, although the actual number of draining posts remains model-specific. The installation still needs to account for nearby buildings: placing an outlet beside a house wall can concentrate water where it is least welcome.
A wall-mounted or lean-to arrangement introduces an additional interface with the building. Rainwater must be controlled at the roof, while the junction with the wall must be formed in accordance with the approved installation detail. The pergola drainage system should not be assumed to replace the building’s own roof drainage or weatherproofing.
Use the guide to choosing a wall-mounted or freestanding pergola before finalising the layout. Relevant ranges include the Bloomcabin pergola collection, the dedicated bioclimatic aluminium pergola range and the lean-to pergola range. Product drawings should be used to identify the actual water outlets for the chosen configuration.
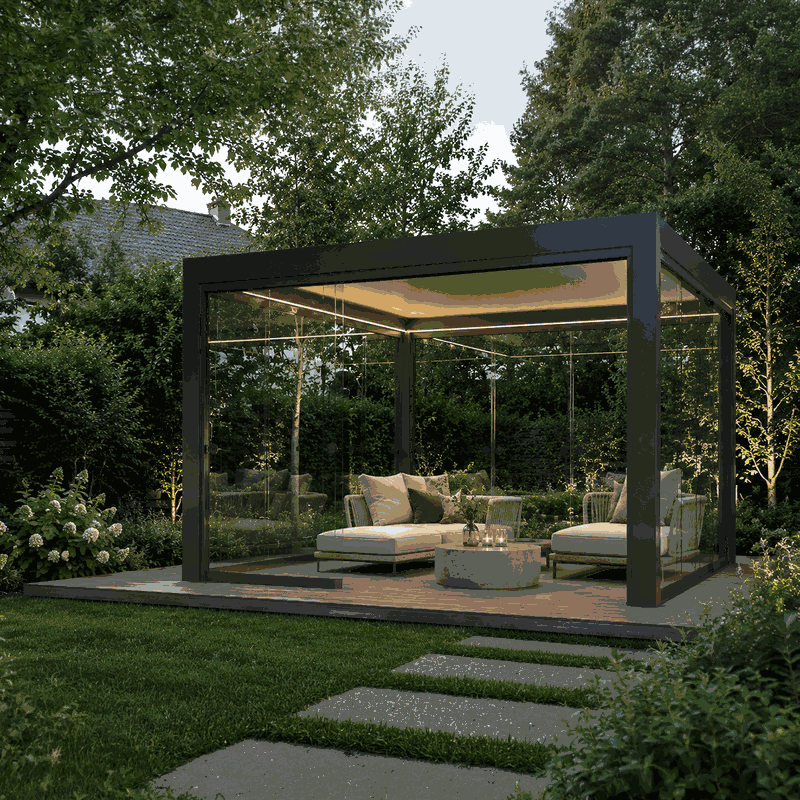
Drainage planning before you buy
Drainage should influence pergola position before paving, footings or service routes are committed. Begin with a simple site plan showing the structure, each post, doors, walls, gullies, inspection covers, planted beds and changes in ground level.
- Identify where water naturally travels during heavy rain.
- Check whether the intended patio already holds water.
- Keep proposed outlets away from thresholds and frequently used routes.
- Confirm whether underground pipes, drains or services restrict foundation positions.
- Allow access for cleaning outlets and channels after installation.
- Check whether the selected accessories alter post use or drainage arrangements.
The complete UK guide to bioclimatic pergolas explains the wider roof concept, while the pergola frequently asked questions can help identify information needed before ordering.
Planning permission, building controls and drainage restrictions vary with the site and proposal. Check the current requirements applicable to your property. The overview of UK planning permission for a greenhouse or pergola is a useful starting point, but it does not replace project-specific advice.
Foundation and patio preparation
The pergola needs suitable load-bearing support beneath its fixing points. Decorative paving alone must not be assumed to provide an adequate structural foundation. Consult the project requirements and follow the detailed guidance on preparing a pergola foundation.
Structural level and surface drainage fall are related but different. The pergola base positions must satisfy the installation tolerances, while the surrounding finished surface should lead released rainwater away from the posts and building. Do not deliberately distort or tilt the pergola frame to correct a poorly draining patio unless the approved instructions specifically call for that arrangement.
If paving will be laid after the pergola, preserve access to outlets and avoid burying post details that must remain exposed. If paving already exists, inspect it during rainfall rather than relying only on a dry-weather survey. A shallow depression can collect both direct rainfall and all the water discharged from the roof.
Receiving and pre-installation checks
Drainage problems can begin before assembly if components are damaged, mixed up or installed in the wrong orientation. On delivery, compare the packages and parts with the applicable documentation. Keep small connectors, seals and outlet components organised by assembly stage.
- Inspect louvres, beams, gutters and posts for transit damage.
- Confirm that channel openings have not been obstructed by packaging.
- Identify the posts intended to receive roof water.
- Check outlet components against the manual.
- Keep protective materials out of gutters during assembly.
- Do not substitute sealants, screws or fittings without approval.
There are several pergola configurations with similar outward appearances. Refer to the exact purchased model rather than a generic online photograph. Product pages such as the pergola model overview, bioclimatic pergola model page and lean-to pergola model page help distinguish the relevant arrangement.
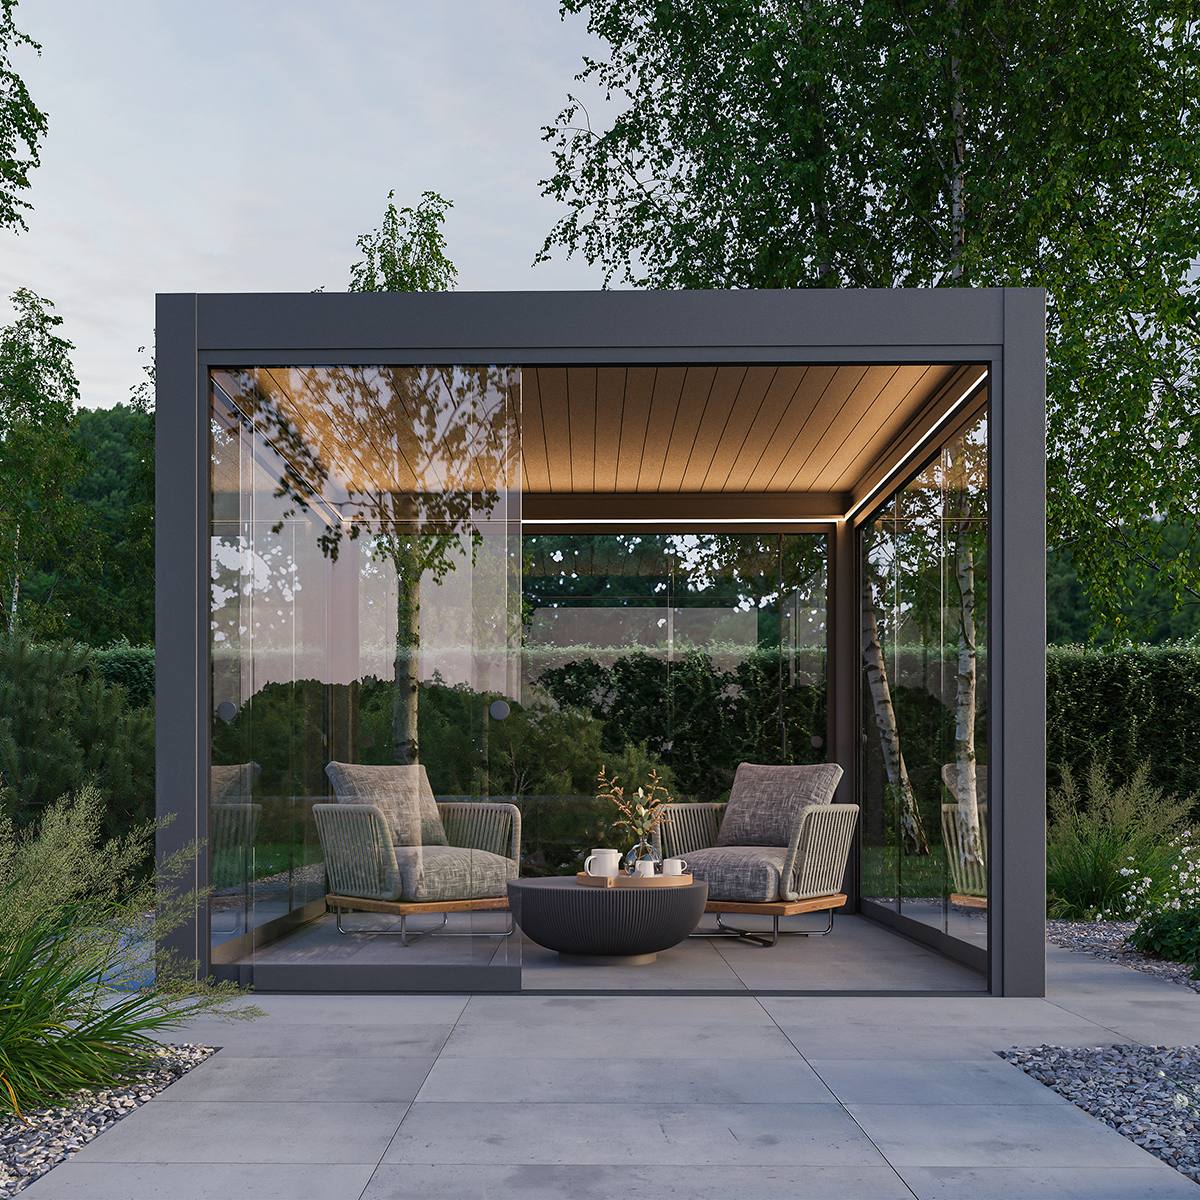
Installation points that affect drainage
Correct assembly allows water to cross joints and enter the intended vertical route. Small errors can create surprisingly visible symptoms during rain. Critical points include frame squareness, post orientation, beam-to-post connections, seals, louvre alignment and unobstructed outlet openings.
- Verify the foundation: confirm fixing positions and support conditions before raising the frame.
- Orient every post correctly: a draining post may have a specific inlet and outlet direction.
- Keep channels clean: remove swarf and assembly debris rather than washing it into a post.
- Fit seals as documented: misplaced sealing material can block a designed water route.
- Check louvre operation: open and close the roof through its normal travel before testing.
- Carry out a controlled water test: introduce water gradually and observe its complete route to discharge.
A water test should confirm direction and continuity, not subject an unfinished installation to uncontrolled flooding. If water appears at a joint, stop and inspect the upstream connection before adding more sealant.
Where should discharged water go?
Water should be led to a suitable location where it will not undermine foundations, splash persistently against posts, cross a doorway or create a slippery route. Depending on the site, this could involve a surface fall, a suitable channel, a planted drainage area or an approved connection to a site drainage system.
Do not assume that pergola runoff may automatically be connected to any nearby pipe. Existing pipes can serve different purposes, and local requirements may govern surface-water disposal. The appropriate arrangement must be checked for the property.
The key principle is continuity: the planned water route must continue beyond the pergola outlet. Moving water neatly down a post is only useful if it can then leave the installation area safely.
Where a buried drain is proposed, coordinate the outlet, foundation and pipe before concrete or paving work. Protect the route from debris and ensure that it remains accessible for inspection. A rigid connection should not impose unintended force on the pergola post.
Glass walls, wind-driven rain and condensation
Adding glass side panels can improve shelter, but it does not change the basic roof drainage route. Glass may reduce rain entering from some directions while increasing the visibility of droplets and condensation within the sheltered area. Read the UK guide to pergolas with sliding or fixed glass walls when considering enclosure options.
Wind-driven rain can enter around open sides, beneath panel edges or through normal operational gaps. Water found on the floor is therefore not automatically evidence of a blocked roof drain. Observe when and where it appears. Water directly below a roof joint during calm rain suggests a different cause from fine droplets appearing beside a windward glass panel.
Condensation forms when moist air meets a colder surface. It may occur beneath louvres or on glass without rainfall. Ventilation and temperature conditions influence it, and closing every side can sometimes make moisture more noticeable rather than eliminate it.

Routine cleaning and maintenance
Internal drainage reduces visual clutter but can hide accumulating debris. Inspect the roof and outlets regularly, with additional checks after leaf fall, storms or nearby garden work. Maintenance frequency should reflect the site: a pergola beneath trees generally requires more attention than one in an open garden.
- Open the roof as instructed and remove loose leaves safely.
- Clear channels using non-damaging tools.
- Check louvre edges and movement for twigs or compacted debris.
- Inspect outlets at the foot of draining posts.
- Wash away ordinary dirt without forcing debris deeper into the system.
- Observe discharge during moderate rain or a controlled test.
Avoid harsh tools or unsuitable chemicals that could damage coatings, seals or moving parts. General principles in the guide to maintaining an aluminium greenhouse may help with coated aluminium care, but the pergola instructions remain authoritative.
Cold weather, ice and seasonal operation
Cold conditions change how roof water behaves. Meltwater can refreeze in channels or at shaded outlets, and ice can prevent normal louvre movement. Never force frozen louvres or use an improvised heat source that may damage finishes, seals or electrical components.
Follow the model-specific seasonal operating instructions, including any guidance about roof position during snow, frost, freezing rain or periods when the pergola is unattended. The practical guide to using a pergola in UK winter conditions provides broader context.
Before colder weather, clear leaves and confirm that outlets run freely. A partially blocked channel may retain water that later freezes. After a freeze, wait until components are free of ice before operating the roof and inspect the discharge route for temporary blockage.
Troubleshooting common drainage symptoms
| Symptom | Possible cause | First checks |
|---|---|---|
| Water remains in a roof channel | Debris, incomplete assembly or frame alignment issue. | Clean the channel and compare the installation with the manual. |
| One post discharges but another does not | The second post may not be a drain, or its route may be obstructed. | Confirm the designed outlets before attempting to clear it. |
| Water leaks at a beam corner | Misaligned connection, omitted component or incorrect seal placement. | Inspect the joint and assembly sequence. |
| Water pools around a post | Poor patio fall, blocked ground drain or low outlet clearance. | Observe the route after water leaves the post. |
| Drips appear when the roof opens | Residual water is leaving wet louvre surfaces. | Allow drainage time before opening and check channels are clear. |
| Water appears only in windy rain | Wind-driven entry rather than failure of the internal drain. | Note wind direction and inspect open sides and panel interfaces. |
If the cause is unclear, record a short video showing the roof, the suspected joint and the outlet during rainfall. Include the model, installation date, roof position and recent maintenance. Contact details are available on the Bloomcabin contact page.
Questions to answer before ordering
- Which exact model and roof configuration suits the site?
- What are the overall dimensions and post positions?
- Which posts contain the intended drainage routes?
- Where will water go after leaving each outlet?
- Is the foundation designed before paving work begins?
- Will walls, doors or glass panels be close to an outlet?
- Are underground services or existing drains present?
- Can channels and post outlets remain accessible for maintenance?
- What local permissions or drainage requirements must be checked?
- Who will coordinate the pergola installer, groundworker and electrician where applicable?
For further comparison, consult the main useful information library, the guide to aluminium versus timber pergolas and the available Bloomcabin pergola information.
Frequently asked questions
Is a closed louvered pergola completely waterproof?
No outdoor adjustable-roof structure should be treated as a completely sealed internal room. Closed louvres are intended to collect and channel rain, but operational clearances, joints, wind direction and rainfall intensity can lead to occasional water entry or dripping. Correct installation and maintenance are essential.
Does every pergola post contain a drain?
Not necessarily. The number and position of drainage posts depend on the model and configuration. Use the exact drawings and assembly instructions. Do not drill an assumed outlet into a post.
Can pergola water connect to a buried drain?
It may be possible where the project design and local requirements permit it. Confirm the type, capacity and destination of the drain, coordinate it with the foundation and retain suitable inspection access. Seek site-specific advice where necessary.
Why does water drip when the louvers open?
Water can remain on louvre surfaces after rain. Rotating the blades changes their angle and may release those droplets into the area below. Allowing time for the roof channels to drain before opening can reduce this effect.
Can leaves block an internal drainage route?
Yes. Leaves, seeds, moss and small twigs can collect in roof channels or at inlets to draining posts. Regular cleaning is especially important where trees overhang the pergola.
What should I do if water pools at a post?
First establish whether the water is leaving the post correctly. If it is, inspect the patio fall and downstream drainage. If it is not, check the outlet and upstream channels for obstruction. Do not alter structural fixings without approved guidance.
Can I seal every joint to stop occasional drips?
No. Some gaps or openings may be part of the intended drainage, ventilation or movement arrangement. Excess sealant can divert water or block an internal route. Apply only the specified material in the documented locations.
Should the louvers stay closed during freezing weather?
Follow the operating instructions for the exact model and prevailing conditions. Do not move louvres that are frozen, obstructed by ice or carrying accumulated snow. Seasonal guidance can vary, so avoid relying on a general rule.
Will glass walls improve roof drainage?
Glass walls do not increase the capacity of the roof channels. They can reduce wind-driven rain from some directions, but they may also make condensation and water at panel interfaces more noticeable.
What information should I provide when asking for help?
Provide the exact model and size, installation configuration, draining post locations, photographs of the roof and foundations, and a clear description of when the symptom occurs. A video showing the water route during a controlled test is often useful.
Final planning principle
Treat pergola drainage as one continuous route: rainfall reaches the louvres, enters the frame channels, travels through designated posts and then passes into the site’s surface-water arrangement. Every stage must remain correctly assembled, unobstructed and accessible.
Selecting the right structure is only the beginning. Confirm dimensions, foundations and outlet locations before work starts; coordinate paving and underground drainage; and test the completed route before the installation is handed over. That approach is more reliable than trying to correct ponding or inaccessible outlets after the pergola and patio are finished.
