



SUPPORT
Assembly Manuals, Technical Drawings and Product Documentation
A practical guide to selecting, checking and using Bloomcabin assembly manuals, technical drawings and supporting product documents throughout planning, delivery, installation and ownership.
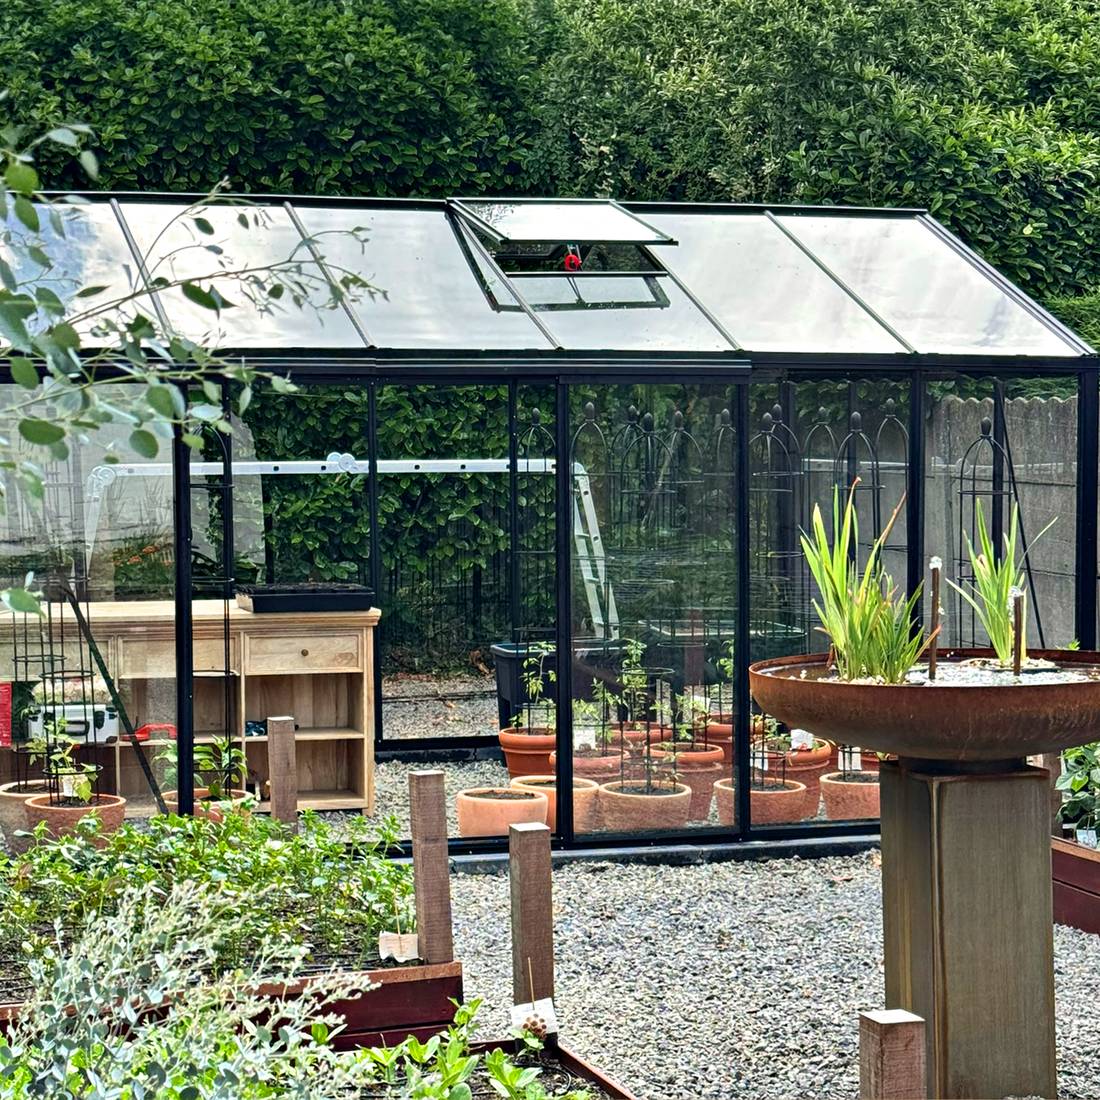
Assembly manual library
Select the manual that matches your exact Bloomcabin product, size and configuration. Check the document identity and revision before using it for planning or installation.
The manual library above provides access to assembly documentation for Bloomcabin products available in the United Kingdom. A manual is most useful when it is treated as part of a complete document set rather than opened for the first time on installation day. Product identification, technical drawings, foundation information, order documents and option-specific instructions may all affect how the work should be planned.
This guide explains how to select and control those documents from initial product comparison through to handover. It does not replace the manual supplied for your exact order, professional site assessment or any permissions and local requirements applicable to the property.
What Bloomcabin product documentation may include
The documents associated with a greenhouse, orangery or pergola can serve different purposes. Not every product or order will have every document type, and an option may be covered by a separate supplement.
- Assembly manual: the ordered sequence for identifying and connecting components.
- Technical or dimensional drawing: the product geometry, principal dimensions and relevant reference points.
- Foundation information: the positions or conditions required to support and anchor the structure.
- Parts information: component references, quantities or grouped hardware used during delivery checks and assembly.
- Option instructions: additional guidance for doors, vents, screens, glazing, roof systems or other order-specific equipment where applicable.
- Care information: inspection, cleaning, adjustment and maintenance guidance for continued ownership.
General material pages, such as Aluminium Greenhouses and Conservatories and What is Accoya® wood?, can help explain product choices. They should not, however, be mistaken for assembly instructions.
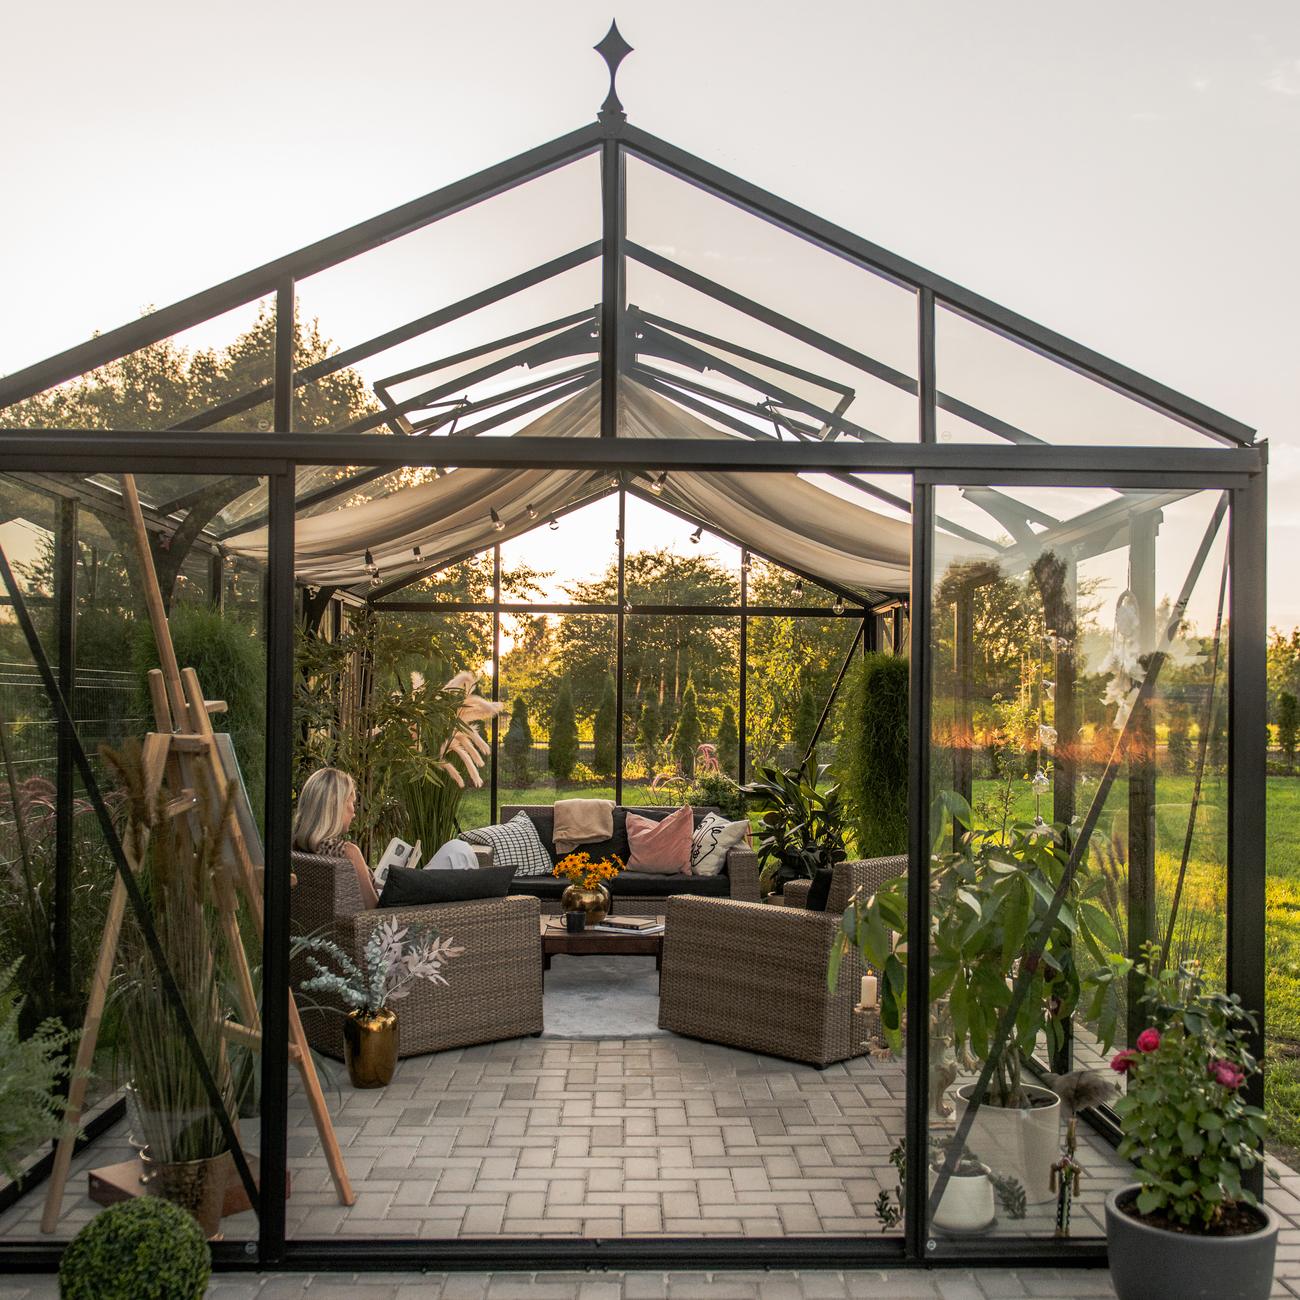
Documentation to review before buying
Documentation should inform the buying decision as well as the installation. Check whether the proposed structure fits the available area, whether doors and moving roof elements have adequate clearance, and whether the site can accommodate an appropriate foundation. Allow for practical access around the structure, not merely its nominal footprint.
Use the information for the actual product being considered. The aluminium Classic greenhouse, Premium Classic Plus glass greenhouse, Bloomcabin orangery and Prestige greenhouse with metallic base are distinct products. Their drawings and manuals are not interchangeable.
For pergolas, first establish whether the design is wall-mounted or freestanding and how the roof operates. The guides to choosing a wall-mounted or freestanding pergola and comparing a bioclimatic and standard pergola provide useful context before technical planning begins.
Planning permission, building regulations, listed-building controls, lease restrictions, boundaries and other conditions depend on the property and proposal. Review the UK overview on planning permission for a greenhouse or pergola, then check the current requirements applicable to your address with the relevant authority or adviser.
Match every manual to the exact product
A visual resemblance is not enough to establish that a manual is correct. Products that look similar in photographs may have different profiles, connection details, roof systems, bases, glazing arrangements or option packages. Revisions may also change the order of work or the hardware used.
Confirm the product name, model or range, selected size, configuration and document revision wherever these are stated. For example, documentation for a Limited Edition aluminium greenhouse should not be substituted for documentation belonging to another greenhouse range. Equally, the instructions for a Bloomcabin pergola must not automatically be applied to a bioclimatic aluminium pergola.
How to identify the correct document set
Build a simple document register before site work begins. This can be a printed cover sheet or a shared digital list. Record the title, product identity, revision or issue date if shown, number of pages and the person responsible for keeping the controlled copy.
- Compare the product identity on the document with the order confirmation.
- Check the size and configuration, including wall-mounted or freestanding arrangements where relevant.
- List every ordered option and determine whether it appears in the main manual or has separate instructions.
- Check that drawings and foundation information belong to the same product version as the manual.
- Confirm that every page is legible and that no numbered page is missing.
- Remove or clearly mark superseded copies so that they cannot be used accidentally.
If the identity is unclear, stop and request confirmation rather than choosing the nearest-looking manual. The aluminium greenhouse FAQs and aluminium pergola FAQs can answer general questions, but the order record remains central to matching documentation.
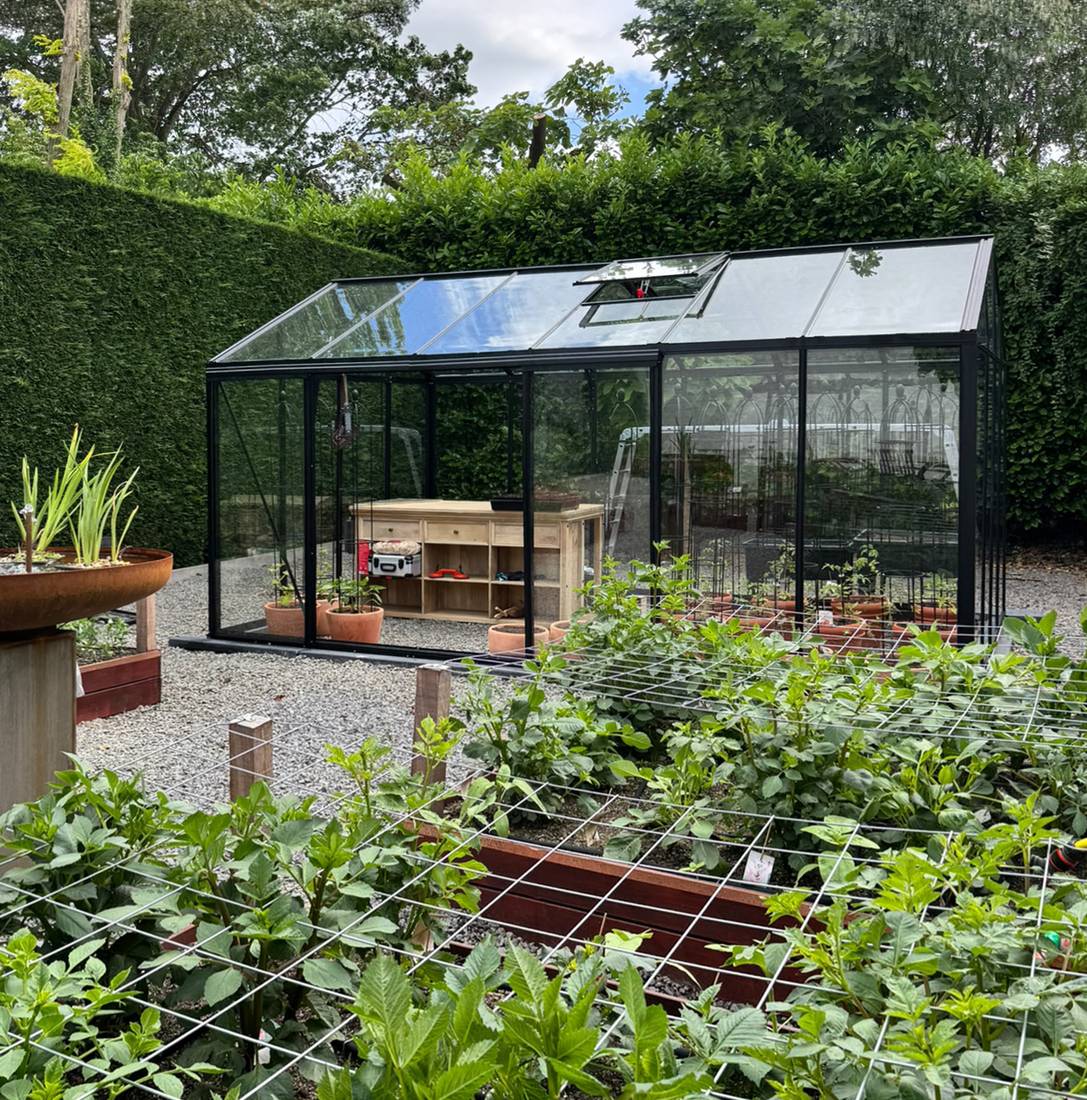
How to read a technical drawing
Start with the drawing identity
Read the title block or identifying information before looking at dimensions. Note the product, configuration, drawing number, revision and date where provided. Check the stated units. Never assume that two drawings with a similar title have the same status.
Understand each view
A plan view looks down on the structure; an elevation shows one side; and a section represents a cut through part of the construction. Detail views enlarge particular junctions. Dashed lines may identify concealed items, while centre lines and reference marks may locate components across several views.
Trace each important measurement to its extension lines and arrowheads. Establish whether it refers to an overall outside dimension, centres, an opening, a base, a roof projection or an individual component. A perspective illustration may help orientation, but dimensioned views normally contain the information needed for setting out.
Separate product dimensions from site measurements
A product drawing describes the structure; a site survey describes the property. Keep the two records separate and compare them deliberately. Site measurements may need to account for walls that are out of square, uneven ground, drainage routes, eaves, fences, vegetation and access for installation.
Do not scale a dimension from a PDF displayed on screen or from a printout unless the document expressly authorises that method. Screens and printers can resize drawings. Use stated numerical dimensions and clarify any missing critical measurement. For pergola planning, consult the dedicated page on aluminium pergola dimensions.
Foundation and site preparation documents
The foundation is an interface between the product and a specific site. Read the relevant foundation information before excavation, concrete work or positioning of anchor points. Check the required overall geometry, levels, diagonals, support locations and reference height shown for the exact configuration.
A foundation should not be designed from a product photograph or a generic footprint. Soil, existing slabs, drainage, exposure, nearby structures and underground services are site-specific matters. Where design or suitability is uncertain, obtain appropriate professional advice and check local requirements. For pergolas, begin with how to prepare a foundation for a pergola.
Before installation, record foundation measurements and compare opposite diagonals where a rectangular layout is intended. Confirm that levels and anchor positions agree with the approved product information. Resolving a discrepancy at this stage is generally safer than attempting to force the frame to compensate later.

Receiving the delivery and checking parts
Keep the order documents and correct parts information available when the delivery arrives. Inspect packages for visible damage before moving or opening them, and follow the delivery process provided with the order. Photograph significant package damage and retain labels that identify the affected parcel.
Open and organise packages carefully. Group profiles, glazing or panels, seals, fixings and accessories without mixing similar-looking items. Check references and quantities against the applicable document rather than identifying parts by appearance alone. Protect components from scratching, bending, moisture, wind and unstable stacking while they await assembly.
If something appears missing, first check all package groups and the sequence in the manual. A small fitting may be packed with another assembly rather than loose. Record the order reference, package label, component reference, expected quantity, received quantity and clear photographs when reporting an issue.
Using the assembly manual effectively
Prepare before the first connection
Read the complete manual once before starting. Identify stages that require additional people, temporary support, lifting preparation or a check before later components conceal the connection. Prepare a clean working area and use the tools, protective equipment and handling methods appropriate to the instructions and site.
Sort fasteners by reference and size, preferably in labelled containers. Do not assume that two bolts with a similar appearance serve the same purpose. Protect glazing and finished profiles from hard or abrasive surfaces.
Follow the sequence
Assembly order often controls access, alignment and stability. Do not jump ahead merely because a later stage looks straightforward. Complete each specified measurement and orientation check before proceeding. Pay particular attention to left- and right-handed components, inside and outside faces, drainage paths and the direction of seals.
Use photographs only for general orientation. Product photography, including images in design articles such as the Victorian-style greenhouse guide, does not show every fixing or establish the correct assembly sequence.
Manage fasteners and adjustments
Some connections may need to remain adjustable until the structure has been aligned; others may need securing at a defined stage. Follow the exact manual rather than applying a single tightening rule to the whole structure. Never substitute fixings or alter components simply to overcome resistance.
If holes or profiles do not align, stop and check component identity, orientation, the preceding steps, base level and frame diagonals. Forcing a connection can transfer the error elsewhere or damage a component. Escalate unexplained discrepancies with photographs and document references.
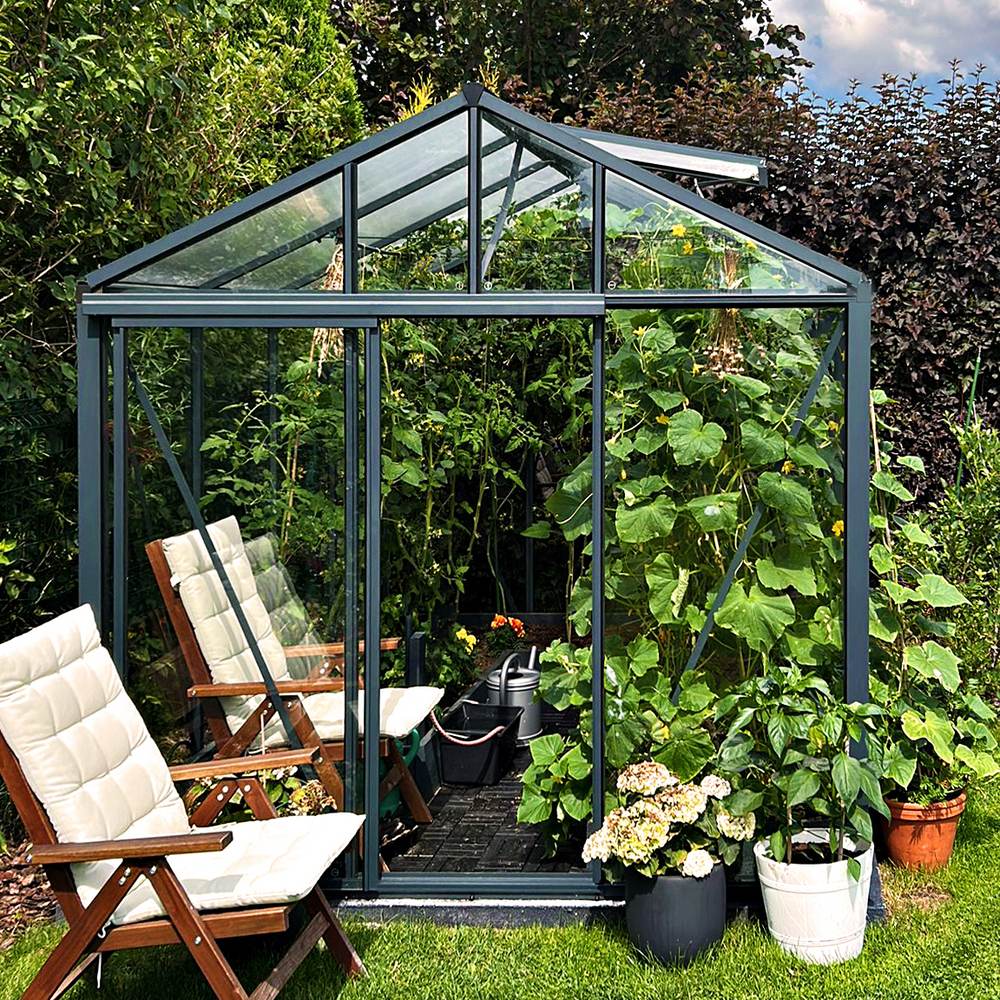
Anna Koku Skola as one installation sequence
The Anna Koku Skola material should be understood as one continuous installation sequence, not as a collection of unrelated projects. When reviewing its images or records, maintain the order in which the same installation progresses from site preparation and initial structural work through later assembly and completion.
This continuity matters because an isolated image cannot show all earlier alignment checks or temporary conditions. Use the sequence to understand overall progression only. The approved manual and technical drawings for the exact ordered product still govern component identification, connections and checks.
Document control during installation
Nominate one controlled manual for the installation team. A digital master can be useful, but site users should know which copy is current. If printed copies are needed, mark their revision and replace all of them when an updated document is issued.
| Record | What to note |
|---|---|
| Document register | Title, product, revision and copy holder |
| Site checks | Levels, key dimensions, diagonals and date checked |
| Delivery issue | Package, component reference, quantity and photographs |
| Clarification | Question, relevant manual step and confirmed response |
| Change | Who authorised it and which documents were updated |
Avoid handwritten alterations that could be mistaken for official instructions. Keep project notes separate and clearly attributed.
Handover and maintenance documentation
At completion, retain the final manual, drawings, order information, option instructions and records of approved clarifications. Add keys, controls or operating information where relevant. The owner should know how to identify the product and where the document set is stored.
Create a maintenance record for inspections, cleaning and adjustments. Follow product-specific guidance, including maintenance of an aluminium greenhouse. Operational growing information, such as the UK greenhouse temperature and humidity guide, can support greenhouse use but does not replace structural care instructions.
Keep documents available if ownership or maintenance responsibility changes. A clear handover helps prevent future users from relying on assumptions or instructions for a different model.
Related planning and ownership reading
The wider useful information library and overview of the extensive product range can help place technical documents in context. Those comparing timber and aluminium structures can also review wooden greenhouses and conservatories.
For glazing context, see the UK greenhouse polycarbonate guide. For larger garden-room concepts, the orangery greenhouse guide explains key distinctions. Pergola users considering an adjustable roof can read whether louvred pergolas are worth it. These pages support product understanding; they do not override order-specific documentation.
Frequently asked questions
Where can I find UK assembly manuals?
Use the manual library at the top of this page. Select the document matching the exact product, size, configuration and revision associated with your order. If that match cannot be confirmed, provide your order details and request the correct document set before starting work.
Can I use a manual for a similar Bloomcabin model?
No, not unless Bloomcabin has confirmed that it applies. Similar products can differ in profiles, dimensions, fixings, glazing and assembly order. Use the model identity rather than appearance.
What if my order includes options not shown in the main manual?
Check for separate option instructions and the order-specific documentation. Establish where the option enters the main assembly sequence before proceeding past that point. Do not improvise a connection based on photographs.
Should the foundation be completed before I read the assembly manual?
No. Review the manual, technical drawing and foundation information together before foundation work starts. This helps establish the correct references, support locations, access needs and sequence.
Can I measure dimensions from a drawing displayed on my screen?
Do not scale from the screen. Display software and screen size can change apparent scale. Use the written dimensions. If a necessary dimension is absent or unclear, request clarification.
What should I do if a component does not fit?
Stop rather than force it. Check the part reference, orientation, previous steps, frame alignment, level and diagonals. Photograph the component and connection, then seek clarification if the reason remains uncertain.
How should I report a missing or damaged item?
Provide the order reference, package label, component reference, quantity and clear photographs. Explain whether the issue was visible on delivery or discovered after opening. Keep packaging and identification labels until the matter has been checked.
Are product photographs assembly instructions?
No. Photographs can illustrate appearance and broad progress, but they may omit concealed fixings, temporary bracing and earlier checks. The applicable manual and drawings control the work.
Can several installers use different printed versions?
They should not. Keep one controlled version and ensure every installer is using the same current issue. Withdraw obsolete copies immediately.
What documents should remain with the product after installation?
Retain the final assembly manual, relevant technical and foundation drawings, option instructions, order identity, approved clarifications and maintenance information. Store digital backups where they can be found by a future owner or maintenance contractor.
Does the manual replace site-specific professional planning?
No. A product manual cannot assess ground conditions, existing structures, services, exposure or statutory requirements at a particular property. Obtain suitable professional input and verify applicable local requirements where necessary.
Final documentation checklist
- Order and product identity match every controlled document.
- Size, configuration, options and revision have been checked.
- Technical drawings have been read without scaling from a screen.
- Foundation information has been compared with the surveyed site.
- Delivery packages and components have been checked systematically.
- Installers are following one current manual in the stated sequence.
- Discrepancies are recorded and resolved rather than forced.
- The final document set and maintenance record are retained at handover.
