



PREPARATION
Outdoor Sauna Site Preparation: Base, Drainage, Clearance and Location
A practical guide to preparing a safe, stable and well-drained outdoor sauna site, from choosing the location and base to planning clearances, utilities and delivery access.
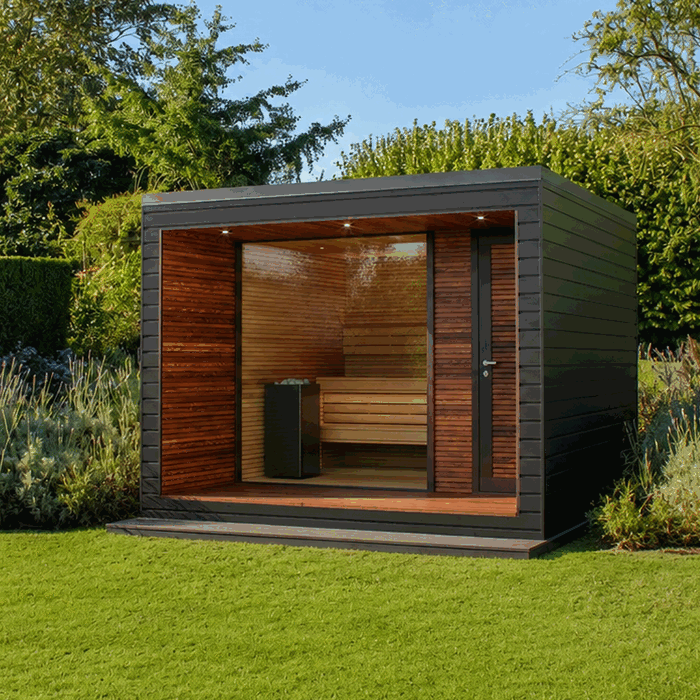
A successful outdoor sauna installation starts well before the structure arrives. The site must support the sauna evenly, direct water away, provide the required clearances and remain accessible for construction and future maintenance. Heater type, electrical work, flue arrangements and the delivery route also need to be considered before the base is built.
This guide explains the main decisions for a typical UK garden. It does not replace the sauna manufacturer’s drawings, heater instructions or local professional advice. Always use the dimensions and technical requirements supplied for the exact sauna and heater being installed.
Outdoor sauna site preparation checklist
- Confirm the exact sauna model, external footprint and door position.
- Check roof projections, steps, terraces and other parts extending beyond the wall line.
- Choose a location that works in wet weather as well as in summer.
- Check whether planning permission, building regulations or other local restrictions may apply.
- Identify underground and overhead services before excavation.
- Select a stable, durable and well-drained base appropriate to the structure and ground.
- Plan roof-water disposal and prevent surface water flowing towards the sauna.
- Confirm all manufacturer, heater, flue and combustible-material clearances.
- Arrange electrical, lighting, water or drainage routes before closing the ground.
- Check delivery access from the road to the finished base.
- Leave sufficient working room for assembly, cleaning, treatment and repairs.
- Verify that the completed base is level, correctly sized and ready before delivery.
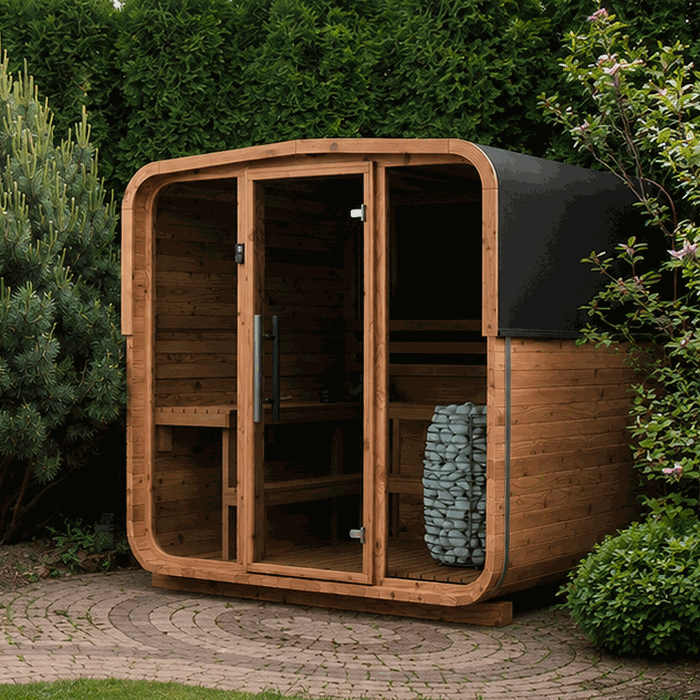
1. Choosing the best outdoor sauna location
Start with everyday use
A sauna hidden at the far end of a garden may look attractive on a plan, but the route can become inconvenient on a dark, cold or rainy evening. Consider the distance from the house or changing area, the firmness of the path and whether safe lighting can be provided. Avoid routes with slippery slopes, low branches or awkward steps.
Think about how the door will open and where users will stand before and after bathing. A modest, non-slip landing can make entry safer and keep mud away from the threshold. If a terrace is planned, include it in the overall layout rather than treating it as a later addition.
Evaluate the surrounding property
Look beyond the empty footprint. Boundaries, neighbouring buildings, drains, inspection chambers, retaining walls and mature roots can all affect suitability. Do not cover access points that may need to be opened later. Excavating near trees or retaining structures can cause damage, while building directly over buried services can make repairs difficult and expensive.
Before committing to the position, check the applicable local planning and building requirements. Restrictions may depend on the site, the sauna’s height and position, land designation, proximity to a boundary and the presence of a flue. General background about siting garden structures is available in the guide to planning permission for a greenhouse or pergola, but sauna-specific circumstances must be checked separately.
Consider sun, wind and exposure
An exposed position can receive more wind-driven rain and place greater demands on doors, finishes and roof-water management. A sheltered site may be more comfortable, provided surrounding walls or planting do not restrict ventilation or breach required clearances. Trees give shade but also drop leaves, twigs and sap onto the roof. Branch movement and future growth must be considered.
Orientation can affect privacy, views and solar gain through glazed areas. It can also influence how rain reaches the entrance. Study the garden during different weather conditions instead of choosing solely by appearance on a dry day.
2. Confirm the sauna footprint before building the base
Do not estimate the foundation from a catalogue photograph or nominal model name. Obtain the current base drawing for the exact configuration. The structural footprint may differ from the maximum overall dimensions because eaves, cladding, roof edges, handles, steps or terraces can project beyond the supports.
Mark the full arrangement on the ground with pegs and string. Show the wall line, supporting points, door swing, heater area and any porch. Walk around the outline to test access. The same principle is important for other framed garden buildings: compare the clearly defined bases of a Prestige greenhouse with metallic base and a Pyramid greenhouse designed for wall bases. The foundation must correspond to the structure actually being supplied.
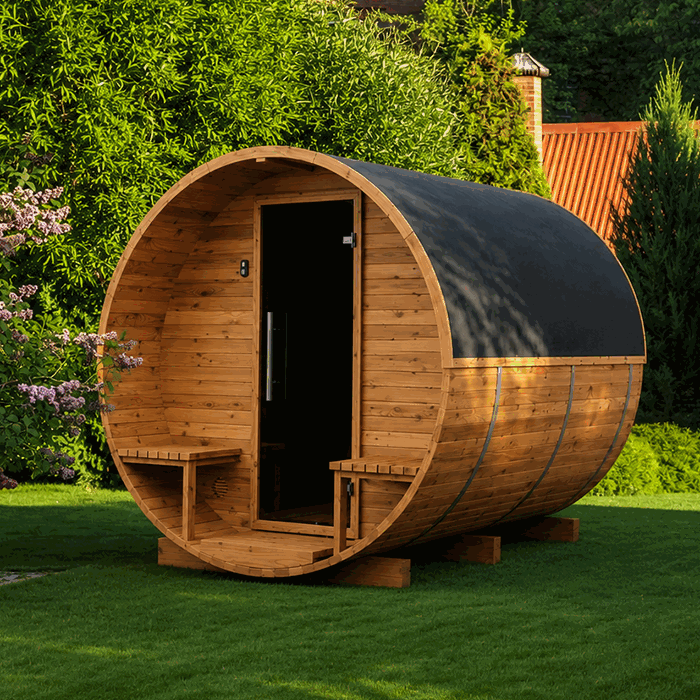
3. Selecting an outdoor sauna base
The appropriate solution depends on the sauna design, its support arrangement, the soil, local drainage and the manufacturer’s instructions. Possible approaches include a properly designed concrete slab, paving supported by a suitable sub-base, or engineered point or ground-screw foundations carrying a structural frame. A few loose paving slabs laid on topsoil are not a dependable foundation.
| Base approach | Potential advantage | Points to resolve |
|---|---|---|
| Concrete slab | Continuous, durable surface when correctly constructed | Levels, curing, drainage, edge details and service penetrations |
| Paving on prepared sub-base | Accessible finish for suitable sauna designs | Settlement, joint movement, load distribution and perimeter drainage |
| Point or screw supports | Can reduce extensive excavation on some sites | Engineering, soil suitability, structural frame and airflow below |
The UK greenhouse foundation guide illustrates why different base systems cannot be treated as interchangeable. A sauna has its own weight, heat and moisture conditions, so use only an approach suitable for its documented support requirements.
Level does not mean poorly drained
The sauna’s structural bearing points normally need to be level and in the same plane so that walls, glazing and doors align correctly. That does not mean the entire surrounding area should hold water. Drainage falls can be formed outside the structural bearing zone, and some slab designs may incorporate planned falls where the manufacturer permits them.
Do not create an improvised slope beneath support rails to solve surface-water problems. It can twist the building and affect door operation. Separate the need for level structural support from the need to move water away.
Prepare the ground, not just the visible surface
Remove vegetation, organic topsoil and unsuitable soft material from the load-bearing area. Build up the base in appropriate, compacted layers suited to the soil and chosen construction. Poorly compacted fill can settle unevenly even if the finished paving initially appears level.
Ground conditions vary greatly across the UK. Clay may retain water and move seasonally, while made ground or steep sites may require specialist assessment. If there is uncertainty about bearing capacity, excavation depth or a nearby retaining wall, obtain competent local advice before work starts. The principles in preparing a pergola foundation also demonstrate the importance of dealing with the supporting ground rather than concentrating only on the visible finish.
4. Drainage and moisture management
Rainfall, wet footwear, cleaning water and repeated heating cycles all make moisture planning essential. The objective is not to seal the sauna into a damp pocket. Water should have a defined route away from the structure, while timber and concealed spaces should be able to dry as intended.
Manage roof runoff
Establish where rain leaves the roof and what happens next. Depending on the sauna design, runoff may be controlled by gutters or discharged along roof edges. Prevent concentrated water from eroding the base, splashing cladding or soaking the entrance. Any connection to drainage or a soakaway must be suitable for the site and comply with applicable local requirements.
Keep outlets accessible for clearing leaves. Roof-water behaviour is also a major consideration for covered outdoor structures, as discussed when assessing whether louvred pergolas are worthwhile.
Grade the surrounding area
The ground around the sauna should encourage surface water to move away rather than towards the base. Watch the proposed site during heavy rain if possible. A shallow depression that looks harmless in summer may become waterlogged in winter. Avoid raising the base in a way that diverts water towards a neighbour or another building.
Plan for internal water
Not every sauna uses water in the same way, and not every model requires a floor drain. Follow the manufacturer’s instructions. If a drain is specified, determine its position, trap arrangement, frost protection and lawful discharge route before casting a slab. Never assume that water can simply be released beneath the building.
Where no drain is required, the floor still needs to tolerate intended use and cleaning. Use water sparingly where directed, avoid flooding and ensure that removable floor components can be lifted for drying or maintenance.
Preserve ventilation below the structure
If the sauna is designed with a ventilated void beneath it, keep that void open. Soil, decking, decorative gravel or later landscaping should not block the airflow or bridge moisture onto timber. Fit any pest barrier only in a form that preserves the required ventilation. Periodically remove leaf debris from under and around the structure.
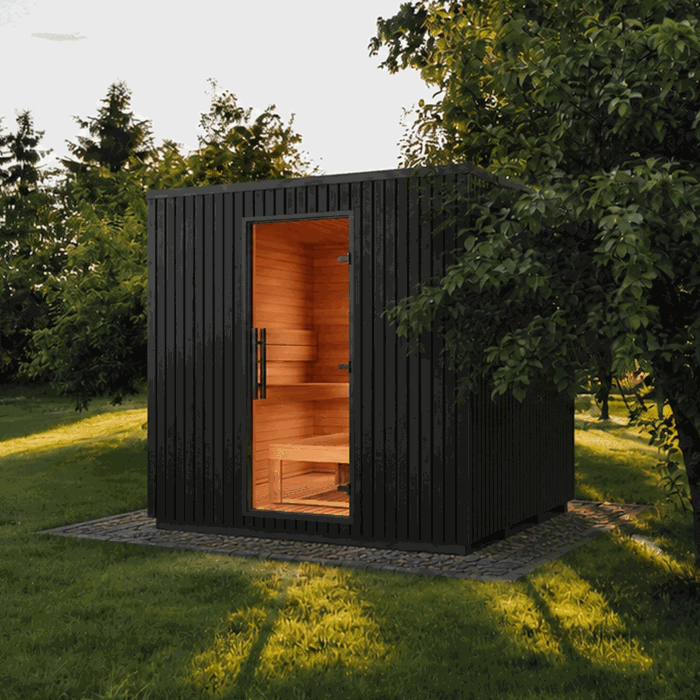
5. Clearances around the sauna
Manufacturer and heater clearances
Use the sauna and heater manuals to establish the minimum distances from walls, fences, vegetation and combustible materials. Heater clearances are safety-critical and may differ at the sides, rear, front and above. For a wood-burning installation, the stove, flue system, heat shielding and terminal each have specific requirements. Never substitute a convenient generic distance.
Assembly and maintenance space
A technically permissible gap may still be too narrow for installation or upkeep. Installers may need access to fasten roof components, fit trims, apply finishes or lift glazing. Later, owners need space to clean gutters, inspect cladding and maintain the roof. Leaving only a hand-width beside a fence can turn a simple task into dismantling work.
This practical distinction also appears when choosing a wall-mounted or freestanding pergola: physical attachment, drainage and maintenance access matter as much as the nominal footprint.
Overhead clearance
Check branches, cables, canopies and eaves above the complete roof and any flue. Allow for construction access and future tree growth. A wood-burning flue cannot be routed according to appearance alone; its system design and terminal position must satisfy the appliance instructions and applicable requirements.
6. Heater and utility planning
Electric sauna heaters
Electrical planning should begin before groundworks. The installer needs the exact heater and control information, proposed cable route, consumer-unit context and location of any controls, sensors and lights. Outdoor cables and equipment must be selected and installed for the conditions.
Electrical sauna work should be designed, installed, tested and certified as required by a competent electrician in accordance with applicable UK requirements. Do not purchase cable by guesswork, bury an unconfirmed route or place controls where the manufacturer prohibits them. Leave enough time for the electrician and sauna installer to coordinate penetrations and final connections.
Wood-burning sauna heaters
A wood-burning heater requires more than a non-combustible patch beneath the stove. Planning must include the approved flue arrangement, floor and wall protection, ventilation, combustion clearances, safe fuel handling and access for sweeping and inspection. The complete installation must follow the stove and flue manufacturers’ instructions and relevant local requirements.
Consider smoke in relation to nearby windows, boundaries and seating areas. If the site cannot accommodate a compliant flue and safe clearances, choose another position or heater type rather than modifying safety distances.
Water, lighting and other services
Decide early whether the area needs external lighting, a cold-water point or another approved service. Separate services appropriately and protect routes from excavation and fixings. Record where underground ducts and pipes run before covering them.
Garden lighting should illuminate the approach without creating glare through the sauna glazing. Any fittings inside or close to heated and wet areas must be suitable for their exact location. General ordering information can be checked before finalising the project through How to order, while product-specific technical decisions should always be confirmed for the chosen sauna.
7. Delivery and installation access
Measure the whole route from the delivery vehicle to the base. Check gates, alleyways, corners, steps, slopes, low branches and overhead cables. The largest package or assembled element may be much less manoeuvrable than an individual wall board. Protect fragile paving and soft lawns where handling equipment or repeated foot traffic will pass.
Confirm who is responsible for unloading and moving components, where packages can be stored and whether they must remain dry. Read the current Terms of Purchase and Delivery rather than assuming that kerbside delivery includes transport through the garden. Keep the access route clear on installation day and do not schedule final landscaping before heavy components have passed through.
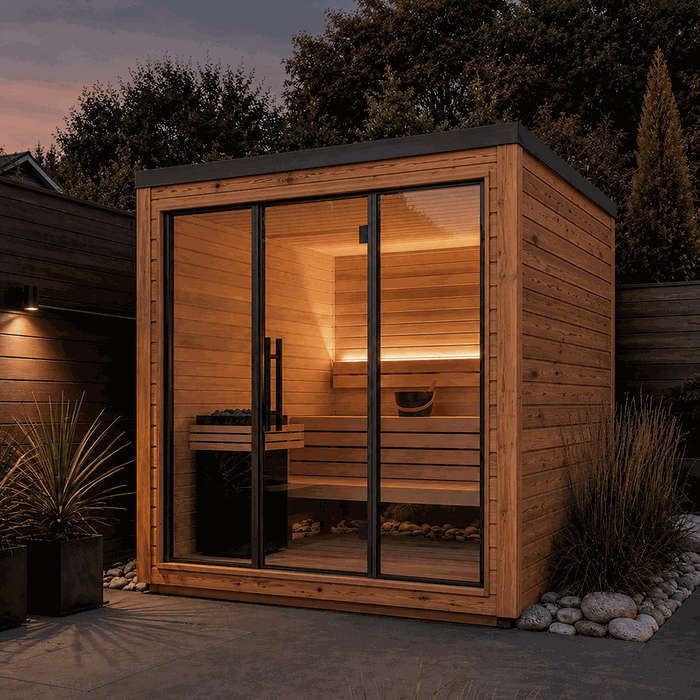
8. Recommended preparation sequence
- Select the sauna and heater. Obtain current drawings and installation instructions.
- Survey the garden. Note boundaries, levels, drainage, trees, structures and services.
- Check permissions and constraints. Verify the requirements applying to the property and proposed heater.
- Mark the arrangement. Include projections, entrance space, access and maintenance zones.
- Coordinate utilities. Agree routes and penetrations with the relevant installers.
- Design the base and drainage. Match them to the sauna, soil and site conditions.
- Complete the groundworks. Allow concrete and other materials to cure or settle as specified.
- Measure the finished work. Check dimensions, diagonals, levels and support positions.
- Confirm delivery access. Remove temporary obstacles and prepare dry storage if required.
- Photograph concealed work. Keep a record of service routes and foundation details.
For comparison, the installation logic behind a Classic aluminium greenhouse, a larger Bloomcabin orangery and a Bloomcabin pergola all begins with the same discipline: confirm the supplied structure before constructing what supports it.
9. Common site preparation mistakes
- Building from nominal dimensions: projections and support rails are overlooked.
- Laying slabs on topsoil: the visible surface is neat, but the ground below settles.
- Confusing flat with level: uneven support twists the structure.
- Ignoring rain: the base becomes the lowest point in the garden.
- Leaving utilities until later: new paving then has to be lifted or drilled.
- Using generic heater clearances: the exact appliance instructions are not followed.
- Building too close to a boundary: assembly and maintenance become difficult.
- Overlooking delivery access: components cannot pass through a gate or turn a corner.
- Blocking underfloor airflow: later landscaping traps moisture beneath the sauna.
- Assuming permissions: site-specific restrictions are discovered after money has been spent.
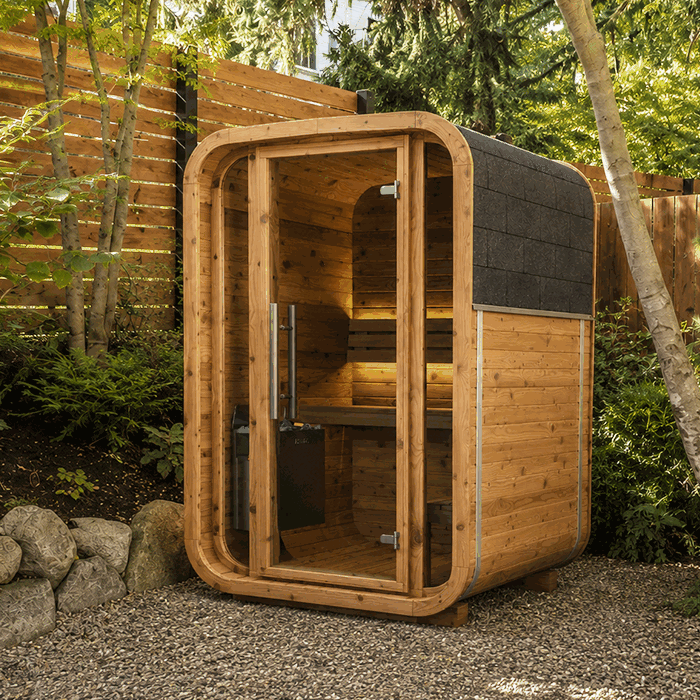
10. Lessons from planning other outdoor structures
Saunas have distinct heat, ventilation and moisture requirements, but several useful planning principles are shared with high-quality garden structures. Foundation accuracy matters for the doors and glazing of a Premium Classic Plus glass greenhouse. The design of a substantial Pyramid greenhouse for wall bases shows why the supporting construction must be considered part of the project, not an afterthought.
Material selection does not remove the need for upkeep. Guidance on maintaining an aluminium greenhouse reinforces the value of accessible edges, clean drainage paths and regular inspection. Likewise, the comparison of bioclimatic and standard pergolas shows how roof behaviour affects the area below.
Design inspiration should follow, rather than replace, technical planning. The articles on a wooden garden terrace, Victorian-style greenhouses and Pyramid conservatory design can help with the wider garden setting. Technical choices, however, must still follow the exact structure, site and intended use. Further practical material is collected in Useful Information and the Bloomcabin blog.
Outdoor sauna site preparation FAQ
Can I put an outdoor sauna directly on grass?
Generally, no. Grass and organic topsoil do not provide stable, durable support and retain moisture around the structure. Remove unsuitable material and construct the foundation specified for the sauna and local ground conditions.
Does an outdoor sauna base have to be perfectly level?
The structural supports must meet the manufacturer’s level and tolerance requirements. Accurate support helps walls, doors and glazing align correctly. Drainage falls should be designed outside those supports or incorporated only where the base design expressly permits them.
Can I install a sauna on an existing concrete patio?
Possibly, but age and appearance do not prove suitability. Check dimensions, thickness, reinforcement where relevant, condition, level, drainage and what supports the concrete. Confirm that it can carry the sauna in the required positions without trapping water.
How much clearance should I leave around an outdoor sauna?
Use the largest clearance arising from the sauna instructions, heater or flue requirements, applicable local rules, assembly needs and practical maintenance access. There is no universal distance suitable for every model and site.
Should the base be larger than the sauna?
It depends on the manufacturer’s base detail. An oversized slab can provide a useful perimeter, but it may also collect water and splash the cladding if poorly designed. Do not assume that bigger is automatically better; coordinate dimensions, edge levels and drainage.
Does every outdoor sauna need a floor drain?
No. Requirements vary according to floor construction and intended washing or cleaning. Follow the model instructions. Where a drain is needed, arrange its position and discharge route before constructing the base.
Can I place a sauna under trees?
It may be possible if clearances are maintained and the trees are healthy, but expect more roof debris and shade-related drying issues. Consider falling branches, root disturbance and future growth. Keep the roof and drainage points accessible for cleaning.
When should electrical planning begin?
As soon as the sauna and electric heater have been selected, and before foundation work. Early planning allows the electrician to determine a suitable route and coordinate cable entries, controls, sensors and lighting without unnecessary excavation later.
Can the sauna sit beside a fence or house wall?
Only if all applicable clearances, planning constraints, ventilation needs and fire-safety requirements are met. There must also be enough room to assemble and maintain the hidden side. Roof runoff must not be directed against the wall or onto neighbouring property.
What should be checked immediately before delivery?
Recheck base dimensions, diagonals, level, drainage and curing. Confirm that service routes are safe, access is clear and storage is dry. Review the supplied components, delivery responsibilities and installation plan. It is also sensible to retain the applicable warranty information and installation records.
Final readiness check
The site is ready only when the correct base is complete, water has a safe route away, all required clearances are available, services have been professionally planned and the delivery team can reach the installation area.
Before confirming installation, compare the finished site against the latest sauna and heater documents one final time. If the base dimensions, drainage, electrical arrangements or flue position differ from the approved plan, resolve the discrepancy before the sauna is assembled. For product or order-specific questions, use the Bloomcabin contact details.
