



PREPARATION
What Photos, Measurements and Drawings Should You Send for a Quote?
A practical UK checklist explaining which site photographs, measurements, sketches and access details to provide when requesting a quote for a greenhouse, pergola or other garden structure.
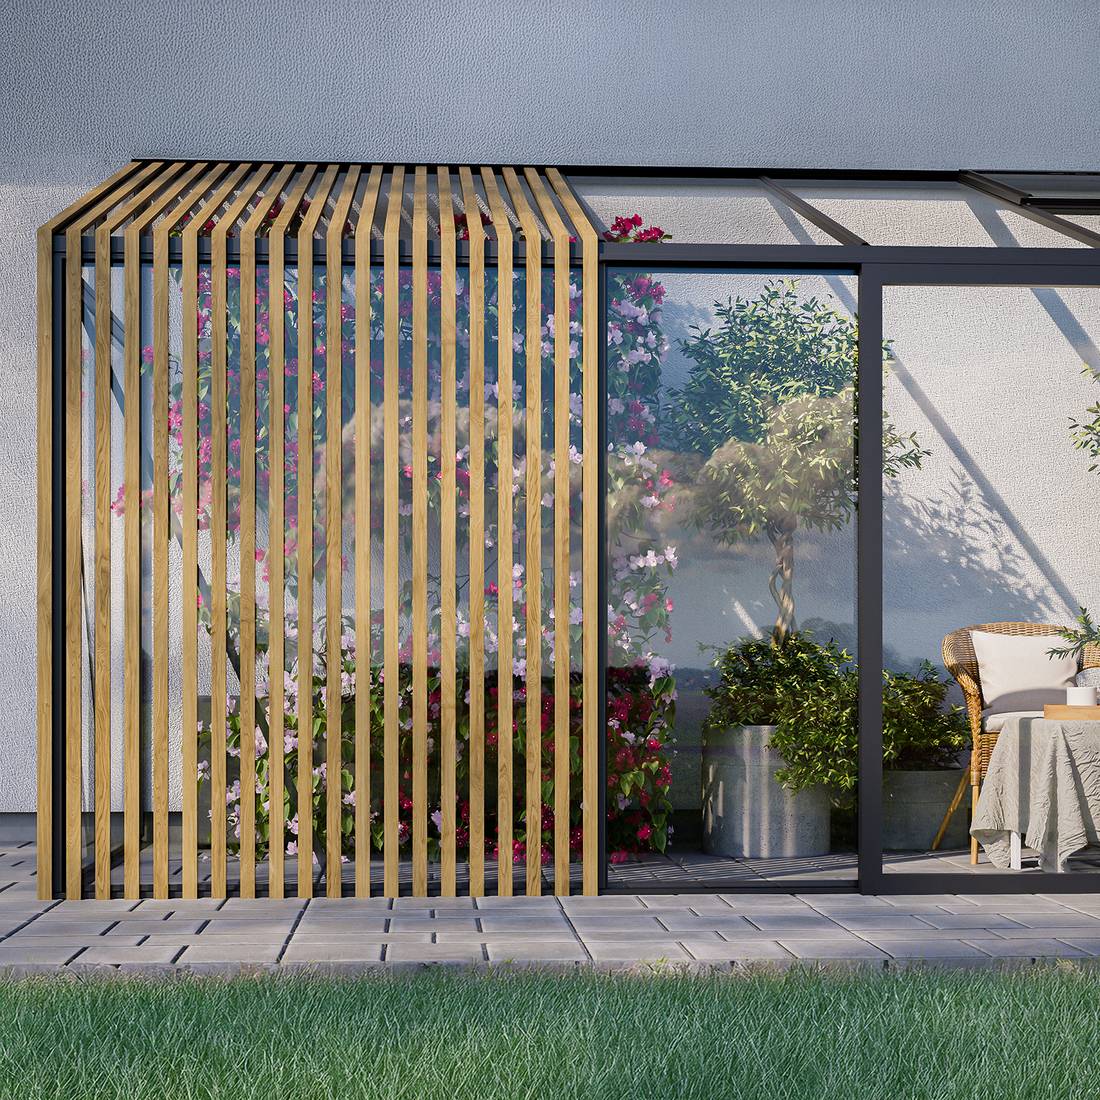
A useful quotation starts with an accurate picture of the proposed structure, its location and the conditions around it. Clear information helps identify obvious constraints, reduces avoidable follow-up questions and makes it easier to discuss suitable options. It does not need to be a professional survey, but it should be complete, consistent and easy to understand.
This guide explains what to send when requesting a quotation for a freestanding or wall-mounted greenhouse, orangery, pergola or similar garden structure. It also identifies matters that may need to be checked independently before ordering or installation.
Quick quote-request checklist
Before submitting your enquiry, check that your package contains:
- The product type or product page you are considering.
- A short explanation of how you intend to use the structure.
- Wide photographs of the whole garden or installation area.
- Closer photographs of the ground, walls, boundaries and obstacles.
- Measured available length and width, not merely your preferred product size.
- Wall measurements for every wall-mounted proposal.
- Information about slopes, drainage and the proposed foundation area.
- A simple plan drawing showing dimensions and fixed features.
- Delivery and installation access details.
- Relevant local planning, boundary or property restrictions known to you.
- Clearly labelled files and your contact details.
If you have not yet chosen a model, browse the main greenhouses and conservatories range or the wider useful information library before assembling your request.
1. Identify the product and intended use
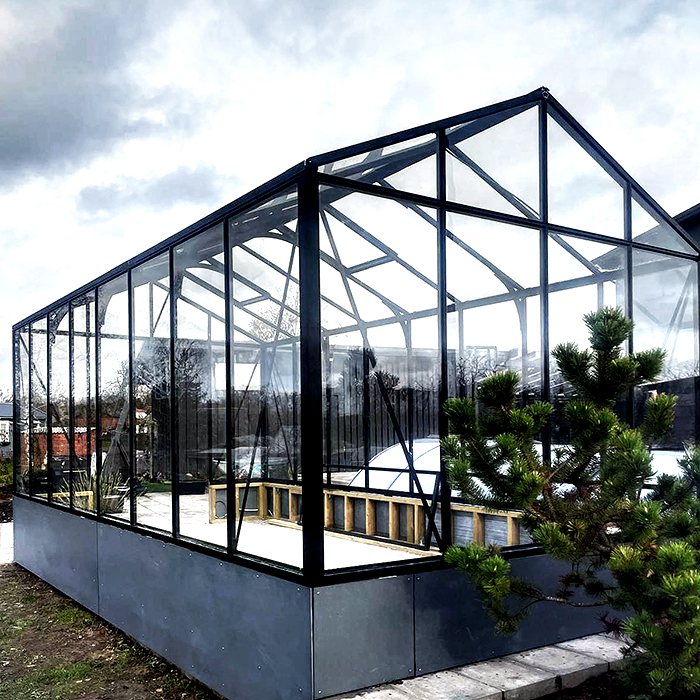
Begin by naming the product category and, where possible, linking to the particular model you have in mind. For example, state whether you are considering an aluminium classic greenhouse, a larger Bloomcabin orangery, a freestanding pergola or a wall-mounted design. If you are comparing formats, say so rather than presenting an uncertain choice as final.
Explain the intended use in one or two sentences. A greenhouse used principally for propagation may require different internal planning from one intended for seating, display planting or mixed use. The UK greenhouse growing calendar can help clarify your growing aims, while the small greenhouse guide covers placement and practical layout questions.
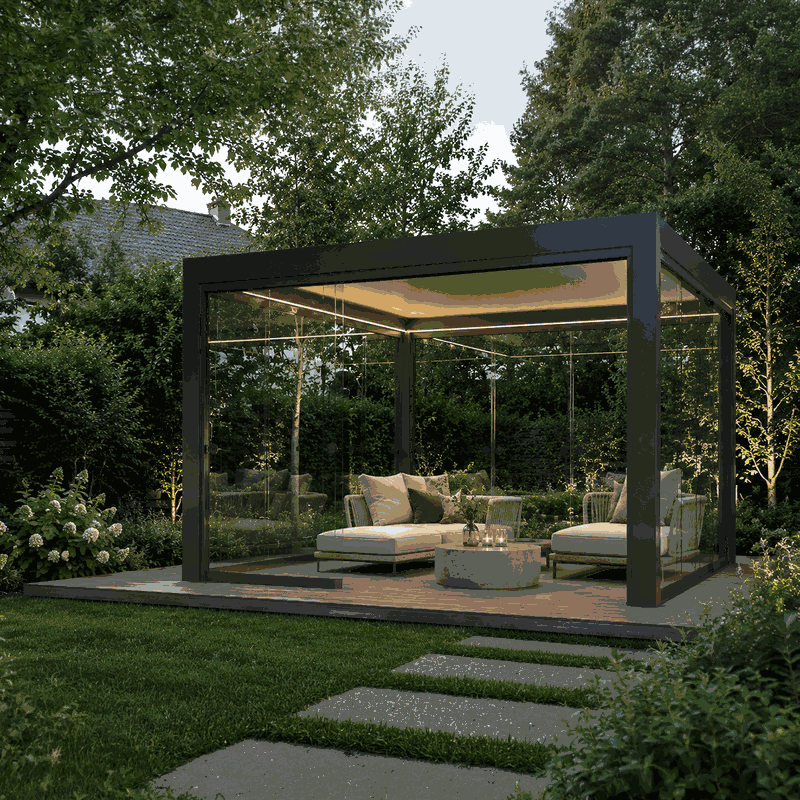
For pergolas, describe whether the priority is shade, weather protection, an outdoor dining area or integration with doors leading from the house. If you are unsure about the format, compare a wall-mounted or freestanding pergola before requesting a specific configuration.
2. Take a complete set of site photographs
Photographs should allow someone unfamiliar with the property to understand the wider setting as well as the exact proposed position. Stand far enough away to capture the whole site, then move closer to record important details. Take photographs in daylight and avoid heavy digital zoom.
Recommended photo sequence
- Photograph the garden or outdoor area from the main access point.
- Take a straight-on view of the proposed installation position.
- Photograph the same position from the left and right.
- Take a view looking back towards the house or access route.
- Record the proposed footprint, including each corner if it has been marked out.
- Photograph nearby walls, fences, steps, trees, drains, inspection covers and changes in ground level.
- For a wall-mounted structure, take a full photograph of the entire wall and closer views of doors, windows, pipes, vents, lights, rooflines and rainwater goods.
- Photograph the route from the road or unloading point to the installation area.
Include an ordinary object or tape measure for scale only where it is safe and useful. A scale reference helps interpretation but does not replace a written measurement.
What not to rely on
Do not send only a close-up of an attractive part of the garden. It may omit the boundary, access route or overhead obstruction. Panoramic images can distort proportions, and estate-agent photographs may be old or taken with a wide-angle lens. Screenshots from online maps can provide context, but they may not show current conditions or exact boundaries.
A photograph also cannot confirm whether a surface is level, whether buried services are present or whether a wall is structurally suitable. These matters require measurements, project-specific checks and, where appropriate, assessment by a competent person.
3. Measure the available area
Measure the actual unobstructed area rather than sending only the nominal dimensions of the structure you would like. Record the maximum available length and width, then note any narrower points caused by walls, fence posts, planting, steps or projections.
Use millimetres for detailed measurements and state the unit clearly on every drawing. Take each main measurement at least twice. For an irregular space, measure both opposing sides and both diagonals; unequal diagonals can indicate that the area is not square. Avoid assuming that a fence runs parallel to a house wall.
Allow for practical clearance around the proposed structure. Consider door operation, cleaning, glazing maintenance, gutter access and movement between the structure and a boundary. Product dimensions should be checked against the applicable product information rather than estimated from photographs. For example, consult the available aluminium pergola dimensions when considering a pergola layout.
If you are still choosing between materials or greenhouse formats, the guides to aluminium and glass greenhouses and greenhouse polycarbonate panels can help define what you are requesting.
4. Add measurements for wall-mounted projects
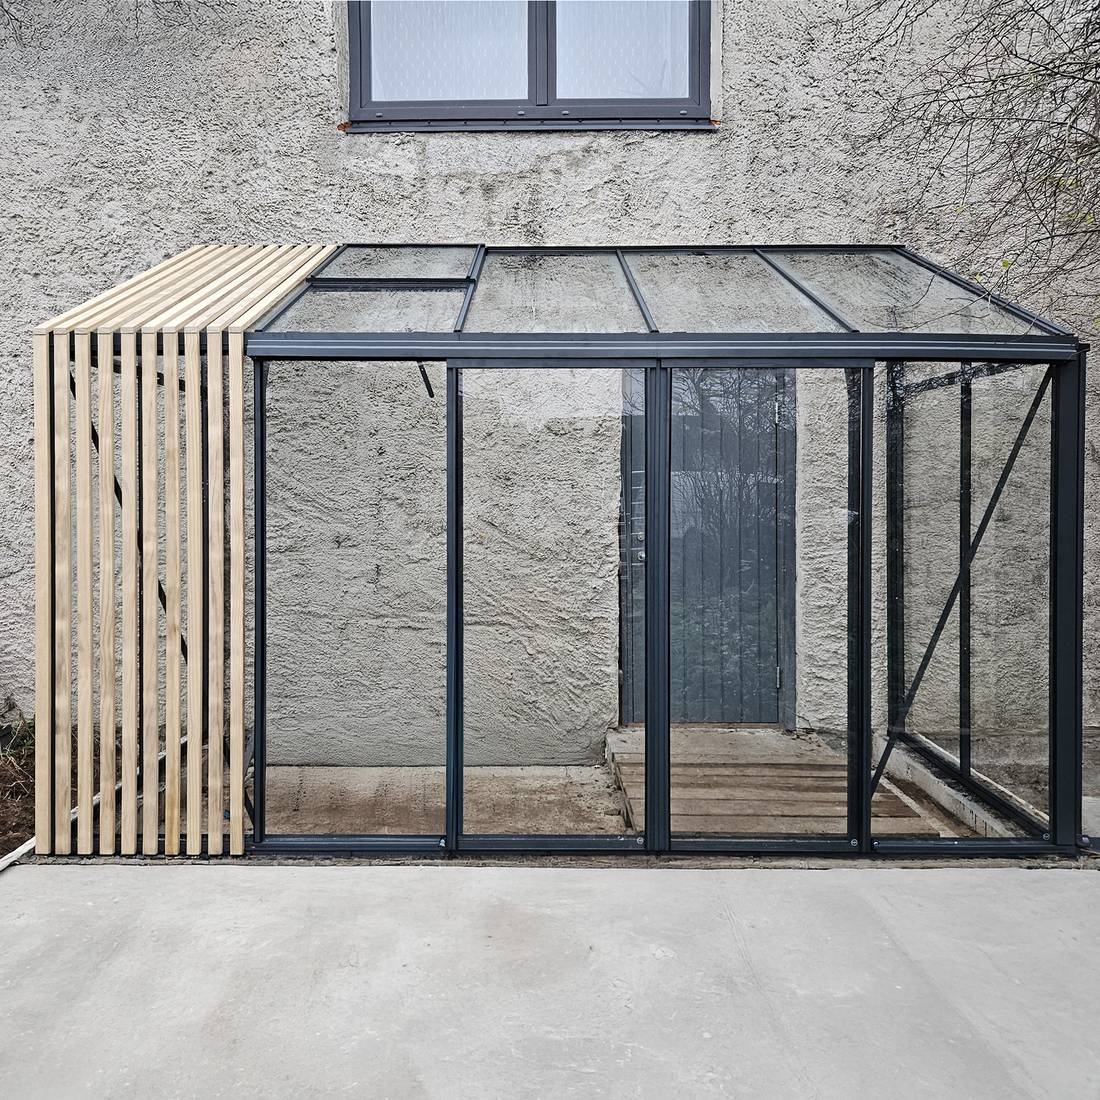
A lean-to greenhouse or wall-mounted pergola needs more information than a freestanding structure. Measure the usable wall width at low, middle and high levels because walls, downpipes and roof features can reduce the available space. Record the vertical height from the proposed base level to eaves, soffits, gutters, windowsills and any other relevant feature.
Mark all doors and windows, including their opening direction and the height of their upper edge. Show pipes, external taps, vents, meter boxes, cables, lights and rainwater goods. Photograph the wall surface closely enough to identify its general construction, but do not infer structural capacity from its appearance.
State whether the wall belongs wholly to your property and whether it is attached to the main house, an extension, garage or another structure. Suitability for fixings cannot be established from a photograph alone. The wall and supporting construction may need independent assessment before installation.
5. Document slopes, drainage and the proposed base area
Describe the existing surface: soil, lawn, paving, concrete, decking, gravel or another material. Photographs should show joints, cracking, retaining edges and transitions between surfaces. If an existing base is to be retained, provide its full dimensions and condition rather than assuming it will be suitable.
Check level in more than one direction with an appropriate level or straightedge. Record the approximate rise or fall across the footprint and identify where rainwater currently flows. Mention nearby gullies, drains, inspection covers and areas where water pools after rainfall.
A level-looking patio is not necessarily a suitable foundation. Preparation depends on the structure, site and ground conditions. For an early overview, read how to prepare a foundation for a pergola. Final base requirements must be confirmed for the selected product and local site.
6. Provide a simple site drawing
A clear hand-drawn sketch is normally more helpful than an elaborate drawing with uncertain dimensions. Use a ruler if possible, write legibly and add the date. Indicate that the drawing is not to scale unless you have produced it accurately to a stated scale.
Include these items on the plan view
- The house, garage, outbuildings and relevant boundaries.
- The proposed structure shown as a rectangle or accurate outline.
- Overall available length and width.
- Distances from each side of the proposed structure to walls, fences and boundaries.
- Doors, gates, paths, steps and changes in level.
- Trees, substantial shrubs, drains, covers and visible services.
- The direction in which doors should open.
- An arrow indicating north, if known.
- The delivery route and its narrowest point.
For a wall-mounted proposal, add a simple elevation drawing. Show the wall width, proposed structure width, key heights, roofline, openings and obstructions. Label every dimension according to what was actually measured. Do not fill gaps with estimated figures without marking them as estimates.
If design style is still under consideration, examples such as the Premium Classic Plus glass greenhouse, Prestige greenhouse with metallic base and Victorian-style greenhouse guide may help you describe your preference. They should not be used as substitutes for site dimensions.
7. Explain delivery and installation access
Show how components would move from the public road or unloading position to the proposed site. State whether access passes through a driveway, side gate, house, garage, shared passage or neighbouring land. Measure the narrowest width and lowest clear height along the route.
Record steps, tight corners, steep paths, soft ground, low branches and overhead cables. Mention parking restrictions, controlled access, locked gates and any point where carrying materials would be unusually difficult. If access relies on a neighbour or shared area, explain whether permission has been obtained.
Delivery and installation arrangements vary, so review the current Terms of Purchase & Delivery and include access questions in your enquiry. Do not assume that a quotation automatically covers unusual handling, site clearance or foundation work.
8. Check local project considerations early
A quotation is not planning permission, building control approval, a boundary survey or confirmation of title. Requirements can depend on location, property type, dimensions, intended use and restrictions affecting the land. Listed buildings, conservation areas, leasehold property, shared boundaries and restrictive covenants can require additional checks.
Review the general guide to planning permission for a greenhouse or pergola, then verify the requirements applicable to your property with the relevant authority or appropriate professional. Do not rely solely on general online guidance.
Identify visible utilities and tell Bloomcabin if you know of buried pipes, drainage, cables or other services. Their precise positions and any required clearances must be established through the appropriate local checks. Likewise, photographs cannot confirm ownership of a fence or the exact position of a legal boundary.
9. Add preferences without turning them into measurements
List preferred colour, glazing type, door position, ventilation approach and intended accessories separately from surveyed facts. Use wording such as “preferred”, “if suitable” or “to be discussed”. This makes it clear which details are choices rather than fixed site conditions.
For pergolas, the comparison of a bioclimatic and standard pergola and the complete UK bioclimatic pergola guide can help you describe the type required. You may also link directly to the relevant Bloomcabin pergola page.
10. Organise files so they are easy to review
Use descriptive filenames such as “01-garden-overview”, “02-site-left”, “03-site-right”, “04-wall-elevation” and “05-access-gate”. Place measurements in the drawing as well as in the message, and use one consistent unit.
Send sharp original photographs where practical, but avoid repeated versions of the same image. Combine related notes into one clear document rather than distributing important facts across many messages. Include your name, project postcode, telephone number and the product being considered. Use the contact page for the appropriate enquiry route.
11. Use product manuals at the correct stage
Assembly manuals can help you understand the sequence of construction and identify why an accurate, prepared base matters. They are not a substitute for a site survey, structural assessment or product-specific quotation.
Do not select foundation dimensions from an unrelated model or an old manual. First establish the exact product and configuration, then consult the applicable current information. The how to order page explains the wider ordering route, while warranty-related questions should be checked against the published warranty information.
12. Review the package before submitting it
Carry out one final comparison between the photographs, measurements and drawing. Check that dimensions do not contradict each other and that every obstacle visible in a photograph appears on the sketch. Confirm which figures were measured and which remain approximate.
A strong quote request lets a reviewer answer four basic questions: what is wanted, where it will stand, how much space is genuinely available and how the site can be reached.
If the project changes after submission, send a clearly marked revision rather than silently replacing individual figures. Product care questions can be reviewed separately through guidance such as maintenance of an aluminium greenhouse.
Frequently asked questions
Do I need professional drawings to request a quote?
Usually, a clear hand-drawn plan with legible measurements and supporting photographs is enough for an initial discussion. A more formal survey, structural assessment or technical drawing may be needed later, depending on the structure and site. If professional information is requested, do not replace it with an informal sketch.
Can I send only the dimensions of the greenhouse I want?
No. Desired product dimensions do not show whether the site has enough usable space or whether there are obstacles, access constraints and level changes. Send the full available area, relevant clearances and site photographs. A product such as an aluminium limited-edition greenhouse should be considered against measured site conditions, not fitted into an assumed space.
How many site photos should I send?
There is no fixed number. Send enough to show the complete setting, each side of the proposed position, the ground, obstacles, wall details where relevant and the entire access route. A concise sequence of clear images is more useful than dozens of near-identical close-ups.
Can photographs replace measurements?
No. Lens distortion and perspective make reliable dimensions impossible to establish from ordinary photographs. A tape or scale object in an image provides context only. Written, clearly labelled measurements are still required.
Should I include satellite images?
They can help show the property layout and approach, but they may be out of date and cannot establish exact distances, levels or legal boundaries. Treat them as supplementary context, never as the principal site plan.
What if the site is not level?
Record the direction and approximate extent of the fall, photograph it from several angles and explain how the figure was measured. Do not assume that adjustable components will compensate for an unsuitable base. The required preparation must be established for the selected structure and actual ground conditions.
What should I send for a lean-to or wall greenhouse?
Send a complete wall elevation, wall widths at several heights, vertical clearances and the locations of all openings, pipes, gutters, vents and projections. Add close photographs of the wall material and show the proposed base level. The wall's structural suitability may need separate confirmation.
Should utilities be shown?
Yes. Mark all visible drains, covers, cables, pipes, taps and electrical fittings. Also disclose known underground services. Their omission from a photograph does not prove that services are absent, so the applicable checks must be made before excavation or foundation work.
Can Bloomcabin confirm my property line from photographs?
No. Fences, hedges and paving edges do not necessarily follow the legal boundary. Check title information, property documents and any shared-boundary considerations through the appropriate channels before positioning a structure.
Does a quote confirm that my site is ready for installation?
No. A quotation describes the proposed supply or work stated in it. It should not be interpreted as planning approval, confirmation of ground conditions, a foundation inspection or certification that a wall and access route are suitable. Verify the responsibilities and exclusions before ordering.
Should I send maintenance questions with the quote request?
You may mention requirements that affect your choice, such as access for cleaning or preferred ventilation. Detailed routine-care questions are often easier to handle separately once the product has been identified. This also keeps the site and quotation information focused.
What happens if my measurements change?
Notify Bloomcabin before approving or placing the order. Provide a revised drawing with the date, identify every changed figure and replace any affected photographs. Even a seemingly small change can influence product choice, clearances, foundation planning or access, so do not assume the original quotation remains applicable.
