



MATERIALS
How to Read Greenhouse Dimensions and Technical Drawings
A practical guide to reading greenhouse floor plans, elevations and dimension lines, checking the true footprint and translating technical drawings into an accurate garden layout.
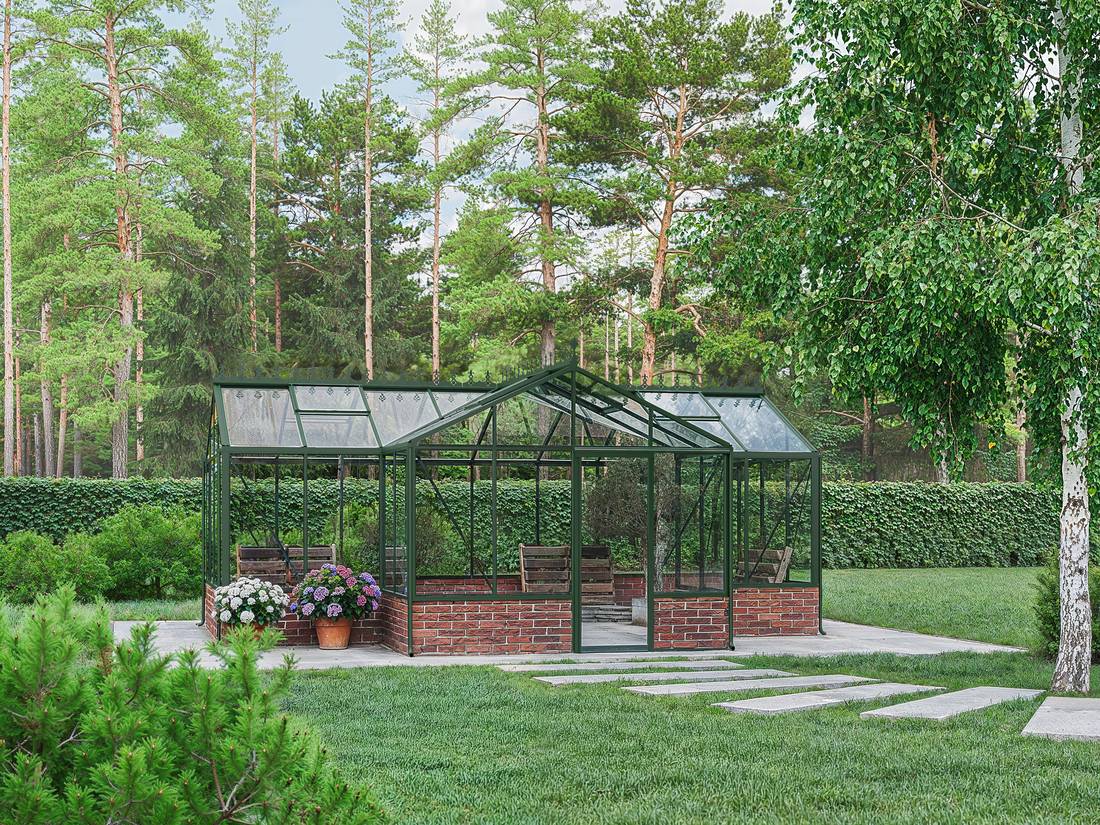
Greenhouse drawings contain far more useful information than a simple width-by-length description. Read correctly, they help you choose a suitable model, position it in the garden, prepare an accurate foundation and plan a workable interior. Read too quickly, they can lead to a base that is the wrong size, a door that opens into an obstruction or insufficient room for assembly and maintenance.
This guide explains how to interpret plans, elevations, section views and assembly details. It applies to conventional freestanding greenhouses, larger orangeries, T-shaped structures and lean-to models. Always use the drawings and manuals issued for your exact model and configuration: similar-looking structures can have different footprints, door positions or fixing arrangements.
Start by identifying what kind of drawing you are reading
A drawing’s viewpoint determines what its dimensions describe. Before recording any measurement, check its title, orientation labels and notes. A typical document set may contain several of the following:
- Floor plan: a view from above showing the footprint, wall lines, doors, bays and sometimes foundation dimensions.
- Front or end elevation: a straight-on view showing the width, eave level, roof form, ridge and door height.
- Side elevation: a view along the length, often showing bay spacing, vents, doors and changes in roof level.
- Section: a cut through the structure revealing relationships that may be hidden in an elevation, such as base, frame and roof geometry.
- Foundation or base drawing: the dimensions and fixing positions relevant to the supporting surface.
- Exploded assembly drawing: individual components shown apart so that their order and connections can be understood.
- Detail drawing: an enlarged junction, fixing or profile arrangement.
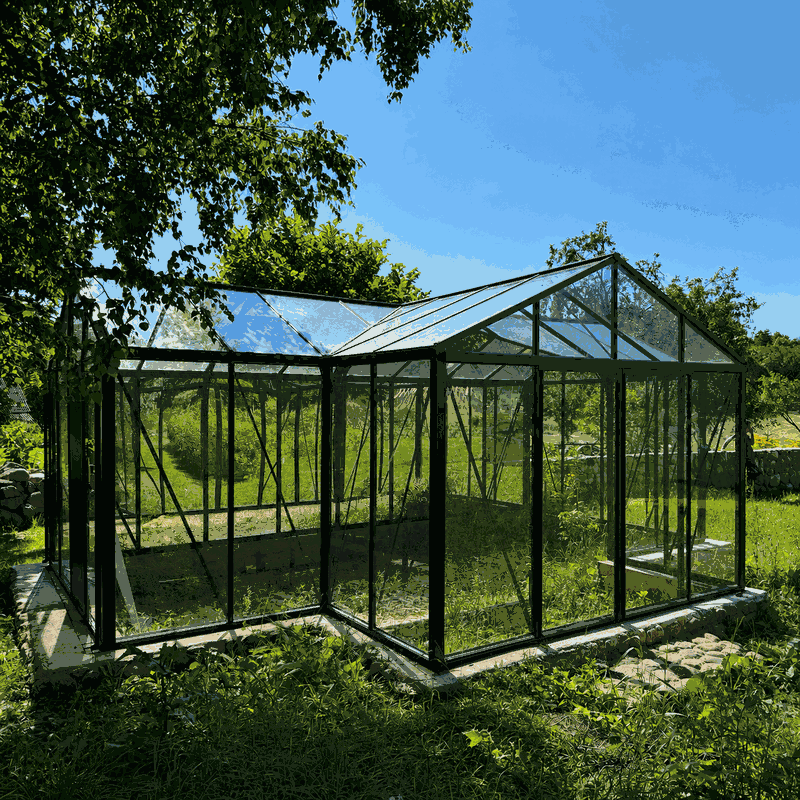
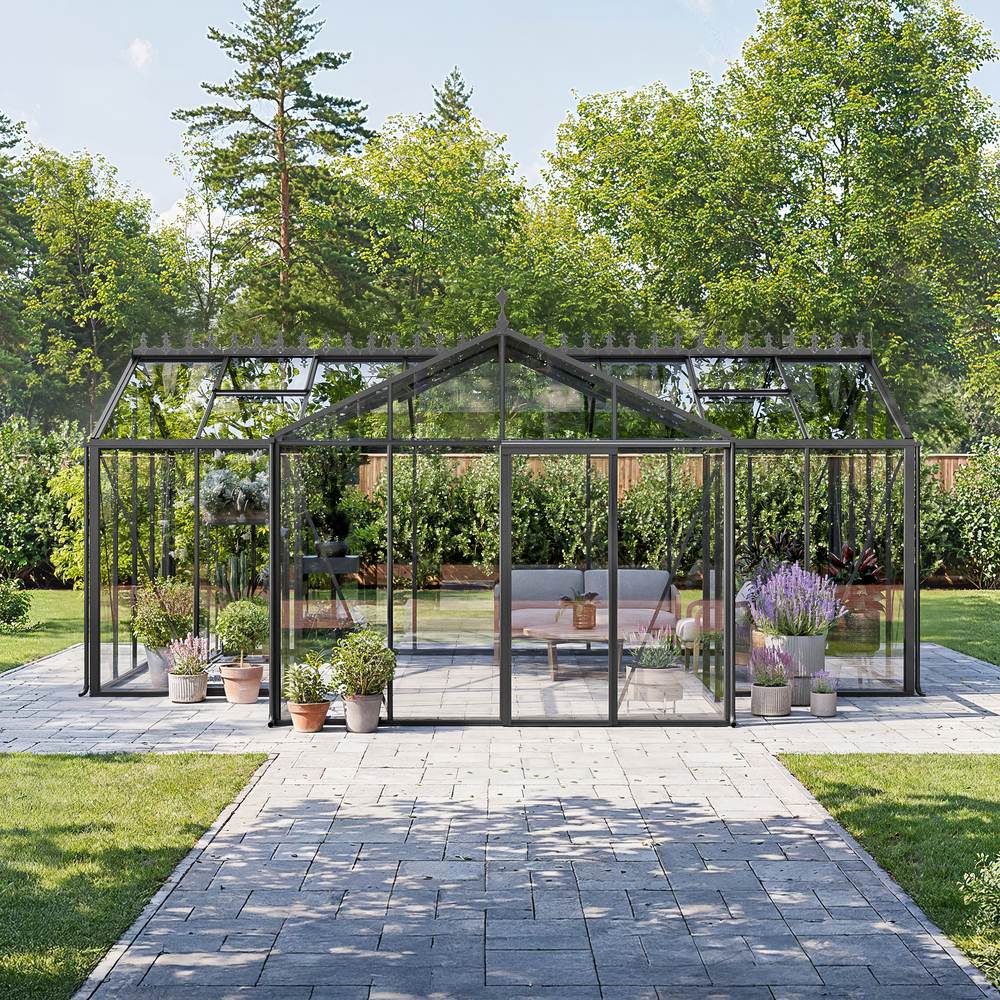
A product photograph is not a technical drawing. Perspective can make one side appear shorter, while landscaping may conceal the base. Use photographs to understand appearance and drawings to establish geometry. This distinction is especially important when comparing an aluminium classic greenhouse with a larger Bloomcabin orangery.
Understand the basic greenhouse dimensions
Overall width and length
Overall width normally runs across the gable end, while overall length runs from one end of the building to the other. On a rectangular greenhouse these are straightforward, but you must still determine whether the figures refer to the outer frame, base, roof projection or foundation. Arrowheads and extension lines indicate the exact points being measured.
Do not assume that a stated commercial size is the construction footprint. Product names and rounded size descriptions are helpful for comparison, but the dimensioned drawing is the appropriate source for layout work. This applies whether you are examining a Premium Classic Plus glass greenhouse, an aluminium limited edition greenhouse or another configuration.
Eave, ridge and overall height
Eave height usually describes the level where the side wall meets the roof. Ridge height is the height to the roof’s highest line. An overall height may include a projecting component, depending on the drawing. Check where the vertical dimension begins: finished ground level, top of foundation, underside of base or another datum.
Height affects more than appearance. It can influence clearance from branches and cables, access for cleaning, the relationship with neighbouring structures and how imposing the greenhouse feels. Sloping gardens require particular care because the structure needs an appropriate supporting plane even when surrounding ground levels vary.
Door dimensions
Door information may include structural opening width, clear passage width, leaf size and height. These are not necessarily interchangeable. The clear opening is particularly relevant when moving staging, compost bags, wheelbarrows or large pots.
On a floor plan, a hinged door is commonly represented by a leaf and an arc showing its swing. Sliding doors may be shown as overlapping lines with an arrow. Confirm which panel contains the entrance and whether the drawing is viewed from outside, inside or above. Never infer handedness solely from a promotional photograph.
Bay spacing and panel divisions
Bays are repeated structural sections along a wall or roof. Their spacing helps explain frame rhythm, glazing divisions and possible locations for openings or accessories. A chain of equal-looking panels does not prove that every panel has exactly the same width. End bays, door bays and corner conditions may differ.
Bay dimensions are useful for interior planning, but overall dimensions should not be reconstructed by multiplying a bay count unless the drawing explicitly supports that calculation. Joint widths and end conditions can affect the total.
Learn the language of dimension lines
Technical drawings use a compact visual language. A dimension line is normally terminated by arrows or marks, with extension lines projecting from the measured features. Several layers may appear together: the innermost line can show individual bays, another can show grouped sections, and the outermost can show the total length.
| Drawing feature | What to check |
|---|---|
| Dimension line | Follow both endpoints rather than reading only the number. |
| Extension line | Identify the physical edge or centreline from which it originates. |
| Centreline | Check whether a door, ridge or fixing is measured to its centre. |
| Datum or level | Establish the reference height used by vertical dimensions. |
| Radius or diameter | Do not confuse curved or circular measurements with straight lengths. |
| Detail reference | Find the corresponding enlarged view before deciding how parts meet. |
If dimensions appear crowded, trace one chain at a time. It can help to make a separate worksheet for footprint, height, openings, foundation and internal planning rather than copying every number onto one sketch.
Do not measure the screen or printed page
Never calculate a missing dimension with a ruler held against a monitor, screenshot or ordinary printout. Files can be resized, cropped or printed with “fit to page” settings. Perspective images are unsuitable for scaling, and even a drawing labelled with a scale can lose that scale during reproduction.
A written numerical dimension takes precedence over a measurement taken from the displayed drawing. If a necessary figure is absent, request clarification instead of estimating it from the image.
Check the units every time
UK greenhouse documents may show millimetres, centimetres or metres, and imported component documents may use another convention. Look for a general note such as “all dimensions in mm” and do not assume that every sheet uses the same unit. Record units beside every copied figure.
Decimal points require care: 3.5 metres and 3,500 millimetres describe the same nominal distance, whereas 3.5 millimetres plainly does not. Avoid premature rounding when transferring a footprint to a base plan.
Nominal size, actual footprint and usable interior space
Three different measurements are often involved in greenhouse selection:
- Nominal size is a convenient category or rounded description.
- Actual external footprint is the dimension between defined outside points on the structure or base.
- Usable internal space is the clear area remaining after frame profiles, walls, braces, door tracks and other components are considered.
The largest external roof dimension may also differ from the supporting footprint. For this reason, neither a product title nor a roof outline should automatically be used to set out the foundation. Consult the model-specific base information and the UK greenhouse foundation guide before choosing a supporting method.
When comparing options, the wider greenhouses and conservatories range provides context, while the overview of aluminium greenhouses and conservatories explains the structural category. For compact plots, the small greenhouse layout guide can help turn clear internal measurements into a realistic plan.
Read complex floor plans in separate zones
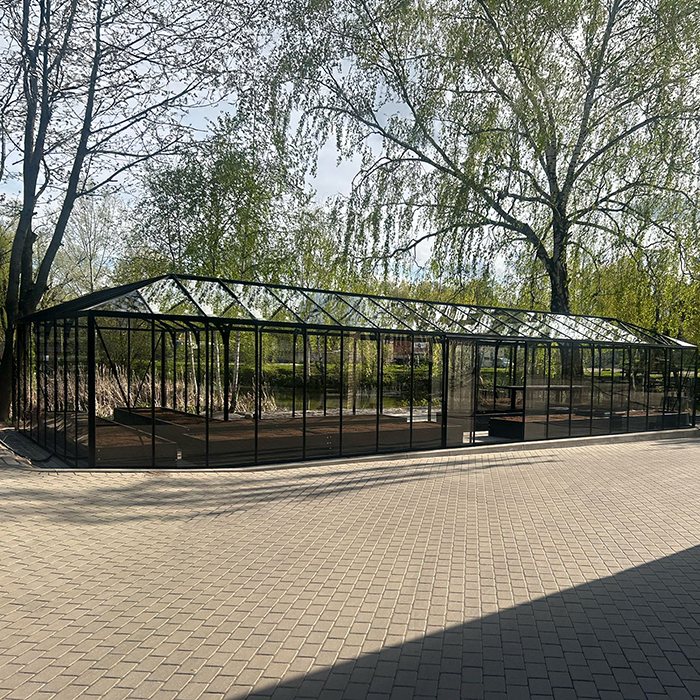
T-shaped and orangery-style plans are easier to understand when divided into rectangles. Identify the main body, projecting wing, entrance section and any recesses. Record the width and length of each zone, then check how their centrelines or wall faces align. Do not treat the maximum overall width multiplied by the maximum overall length as the actual floor area.
For example, the drawings for a T-shaped garden orangery must communicate both the main run and the projecting section. The orangery greenhouse guide provides broader help when deciding whether this form suits the intended use.
- Mark the overall extremities.
- Divide the plan into simple zones.
- Locate the junction between those zones.
- Check every return and recess dimension.
- Confirm door positions and circulation routes.
- Compare the total dimensions with the component chains.
If the sum of chained dimensions differs from an overall figure, stop and clarify the reason. It could reflect a profile overlap, a different reference point or a revision rather than a calculation error.
Translate the drawing into a site layout
Begin with a site survey rather than immediately marking the greenhouse corners. Note boundaries, walls, trees, sheds, drains, inspection covers, changes in level, overhead obstructions and routes used to bring materials into the garden. Check the applicable local requirements before committing to a position; planning and related constraints vary with the property and proposal. The UK planning permission guide for greenhouses and pergolas is a useful starting point, but it does not replace project-specific confirmation.
Check more than the four corners
Four pegs describe only a basic rectangle. Also mark door openings, roof extremities, projecting wings and the clearance needed to work around the structure. Check levels along edges and across diagonals, not just at corners. A high point in the centre of a base or a bowed edge can cause difficulties even if the corner positions appear correct.
Measure from fixed site references and retain a written setting-out record. This makes it easier to re-establish lines after excavation or base preparation.
Use a full-size mock-up when space is tight
Lay out the footprint with string lines, chalk or removable tape. Add the door swing or sliding access zone, central path and proposed staging. Upright canes can indicate eave height, while a line between taller poles can suggest the ridge. This simple mock-up often reveals conflicts that are not obvious on a small drawing.
Walk the route with a watering can or wheelbarrow. Consider how glazing, frame components and future plants will pass through the entrance. Also assess practical growing conditions with the greenhouse temperature and humidity guide.
Attached and wall-mounted greenhouse drawings
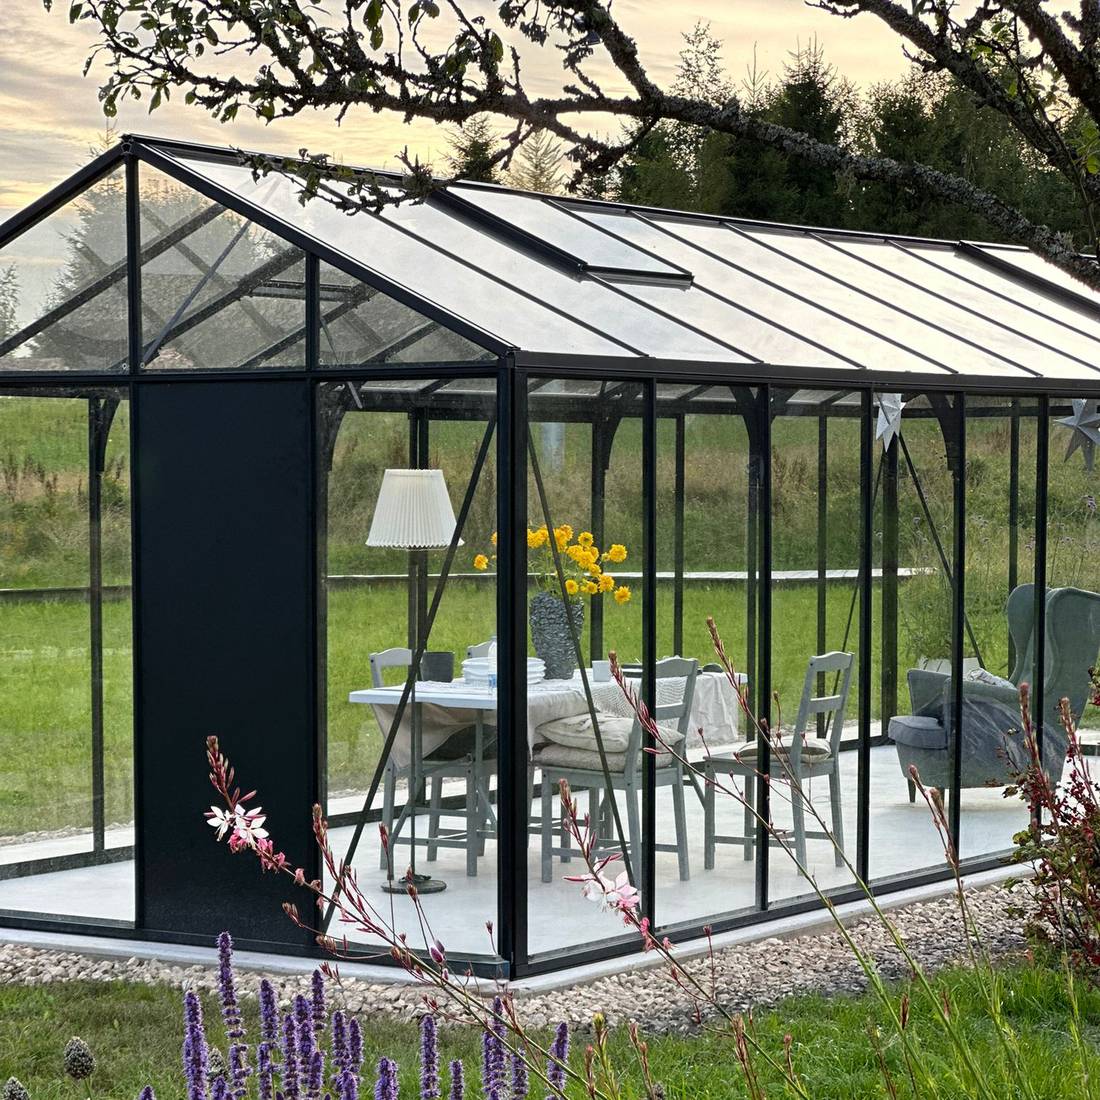
A lean-to or wall-mounted greenhouse introduces a second structure into the dimensional chain. The host wall must be considered for straightness, level, surface condition, openings, downpipes, projections and suitable fixing locations. A nominally vertical wall should not be assumed to be perfectly plumb.
On drawings for a wall-mounted T-model greenhouse orangery, distinguish dimensions taken to the wall face from those taken to a frame centreline or outer roof edge. Check the roof-to-wall junction and every stated mounting level. Site-specific construction and waterproofing details must be resolved appropriately before installation.
Similar reading principles apply when reviewing a lean-to Bloomcabin pergola. For comparison, a freestanding Bloomcabin pergola has different support relationships. Consult the dedicated aluminium pergola dimensions information rather than transferring greenhouse assumptions to another structure type.
Plan the interior from clear dimensions
Interior planning should use clear dimensions between actual obstructions, not external footprint measurements. Mark door tracks, frame projections, braces and opening mechanisms before allocating benches or beds. Allow circulation space where people turn, carry trays and reach controls.
Crop choice can change the best layout. Low staging may suit seedlings and herbs, while tall crops need unobstructed headroom and suitable growing positions. The guides to growing lettuce in a greenhouse, growing peppers and chillies and growing cucumbers under glass illustrate why usable height, access and bed position matter.
Glazing thickness or panel type should not be inferred from drawn line thickness. A line is a symbol, not a material measurement. Use the specification for the selected configuration and consult the greenhouse polycarbonate guide where relevant.
Use manuals in the correct sequence
The manual library shown above provides access to assembly documents, but opening a manual is only the first step. Confirm that its model name, configuration and revision correspond to the greenhouse being supplied. Then review documents in a controlled sequence:
- Read the general product and safety information.
- Check the footprint, base and foundation information.
- Review elevations and opening positions.
- Study the component list and identification system.
- Follow the assembly sequence without skipping ahead.
- Read glazing, door, vent and finishing instructions.
- Retain maintenance and warranty information for future use.
A product page, technical drawing and assembly manual serve different purposes. The drawing establishes geometry; the manual explains assembly; the order documentation identifies the selected configuration. The general frequently asked questions about aluminium greenhouses and the wider useful information library can answer related questions, but they do not override model-specific documents.
Receiving and pre-installation drawing checks
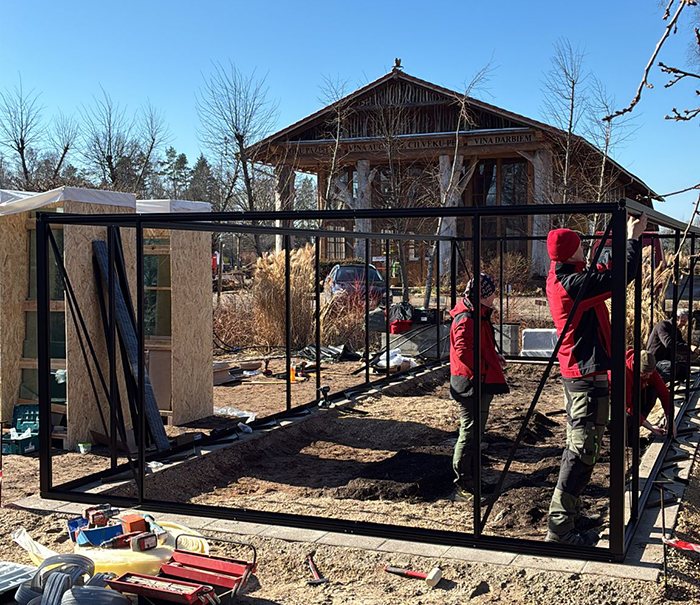
Before preparing for assembly, compare the delivered documentation and labelled packages with the order. Do not unpack everything indiscriminately; preserve labels and keep small components organised.
- Confirm the exact model and selected configuration.
- Check whether the base arrangement matches the prepared support.
- Verify the planned door location and orientation.
- Identify any optional sections or accessories on separate drawings.
- Check document revision references where shown.
- Read storage and handling instructions before leaving components on site.
- Resolve apparent shortages or inconsistencies before altering parts.
A larger structure such as the Bloomcabin Prestige greenhouse with metallic base may involve more zones and components than a simple rectangular model. Organisation is therefore part of accurate drawing use, not merely a housekeeping task.
Common drawing mistakes to avoid
- Using nominal dimensions for the foundation: obtain the defined base or foundation dimensions.
- Reading a roof edge as a wall edge: follow extension lines to their precise endpoints.
- Assuming every drawing has the same orientation: find the front, wall side and viewing direction.
- Mixing units: write the unit beside every transferred measurement.
- Scaling a screenshot: use stated figures, not on-screen proportions.
- Ignoring levels: footprint accuracy alone does not provide a suitable supporting plane.
- Forgetting access clearance: allow for assembly, doors, vents, cleaning and maintenance.
- Using another model’s manual: a similar appearance does not prove dimensional compatibility.
- Assuming line thickness represents material thickness: confirm materials from the specification.
- Correcting a discrepancy yourself: seek clarification rather than choosing the more convenient figure.
After installation, retain the documents alongside the guidance on maintenance of an aluminium greenhouse. Seasonal preparation is also covered in the spring greenhouse guide.
Questions to resolve before approving a greenhouse layout
- Which drawing states the actual supporting footprint?
- From which datum are height dimensions measured?
- Do roof edges or gutters project beyond the base?
- Where is the door, and how does it open?
- Is there clear access for assembly and later maintenance?
- Are the base edges level, straight, square and correctly dimensioned?
- Have slopes and high points been surveyed?
- Does a wall-mounted model have a suitable host wall and resolved junction details?
- Can components reach the site without passing through an opening that is too small?
- Have applicable local permissions and property constraints been checked?
- Does the document revision match the ordered model?
- Are all unclear or conflicting dimensions resolved in writing?
Frequently asked questions
Are listed greenhouse dimensions inside or outside dimensions?
They are often overall external dimensions, but this must not be assumed. Follow the dimension line to its endpoints and read the accompanying notes. Internal clear space, base footprint and roof extremities may all differ.
Can I build the foundation from the product page dimensions?
Not unless the page explicitly identifies those figures as the foundation dimensions for your exact configuration. Use the model-specific base or foundation drawing and resolve any uncertainty before construction.
Why does the nominal size differ from the technical drawing?
A nominal size is generally a convenient rounded category. A technical drawing records dimensions between defined physical points, so it may show a more precise figure.
What does “not to scale” mean?
It means the image’s displayed proportions must not be measured to derive dimensions. Use only written figures and confirmed details, even when the drawing looks carefully proportioned.
How do I know which side the door is on?
Check the floor plan, orientation notes, door symbol and relevant elevation. Establish whether the view is from above, outside or inside. If handedness remains ambiguous, seek confirmation rather than relying on a photograph.
What dimensions matter for a lean-to greenhouse?
Check the wall length, projection from the wall, mounting and eave levels, highest roof point, supporting footprint, door opening and clearances around projections. The condition and geometry of the host wall also matter.
How much extra space should I leave around the greenhouse?
There is no universal allowance. Leave enough room for the specified installation process, safe access, door and vent operation, cleaning, drainage and future maintenance. Site boundaries and local requirements must also be considered.
Can I rely on equal diagonals to prove the foundation is correct?
No. Equal diagonals help confirm that a rectangle is square, but they do not prove that its sides have the correct lengths, that edges are straight or that the surface is level. Check all of these separately.
Which document controls if two measurements appear inconsistent?
Do not decide solely by document type or date. Confirm that both documents refer to the same model, configuration and revision, then request clarification from the supplier before preparing or modifying the base.
Where can I check warranty and maintenance information?
Use the documents supplied for the exact product and the relevant information pages. Keep order records, manuals and maintenance guidance together. Do not infer warranty terms from a different model or an older document.
Final drawing review
Before approving the layout, read the drawing once for overall form and a second time for dimensions. On the final pass, check units, datums, door movement, roof projections, foundation references and document revision. Compare the drawing with the site survey and full-size set-out rather than considering it in isolation.
The essential rule is simple: use nominal dimensions to compare possibilities, dimensioned drawings to understand geometry and the correct model-specific manual to guide installation. If a measurement affects the foundation, wall connection or ability to assemble the greenhouse, clarify it before work begins.
