



PREPARATION
Planning DIY Assembly: A Technical Checklist
Planning helps a self-build greenhouse, pergola or outdoor sauna proceed methodically, without preventable stoppages. This checklist reviews the product, site, foundation, tools, delivery receipt, parts organisation and completion checks.
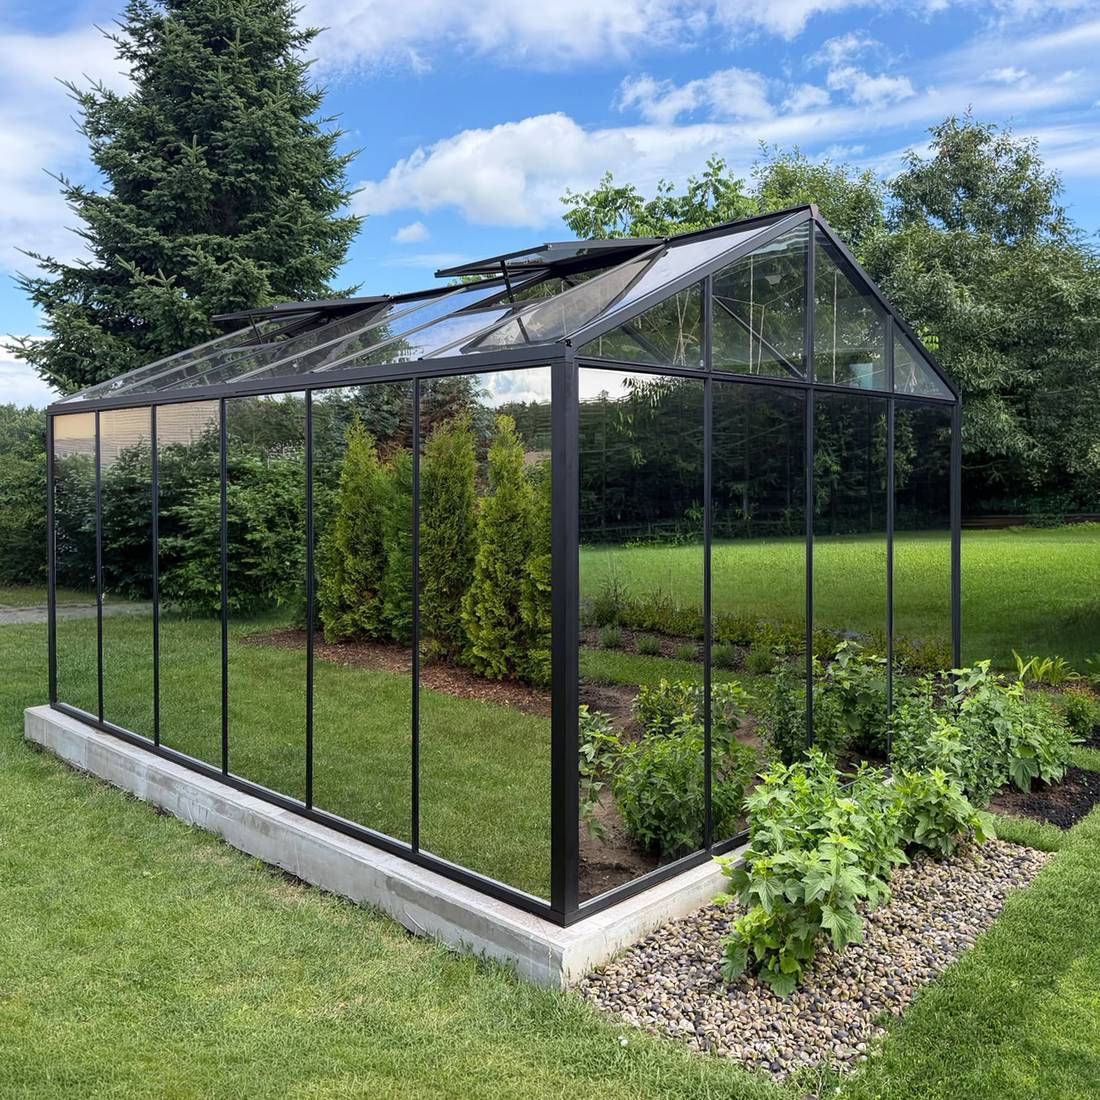
DIY assembly: the preparation essentials
Keep the first profile packed until the product, paperwork, site and base are verified. For aluminium structures, minor unevenness below can distort the job: frames may resist squaring, glazing can carry stress and doors may bind.
Use this sequence for greenhouses, pergolas and comparable backyard structures. A freestanding sauna also requires planning for services, airflow and model-specific timber care. Always follow the documents supplied for the exact item delivered: general advice cannot override its manual or requirements applying at the site.
| Stage | Key outcome |
|---|---|
| Before ordering | Suitable model, enough space and practical access |
| Before delivery | Checked site, completed foundation and unloading arranged |
| Before assembly | All parts checked, suitable tools and a sound work plan |
| During assembly | Controlled sequence, ongoing measurements and safe interim stages |
| Before use | Checked connections, working openings and approved services |
Guidance for choosing, buying and receiving your product is collected in Useful Information and Ordering & Delivery .
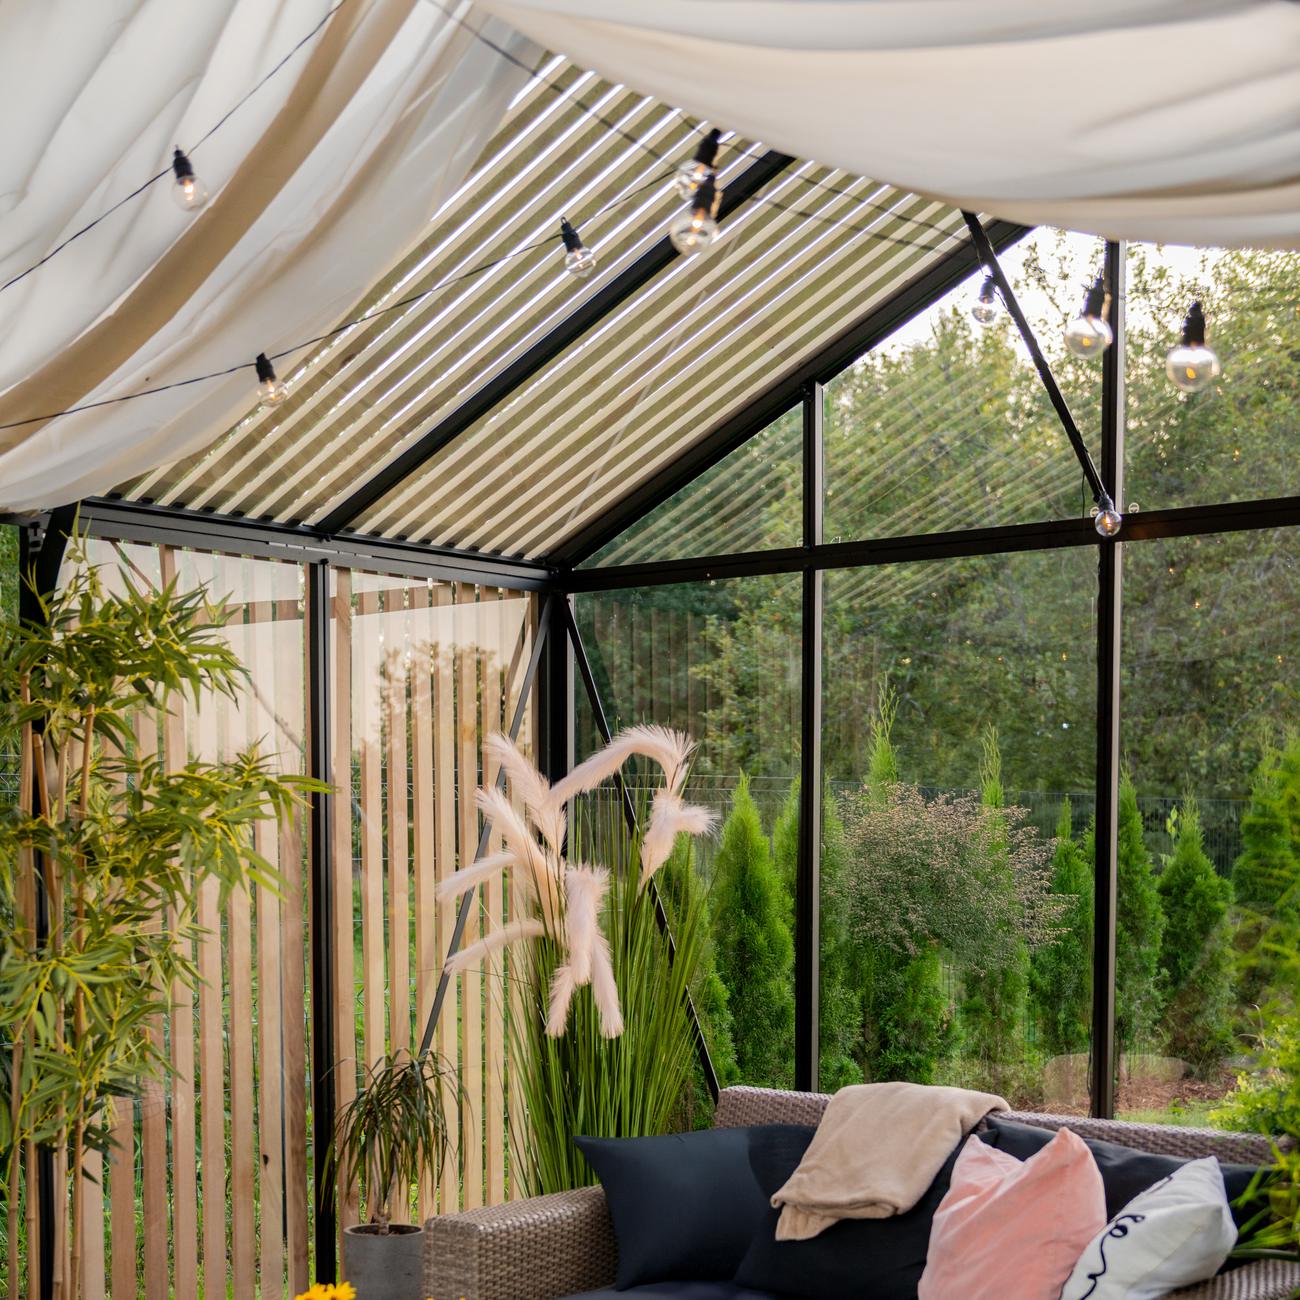
1. Verify exactly what will be assembled
Record the model, variant and ordered configuration. A reference image is insufficient. Doors, vents, roof style, wall interfaces or optional modules may change the space allowance and build sequence.
Before sourcing foundation materials, review the authorised product documents. Confirm exterior measurements, anchor positions, door swing, drainage and servicing clearances. For pergola selection, consult the Pergola Size Guide, the comparison Comparing Attached and Freestanding Pergolas and the overview Bioclimatic or Classic Pergola can help.
Sauna preparation must suit the actual construction. An Elma S Outdoor Sauna and a HC150 Barrel Sauna have distinct structures despite serving the same purpose.
2. Review paperwork, roles and site obligations
Before work, assemble the order confirmation, packing lists, manual, foundation details and any supplied connection documents. The page How to Order helps you compare the order with the product early. Keep the Warranty details, invoices and photographs together.
Assign who will accept the consignment, inspect packages, and coordinate the base, assembly and specialist connections. Arrange permanent electrical work through an appropriately licensed local electrician, and check requirements for regulated services with the authority responsible for the Australian site.
Before irreversible work, ask your state or territory and council whether the property, project dimensions, use and siting require planning, building or other consent. In NSW, exempt development is possible only when every applicable standard is met. Elsewhere, investigate the relevant local pathway. Begin with Greenhouse and Pergola Planning Approvals in Australia. For attached structures, establish whether the wall, insulation and waterproofing can carry secure fixings.
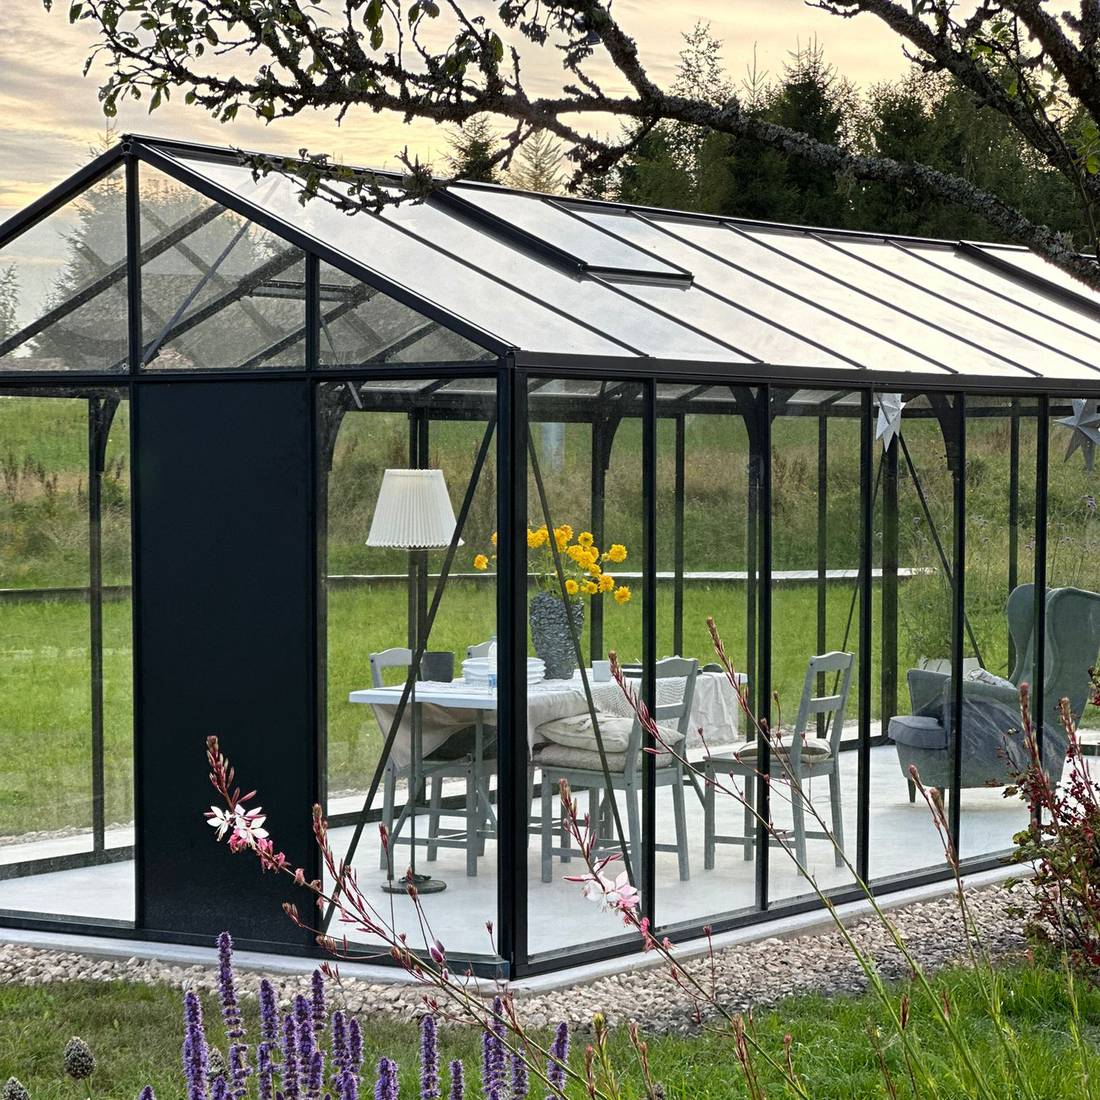
3. Inspect the proposed site
Assess more than appearance: review footprint, access, slope, soil, drainage, obstacles and routes for future upkeep. Allow every door, window, louvre and mechanism to travel fully, while accounting for roof projections, gutters and nearby planting.
Greenhouse siting must balance sun and shade with reliable ventilation. For help managing the finished growing environment, consult Managing Greenhouse Heat and Humidity. When choosing material, information about Insulation with Polycarbonate and Multiwall Panels may help.
Site checklist
- Has the available area been checked against current product documentation?
- Is working space available for construction, cleaning, drainage and servicing?
- Can long, delicate components reach the installation site safely?
- Can the ground support the proposed base system?
- Will pooled water or runoff from the property be avoided?
- Will doors, paths, property access and escape routes remain clear?
- Have underground or adjacent-wall services been excluded or located?
- Have risks from trees, sliding roof snow or ice, falling water and unsecured objects been considered?
4. Prepare the foundation correctly
The foundation passes loads to the soil and establishes the structure's geometry. Design it for the chosen product; no detail suits every site. Ground type, frost, drainage, layer construction and local conditions influence the solution.
After construction, verify length, width, both diagonals, relative heights and flatness at each bearing point. Matching diagonals suggest a square layout but are only one check. Never mask an error by forcing profiles into line while tightening.
Pergola projects can also use the Foundation Planning for Pergolas adds further planning points. Do not assume a paved terrace is adequate. Tiles, screed or thin finishes do not reveal whether the supporting structure can carry the specified fixings.
Release point: Begin assembly only once the foundation is complete, adequately load-bearing, dimensionally checked and free of standing water. Any waiting or curing period depends on the foundation system actually used.
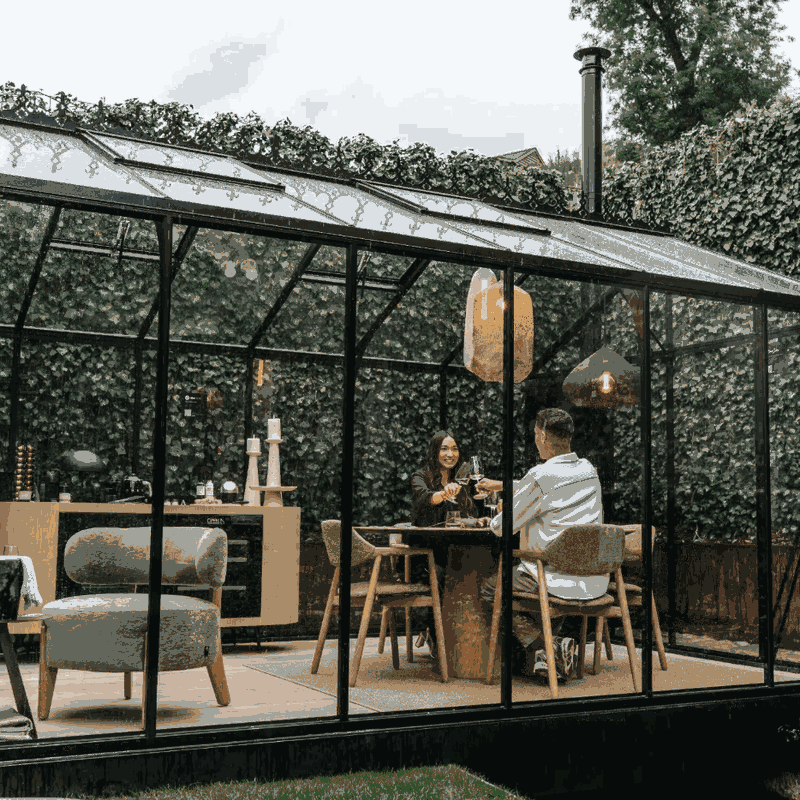
5. Gather tools, team and protective equipment
Build the equipment list from the model's manual. Usual items include measuring gear, correct drivers, a spirit level, markers and safe positioning aids. Avoid ill-fitting bits or spanners: damaged fastener heads hinder accurate assembly and later servicing.
Set crew numbers by component size, weight and handling. One person often cannot safely steady and align long profiles, roof sections or glazing. Needs vary by model and stage. Even a solo-lift item may require a helper for stability and measurement checks.
Use suitable gloves and sturdy footwear, adding eye or head protection when needed. Match ladders or platforms to the reach and ground. Makeshift steps, loose outdoor furniture and ladders supported by packaging are unsafe.
- Test every tool beforehand and charge its battery.
- Place small hardware in containers marked by type.
- Set up padded, spotless rests for clear or coated components.
- Keep extension cords protected from water and routed without hazards.
- Handle glass and sheet material only with purpose-suitable aids.
- Exclude children, animals and anyone not involved from the assembly zone.
6. Plan delivery, unloading and protected storage
Before delivery, decide where the vehicle can stop and map each package's route from unloading point to build area. Account for tight driveways, steps, slopes, low gates and delicate finishes. General arrangements appear in Purchasing and Delivery; discuss details of your particular consignment via Contact Us well in advance.
Provide flat, dry, sheltered storage. Support packages against sagging, toppling or standing water. Follow the packing and storage directions for clear panels, coated profiles and timber, and keep heavy pieces off fragile items.
Goods-receipt checklist
- Confirm that the consignment matches its order and delivery address.
- Reconcile package counts and markings with the documents provided.
- Walk around each package, looking for crushing, splits, water or warping.
- Before anything is shifted, take photos of any concern.
- Use the nominated reporting procedure for any freight damage or missing packages.
- Arrange stored packages methodically and restrain them against toppling.
- Do not discard packaging early; labels may identify components.
7. Check, identify and group all parts
Unpack methodically, preserving every part number, and reconcile contents with the list and manual. Group profiles by assembly, not just length. Near-identical pieces can differ in holes, end treatment or required orientation.
Separate screws, nuts, seals and brackets in labelled tubs. Do not mix similar hardware: a substitute may serve another purpose. If identification is uncertain, stop and request confirmation of the part number.
Photograph sorted parts and anything unusual. A pre-build inventory avoids discovering a shortage after the structure reaches a vulnerable stage. Other buyers' experiences may inform general preparation, but never replace the manual. Read them in Customer Greenhouse Feedback.
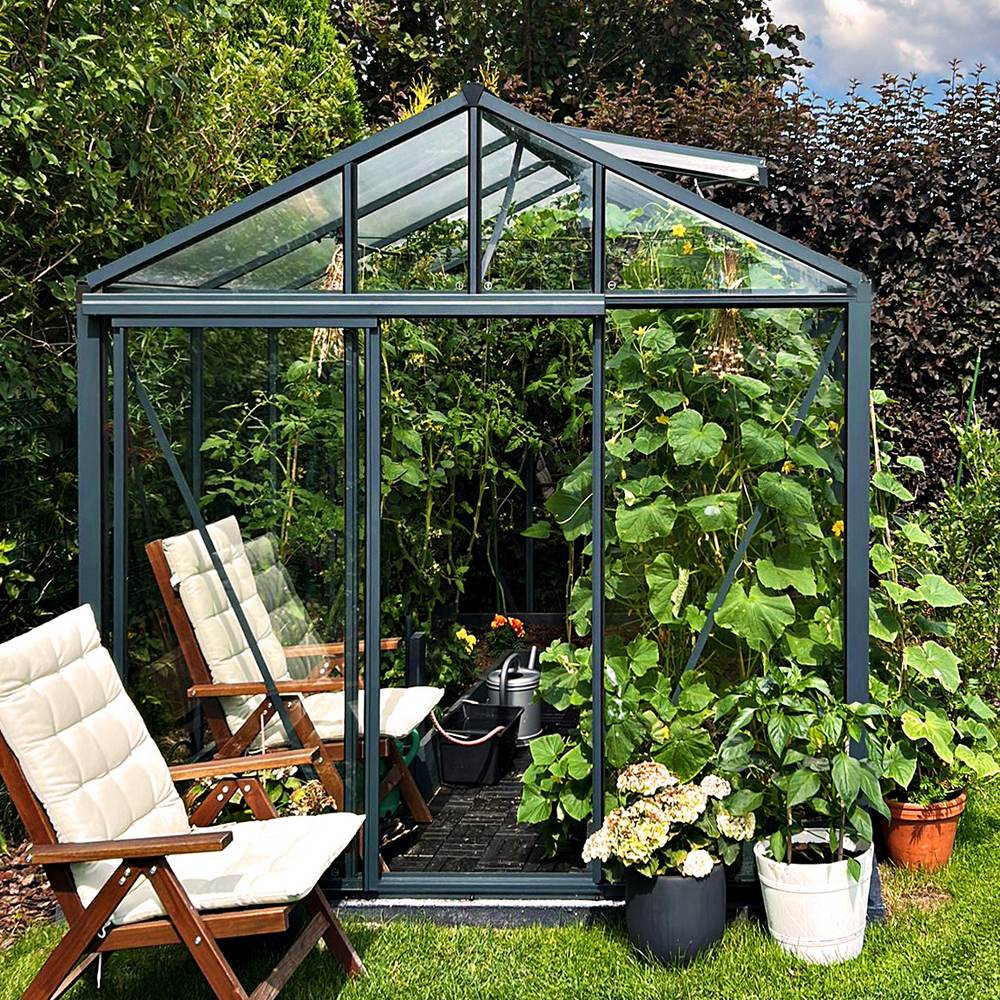
8. Build the greenhouse step by step, checking as you go
The delivered model's manual controls the sequence. Typically, establish the structural base, connect wall and roof frames, then add glazing, doors, windows and accessories. Your model's required order may differ.
Recheck dimensions, square, plumb and height throughout the build. A bottom-frame error can spread into later sections. Tighten each fastener only as far as the manual directs at that stage, applying final tension when specified.
A disciplined approach
- Study the whole instruction: identify the diagram, direction and components before anything is raised.
- Offer parts up first: place each profile lightly where it appears to belong.
- Start with adjustable joints: preserve movement whenever the manual directs.
- Verify the shape: measure diagonals, verticals, lines and aperture dimensions.
- Brace work in progress: brace the unfinished structure rather than leaving it unsupported.
- Sign off that step: move forward only when the checks are satisfactory.
- Apply the final torque: at the nominated point, secure each fastener without stripping or overtightening it.
Never strain glazing or panels with unsuitable tools or force them into undersized openings. Follow safety directions and orientation marks. Ideas for later use, including Greenhouse Lettuce Growing, belong only after technical completion. For ongoing checks, consult the Aluminium Greenhouse Care.
9. Pick safe weather and working conditions
Postpone work in high winds, thunderstorms, ice, or whenever parts cannot be controlled and ladders cannot stand firmly. Broad sheets and frame sections catch wind; even a modest gust may shift an unbraced element.
Rain can obscure markings, soften packaging, make work surfaces slippery and wet exposed parts. Extreme heat makes hot metal components difficult to handle. Allow sufficient daylight and avoid rushing near nightfall.
Before leaving an interrupted build, brace it safely. Store unsecured sheets and packaging out of the wind. Never assume an incomplete structure is permanently stable.
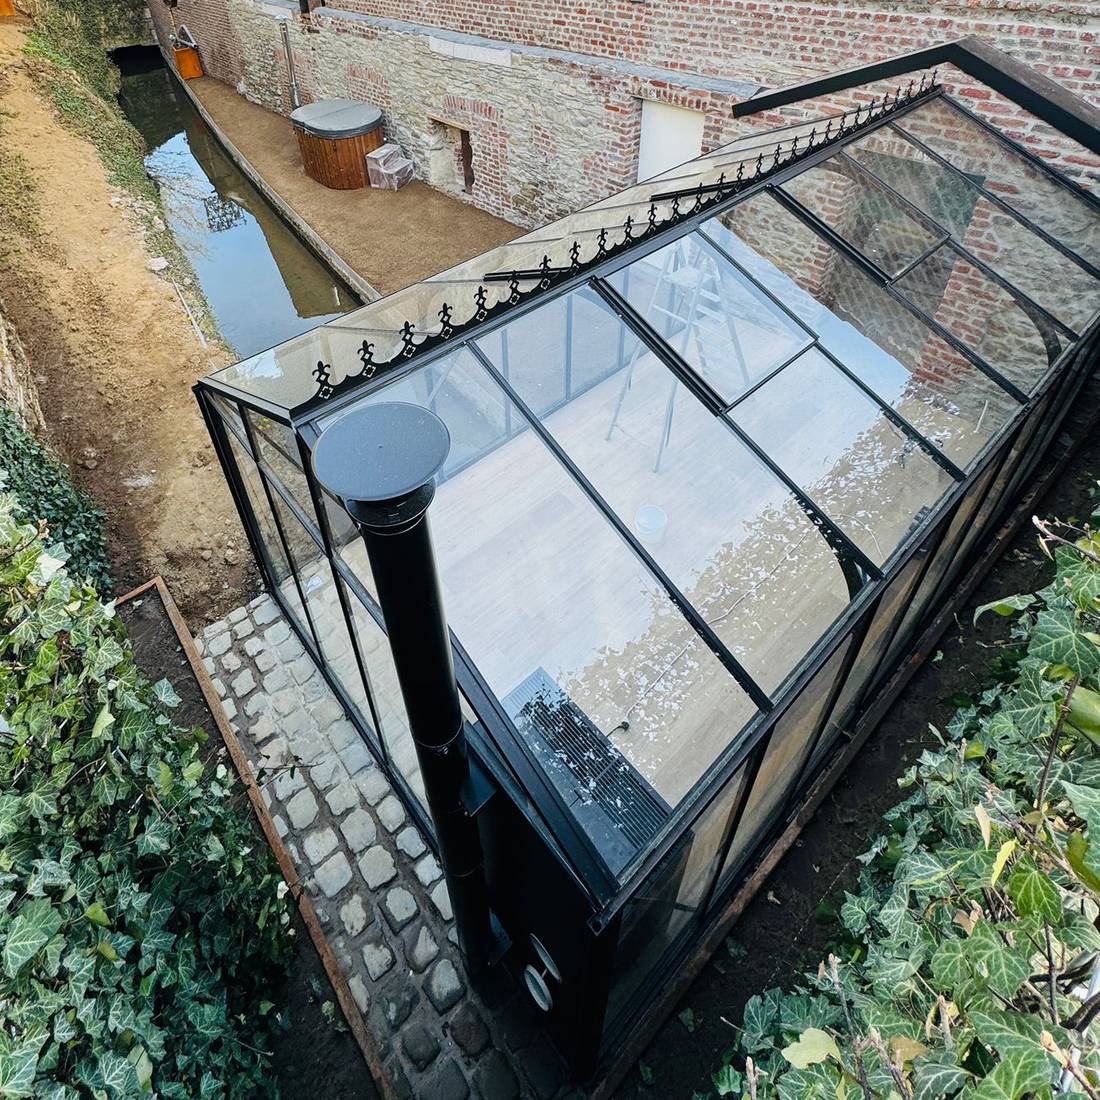
10. Inspect the completed build before using it
Finish with a methodical inspection. Recheck the manual and confirm every fastener, seal and cover is present. Operate doors, windows, locks and moving roof features through their full travel.
- Look over every joint and anchoring location
- Verify verticality, true lines and any obvious bending
- Ensure every seal is correctly seated with no breaks
- Clear away drilling debris, leftover packing and equipment
- Operate the doors, windows and latches, and verify drainage
- Review all specified connections to floor or wall
- Photograph the finished structure, including key details
Do not operate an outdoor sauna's technical systems until all required connections are correctly installed and checked against local requirements. Individual model details appear in Sauna. For greenhouse layout ideas, use the Greenhouse and Conservatory Range as an overview. More expansive ways to use the space appear in the Guide to Orangeries .
Situations that call for work to stop
Pausing is worthwhile when it prevents damage or incorrect assembly. Stop particularly when:
- You cannot positively identify the model, piece or part reference.
- The base measurements, diagonal readings or levels plainly miss the stated tolerances.
- Aligning holes would require a profile to be bent with substantial force.
- A damaged or absent item has a safety function.
- Rain, wind, ice or poor light makes accurate work impossible.
- Adequate bracing cannot be provided for the current stage.
- The wall construction, concealed services or anchoring material cannot be established.
- What is shown in the manual seems inconsistent with the physical parts.
Record the issue, secure loose items and seek clarification. Unauthorised drilling, trimming or bending can turn an identification mistake into permanent damage.
Questions about getting a DIY build ready
Is it sensible to complete the foundation before placing an order?
Only after the final variant and valid foundation specification are confirmed. Images and approximate catalogue dimensions are insufficient. Changes in size, door location or configuration may shift fixing points, so design the base from approved documents.
Is solo assembly of a Bloomcabin structure realistic?
It varies by model, part and stage. Lightweight profiles may still need several people because they are long, catch wind and require accurate alignment. Use the manual to size the team, not one component's weight.
Do all fasteners need tightening straight away?
Not when the manual requires adjustment. Tightening too soon can block alignment and create stress, although the temporary joint must remain secure against uncontrolled release. Follow the sequence stated for the model.
How should I distinguish two nearly matching profiles?
Compare part numbers, holes, ends, channels and orientation with the detail drawing. Do not permanently mark or alter either piece while identification remains uncertain. Photograph them together and seek clarification.
Could my concrete patio support a pergola?
Perhaps, but its surface does not prove capacity. The build-up, thickness, reinforcement, edge clearances, substrate and condition must suit the proposed fixing. Obtain a competent assessment of the patio and follow the product's foundation information.
At what stage do I take off packaging or protective film?
Keep protection on while useful, removing it early enough for identification and fitting. Film may protect a delicate finish or show orientation, so follow the manual. Retain packaging with part references until every component is counted.
How should rain during construction be handled?
Pause if rain compromises footing, visibility, tools or safe handling. Brace the incomplete structure and shelter loose panels, fittings and moisture-sensitive materials. Resume only when the surface and conditions are safe.
Can I modify a piece that will not fit?
Not before its identity and use are confirmed. An apparently long or wrongly drilled piece may be reversed, swapped or reflect an earlier error. Recheck part numbers, orientation, foundation geometry and previous stages. Unapproved changes may impair function or safety.
How soon may I fit out or plant inside the greenhouse?
Wait until assembly passes final inspection and all tools and packaging are removed. Check anchoring, glazing, doors and windows. Then place paths, planters and irrigation without blocking ventilation or maintenance access. Cultivation advice appears in Greenhouse Basil Growing.
What project records are worth keeping?
Keep the invoice, order confirmation, manual, packing lists, product labels and relevant correspondence. Photograph delivery, foundation, concealed fixings and the finished structure. Log dates and results of later checks; the record supports maintenance, spare-part identification and informed enquiries.
