



SUPPORT
Installation Instructions, Technical Plans and Product Documentation
Use this technical guide to manage installation instructions, drawings, parts lists and related product records, from early planning and goods inspection to a documented handover.
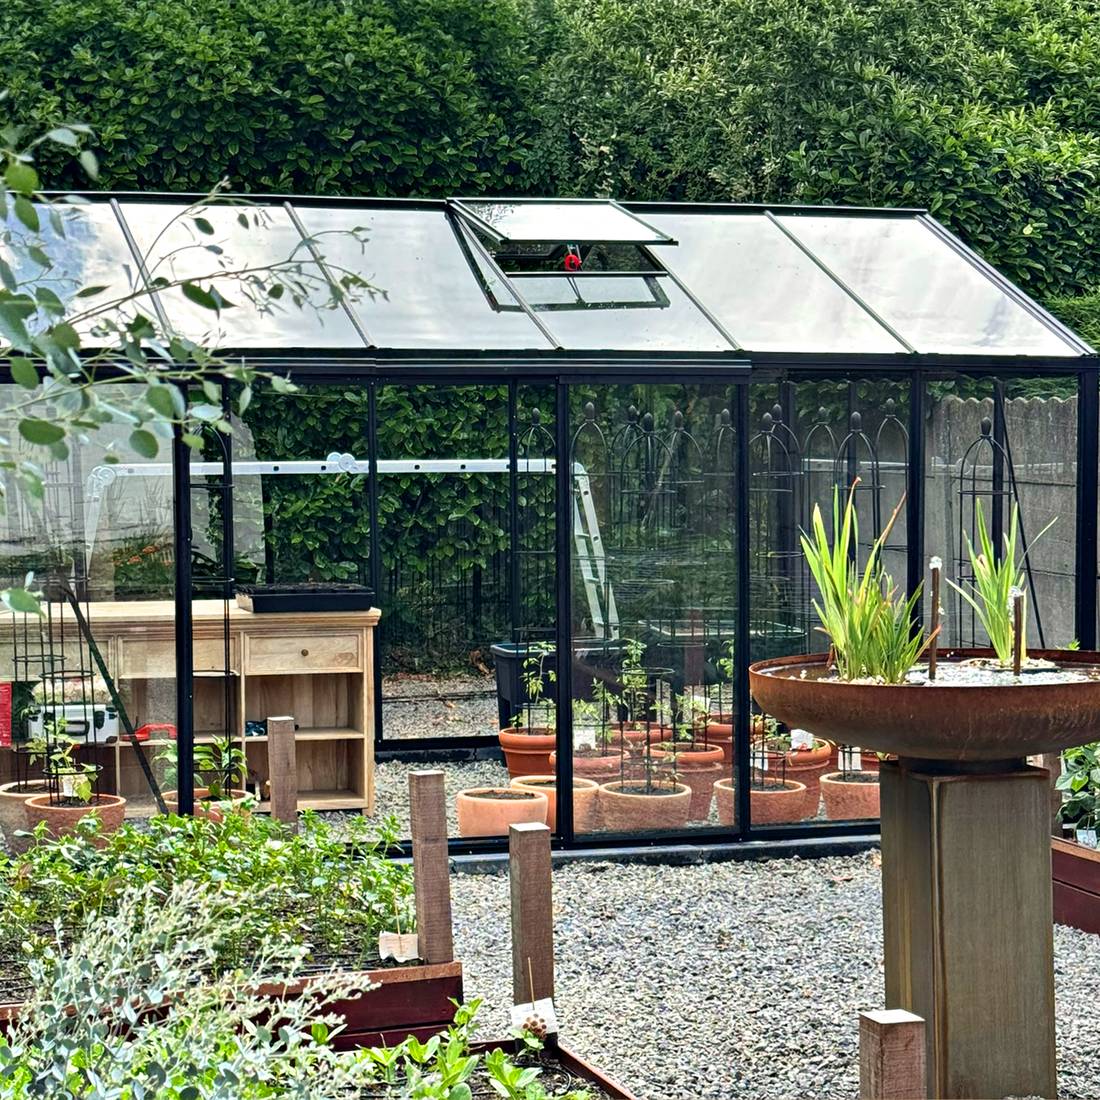
Installation instructions and technical files
Select files by checking the full product name, configuration and size. Before starting, make sure the principal instructions, drawings and optional addenda relate to that order.
A controlled installation depends on the instructions, technical plans and parts lists being used together. These records inform site preparation, delivery inspection, build order and future upkeep. Each file must match the precise product, purchased configuration and goods supplied.
Available instructions can be accessed through the document library above. The guidance below explains how to assemble a dependable file set and recognise common sources of confusion. If order-specific details conflict or remain uncertain, use the Bloomcabin Contact page to seek clarification before work starts.
Product records Bloomcabin may provide
The material supplied varies with product category, model, configuration and accessories. Some information may not have its own file; it can appear within the principal instructions or paperwork prepared for the particular order.
Depending on the order, the file set may contain:
- illustrated instructions setting out the installation stages,
- plans showing views, measurements and component identifiers,
- advice for foundations or positioning,
- parts, package or component schedules,
- information covering doors, windows, roofing systems and other accessories,
- directions for accepting, inspecting and storing the delivered goods,
- operating, care and servicing notes,
- amendments or additions prepared for the order.
These records cannot be replaced by a product page. Product pages assist selection; installation files describe the purchased construction. That distinction matters with different formats, such as a wall-attached or freestanding pergola and when deciding between a classic or bioclimatic pergola.
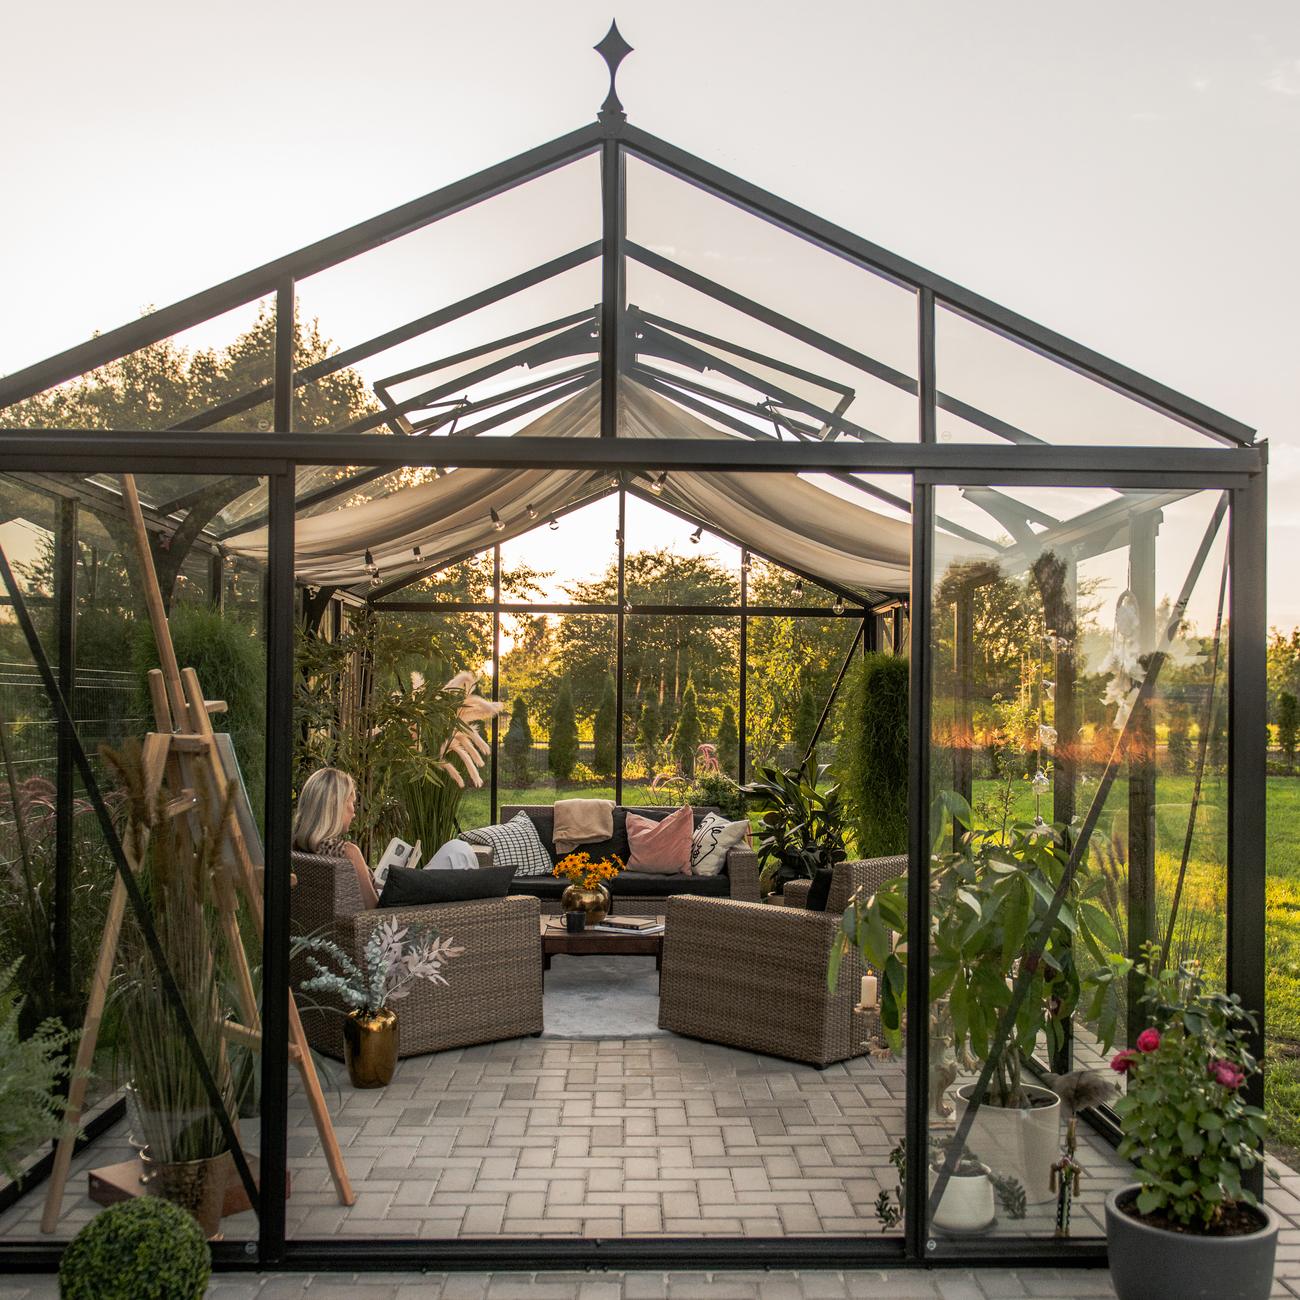
What to inspect before placing an order
Do not leave the paperwork review until installation day. Before ordering, establish the main outside dimensions, structural format, access route and general suitability of the proposed area. For pergola planning, consult the Choosing a Pergola Size guide. Product guidance for greenhouses and conservatories appears in the Greenhouse and Conservatory Range overview.
Ask the relevant state or territory authority and council whether the site, land, proposed use, design or services require planning, neighbour-related or technical assessment. The article covering approvals for greenhouses and pergolas is an introductory resource rather than a substitute for an official, site-specific check.
Include the delivery route, unloading or set-down space and interim storage in the plan. Further details appear under Purchasing and Delivery and in the information about cross-border greenhouse purchases when it applies to the nominated address.
Confirm that each instruction file matches
Visual similarity does not prove that two products share the same construction. Profiles, joints, roof assemblies, doors, glazing and accessories can differ between models. Even sizes in one family may use different component quantities or build orders.
An illustration that resembles the delivered item is not enough to identify the correct instructions. Check the model designation, configuration, size and, if relevant, document revision. The same care is required for individual sauna designs, including the Elma S outdoor sauna, HC150 barrel sauna or HC 180 barrel sauna. Paperwork for another design is not a reliable replacement.
Building the correct file set
Take the order confirmation as your starting record. Cross-check its product details against package markings, parts schedules and file titles, then gather documents for the main product, its size and every purchased option.
- Verify the order: note the model, configuration and selected options.
- Match the file titles: retain only documents with a definite product connection.
- Identify the issue status: note any revision date, version number or comparable identifier that is provided.
- Gather the addenda: include separate instructions for accessories and variant components.
- Quarantine conflicts: if measurements or build directions disagree, pause and obtain clarification rather than choosing between them yourself.
Preserve the original digital files without alteration. Notes can be added to working copies, provided those copies remain clearly identified. Ordering guidance is available under Placing an Order.
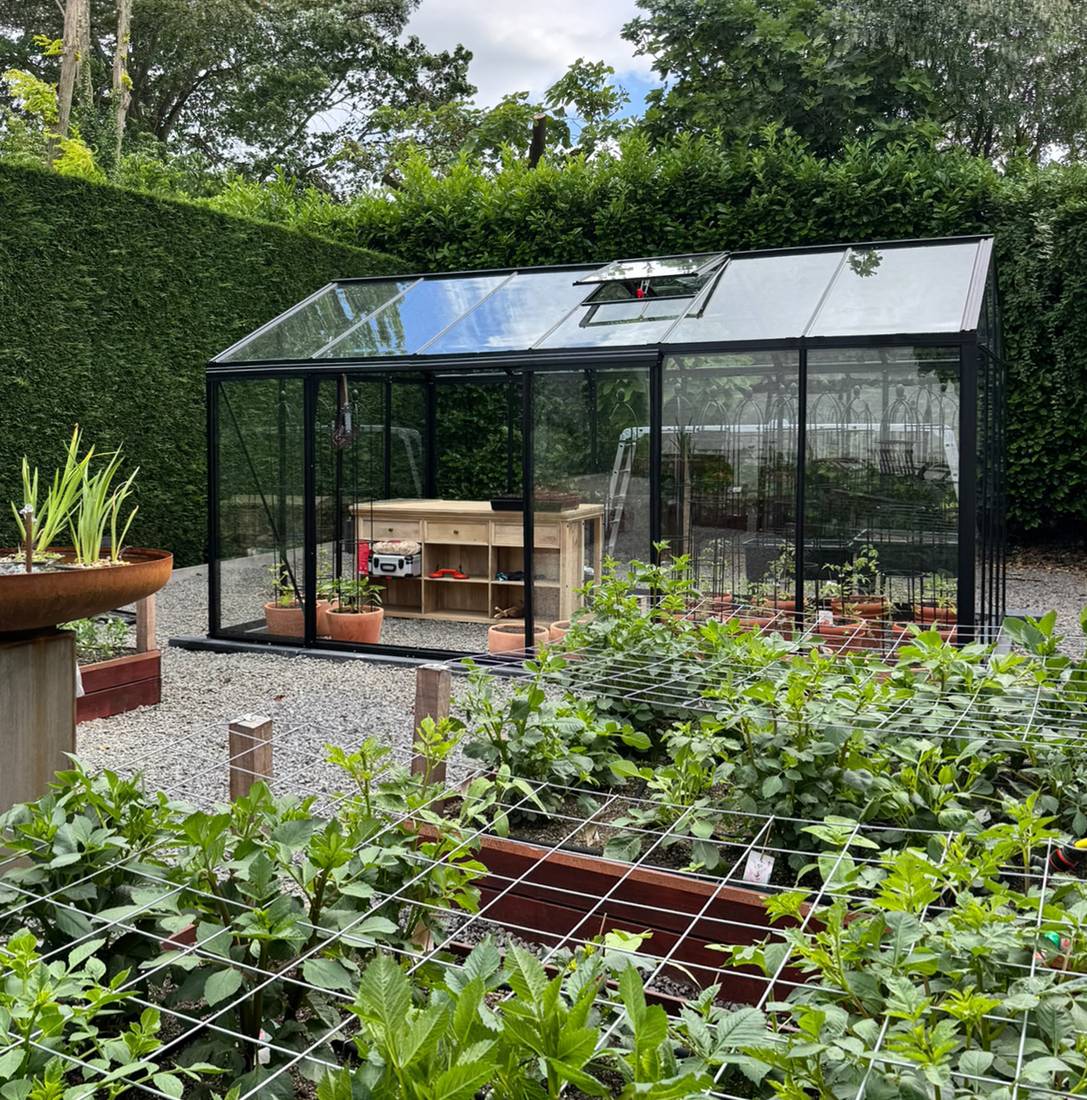
Interpreting technical plans
Verify the drawing before using it
Check the title block, document title or header first. It may identify the model, drawing, revision, date, units and sheet number. Copy dimensions only after confirming those details. For a multi-sheet drawing, verify that every sheet belongs to one set.
Review all amendment notes. A later issue can supersede selected measurements or construction details, but an earlier plan is not necessarily wrong for every previously delivered version. Its relationship to the actual order is what matters.
Read each view for its purpose
Plans, side and front elevations, sections and enlarged details each communicate something different. Plans commonly map the horizontal arrangement; elevations give heights and outer profiles. Sections expose concealed elements or layer order, while details clarify junctions that the overall view cannot show adequately.
Broken lines may represent edges hidden from view. Dimension extensions, centre lines and reference marks are not physical parts. Check notes for symmetry, repeated items and mirrored installation. Interpret the drawing as one coordinated system rather than separate figures.
Distinguish site measurements from product dimensions
The outside product size, centrelines, foundation dimensions and clearance for working are not necessarily the same. Never assume an outside dimension defines the foundation. Treat openings, projections, drainage space and installation access as separate considerations.
Use the printed numerical dimensions, not apparent proportions. Screen display and printing can change the scale of a PDF. A ruler or digital measuring tool is suitable only when the file is explicitly issued to scale, that scale has been verified and no stated dimension takes priority. If uncertain, follow the written figure.
Foundation and location records
A foundation forms the geometric connection between the product and the ground. Incorrect level, placement or squareness often cannot be remedied by shifting profiles during the build. Consult both the foundation information and installation instructions before excavation, formwork or anchoring begins.
The Planning a Pergola Foundation covers the principal planning topics. The product's own foundation details and actual site conditions still govern the work. Review:
- the structure's location and direction on the property,
- routes for building work and future servicing,
- levels, datum points and diagonal measurements,
- the condition and bearing capacity of the ground,
- water management and avoidance of unwanted pooling,
- service routes, connection positions and anchoring points,
- site-specific building and technical obligations.
With a sauna, confirm the connection, operating and safety requirements for both the chosen equipment and its intended site. The general Sauna Range supports product choice but cannot replace planning for the order.

Accepting the delivery and auditing parts
Treat the goods inspection as a planned stage. Reconcile package counts and markings with the available delivery paperwork. Promptly make a clear record of visible damage, absent packages or suspicious packaging. Open each package carefully to protect labels, finishes and components.
Group components by assembly section and part identifier. Support long profiles at suitable points so they cannot distort. Glass, panels, timber, hardware and fasteners each require secure temporary storage appropriate to the material. Observe the instructions supplied.
Use the parts or packing schedule for the audit rather than relying on catalogue images. Record quantity discrepancies against exact item references and take informative photos. General terms and coverage are outlined under Guarantee information ; for an individual enquiry, have the corresponding order and delivery records ready.
Working effectively from the instructions
Prepare before joining any components
Read the instructions from beginning to end before building. Determine the tools, equipment, people and safe working areas required at each stage. Verify the foundation, parts and file set before making any permanent joint.
Place hardware and screws in clearly marked containers, keeping similar-looking fasteners separate. Isolate coated finishes from hard or soiled supports. Leave protective material in place until the instructions call for its removal.
Keep to the prescribed order
The stated sequence can preserve access, permit alignment and prepare for components fitted later. Fully tightening a frame too soon may prevent adjustment. Omitting even a small bracket can force the removal of much larger assembled sections.
Tick completed stages on a designated working copy. If the illustrated assembly differs from what is in front of you, stop and recheck the component identity, direction, preceding stages and file revision. Images accompanying articles on greenhouses in Victorian style or orangery designs illustrate appearance and use; they do not prescribe the build sequence.
Inspect fasteners and alignment
Fit only the fasteners assigned to that stage. Length, head form, washers and placement may affect the construction. Where the instructions require initial loose assembly or subsequent alignment, do not immediately tighten every joint to its final position.
Throughout the build, recheck verticals, levels, lines, diagonals and consistent gaps. Early detection usually makes the reason for an error easier to find. Before improvising with extra holes, packing or force, verify product identity, foundation geometry and component direction.
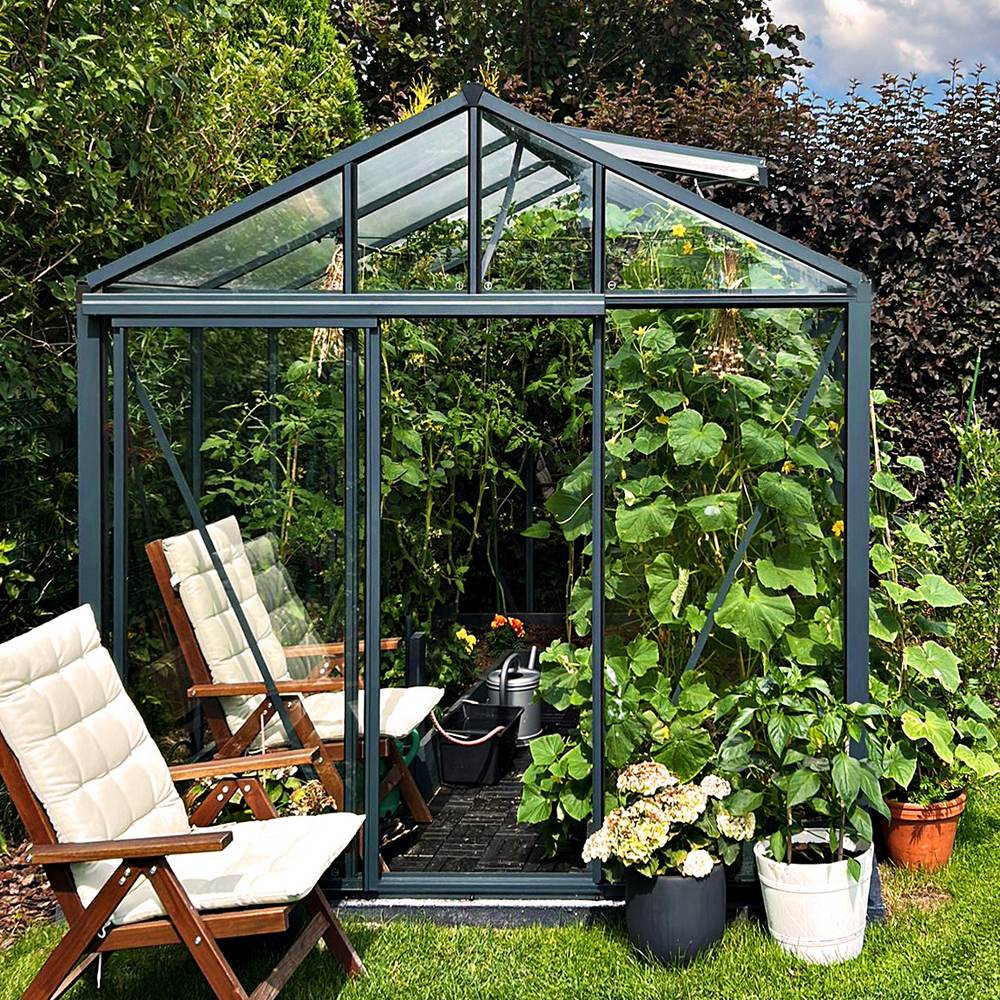
The Anna Koku Skola installation as one sequence
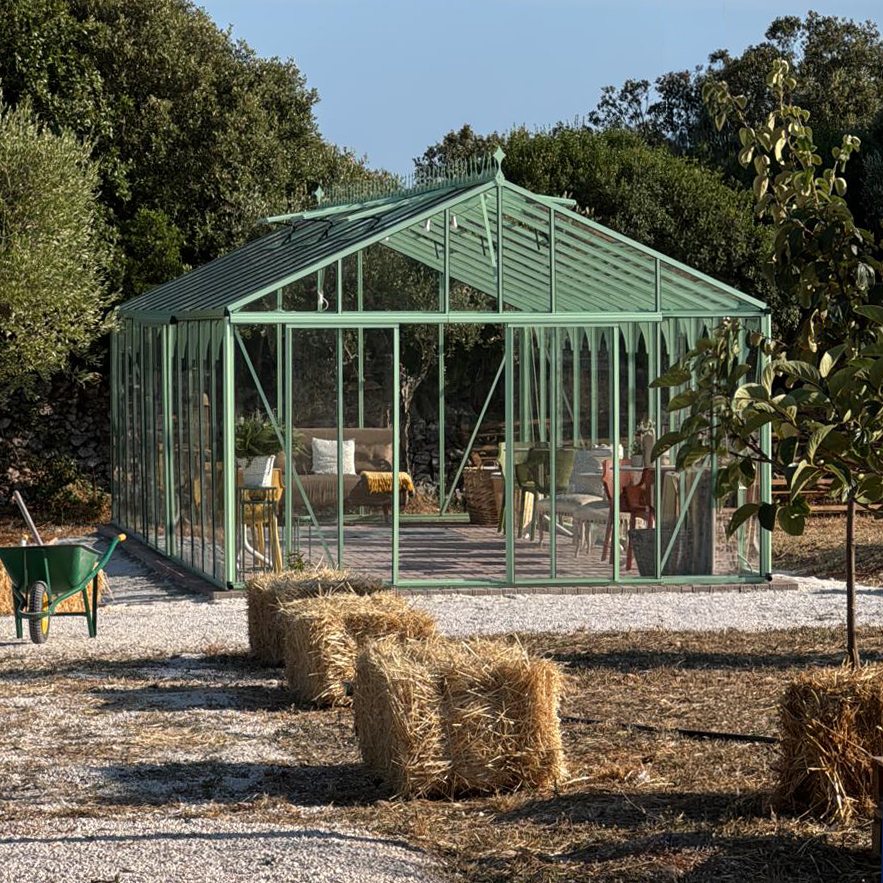
Treat the Anna Koku Skola photographs as consecutive records from a single installation, not images of separate projects. Differences in the frame, glazing and surrounding workspace reflect the progress of that same build.
The progression helps explain the space, beginning with the prepared location and continuing through the structural frame to later fit-out. Even so, it is only visual support. Photos cannot establish hidden fixings, precise dimensions, tightening values or omitted intermediate stages. Use the assigned technical records as the authority.
Controlling documents throughout the build
When several people share the work, everyone must know which revision applies. Give one person responsibility for the master file set and for recording changes and unresolved questions. Clearly mark superseded printouts or remove them from the work area.
| Inspection item | Action to take |
|---|---|
| Revision status | Before starting, cross-check file name, revision and date |
| Issue control | Give every installation team the same approved copies |
| Conflict | Pause that section and record what caused the discrepancy |
| Update | File the replacement centrally and withdraw superseded copies |
| Project record | Organise photographs, measurements and matters awaiting resolution |
This straightforward control stops separate teams from unknowingly following different issues of the same plan.
Records for handover and upkeep
Retain the file set when construction is complete. It will assist maintenance, identification of replacement parts, later adjustments and safe transfer to another owner or operator. Keep original digital records alongside annotated working copies.
A handover folder can contain proof of order, final plans, installation and accessory instructions, care material, recorded variations and photos of concealed connections. Note the installation date and exact configuration that was fitted.
For greenhouse owners, the guide to aluminium greenhouse care is a useful companion. Operating guidance on climate and use is also available in greenhouse temperature and humidity and polycarbonate and multiwall panels.
Further reading for selection and operation
Technical records describe preparation, construction and upkeep for the specific structure. They will not necessarily resolve every question about choosing or using it. Treat general articles as supporting reading, separate from the instructions governing installation.
For greenhouse use, practical ideas can be found in the guides to greenhouse lettuce cultivation and raising capsicums and chillies . Pergola buyers can also consider whether a roofed bioclimatic pergola suits their plans. Other topics appear under Practical Resources .
Questions customers often ask
How do I locate Bloomcabin installation instructions for Australia?
Begin with the library provided above and search using the complete model designation and configuration. If you cannot confirm a match, or the paperwork omits an option you purchased, obtain the appropriate file before beginning installation.
May I follow instructions for another Bloomcabin model that looks similar?
No. They are not a substitute for the correct product records. Similar designs can use different profiles, hole patterns, fasteners or construction orders. Another manual may help describe an enquiry, but it cannot govern your particular order.
What if an option I ordered is not covered by the main instructions?
Look for separate accessory instructions or an amendment sheet, then connect each addition with the applicable installation stage. If required information is absent or two files disagree, suspend work in that area and ask for the document assignment to be confirmed.
Can the foundation be built before I review the instructions?
No. Study the installation and foundation information first so the site plan accommodates anchor positions, outer dimensions, height datums, access and possible service routes. Correcting a finished foundation that does not suit the product may involve substantial work.
May I measure directly from a drawing displayed on screen?
Only after an explicit scale check. Browsers, PDF applications, printer settings and displays can alter drawing size. Follow the dimension figures provided. Scale-based measurement is appropriate solely for drawings expressly issued to scale and output under verified conditions.
How should I respond when a component will not fit?
Avoid excessive force and do not modify it immediately. Recheck its identifier, direction, installation face, earlier stages, foundation geometry and the revision in use. Photograph both the overall situation and close details, including the relevant item references.
What information is needed to report damage or a missing component?
Prepare the order reference, product designation, package marking, part identifier and required quantity. For damage, include clear images of both the packaging and affected component. Exact details are more useful for identification than a broad report such as “a profile is missing”.
Can catalogue photographs serve as installation instructions?
No. An image may illustrate the design or a particular build stage, yet it cannot reliably show hidden joints, precise measurements or intervening work. It may also depict another size, option or configuration.
Can installers use separate printed copies?
Yes, but only after confirming that every copy carries the same approved issue. Otherwise, teams may follow incompatible stages. Appoint one document controller and fully replace any superseded printouts.
What records should be kept once installation is finished?
Retain clear product identification, final installation and servicing records, accessory instructions, relevant order evidence and notes about special construction details. Keep the material dry, easy to retrieve and backed up in digital form.
Does the product manual remove the need for site-specific professional planning?
No. It cannot account automatically for the site's ground, local wind or snow conditions, boundaries, nearby structures, services or council controls. Obtain any required professional, regulatory or technical assessment for the actual location.
Documentation check before sign-off
- The product, size, configuration and options correspond with the order.
- Everyone responsible has read the current instructions completely.
- Plans and addenda are confirmed as belonging to the supplied product.
- Site and foundation needs were reviewed before construction.
- Packages and components were audited, with discrepancies recorded.
- Every installation team is working from one approved revision.
- Measurements are taken from stated figures, not an unchecked display.
- Uncertain fit is investigated without force or improvised alteration.
- The handover folder contains accessory, care and maintenance records.
- Original digital files, project evidence and clear photos remain retrievable.
Orderly records prevent misunderstandings, preserve the reasons for decisions and assist with every stage of the product's life, from purchase and construction to ongoing care.
