



PROCESS
Final checks for made-to-order designs before manufacture
Written authorisation should follow a complete, unambiguous review before a bespoke configuration reaches production. Here we work through the brief, drawing checks and final consent, including issues particular to greenhouses, orangeries, lean-to buildings, T-shaped layouts and pergolas.
Sign-off fixes the version of a custom configuration that is to be made. A drawing cannot be accepted simply because its overall appearance seems correct. Measurements, openings, junctions, finishes, colours, materials, accessories and site constraints all need to agree and be recorded clearly.
Owners, designers and contractors can use the sequence below to review a configuration in an orderly way. Further background on placing an order appears under How to order. Raise any uncertainty specific to the project through the contact page before providing sign-off.
Understanding sign-off before manufacturing starts
When customers sign off, they confirm that the configuration recorded in the controlling documents satisfies their brief. The decision concerns much more than general size or outside appearance. It includes every specified measurement, door and window location, roof design, opening action, glazing or panel type, finish, attachment and relevant connection point.
Signing off commits you to a technical specification; it is more than choosing an appearance. Identify each approved document and its revision unambiguously. Retain old emails, sketches and images in the project file, clearly separated from the final authorised drawing.
Keep product sign-off separate from statutory and site assessment. A manufacturer's approval does not establish that planning, building or other local requirements have been satisfied. Requirements vary with the state or territory, council, land and proposed structure, so make the relevant checks for the actual site. Begin with greenhouse and pergola approval checks in Australia.
The sign-off sequence
- Choose a starting configuration: Identify the structure, its underlying form and intended purpose.
- Compile the complete brief: Record dimensions, openings, materials, colour, accessories and relevant site conditions.
- Identify the controlling papers: Compare the drawings, quotation and supporting notes as one set.
- Complete the customer's assessment: Work through every view, measurement and specification systematically.
- Manage requested revisions: Combine corrections into one precise response.
- Sign off the final set: Name the applicable document and revision without ambiguity.
- Wait for production handover: Customer sign-off may precede a separate internal release for manufacture.
Providing complete information early reduces the likelihood of repeated drawing revisions. Even where timing is tight, do not allow unanswered questions to be treated as silently accepted.
Step 1: Choose the appropriate base design
Every custom project needs a suitable underlying configuration. Freestanding greenhouses, orangeries, structures attached to walls and pergolas differ in their foundation, drainage, access and connection needs. Establish which type suits the proposed use before specifying alterations.
For greenhouse projects, the guides to greenhouses and conservatories and the guide to choosing an orangery provide useful starting points. The discussion of Victorian greenhouses places historic design features in a present-day context.
For a pergola, settle the roof concept and whether the structure will be attached or freestanding. Compare bioclimatic or classic pergola and wall-mounted or freestanding pergola to define the starting arrangement before requesting custom changes.
Step 2: Prepare a thorough project brief
Describe the outcome you want alongside the conditions of installation and everyday use. Measurements need units and identifiable reference edges. A factory cannot work accurately from requests to shift a door slightly left or from an approximate three-metre measurement.
Depending on the structure, the project brief should record:
- the selected structural type, underlying form and intended use;
- overall length and width, relevant heights and physical limits;
- the location, quantity and opening action of doors, windows and movable parts;
- the chosen finishes, colours, glazing and solid panels;
- each accessory and where it should sit;
- wall junctions, eaves, downpipes and any other obstruction;
- known changes in ground level and the intended top of the foundation;
- conditions affecting access, unloading and assembly;
- the contacts responsible for sign-off, the site and installation.
Site photos can clarify the brief, but they cannot substitute for checked measurements. For a wall-attached structure, document exterior lights, window sills, roller-shutter housings, services and irregular wall surfaces. When planning a pergola, also use the pergola size guide.
Step 3: Interpret the document set as a whole
Read the project documents as a coordinated set. A quotation, technical drawing, elevations, floor plan, detail notes and options schedule each communicate different information that must agree across the job.
Geometry and component placement are usually conveyed by the drawing. The quotation may list quantities, line items or commercial details that an elevation does not show completely. Supporting notes can identify exclusions, work by others or decisions still outstanding. A page should not be signed off alone if another controlling document disagrees with it.
Check these items closely:
- the document name, issue date and revision code;
- the stated scale and whether any view is merely diagrammatic;
- the viewing direction and orientation used for every elevation;
- the reference edges used for length, width and height;
- qualifications such as “by others”, “confirmation required” or “not illustrated”;
- any conflict between drawings, the quotation and prior correspondence.
Never resolve a technical uncertainty by estimating from the display on a screen. Written dimensions and annotations take precedence. Ask for clarification wherever information is illegible, a symbol is unfamiliar or two details appear inconsistent.
Step 4: Review the configuration in a set order
Use the same review sequence throughout the document set. Examine the overall shape first, followed by dimensions, openings, materials and finer details. This order helps prevent an eye-catching design feature from drawing attention away from a basic measurement error.
- Confirm the project identity: Are the customer's details, project reference and configuration the correct ones?
- Examine the plan: Verify outside dimensions, layout, orientation and entry points.
- Read every elevation: Relate each depicted side to conditions at the actual property.
- Verify vertical dimensions: Where shown, inspect eaves, ridge, roof pitch and junction heights.
- Inspect moving openings: Is every opening correctly positioned, counted and handed?
- Confirm finishes and materials: Do the colour, surface, glazing and infill reflect the selected options?
- Review every interface: Can the foundation, wall, drainage and works by others connect as intended?
- Reconcile the records: Do the drawing, quotation and confirmed choices describe one configuration?
Where possible, inspect the documents on a large monitor or in a clearly printed format. A second reviewer is useful for independently checking orientation and opening actions. If designers or installers are involved, allocate responsibility for every interface explicitly.
Checklist for signing off a configuration
| Review area | Question to answer |
|---|---|
| Revision | Can I verify that this is the most recent document issue? |
| External dimensions | Do its length, width and important heights fit the space available? |
| Orientation | Is there an unambiguous front, back, left and right? |
| Doors and windows | Are their locations, quantities and opening actions right? |
| Material and colour | Is every functional and visible choice named clearly? |
| Foundation | Has the proposed support surface been coordinated with this configuration? |
| Connections | Have the wall, drainage and existing building elements been allowed for? |
| Unresolved matters | Have all provisional notes, questions and placeholders been closed out? |
| Quotation | Do its listed items and quantities describe the configuration awaiting sign-off? |
| Local requirements | Have the necessary checks for this site and proposal been arranged? |
Step 5: Send a single coordinated revision request
If the review uncovers mistakes or desired changes, combine them into one organised response. Separate instructions arriving from several participants can contradict one another. Appoint one person to collect and reconcile all comments before submission.
For every comment, identify the document, view and component concerned. State what is currently shown and what must change—for example: “On the south elevation, relocate the door from bay two to bay three and retain outward opening.” A marked-up drawing is useful only when accompanied by an intelligible written instruction.
Once a revised issue arrives, repeat the complete review. Do not limit the check to the item requested, because one alteration may change nearby dimensions, bay spacing or connected components.
Step 6: Record an unmistakable written sign-off
Specify which documents your final consent covers, naming at least the project, each document and its revision. An informal “looks good” message leaves ambiguity where several versions circulate.
Example: “We approve the configuration for further processing in accordance with approval drawing [document title], revision [identifier] dated [date], together with the options listed in it.”
Conditional wording such as approval only after relocating a door leaves the current drawing unapproved. Obtain the amended version, then review it without unstated reservations. Leave colours or materials undecided only with explicit confirmation that later selection is permitted.
After the customer signs off
The approved records then proceed through the project's internal workflow. Administrative or technical reviews may still be needed before fabrication starts, depending on the order. Customer consent should therefore not be interpreted as an assurance of immediate manufacture.
Raise any post-approval alteration immediately. The processing stage determines whether it remains feasible and what effects it could have. Sending another email does not, by itself, revise an existing order.
Guidance covering the order, transport and handover appears in Purchasing and delivery . General conditions for promised services are available under Warranty .
Checks for different configuration types
Freestanding greenhouses and orangeries
For a freestanding structure, concentrate on total geometry, door identification, ventilation openings and alignment with the foundation. Confirm that the elevation marked as the front actually faces the intended path. Apparently symmetrical structures make left and right particularly easy to reverse.
Planned use also informs the layout. Beds, benches, work areas and circulation paths must leave doors and windows unobstructed. For glazing considerations, read polycarbonate in greenhouses. Operating plans should also account for greenhouse temperature and humidity .
Completed-project photographs and greenhouse reviews can suggest visual approaches, but neither source establishes what is supplied or approved for an individual order.
Lean-to and wall-mounted structures
An existing building forms a critical interface for any lean-to. Measure usable wall height as well as clear width. Eaves, doors, windows, projecting plinths, vents, services and uneven façade surfaces can all interfere with the proposed junction.
A photograph alone cannot demonstrate that the wall is sound or suitable. Arrange any necessary assessment through the professionals responsible for that work. Drawings should identify the wall-connected side and make the viewing direction of every elevation unmistakable.
T-shaped configurations
Intersections, roof connections and directional changes multiply when wings or axes join in a T. Examine both the main and transverse wings separately, then review their interaction. Locate their junction precisely and check the external dimensions and entrance allocation for each.
Check consistency between the floor plan and all elevations. Cross-wing adjustments can alter symmetry, bay divisions and walking routes. Anchor the orientation of complex layouts to fixed site features: the house, access driveway or boundary, for example.
Pergola configurations
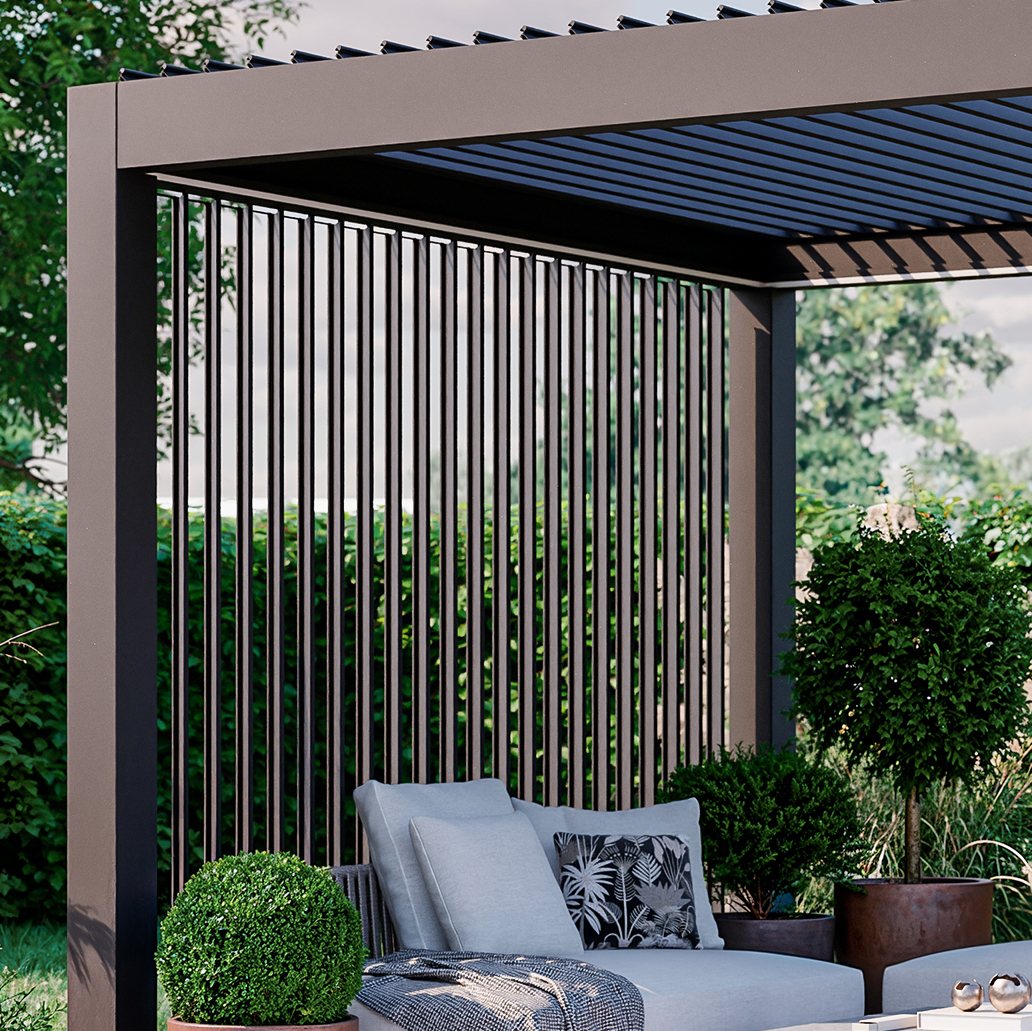
Review the pergola's post locations, roof direction, drainage route and neighbouring construction together. A position that looks balanced may still be unsuitable structurally or in use. The pergola foundation guide sets out the key relationships to consider.
For an attached pergola, establish the fixing height and façade construction. On a freestanding design, compare each post with terrace edges, doorways and travel paths. Roof alternatives are discussed further under bioclimatic pergola or glass roof.
Interpreting project photography carefully
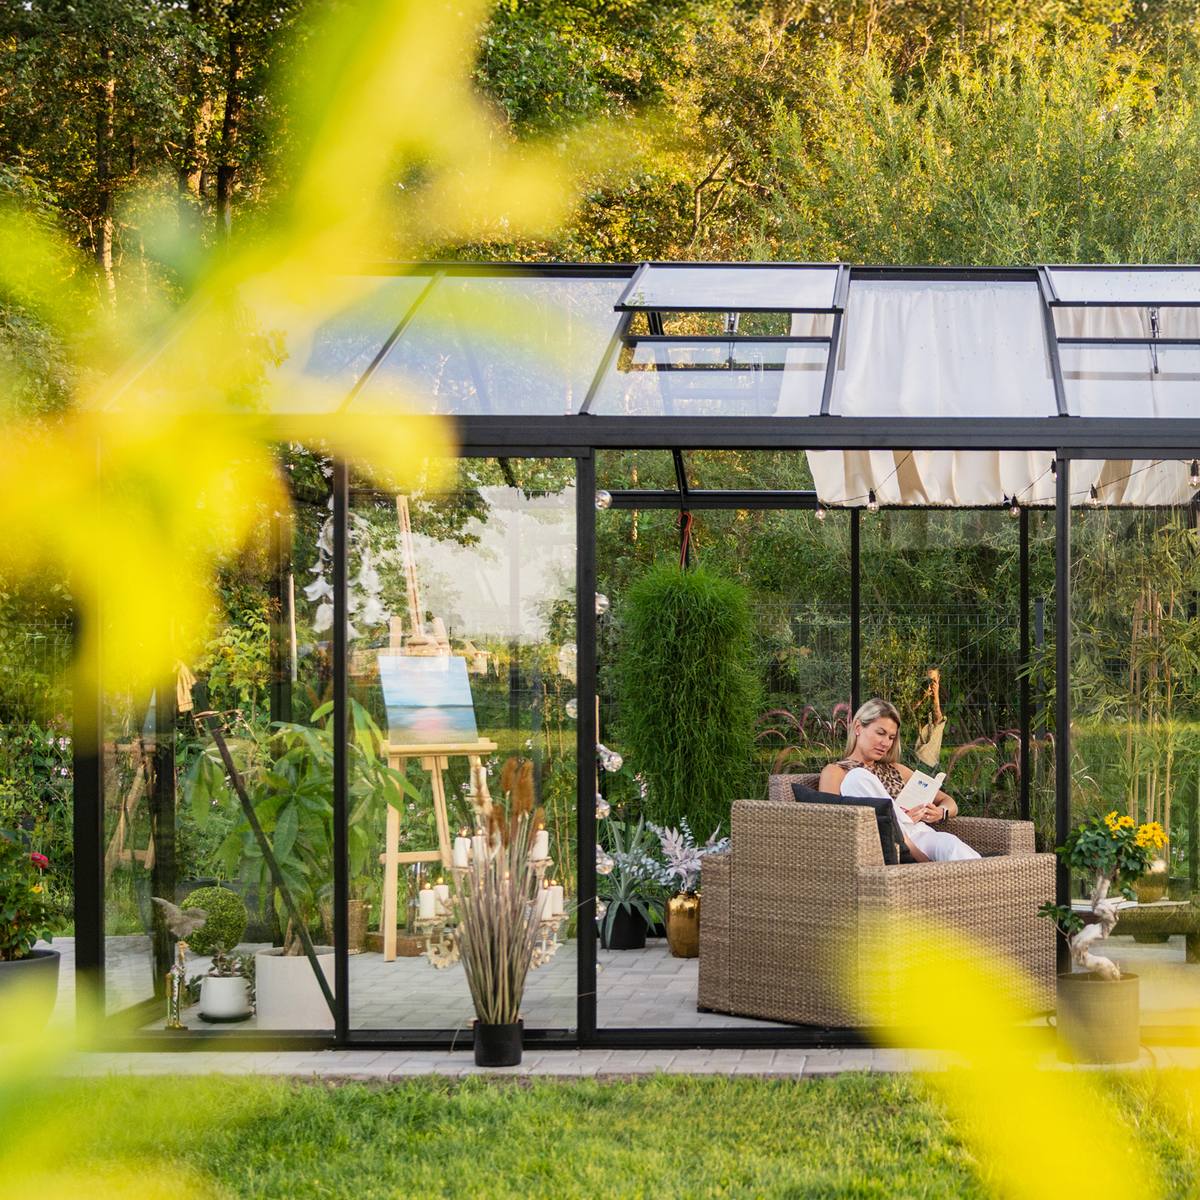
Photos capture an installation at one moment. They help explain proportions, combinations and colours, but cannot specify the build. Viewpoint, illumination and setting affect apparent dimensions and shades. Furniture, planting, foundations or associated works in the scene may have come from other suppliers.
Do not request a component merely by referring to “the website photo”. Identify the particular feature and obtain confirmation that your configuration includes it. The approved documents, rather than the image, control the project.
Planning for receipt and assembly
Coordinate site preparation with the drawing review, but undertake final work only from confirmed information. A foundation, in particular, must not be constructed from a preliminary sketch. Establish which dimensions control the work and who will set them out on site.
Before the shipment arrives, arrange vehicle access, a safe unloading zone, temporary storage and protection against damage. The person receiving it should understand the delivery documents and the procedure for reporting visible damage or discrepancies. More guidance appears under Useful information.
The latest drawing and relevant assembly instructions should be available where installation occurs. Allow for future maintenance in the project plan as well; consult caring for an aluminium greenhouse.
Keeping sign-off records for future use
Store the final drawing, written consent, corresponding quotation and relevant messages together, noting the exact revision approved. A complete record helps during receipt, assembly and maintenance, and when replacement parts are requested later.
Retain older drawings under controlled conditions rather than deleting them indiscriminately. Mark each one as superseded and separate it from current site papers. This preserves the revision history without risking construction from an obsolete issue.
Other project resources
The following information areas may also assist, depending on the project:
- The main Bloomcabin Australia page provides access to available products and supporting information.
- For a sauna project, use the Sauna overview and review base configurations including Elma S, Elma L, HC150 and HC 180 .
- For deliveries anywhere in Australia, its islands and territories, see our information about buying a greenhouse with delivery to Australia .
- More practical and planning articles can be found in the Bloomcabin Blog.
Use these resources for preliminary selection only. Manufacturing sign-off remains governed by the documents specifically identified for the individual project.
Frequently asked questions
Can an email description alone authorise manufacture?
Email can preserve individual instructions, but it rarely represents every aspect of a complex configuration. Before work proceeds, identify the controlling drawing, selected options and applicable revision. Any incomplete or contradictory wording needs resolution first.
Is accepting a drawing also commercial acceptance?
Not necessarily: drawings describe the technical arrangement, whereas quotations serve a commercial purpose. Cross-check options, quantities and configurations in both. A separate commercial acceptance may still be required after the drawing is authorised.
What should I do with an unfamiliar symbol or annotation?
Do not infer its meaning and then sign off. Indicate the exact location and ask for an explanation in writing. Take particular care with datum or reference lines, opening actions, section details and annotations assigning work to others.
May I sign off before deciding on the colour?
Only if the team has expressly confirmed that colour can be nominated later without disrupting the remaining work. In every other case, settle the colour as part of the configuration before approving it.
Who verifies measurements and site information?
Accurate site dimensions and descriptions remain the responsibility of the customer or their appointed specialists. Before work starts, document how duties are allocated to the owner, designer, foundation builder and assembly contractor.
Does Bloomcabin sign-off replace government or council approval?
No. Configuration approval leaves applicable permits and site checks outstanding, including structural assessments and requirements affecting neighbours. Establish what the project and property require through the relevant council and state or territory authorities.
May a contractor provide sign-off for me?
Only an expressly authorised contractor who knows the full agreed scope should do this. Put their authority to bind the customer in writing, together with a rule identifying whose instruction prevails if directions conflict.
What if I notice an error after signing off?
Notify the project team immediately and identify the order, revision and precise detail involved. Obtain written advice on whether an amendment can still be made. Avoid issuing several competing sets of corrective instructions.
Do website images form part of the approved order?
No. They provide visual examples and can include optional or customer-supplied features. Only elements expressly listed or depicted in the controlling project and order records belong to the approved configuration.
How can repeated drawing revisions be reduced?
Supply complete and checked information from the beginning. Consolidate every participant's comments into one coordinated response, then assess each new issue in full. Avoid deferring choices about finishes, openings and accessories without good reason.
Should obsolete drawings remain on file?
Yes. Keep them as evidence of the project's revision history, but label each old issue invalid and store it away from current site documents. Assembly and acceptance must use the valid revision only.
Does customer sign-off mean the order has entered production?
Not in every case. Customer consent confirms the selected configuration, while an internal manufacturing release may depend on further technical or administrative checks. Rely on the explicit status update issued for that particular order.
