



MATERIALS
Greenhouse planning for wind, snow and year-round weather
A model choice alone cannot make a greenhouse weather-ready. Its position, supporting foundation, assembly standard, ventilation, drainage and routine inspections need to function as a system. Here we examine how to assess that system for an Australian site.
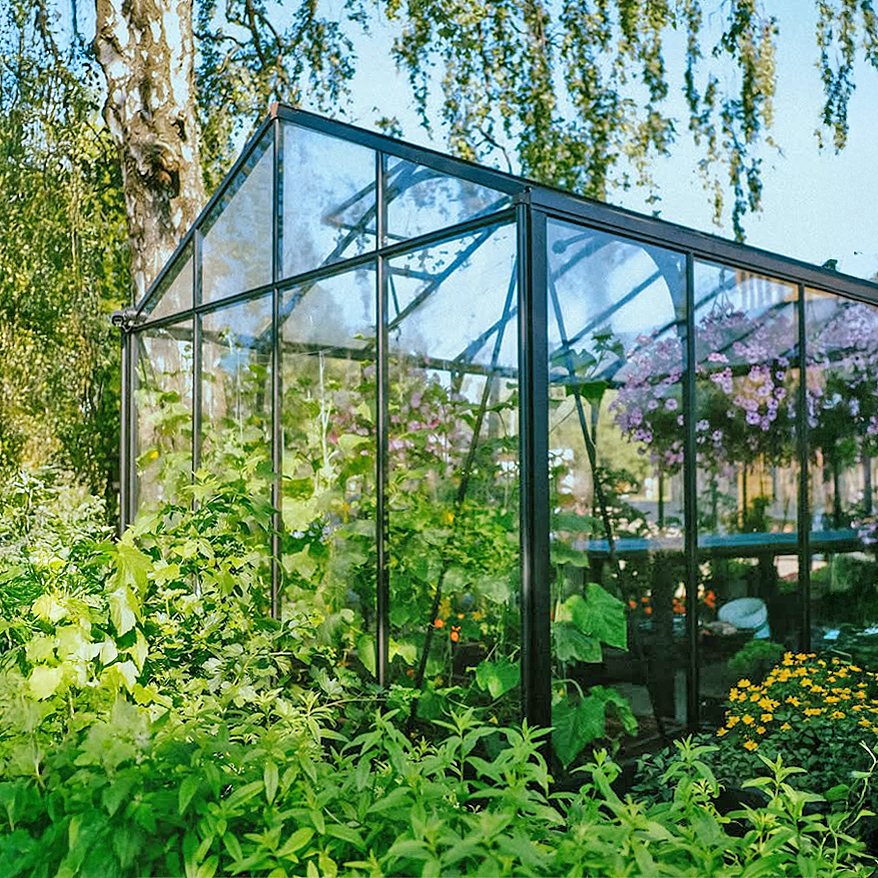
A greenhouse forms the boundary between a managed growing space and changeable weather. Wind pressure and uplift, snow, driving rain, frost, summer heat and sharp temperature swings may arrive together or one after another. The location, structure, foundation, anchors, assembly and operation must therefore work as an integrated system.
The guidance supports technical planning and later use. You still need the model-specific assembly manual and any required structural or building approval assessment. Verify requirements tied to your chosen product and location, including those set by the council and state or territory.
Understanding year-round outdoor design
A greenhouse designed for outdoor use can remain exposed as environmental conditions change over time. Resistance to every possible weather event is not guaranteed: site selection, foundations and operation still matter. Performance requires proper assembly within the particular model’s specified conditions.
Reliable weather performance depends on these connected functions:
- Transferring loads: Loads from wind and snow travel through the roof, walls, frame, fasteners and base to the supporting ground.
- Holding shape: Install every profile, pane or panel and connector fully, following the manual's fixing sequence.
- Draining water: Provide unobstructed routes for rain and thaw water so neither the base nor nearby surfaces pond.
- Accommodating movement: Temperature changes affect aluminium, glass, polycarbonate and seals in different ways.
- Operating safely: Adjust and inspect doors, vents and automatic openers as weather conditions require.
This makes aluminium greenhouse maintenance far more than an appearance issue. Routine cleaning and checks keep drainage, ventilation and joints working as intended.
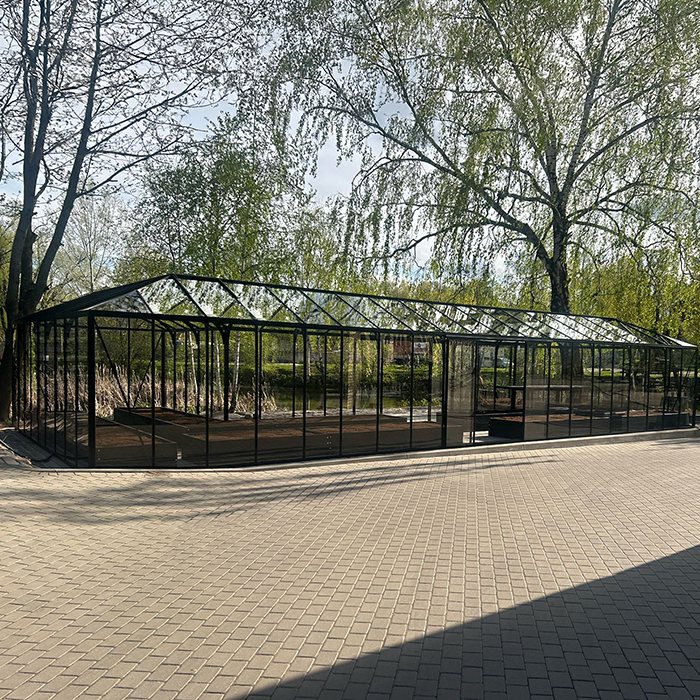
Study the location before selecting a model
Assess the site before choosing dimensions, roof shape or fittings. Photograph it from different viewpoints and, where possible, observe both wet and windy conditions. Record gradients, shaded areas, vegetation, nearby structures and walls, access routes and existing service lines.
Understand local wind exposure
Sheltered gardens may see gentler airflow than open paddocks, slope crests, coastlines, broad road openings or gaps separating buildings. Apparent shelter can itself create problems: airflow around a wall, hedge or building corner can become turbulent and increase local suction.
Identify the prevailing direction of strong winds and consider whether planned doors or vents would face it. An open doorway exposes a large area to wind forces. Keep sufficient surrounding space for assembly, replacement glazing, cleaning and, where necessary, clearing snow.
Allow for moving snow and water
Look beyond weather landing directly on the structure. Snow may drift between buildings or fall from a higher roof, while runoff can approach the foundation from slopes, patios and adjoining surfaces. Location planning should avoid these extra loads wherever possible.
Grade the site so runoff leaves the structure. Discharge collected roof water where it cannot undermine either paths or the base. Frozen ground may cause meltwater to pool in locations that show no obvious problem in mild weather.
Plan access across the seasons
All-season use requires a safe approach even during winter. Reserve room to swing doors open, transport materials, clean surfaces and perform maintenance. Any water or electrical service must comply with local rules in both design and installation; seek the relevant professional advice.
Intended use also shapes the requirements: raising seedlings, creating a large orangery and providing space for occupants are different applications. Explore these approaches through the guide to orangeries and greenhouses alongside the overview of greenhouses and conservatories as planning references.
Match the configuration to the location
Let the site's real conditions guide selection rather than floor area alone. Compare roof style, door position, ventilation, glazing, access and the proposed foundation. Specifications belong to the exact configuration described; do not carry a value or feature across from another model.
Polycarbonate differs from glass in its make-up, light transmission and thermal response. Read the greenhouse polycarbonate guide for a clear comparison. Design ideas may also come from greenhouse reviews and completed projects , although local suitability still needs its own assessment.
Compare configurations only once their components are fully defined. Extra windows, doorways, shelving and technical installations can alter operation, airflow and sometimes assembly order. Use accessories explicitly suited to your model, installing them as directed.
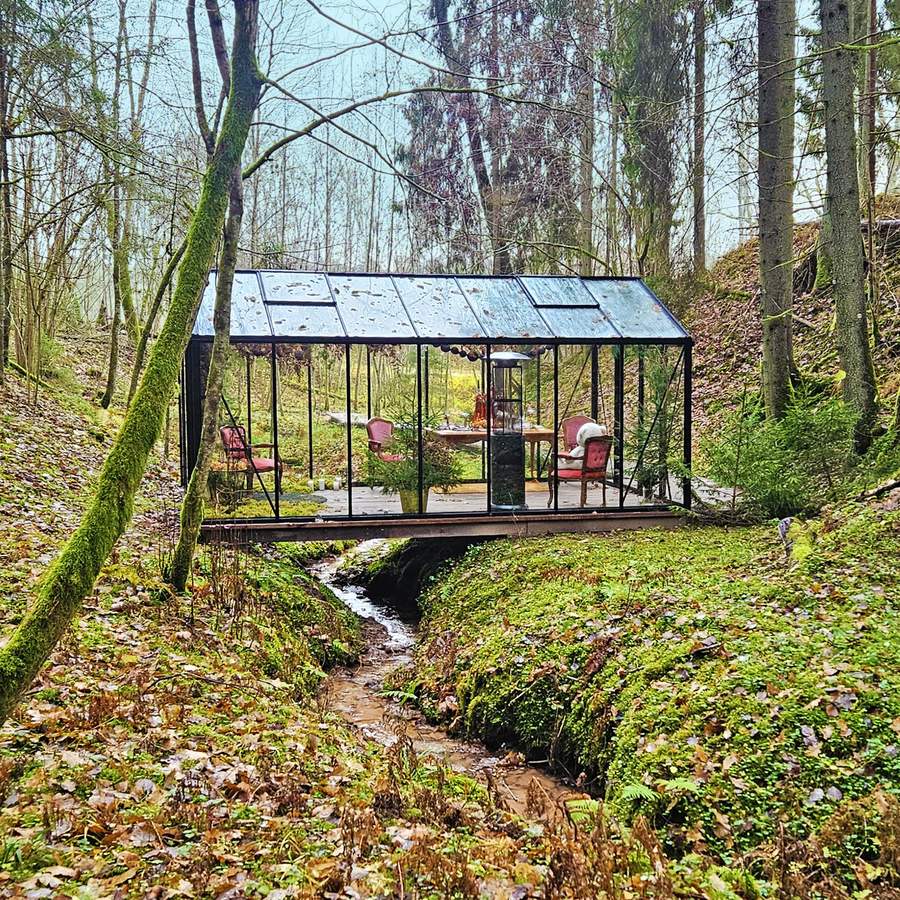
Weather resilience starts beneath the frame
Loads can leave the frame correctly only through a level, firm, accurately sized and durable base. If the foundation slopes or moves, profiles may distort, doors may bind, glazing support can become uneven and junctions may no longer keep water out.
The model, ground conditions, frost exposure and local rules determine an appropriate foundation. A paved terrace may look even yet subside if poorly supported, or lack a suitable anchoring arrangement. Check the specific model’s documentation and obtain expert assessment of doubtful ground.
Foundation preparation checklist
- Use current drawings to mark external dimensions and datum points.
- Confirm a true rectangle by measuring both diagonals.
- Review finished height, level and falls around the site.
- Account for ground strength and seasonal frost movement.
- Resolve anchor locations before drilling or pouring concrete.
- Lead runoff and snowmelt clear of the base.
- Identify underground services and prevent damage.
- Leave workable clearance along each side.
- Verify the surface and all measurements immediately before assembly.
These principles also matter for other structures exposed to weather. The guide to foundations for pergolas explains why support, water control and fixings need to be designed together.
Check and protect components before building
Check the received goods promptly against the accompanying paperwork. Record packaging condition and anything visibly different before distributing parts or discarding packing. For information on the procedure, see purchasing and delivery.
Follow the manual when storing frame sections, glass, panels and fittings: all need a dry, secure place. Provide continuous, even support beneath long components. Restrain panes against falling and protect them from point loads. Wind must not lift lightweight panels or packaging. Do not leave components resting on damp ground or in standing water for extended periods.
Sort the fixings by their marked part identities or intended positions. Visually similar screws can have different jobs; mixing them prematurely increases the chance of using one in the wrong place.
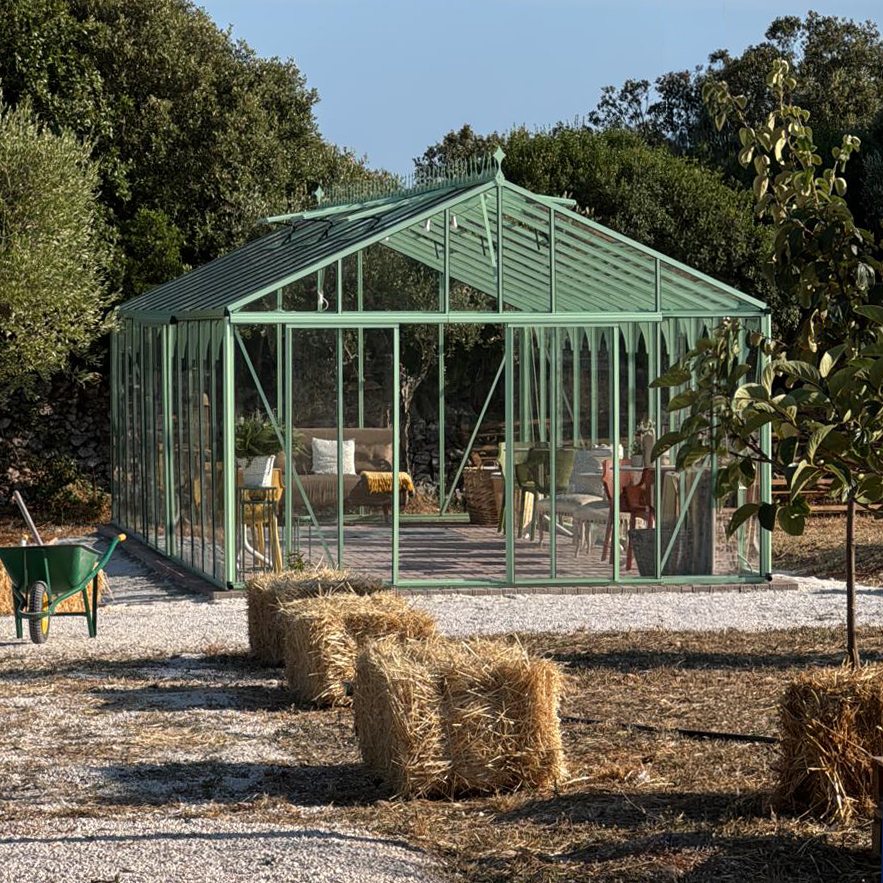
Assembly standards and the Anna-Koku-Skola sequence
The Anna-Koku-Skola documentation follows one installation from ground preparation through orderly erection of the frames to glazing and the concluding inspection. Its significance is the controlled progression of work, rather than an individual picture or detached task.
Start assembly only in appropriate weather. Strong winds hinder alignment of sizeable frames and endanger anyone handling glazing or panels. Before proceeding, check the completed assembly for squareness, vertical alignment and fastening against its instructions. Even minor base misalignment can show up markedly at roof level.
Checks during assembly
- Verify the paperwork: Make sure the supplied version matches both manual and parts list.
- Organise components: Arrange profiles and fittings by construction stage while retaining every identification mark.
- Survey the base: Measure sides and diagonals, then verify level and anchors before erecting the frame.
- Set the frame loosely: At first, tighten each joint only to the extent directed in the manual.
- Review the roof line: Never pull the ridge, eaves or rafters forcibly into alignment.
- Fit glazing in sequence: Clean all support faces and install the full set of specified retainers.
- Operate every opening: Check that doors and vents move freely without catching, twisting or excessive looseness.
- Finish with a full check: Confirm the complete geometry before undertaking the prescribed finishing tasks.
Unless written approval says otherwise, do not add holes, cut profiles or swap fasteners. Alterations can change load transfer, corrosion performance or glazing support. Ask the Bloomcabin team before proceeding when anything is unclear.
Control wind risks during use
An unsecured window, open door or airborne object often initiates wind damage even when the closed frame would otherwise be sound. Check catches frequently. Keep the surrounding area clear of loose branches, lightweight plant containers, garden furniture and tools.
When strong winds are forecast
- Shut and secure every door and hand-operated vent.
- Prepare automatic openers as directed in their own instructions.
- Remove or restrain unsecured objects both inside and nearby.
- Deal with damaged glazing, seals or panel clips before the storm arrives.
- Remove blockages from gutters and outlets ahead of heavy rain.
- Stay indoors rather than attempting repairs while a storm is underway.
Leaving a door partly open does not provide controlled pressure relief. The opening may capture wind and impose greater forces on the glazing and frame.
Managing snow, ice and freezing weather
Visible depth alone does not determine snow load. Wet snow weighs much more than powder, and drifts or material sliding from an adjoining roof may load one area heavily. Use the exact model specification together with local site conditions.
Watch roof conditions through prolonged snowfall and intervene before accumulations become critical or uneven. Clear snow using a safe method that protects the materials. Keep off the roof, avoid striking glazing or panels with hard implements and never forcibly detach frozen deposits.
Frozen water can obstruct openings and drainage outlets. Do not force a stuck door or window. Following cycles of freezing and melting, inspect connections and water routes after the cold spell ends. Further winter guidance that may be applicable is provided in winter pergola care for snow, ice and wind.
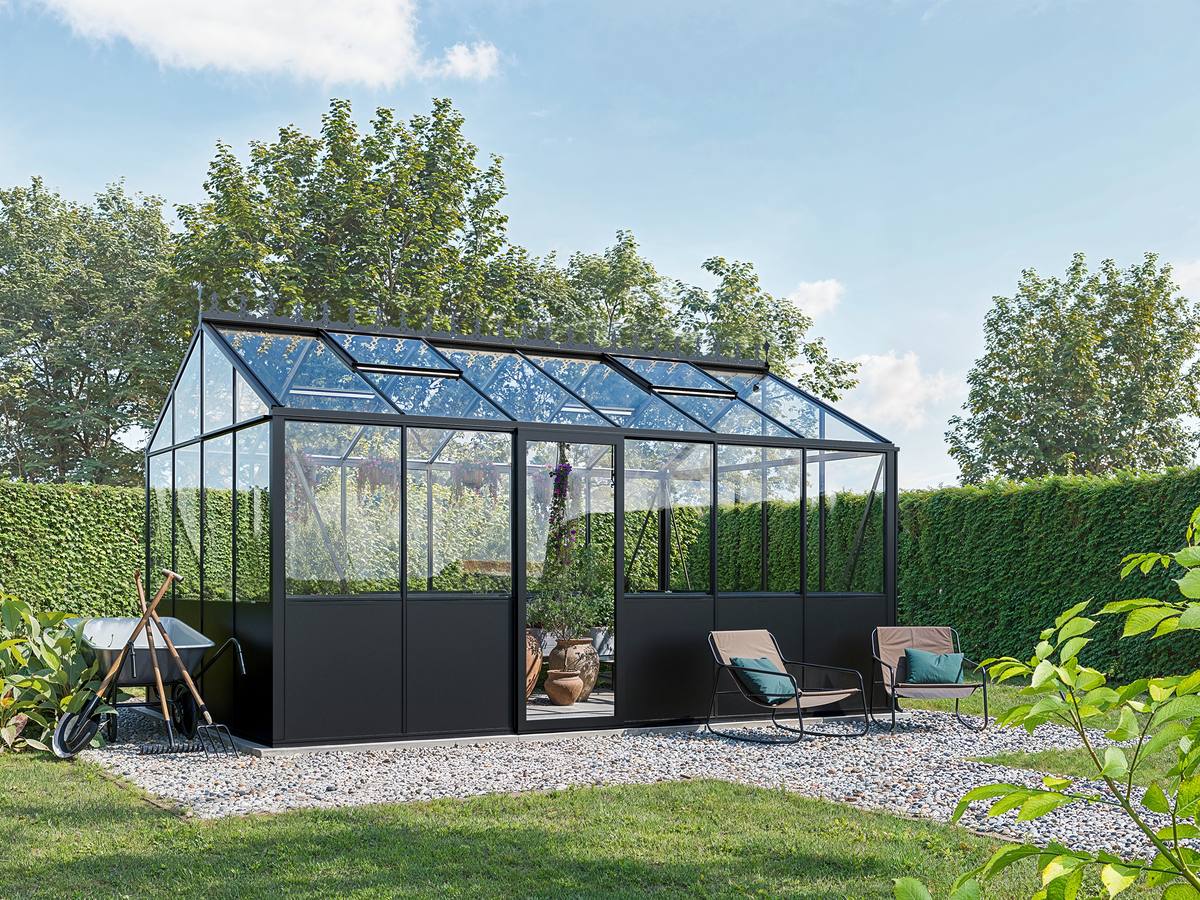
Managing rain, runoff and condensation
Greenhouses are not hermetically controlled rooms. Outside water needs an orderly route away, while plants, damp growing media and temperature differences produce moisture inside. Interior droplets are consequently not proof by themselves that glazing is leaking.
Remove soil, leaves and moss from gutters, outlets and junctions. Ponding beside the base usually points to the surrounding levels or drainage rather than a glazing function. Following driving rain, inspect whether paved areas or nearby roofs are directing runoff towards the structure.
Vent at suitable times, keep air moving and manage watering to limit condensation. See the guide to greenhouse humidity and temperature.
Seasonal heat and ventilation management
Even mild weather can bring enough solar radiation to heat the interior quickly. Treat ventilation openings, doors and any appropriate shading as a coordinated system. A summer opening arrangement may cease to be suitable when wind develops.
Automatic vent openers help regulate temperature but still require supervision. Follow their documents when checking adjustment, operation and unobstructed movement. Keep plants clear of both the vent leaf and its mechanism.
Sun through winter glass does not guarantee that overnight temperatures remain above freezing. Conditions may drop quickly after dusk. When raising lettuce under greenhouse cover, balance crop needs with ventilation and local frost exposure. Any active heating system needs separate professional design.
Set an inspection and maintenance routine
| Timing | Checks | Action |
|---|---|---|
| Each month in the main growing season | Doors, vents, latches and visible joints | Clean, test movement and address noticeable looseness as directed |
| Ahead of forecast severe weather | Openings, loose objects, outlets and damaged glazing | Close, restrain, clear and investigate damage in time |
| Following a storm or intense rain | Frame alignment, glazing clips, seals and the foundation perimeter | Record changes and suspend use whenever safety is uncertain |
| Ahead of winter | Gutters, roof, door movement, anchors and nearby branches | Clean and correct visible faults before frost or snow |
| Once the frost season has passed | Settlement, ponding, ice damage and moving components | Reinspect both the structure and supporting ground |
Use methods and cleaning agents appropriate to the components. Powerful chemicals, abrasives and hard implements can damage glazing, surface finishes or seals. Recording maintenance dates and taking photographs helps reveal gradual deterioration.
Keep purchase and project records
Keep one file containing your quote and confirmed order, component inventory, installation manual, foundation documentation and assembly photographs. Record accessories and subsequent modifications there too. Details of the ordering process appear in the ordering instructions; find the relevant commercial guarantee terms in the guarantee information.
Before buying, ask whether the project needs approval, notification, a boundary assessment or another consent at its actual address. The enquiry should account for the state or territory, council, size, use and land constraints. The article Australian approvals for greenhouses and pergolas gives general orientation only; confirm the pathway for the actual address with the responsible authority.
For an Australian order, review the applicable sales and delivery terms separately. Consult greenhouse delivery to Australia for that information, then browse useful information for related topics.
Questions people often ask
May a greenhouse remain outside throughout the year?
Yes, when the specific model is made for permanent outdoor installation and the site, foundation, assembly and operation meet its requirements. Remaining outdoors all year does not remove maintenance needs; carry out checks before and after unusually severe weather.
Does aluminium remove every corrosion and maintenance concern?
No. Corrosion resistance does not eliminate aluminium’s need for inspection and cleaning. Check fixings, surfaces in contact, coatings, seals, guttering and moving components for dirt, damage or other changes. Use suitable cleaners and avoid combining materials without approval.
Is an existing patio suitable beneath a greenhouse?
Only when its build-up, strength, level, drainage and anchoring capacity suit the proposed structure. A flat-looking surface is not enough. Arrange a professional check where the sub-base is unknown or pavers have been laid as a floating surface.
Can roof vents be left open in high winds?
Usually not. Secure doors and vents before high winds because openings enlarge the exposed area and may increase pressure inside. Use the directions supplied for both the greenhouse model and its particular opening equipment.
Does every snowfall need immediate, complete removal?
A light covering does not always demand intervention. Consider the model limits, whether the snow is wet or drifting, material sliding from higher roofs and how the load is distributed. Monitor changes and prevent substantial or one-sided accumulation.
Will the interior remain warm through winter?
Daytime solar gain can warm an unheated greenhouse, yet the interior may cool steeply at night. Glazing and structural form affect that cycle but cannot assure frost-free conditions. Maintaining a chosen minimum temperature requires an integrated plan for heating, ventilation and safety.
Is indoor condensation proof of a leak?
No. Moist indoor air condenses when it reaches a colder surface. Even so, water repeatedly appearing at one outside junction during rain warrants investigation. Examine humidity, irrigation, ventilation and possible external water entry as separate causes.
Is every wall suitable for a lean-to greenhouse?
No. Suitability depends on the wall’s construction, load capacity and flatness, its waterproofing, roof overhangs, drainage and existing installations. Insulation systems and façade coverings need appropriately designed connections too. Seek specialist assessment whenever those details are uncertain.
Can I change fittings or add drilled holes?
Make such changes only when permitted in the documentation or expressly confirmed. Drilling additional holes or changing the fixings can compromise profiles, alter drainage routes and bring incompatible materials together. What seems easier during installation may cause trouble afterwards.
What checks follow a major storm?
Wait until the surroundings are safe before approaching. Photograph and inspect glazing, doors and vents, the frame, joints, anchors and the foundation perimeter. If anything is broken or displaced, isolate the area and suspend normal use until the problem is resolved.
Which preparation task matters most?
Plan the site and foundation carefully. Those decisions govern the effects of wind, runoff and loads, as well as whether the frame can be erected to the correct geometry. Tightening fasteners harder will not make unsuitable supporting ground adequate.
Although other outdoor structures work differently, the same approach to planning still applies. When coordinating several garden buildings, consult the pergola size guide, compare freestanding and wall-mounted pergolas , and use the classic or bioclimatic pergola guide . For a wellness zone planned separately, examples include the Elma S outdoor sauna and HC150 thermowood barrel sauna . Assess the foundation, clearances, service connections and approval needs independently for every structure.
