



PREPARATION
Site photos, dimensions and sketches for a quotation
A structured record of the site helps narrow down an appropriate greenhouse, pergola or outdoor sauna. This guide sets out the images, dimensions, sketches and background needed for a dependable first assessment.
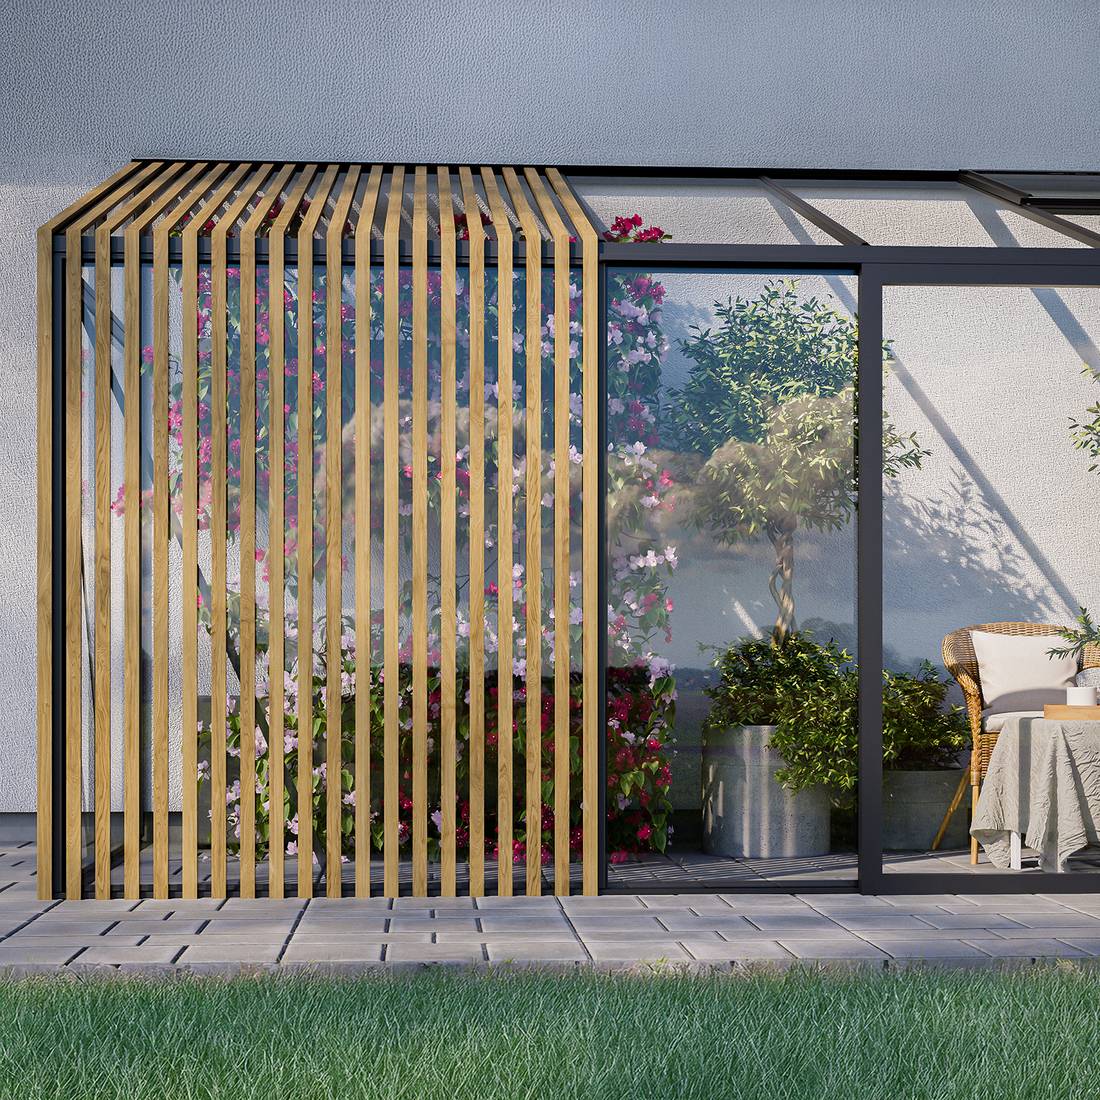
An effective quotation enquiry depends on traceable information, not a large file count. Name the product type and planned use, then supply an orderly image set, verified dimensions and a basic site sketch. Record the fall, drainage, existing base or footing, plus access for delivery and installation.
This material cannot replace an on-site technical assessment or design work by the appropriate professionals. It can reveal likely conflicts sooner, limit follow-up questions and support comparisons between possible configurations. Use the same process for greenhouses and conservatories, pergolas and products in the sauna range.
Quotation enquiry checklist
Check that the material you send covers, at minimum:
- product type and proposed use;
- site address, or at least postcode and suburb or locality;
- wide views from several directions;
- close-ups of walls, ground, drainage, obstacles and access;
- usable length, width and important heights;
- clearances from buildings, walls, trees, paths and boundaries;
- site fall and intended surface or footing;
- an annotated plan with dimensions and a north arrow;
- vehicle access, unloading location and component-carrying route;
- known utilities, pits, roof drainage and other services;
- preferences, assumptions and unresolved matters, clearly labelled.
Where information is missing, never guess and present the result as an exact dimension. Use labels such as “to be checked” or “approximate position” so readers can distinguish dependable details from uncertainties.
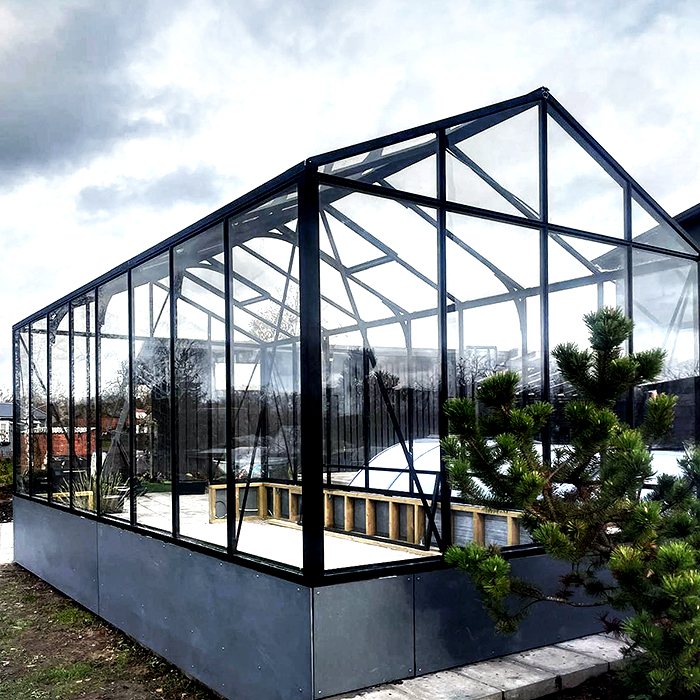
1. Identify the structure and its purpose
Name the form first: freestanding or lean-to greenhouse, orangery, wall-mounted or freestanding pergola, rectangular outdoor sauna or barrel sauna. If options remain open, list each one separately. Browse the complete product collection for a summary of the categories.
How you intend to use the structure shapes the site review. Greenhouse planning should cover planting areas, work aisles, airflow and access to water. For broader garden ideas, consult our article on polytunnels, our guide covering Victorian greenhouses , and our introduction to the orangery greenhouse concept.
For a pergola, state whether its main role is seating, shade, weather cover or a link between house and garden. If useful, compare classic and bioclimatic pergola designs alongside wall-fixed and freestanding pergola layouts. A sauna enquiry should identify likely occupancy, preferred shape and intended technical equipment. Models such as the Elma S outdoor sauna, the Elma L outdoor sauna or the HC150 barrel sauna make the required basic form easier to specify.
2. Build a thorough photographic record
A photo of the vacant footprint is not enough. An initial technical review needs the wider setting. Use broad views to relate the site to the house, garden, paths and boundaries, then close-ups for junctions, level changes and obstacles.
Order for taking photos
- Approach to the property: Photograph the approach from the street to the likely unloading place.
- Route for components: Include gates, passages, steps, tight corners, walls, overhead cover and fragile finishes.
- Site in context: Take a wide image from each of the four principal directions, leaving enough distance for context.
- Surface and base: Capture paving, soil, existing footings, edges, pits and any visible fall.
- Nearby construction: Show façades, eaves, downpipes, windows, doors, plinths, steps and walls.
- Obstructions: Include trees, hedges, fencing, lights, utilities, outdoor units and permanent garden fixtures.
- Photos showing dimensions: For selected locations, take a clear image with a folding rule or tape against the relevant feature.
A visible scale helps orientation but cannot replace a stated measurement. Perspective, wide-angle lenses and level changes may seriously distort distance.
Evidence that is insufficient by itself
- one panorama only;
- sales-listing pictures or dated garden views;
- images in which the ground is hidden;
- written dimensions without identifiable reference points;
- unscaled screen captures of maps;
- a lawn marker with no dimensions attached.
If vegetation or stored belongings obscure an important edge, add an angled side view wherever practicable. Explain which items are permanent and which are due to be removed.
3. Survey the usable footprint
Measure the usable footprint, not only the product dimensions you prefer. Show the site's full available extent and the space remaining beside fixed features. Two layers are useful: overall dimensions for the planning area, followed by individual offsets to obstacles.
| Measurement | Why it is needed | Useful detail |
|---|---|---|
| Full site length and width | Sets the overall area available for planning | Identify units and unambiguous end points |
| Diagonals | Tests whether a rectangular layout has right angles | Record each diagonal |
| Offsets from obstacles | Reveals access, usability and possible clashes | Start at an edge that is clearly identified |
| Changes in level | Captures steps and site fall | Label the survey points on your drawing |
| Doorways and travel paths | Affects both delivery and eventual use | Record unobstructed width and, if applicable, height |
Choose millimetres or centimetres for the whole drawing, placing the unit against every figure. Never combine the two systems on one sketch. Note whether the endpoints are finished faces, unfinished edges or approximate marks.
A nominal rectangle may be out of square, so take both diagonals. If they differ, that establishes a deviation but not its cause. For preliminary product selection, consult the guide to pergola sizing without treating catalogue dimensions as the complete area needed for construction and movement.
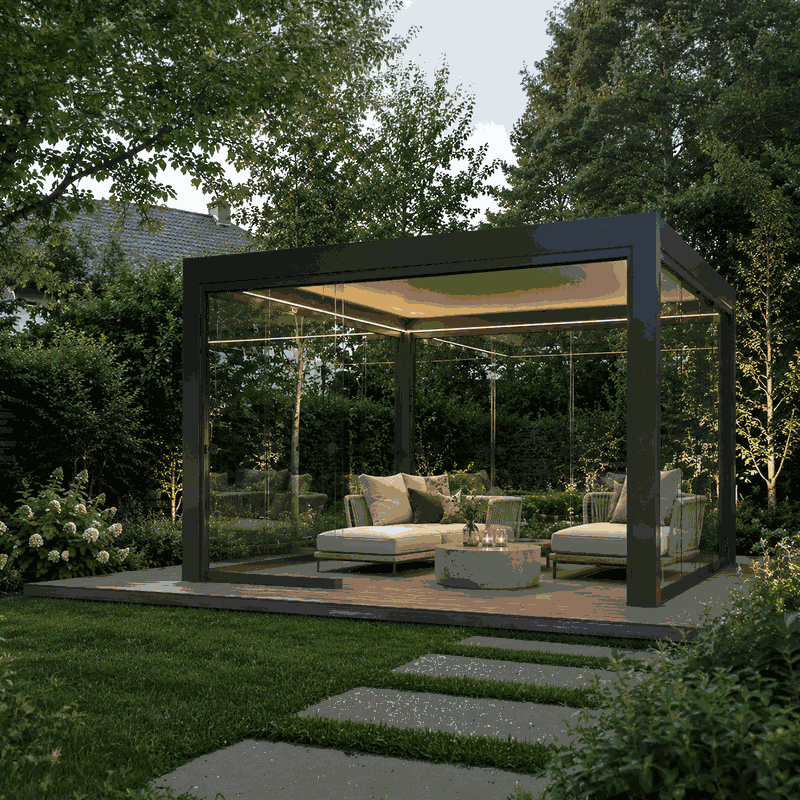
4. Extra measurements for wall-connected projects
Where a greenhouse leans against a building, or a pergola fixes to a wall, the façade is part of the design. “The house wall is about six metres long” is insufficient. Draw a straight-on elevation showing:
- clear wall span between immovable limits;
- vertical distance from the proposed finished surface to the eaves or overhang;
- every window and door, with location, height and width;
- offset from a nominated corner to each opening;
- how far sills, plinths, cornices and downpipes project;
- positions of outside lighting, vents, taps and technical equipment;
- known wall build-up, including any outer insulation or cladding;
- the roof-water route and direction of discharge.
Take one near-square-on photograph of the complete façade and one from either side. Never select anchors from images alone. The wall's capacity, its substrate and the correct fasteners require assessment for this project; an appropriately qualified practitioner should investigate any uncertain construction.
5. Map levels, water paths and the intended base
A patio that looks flat may deliberately fall towards drainage. Turf can contain hollows, filled sections and weak margins. Replace vague labels such as “flat” or “sloped” with measured height differences between nominated locations.
One clear method is to mark each corner and the centre. Choose a datum, then add every relative height to your plan. If suitable tools are unavailable, state that the fall has not been verified rather than claiming unsupported accuracy.
Map where surface runoff and roof water can travel. Include ground drains, gutters, downpipes, light wells, basement entries and lower neighbouring areas. New construction must not accidentally trap water or redirect it harmfully; check the applicable requirements and acceptable solution for that property.
Describe the existing surface—concrete, paving, strip footing or undisturbed ground. Our pergola foundation guide is a starting reference only; design must still respond to the soil and proposed structure.
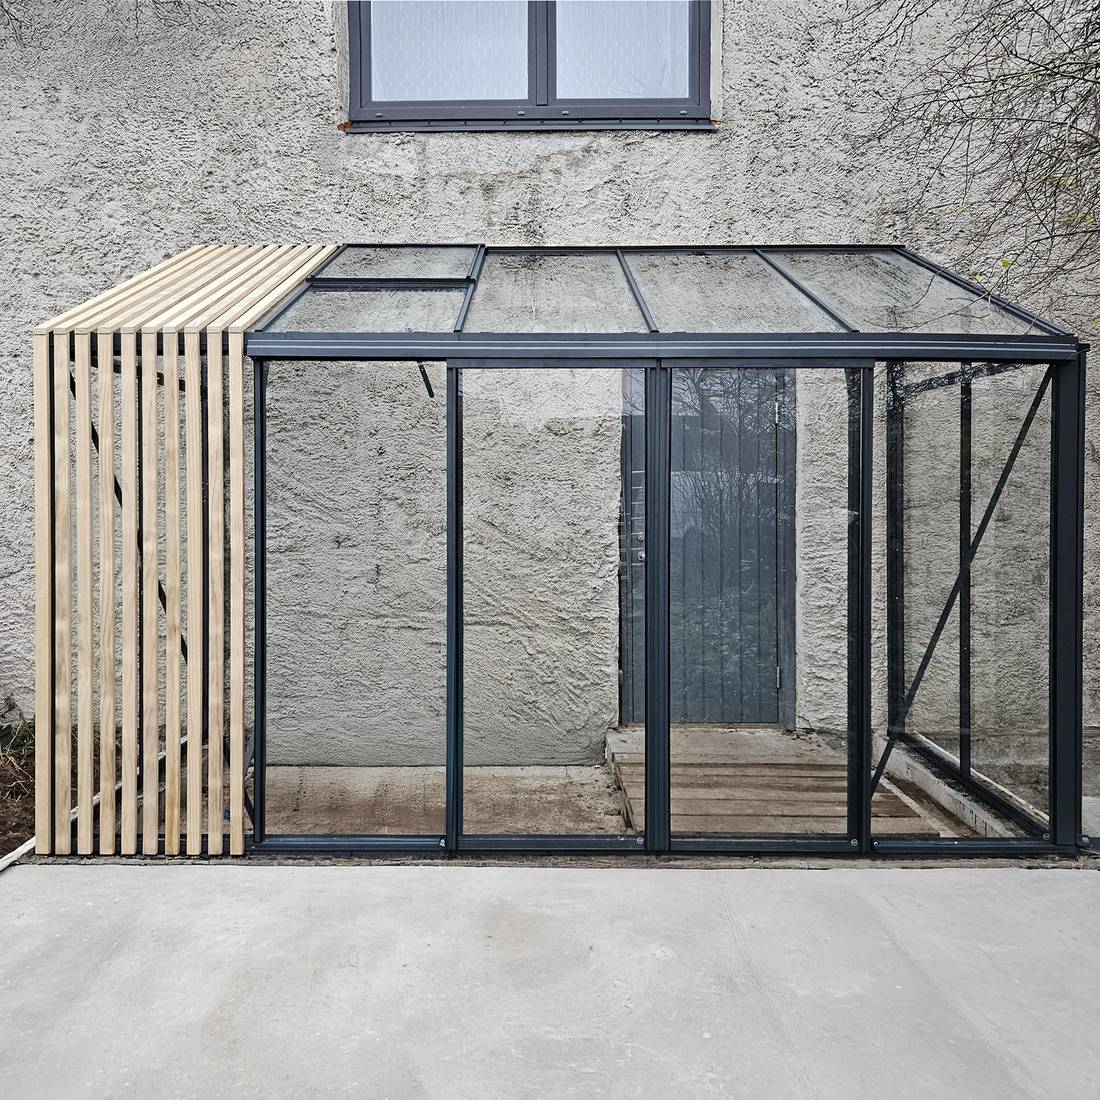
6. Draw a straightforward site plan
Professional CAD drafting is generally unnecessary at enquiry stage. A tidy hand drawing may be sufficient when its labels are complete, readable and internally consistent. Work on graph paper or with basic drawing software. Provide an overhead plan and, for any wall connection, an elevation.
What to mark on the overhead plan
- the boundary of usable space;
- proposed location and orientation of the structure;
- the dwelling, garage, walls, paths and patio boundaries;
- property boundaries, but only where their position is established;
- trees, substantial shrubs and anything else in the way;
- doors, including the direction each should swing;
- the unloading place and route used to carry components;
- pits, utility runs, drains and service connection locations;
- dimension chains, both diagonals and labelled level points;
- a north arrow and camera direction for every image.
Give every photograph a number, then place that number and its sightline on the drawing—for instance, “Photo 07: southward view of the house wall”. When assessing two locations, prepare a separate plan for each instead of stacking their outlines.
A satellite view is useful background only. It cannot establish current vegetation, ground levels or the legal position of boundaries.
7. Describe delivery and installation access
Plenty of room at the destination does not guarantee an easy approach. Record the complete path between the nearest feasible vehicle stop and proposed base. Note its tightest width, overhead limits, steps and abrupt turns.
- Is there somewhere suitable for a delivery vehicle to stop nearby?
- Do narrow streets, gates or other access controls apply?
- What is the carrying distance from unloading place to footprint?
- Will components cross turf, gravel, steps or vulnerable finishes?
- Does anything need to be carried through the building?
- Could parked cars, locked gates or other temporary barriers intervene?
Label assumptions separately from verified facts. For an outline of the process, visit ordering and delivery. Raise questions unique to your site through the contact page early in the process.
8. Check local project conditions early
Whether approval, notification, setback or other controls apply depends on the state or territory, council, zoning, site constraints and exact proposal. Do not assume a similar-looking neighbour's project followed the same pathway. Begin with our guide to approvals for greenhouses and pergolas, then confirm the requirements for your property with the relevant state or territory bodies and local council.
Record any known property boundaries, easements, utility corridors or protected zones that could affect the work. Garden images do not allow Bloomcabin to validate a boundary. If its position is doubtful, consult reliable property records or commission a qualified survey.
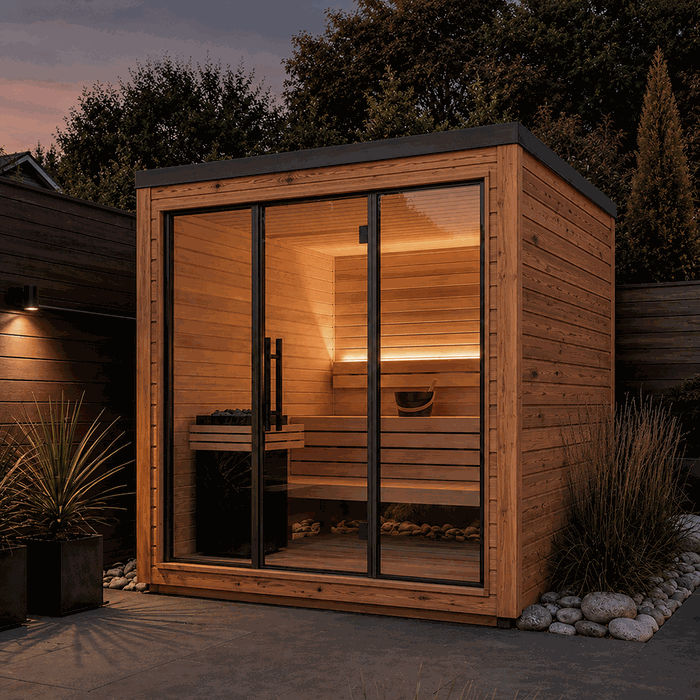
For an outdoor sauna, identify the proposed power source and cable path, ventilation, drainage and safe approach. Arrange electrical connections and any other regulated work according to the rules at the site, using appropriately qualified practitioners. Tell us whether services are already installed, planned only, or not yet resolved.
Materials and the intended use may also shape the design. Our information on polycarbonate greenhouse panels, roof choices for bioclimatic pergolas and automatic greenhouse window openers can help you sort unresolved specification choices before getting in touch.
9. Separate preferences from measured dimensions
Keep preferences distinct from observed figures. Write, for example, “approximately four metres preferred; 4.65 m measured as available” rather than simply “four metres wide”. Describe colour, door location, glazing, roofing and accessories as preferences too.
Where priorities conflict, put them in order: perhaps greatest usable area, then an open outlook, followed by the favoured door location. Alternatives can then be weighed fairly without turning a preference into a fixed physical constraint.
10. Keep the files easy to follow
Use consistent filenames, such as “01_Driveway”, “02_Component_Route”, “03_North_View” and “Plan_Overhead_V2”. Do not merge all pictures into illegible screen captures. Keep the originals because they preserve detail and allow closer inspection.
Add a brief index stating what is attached, the measurement date and any unanswered matters. Do not overwrite an earlier sketch with the same filename. Add a date or revision number, and make the current version unmistakable.
11. Consult product documentation once the choice narrows
Drawings and assembly instructions become useful after you shortlist a form. Copy only verified outside dimensions and connection arrangements; never borrow figures from another model merely because it looks alike. Confirm the document revision and model before relying on either.
For background material, browse our information library. Keep later-use topics, including aluminium greenhouse care, apart from the site's measurements. Likewise, reading about the warranty does not lessen the need for an accurate record of the proposed location.
12. Check everything before submission
Finish with a consistency check. Do dimensions agree between plan and notes? Is every unit visible and each photograph identifiable? Have doorway widths and heights been recorded separately? Can a reader distinguish existing conditions from proposed work?
A quote request is especially easy to review when a third person can describe the site from the documents without having visited it.
Flag every uncertainty. An explicit gap is safer than an estimate that drives later decisions. If any figure changes, resend the entire corrected set and draw attention to that revision.
Frequently asked questions
Must a quotation enquiry include professional drawings?
Usually, a clear hand-drawn plan with dimensions is adequate initially. Complex junctions, disputed or uncertain boundaries, difficult footings or large level changes may call for professional measurement and design. The site itself determines what is necessary.
Can I supply only my preferred greenhouse dimensions?
No. Those figures cannot establish room for assembly, door movement, upkeep, drainage or approach. Include the extent of usable ground and measured offsets from nearby objects.
How many photographs does the site need?
There is no prescribed total; coverage is what counts. Show the approach, component route, four viewpoints, surface, neighbouring construction and important details. A clear open plot may need fewer photographs than a restricted wall connection.
Are photographs a substitute for dimensions?
No. Images explain spatial relationships, but lenses and camera position alter apparent proportions. Each written dimension needs a unit and defined endpoints.
Is it worth attaching a satellite view?
It may help explain the wider setting, but cannot prove precise heights, dimensions or property boundaries. Recent ground-level images, your measured survey and dependable property records each provide different evidence.
How should I document an uneven site?
Take levels at several labelled points. Indicate the direction of fall, steps and drainage routes. Design of the base or footing must account for the selected product, ground conditions and local circumstances.
Which records are useful for an attached greenhouse?
Send a square-on view of the entire wall, images from both sides, a dimensioned elevation and ground plan. Mark windows, doors, overhangs, plinths, downpipes and any known wall build-up. Assess wall-fixing suitability separately.
Do service routes belong on the plan?
Yes, if known and relevant to building, fastening or use. Identify power, water, drains, pits and underground utility zones. Label any position based on assumption as unverified.
Can Bloomcabin confirm my property boundary from photos?
No. A fence, hedge or paving line may differ from the legally or survey-defined boundary. Refer to appropriate records and obtain professional help wherever the position remains uncertain.
Does receiving a quotation mean the site is ready?
No. The quotation reflects only the supplied material. It cannot take the place of any necessary inspection, footing design, approval process or specialist design work. Establish all site preparation required for the particular proposal.
Should maintenance matters accompany the quotation request?
Mention operational needs that affect the design, such as space for cleaning access. Put general care questions in a separate section from site data and dimensions so the technical record remains unambiguous.
If a measurement changes, what should I do?
Notify Bloomcabin before relying on the quotation or making further choices. Send a complete replacement drawing with every label and call out each revised figure. Avoid keeping several poorly identified versions in use, because superseded dimensions may be mistaken for current ones.
Questions about preparing the package can be sent through our contact page . For Australian delivery, including territories and islands, also read how greenhouse delivery works across Australia.
