



Pergola drainage: the rainwater route
A pergola with integrated drainage channels rainwater from its roof through gutters and designated outlets. This guide follows the complete water path, covering planning, installation, maintenance, seasonal use and fault-finding.
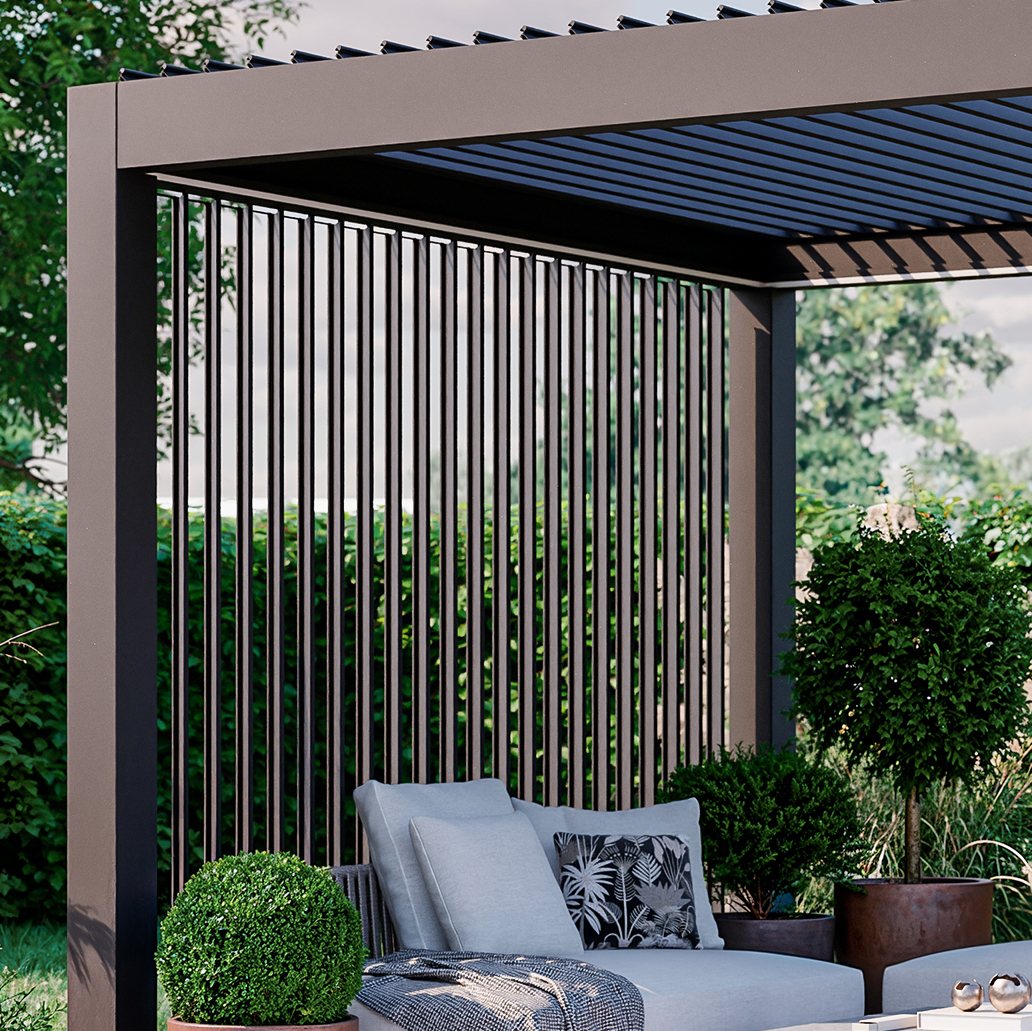
A pergola manages rain through a chain of connected elements rather than one drain. Water reaches the roof, enters designated collection areas, passes along gutters or frame channels and exits at planned points. Reliable operation depends on the roof, site, foundations, assembly and final discharge arrangement working as one system.
This overview explains the general water-management principle used by modern aluminium pergolas. The arrangement differs between models, so follow the technical documents and assembly manual supplied with the chosen product. Compare the pergola collection from Bloomcabin, including bioclimatic designs and wall-attached pergolas.
Following rain from roof to outlet
Once a louvred roof is closed, rainfall meets the upper faces of the blades. Their profile and angle send the water towards the roof edges. Built-in gutters, or frame sections that act as gutters, receive it before one or more outlets direct it down the designated posts.
Think of the route as five linked steps:
- Roof plane: Receives the rain and establishes its direction of travel.
- Louvre ends and roof junctions: Feed the collected water into the channel profiles.
- Gutter or structural channel: Holds the flow and carries it towards a discharge point.
- Drain aperture: Provides the handover from the gutter to the downward route.
- Drainage post or outlet: Delivers water at patio level or to a planned continuation.
The weakest section governs the performance of the entire drainage chain. A leaf lodged at an opening, poor profile alignment or an obstructed discharge point can interrupt flow even when every other part has been assembled correctly.
Roles of the drainage parts
| Component | Purpose | Inspection point |
|---|---|---|
| Roof louvres or modules | Send rainfall towards the nominated edge | Correct direction, unrestricted movement and complete closure |
| Side gutters | Receive runoff from the roof plane | Clear discharge areas, sound joins and no foreign material |
| Frame profiles | Provide structure, roof operation and sometimes a water channel | Orientation and assembly order specified in the manual |
| Outlet openings | Transfer collected water into the downward route | No dirt, fasteners or sealant obstructing the opening |
| Post drains | Convey water through the structure to ground level | Correct post allocation and a clear route without kinks |
| Ground outlet | Releases flow to paving, a drain channel or connecting line | Accessible for maintenance and protected against backflow |
An aluminium profile may perform several structural and drainage functions. Consequently, an opening that appears unusual is not necessarily an assembly error and must not be closed without checking. Apply sealant solely at the locations identified in the manual. The comparison timber versus aluminium for pergolas.
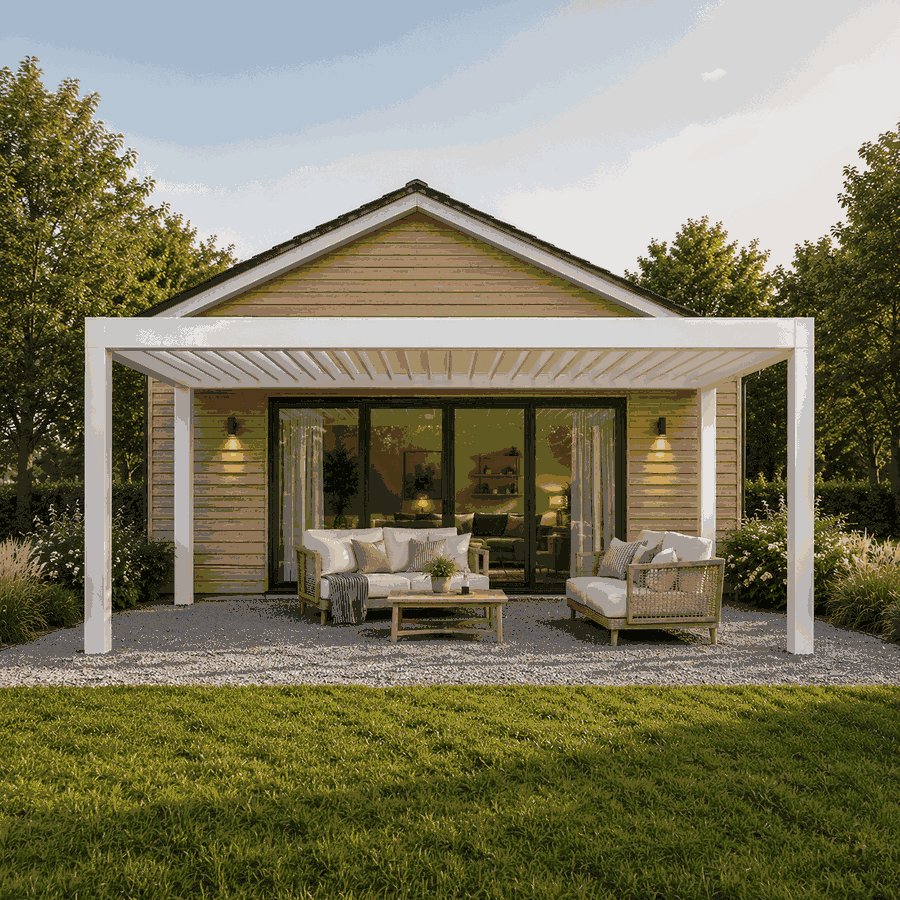
Rain control with adjustable louvres
Rotating blades let a bioclimatic pergola regulate daylight, shade and airflow. In the closed position, adjoining or overlapping blades steer rainfall towards the designed collection areas. They provide managed runoff, but not the airtight waterproof barrier associated with a fully enclosed building.
Some water usually stays on blade faces, edges and seals after a shower. Turning the louvres can release it as drips, without this necessarily signalling a defect. Open the roof in stages after rain if furniture or fabrics need protection, and avoid standing beneath the side where water falls.
Wind alters the direction of incoming rain. Strong crosswinds may push moisture across profile edges or below the roof plane. For more on the operating principle, use the bioclimatic pergola guide. When comparing layouts, also see bioclimatic or classic pergola .
Freestanding and wall-attached drainage layouts
With a freestanding pergola, several posts can share structural loads and the roof’s water routes. They are not necessarily all drains. A design may use only selected posts for discharge, so locate those posts during site planning and ensure their outlets remain unobstructed.
Wall attachment adds an interface with the building. The connection must be appropriate for its substrate, and runoff should travel away from the façade and vulnerable areas around its base. Account for doors, light wells, basement access, façade insulation and existing downpipes before settling the layout.
Appearance alone should not decide the configuration. See wall-mounted or freestanding pergola for the key distinctions, then review wall-mounted pergolas from Bloomcabin or the pergola range from Bloomcabin .
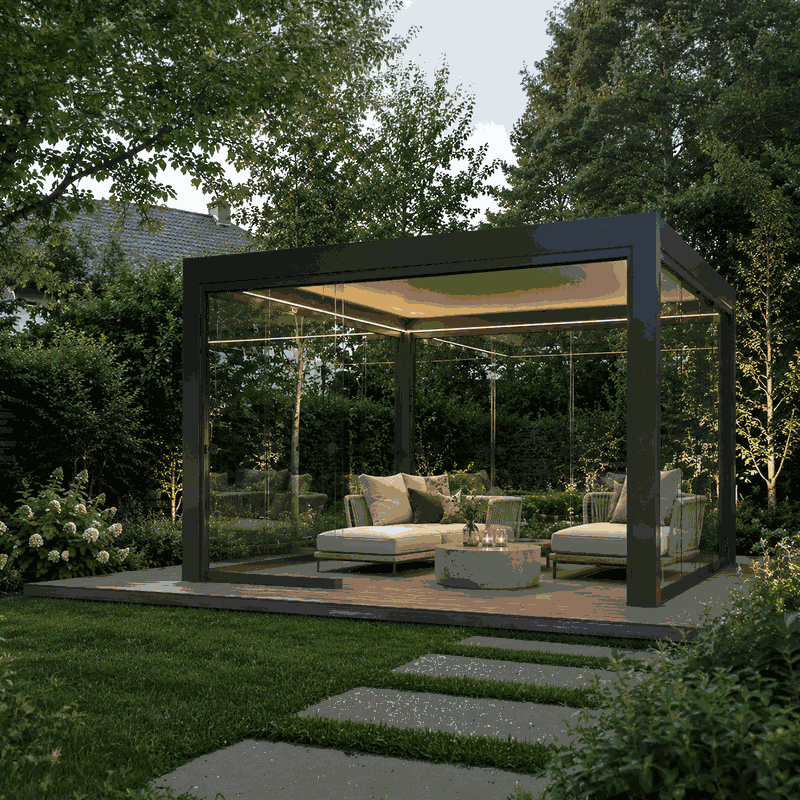
Plan drainage before you buy
Settle water management before choosing size, orientation and accessories. Consider not only where water could flow, but whether the outlet will remain accessible and whether the surrounding area can accept the collected volume.
- Which posts provide drainage on the selected model?
- Would their outlets conflict with a doorway, path, seat or electrical equipment?
- Does the paved surface slope towards the building or towards the garden?
- Can existing channels, floor drains or soakage zones receive the flow?
- Is debris likely to drop from nearby trees or the building roof?
- After side walls are installed, can cleaning and inspection points still be reached?
- What council or other local requirements apply to discharge and on-site infiltration?
A larger pergola intercepts more rainfall. The pergola size guide helps with footprint planning. Broader comparisons appear in the aluminium pergola selection guide and in the greenhouse and conservatory range.
Foundation and terrace preparation
Sound foundations do more than anchor the structure. They establish the position of each drainage post and therefore where water emerges. Prepare the site as required by the product documents; a paved area that appears flat does not by itself provide adequate footings or reliable fixing zones.
Check levels, surface falls and existing services before starting. Never improvise pipe routes through foundations where load capacity, anchoring or frost resistance could suffer. If the design is uncertain, obtain qualified planning advice. The pergola foundation guide summarises the main preliminary considerations.
Do not allow persistent water around base plates or anchors. Pavers, slabs and joints must leave the discharge opening unobstructed. Where paving will be completed later, incorporate its finished height into the pergola installation from the outset.
Inspect the delivery before building
Before construction begins, reconcile every package and component with the supplied documents. Pay particular attention to posts, frame sections, gutters, connectors and drainage fittings. Remove transport covers, film and packing residue so none can later obstruct a water opening.
- Confirm the contents and all component labels.
- Look for distorted profiles or damage around connection points.
- Distinguish drainage posts from any other post variants.
- Study every assembly stage before installing fasteners or applying sealant.
- Compare the actual structure again with the footing dimensions and orientation.
- Keep small seals and drainage fittings clean and stored separately.
If a part is absent or its purpose is unclear, do not improvise with drilling, cutting or generic substitutes. Through the contact page , send photographs and model details for assessment. Background on the company appears under about us .
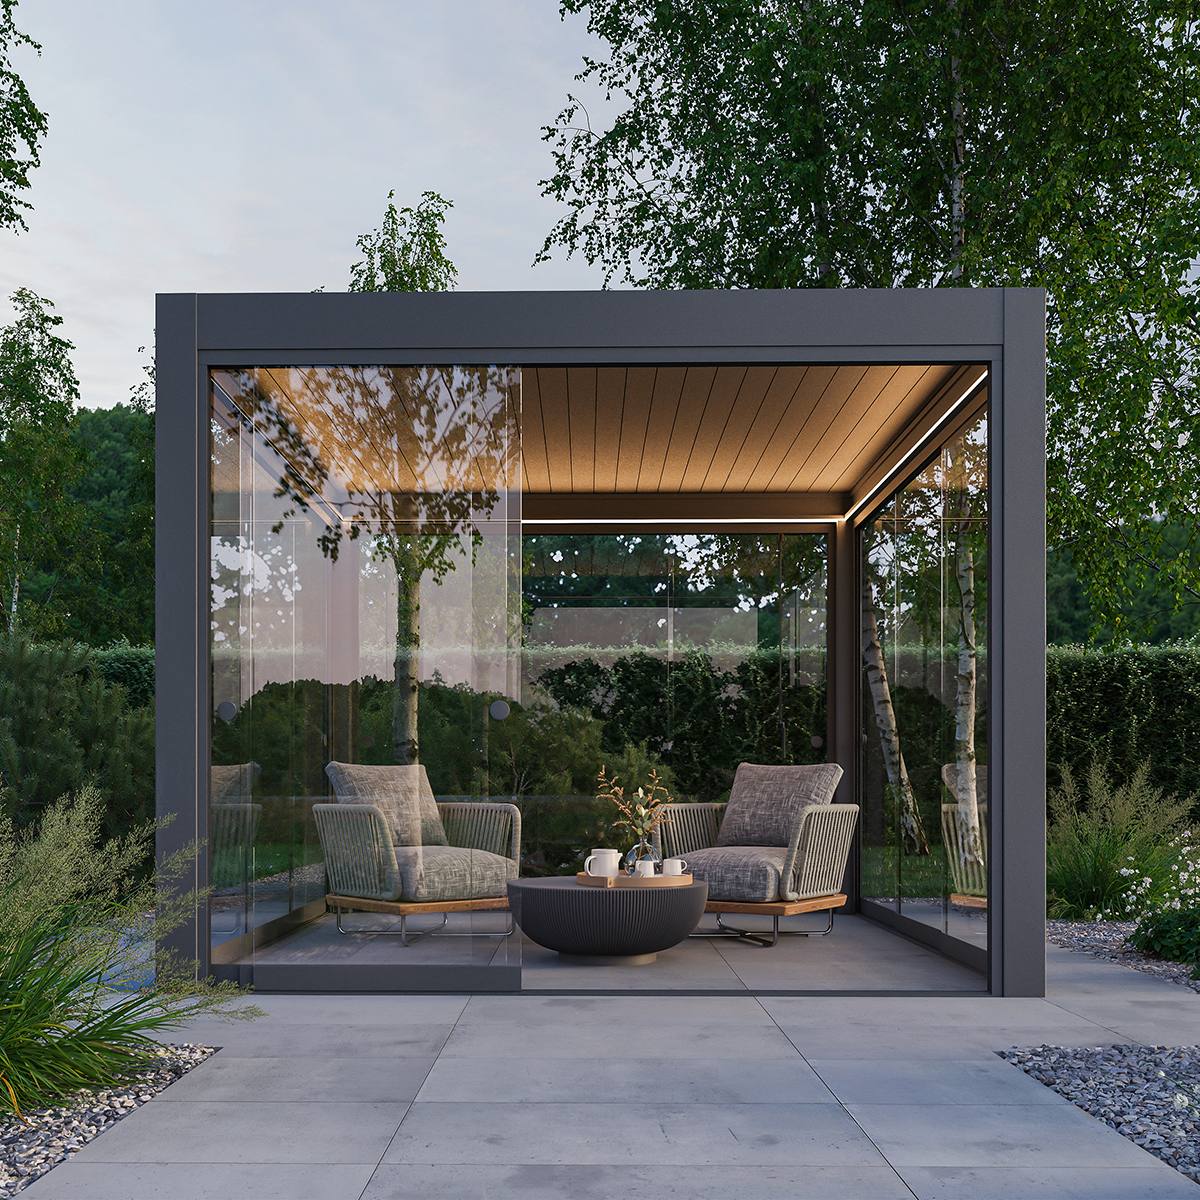
Assembly details that shape water flow
Water movement can be affected more by a slight error at one profile junction than by the structure’s overall appearance. Assemble, level, join and seal each section in the sequence given for the product.
- Square frame: Twisting can interfere with both louvre travel and gutter junctions.
- Profile direction: Keep inner, outer and outlet faces in their specified positions.
- Post placement: Match every drainage post to its nominated frame junction.
- Sealant positions: Treat only the specified joints and preserve all functional apertures.
- Fasteners and connectors: Fit the designated components in the sequence set out for assembly.
- Completion check: Operate the blades, examine the gutters and conduct a measured flow test.
During testing, place a modest quantity of water on several roof sections and trace each handover through the louvres, gutters, openings and posts. Avoid a concentrated hose jet: the unusual pressure it creates does not reproduce ordinary rainfall.
Planning the water’s destination
Although the built-in route finishes at the post outlet, water management continues beyond it. Do not send runoff towards the house, across a slippery walkway or onto adjoining property. Waterlogged garden beds, moisture-sensitive patio bases and unvented cavities are unsuitable receiving areas as well.
Depending on the site, runoff may travel across a suitably graded surface, into an open channel, towards an appropriate infiltration zone or through a professionally designed connection. Check whether an existing line can receive rainwater and what the relevant council requires. Soil, property drainage and local controls differ.
Any buried connection should be serviceable and flushable, with backflow addressed in its design. Do not make a pergola post the lowest point in an overloaded drainage line. Broader planning material is available under useful information and across the Bloomcabin blog .
Side glazing, condensation and wind-blown rain
Side glazing changes weather exposure but leaves the roof’s essential runoff path intact. It may reduce sideways rain without forming a sealed room, and designed gaps can remain around sliding panes, tracks and component junctions.
Wind can carry rain below the roof or against openings, while humid air may condense on glass, aluminium and louvres. This ambient moisture is distinct from gutter leakage. Adequate ventilation and controlled airflow help limit its accumulation.
Keep outlets and service points uncovered when adding side walls. The guide pergola with glass walls: sliding or fixed glazing sets out the glazing options, while bioclimatic pergola, roof and glass explains the limits of the combined system.

Ongoing inspection and cleaning
Inspect the system periodically and after exceptional weather, heavy leaf drop or high pollen loads. Use the maintenance directions for the specific product. As a general task, gently clear loose foliage, twigs and dirt from both gutters and roof surfaces.
- Use only the manual’s recommended louvre position for safe cleaning.
- Clear visible drain openings and gutters without sharp-edged implements.
- Never push rigid tools far inside a hidden drainage route.
- Look for leaves, soil or later paving that obstructs a post outlet.
- Examine profile junctions, sealed joints and anchoring areas visually.
- Once clean, confirm free flow using only a modest quantity of water.
A pressure cleaner may drive moisture through joints or damage finishes and seals. Any cleaning agent must be compatible with the materials concerned. General care for aluminium structures is covered in care of an aluminium structure.
Ice, colder conditions and seasonal operation
Ice can obstruct gutters, outlets and mechanisms. Do not force a louvre that is held by ice or frozen snow. Confirm that every moving section is free before operating the roof, and consult the product manual for its winter position and operating restrictions.
Discharged water can freeze on a patio and create a slip hazard, so seasonal planning extends beyond the post itself. Open drains and buried lines must be suitable for the site conditions. In frost-prone districts, clear foliage and sediment before colder periods so retained water has the best opportunity to escape.
Snowfall and wind exposure differ markedly across regions. See pergolas in winter: snow, ice and wind for broad seasonal planning only; determine load limits solely from the documents for the selected model.
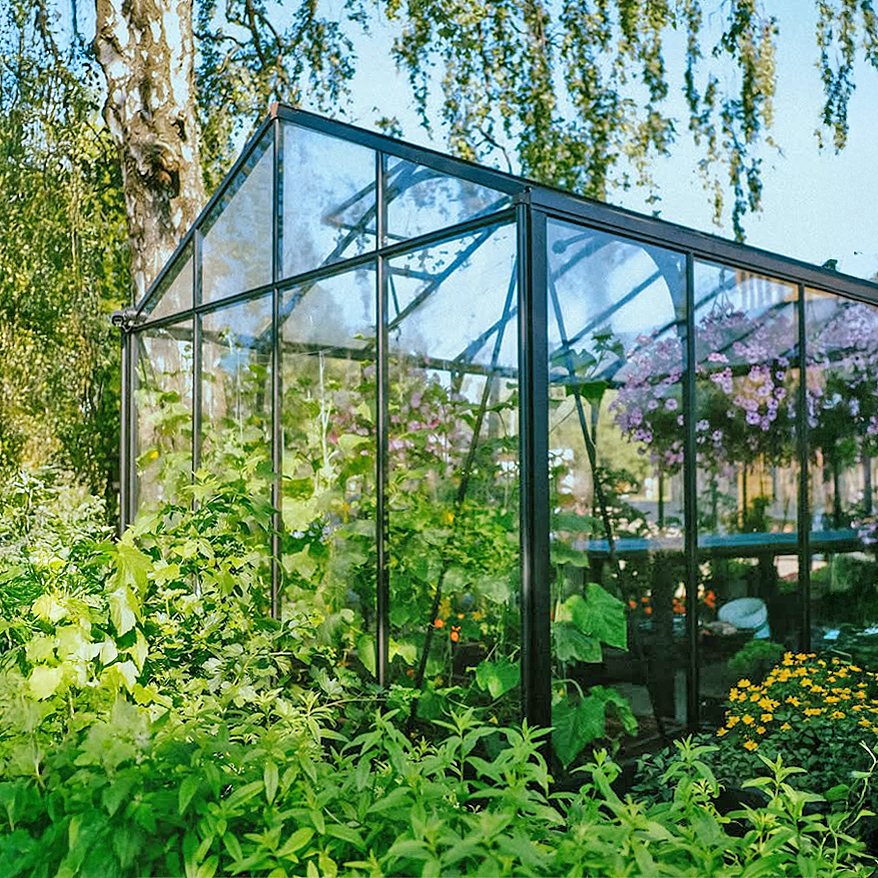
A structured check of common drainage symptoms
| Symptom | Possible cause | First check |
|---|---|---|
| Gutter overflows | Obstructed drain, exceptionally intense rain or an incorrect handover | Clear the gutter and inspect the visible drain aperture |
| Water escapes at a joint | Possible misalignment, failed sealing point or profile junction | Record the location in photographs and check the assembly manual |
| Only one post carries water | Potentially normal for that design | Consult the selected model’s drainage diagram |
| Water pools at post base | Hidden outlet or unsuitable paving slope | Expose the discharge point and clear nearby paving |
| Drips when opening | Residual water on louvres | Turn the louvres gradually and watch where residual water falls |
| Moisture on glass | Surface condensation or rain carried by wind | Assess airflow, weather and the direction of moisture entry |
Troubleshoot in the same direction as the water travels, beginning where rain enters and ending at discharge. Adding sealant without diagnosis can hide the cause and close designed relief openings. Images taken while dry and during a gentle flow test can make the true route easier to identify.
Points to resolve before placing an order
- Which pergola configuration best supports the intended use?
- Which posts drain water in the proposed configuration?
- Can a wall-mounted design work with the existing façade and building drainage?
- Will every footing be ready before assembly begins?
- Where will runoff travel after it emerges from a post?
- Can all gutters, outlets and inspection areas still be accessed?
- Will the design include glazing or another type of side enclosure?
- Which site-specific approval and stormwater matters require official confirmation?
For an Australian project, first identify the state or territory, council area, zone, intended use, form, dimensions and any services. Ask the relevant authorities which current controls and approval paths apply. The article planning approval for a greenhouse or pergola provides initial questions to raise. Obtain project-specific decisions from the responsible bodies. Further information is available for trade partners as well.
Pergola drainage FAQs
Does closing the louvres create a completely waterproof roof?
No. A closed louvred pergola is not equivalent to a sealed building roof. Its blades channel rain towards gutters and drains, yet crosswinds, exceptionally heavy rainfall, profile junctions or movement of wet louvres may still produce isolated drips.
Are drains built into all pergola posts?
No general rule applies. A particular model may route water through selected posts only. Confirm their positions in the product documentation before laying out foundations or beginning construction.
May runoff be taken into an underground line?
A designed continuation may be feasible, but its access, connection detail, backflow provisions, cold-weather performance and local requirements need professional assessment. Concealing a direct connection with no means of cleaning it can create problems.
What causes dripping as the roof opens?
Moisture remains attached to blade surfaces and edges after rain. When the blades rotate, their changed angle releases that residue. Slow, staged movement gives more control over where and when it falls.
Can foliage obstruct drainage inside the frame?
Yes. Needles, small leaves, flower remnants and general dirt may lodge in gutters or drain apertures. Routine visual inspection followed by careful cleaning lowers the chance of blockage.
How should pooling beside a post be investigated?
Begin by checking whether soil, pavers, jointing compound or stored items hide the ground outlet. Next, assess the patio slope and subsequent drainage route. If pooling continues, document the assembly, model and affected area with photographs.
Will sealing every gap prevent occasional drips?
No. Some gaps serve drainage or ventilation functions. Add sealant only where the instructions for that product expressly require it. Unplanned sealing can retain moisture inside a profile or obstruct the intended outlet.
What louvre position is appropriate during frost?
That position varies by model. Never operate the blades while ice or snow prevents free movement. Use the winter and operating directions supplied for the particular product rather than applying a general position.
Will glass sides improve drainage from the roof?
They may reduce rain entering sideways, but generally leave the internal roof route unchanged. Glazing can also alter ventilation and the formation of condensation. Keep every outlet and maintenance point accessible after the panels are fitted.
What information is useful when requesting support?
Include the model, configuration, order reference, site, weather and time when the issue occurs. Supply both wide and detailed photographs; a brief video may help show the flow. Disclose connected pipes, modifications and any extra sealant already applied.
The central planning principle
Successful drainage requires one continuous plan, beginning where rainfall meets the roof and ending where it is safely managed on the property. Treat the roof arrangement, gutters, drainage posts, foundations and site drainage as interdependent parts.
Settle more than shape and colour before ordering. Outlet positions, finished ground levels, cleaning access and local requirements also need to be known. Tracing the full route in advance and applying the model-specific instructions throughout assembly helps avoid later alterations and supports dependable operation over time.
